.avif)

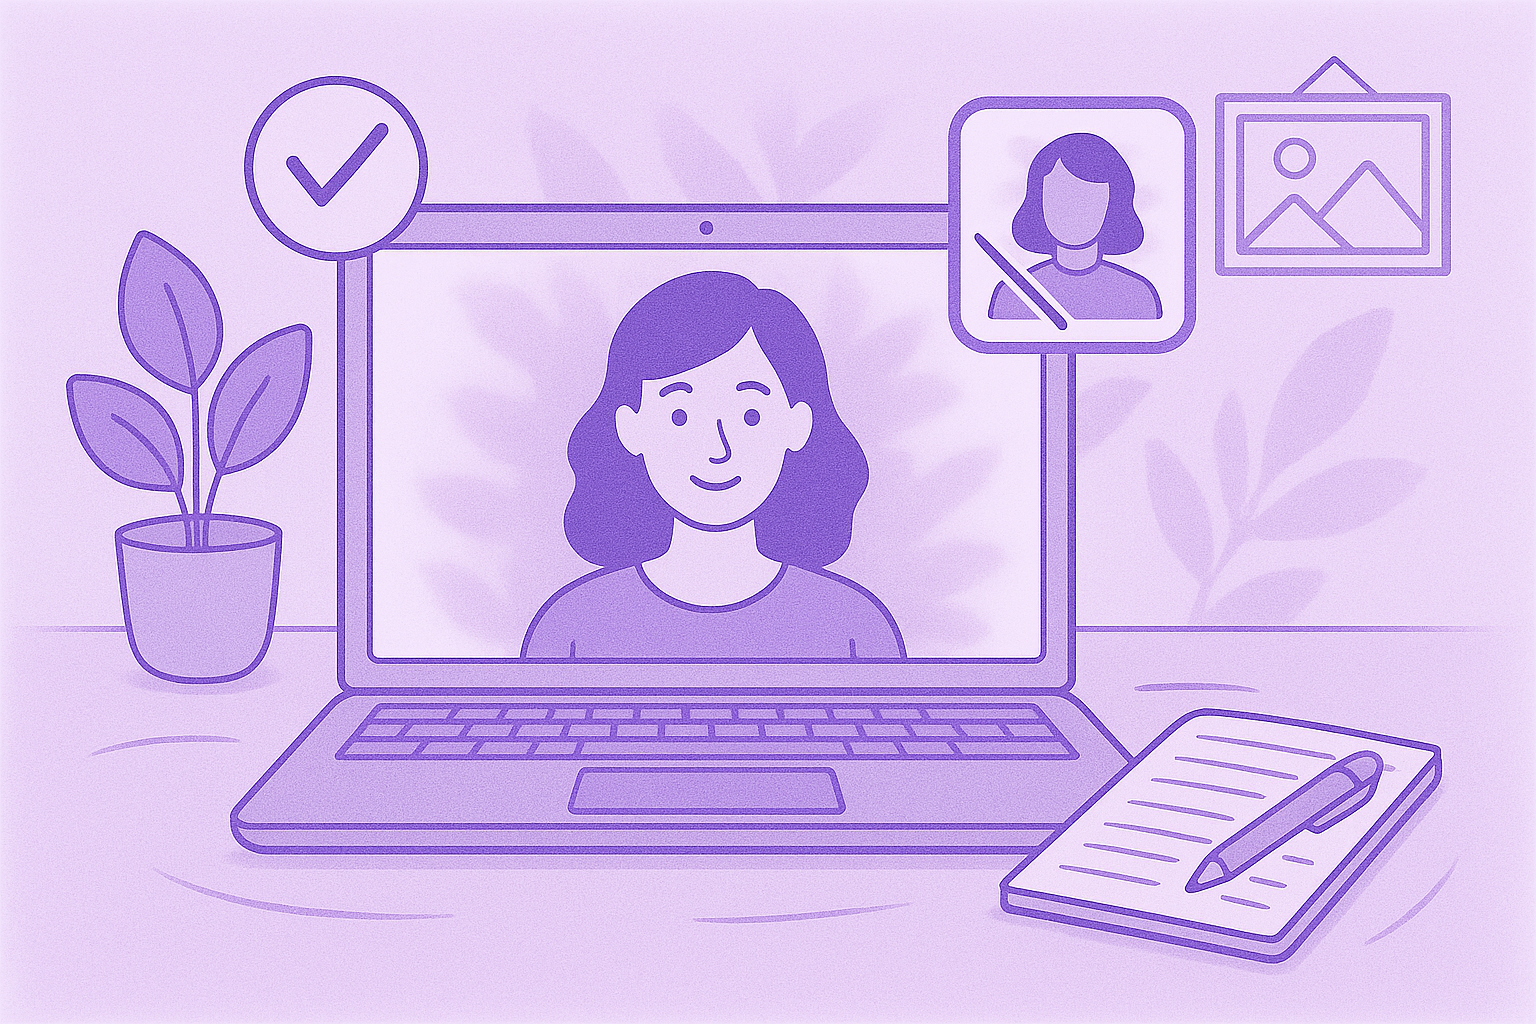
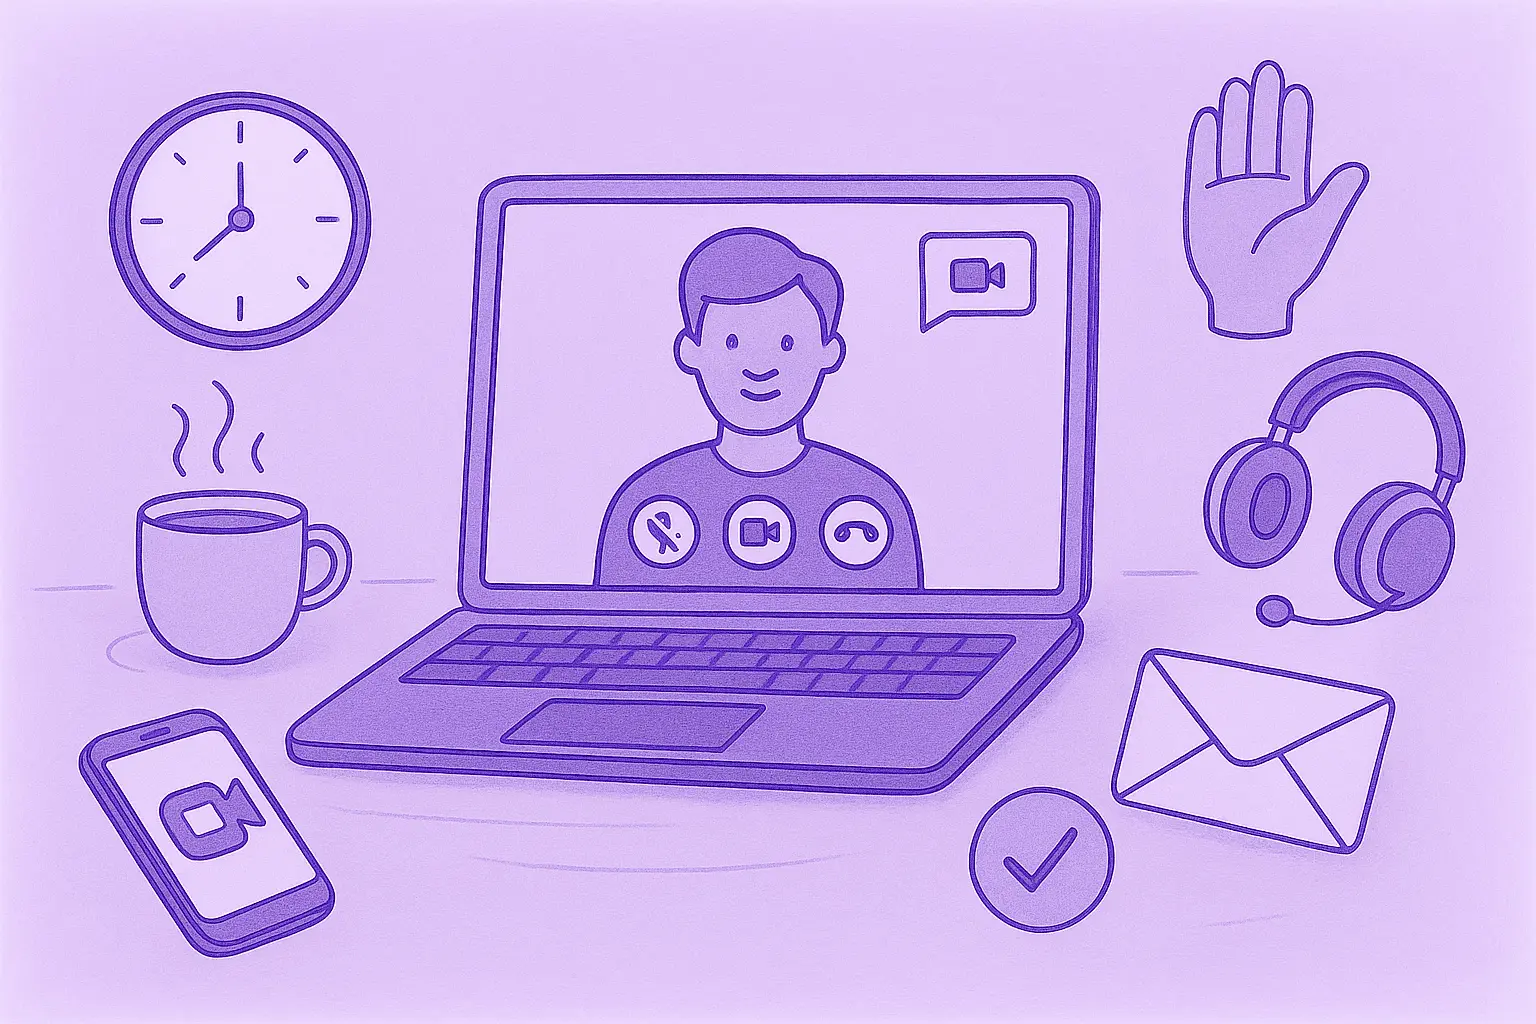
Posso fazer uma captura de tela no Teams? Suas perguntas, respondidas
Quer saber como fazer uma captura de tela no Teams? Analisamos o que funciona, o que não funciona e o que devemos observar.

✅ Free meeting recording & transcription
💬 Automated sharing of insights to other tools.
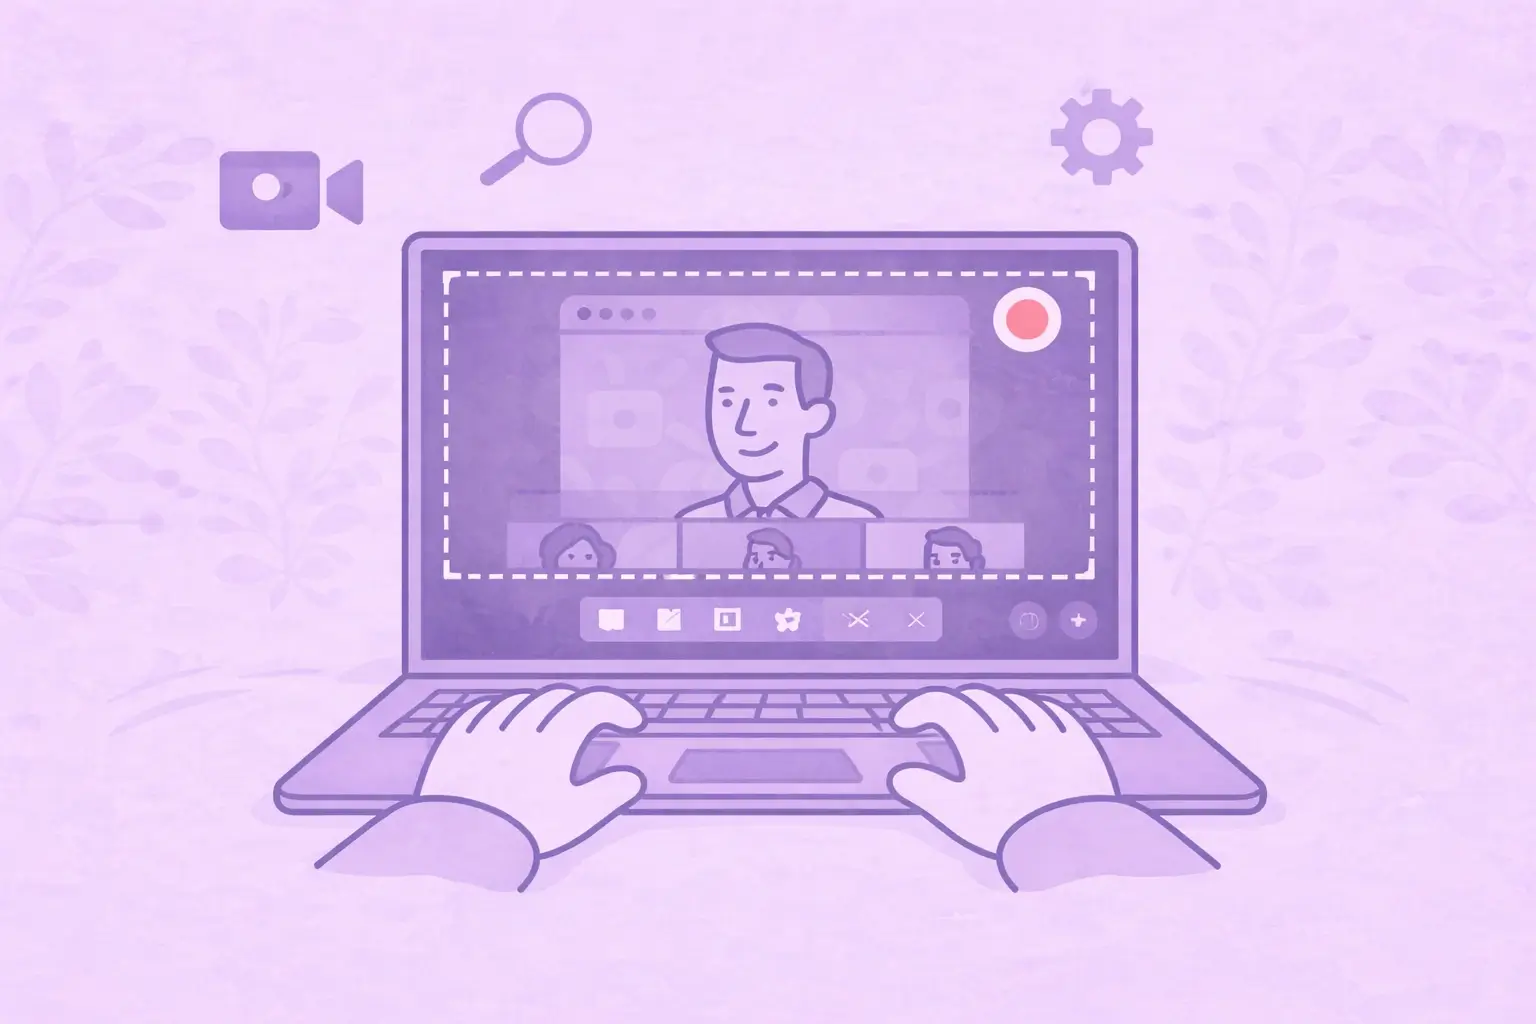
Às vezes, a maneira mais fácil de acompanhar o que está acontecendo em uma reunião do Teams é fazer uma captura de tela. Mas o “como” e o “como você deveria” podem ficar um pouco obscuros.
Neste artigo, detalharemos exatamente como fazer uma captura de tela no Microsoft Teams, dependendo do seu dispositivo, e o que você deve saber sobre privacidade e etiqueta ao fazer isso.
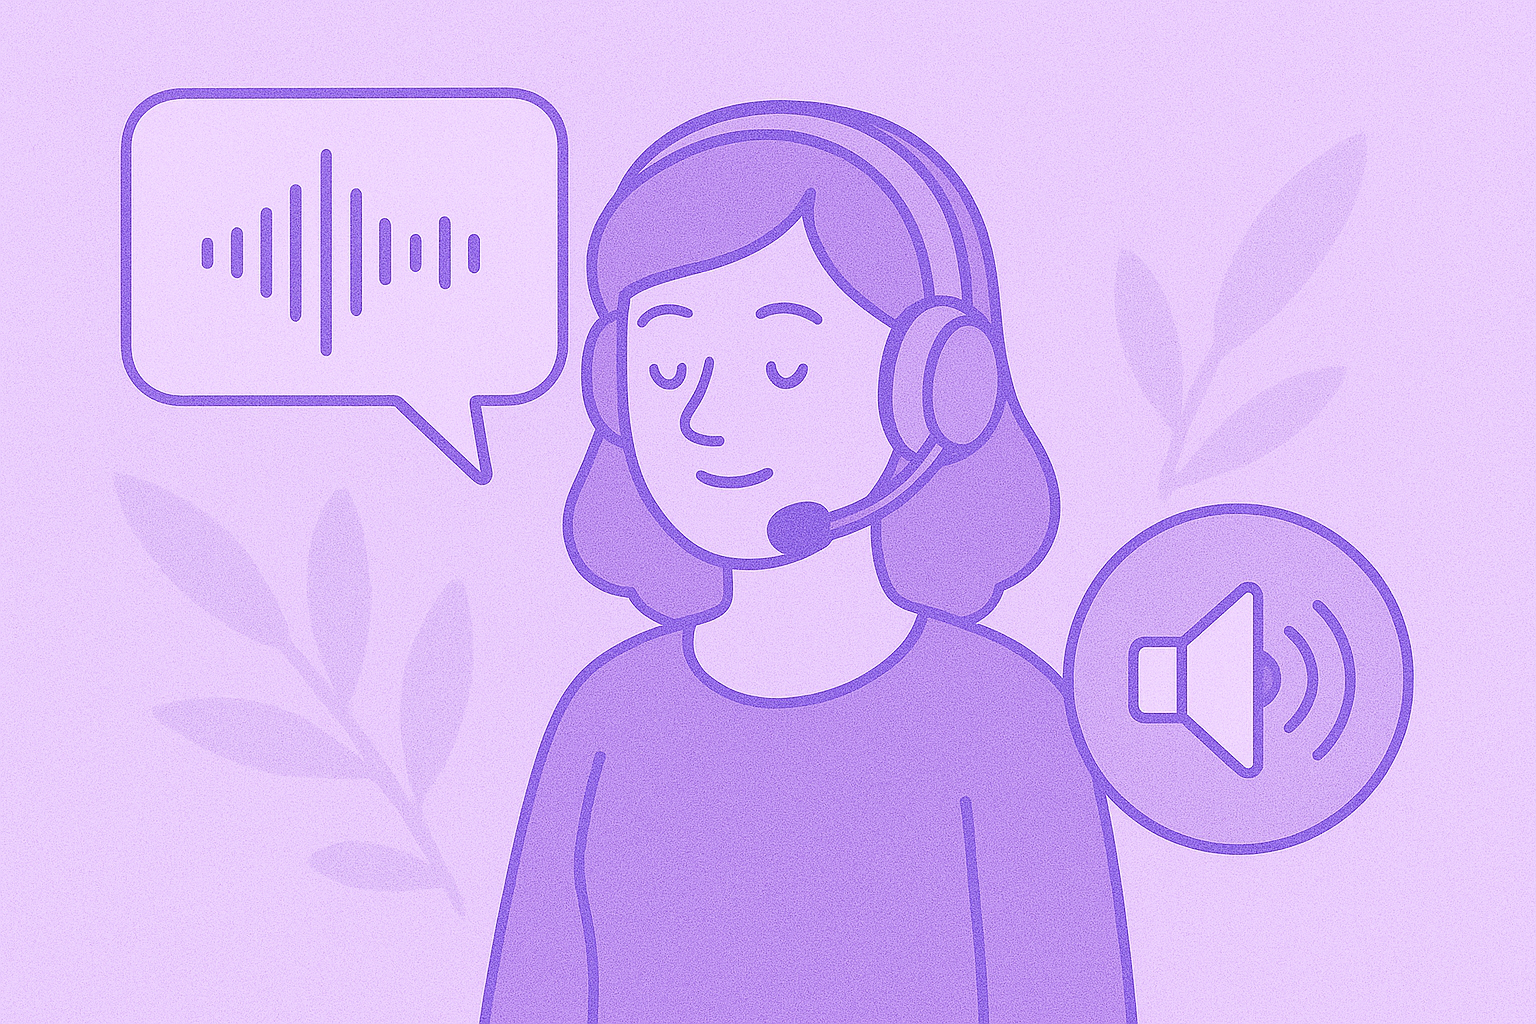
O Microsoft Teams notifica as capturas de tela?
O Microsoft Teams não notifica os usuários quando alguém faz uma captura de tela. Isso porque o Teams foi criado para colaboração no local de trabalho, então o foco está mais na produtividade e na conformidade de dados do que no rastreamento de interações pessoais.
Entendendo as notificações do usuário e a privacidade das equipes
Como a maioria das ferramentas que usamos para trabalhar, o Microsoft Teams inclui várias notificações úteis para nos manter informados: menções, respostas, novas mensagens e muito mais.
Mas quando se trata de privacidade, especialmente em relação a capturas de tela, o Teams funciona de forma um pouco diferente de aplicativos como Instagram ou Snapchat. Essas plataformas podem alertá-lo se alguém fizer uma captura de tela de uma mensagem ou foto. Equipes? Nem tanto.
No momento, o Microsoft Teams não envia alertas de captura de tela se alguém capturar seu bate-papo, arquivos ou tela compartilhada.
Dito isso, só porque não há detecção de captura de tela não significa que o Teams não esteja seguro. Na verdade, está carregado com recursos de segurança de nível corporativo como criptografia de ponta a ponta, autenticação multifator e ferramentas de prevenção de perda de dados. Essas proteções ajudam a manter as informações confidenciais seguras, mesmo se você estiver trabalhando remotamente ou usando um dispositivo pessoal.
Obviamente, ainda é inteligente estar atento ao que você compartilha. As organizações podem definir políticas sobre o compartilhamento de dados para evitar capturas de tela não autorizadas, e é sempre uma boa ideia evitar a publicação de informações confidenciais em bate-papos públicos ou compartilhados, a menos que seja necessário.
À medida que o trabalho remoto se torna mais comum, há uma ênfase maior em encontrar o equilíbrio certo entre produtividade e privacidade, o que pode levar ao desenvolvimento de novos recursos de notificação.
Como fazer capturas de tela no Microsoft Teams
A. Como fazer capturas de tela no Microsoft Teams no Windows:
- Participe da reunião do Teams ou abra o bate-papo ou a tela que você deseja capturar.
- Prensa Windows+Shift+S para abrir a Ferramenta de Recorte.
- Sua tela escurecerá um pouco. Use o mouse para selecionar a área que você deseja capturar.
- Depois de capturada, a imagem é copiada para sua prancheta.
- Você pode colá-lo em um documento ou editor de imagens usando Ctrl+Ve, em seguida, salve-o em seu dispositivo.
B. Como fazer capturas de tela no Microsoft Teams no Mac:
- Abra o Teams e vá até a tela ou o conteúdo que você deseja capturar.
- Prensa Comando + Shift + 4 para abrir a ferramenta de captura de tela em cruz.
- Clique e arraste para selecionar a parte da tela que você deseja capturar.
- A captura de tela será salva automaticamente em sua área de trabalho. Você também pode colá-lo em outro aplicativo usando Comando + V se necessário.
C. Como fazer capturas de tela no Microsoft Teams no celular (iOS e Android):
- Abra o aplicativo Teams e participe da sessão da reunião ou acesse o conteúdo que você deseja capturar.
- Use o atalho de captura de tela integrado do seu telefone:
- iOS (modelos de Face ID): Pressione o botão Botão lateral + Aumentar volume ao mesmo tempo.
- iOS (modelos de botão Home): Pressione o botão Botão Home + Botão lateral juntos.
- Android: Imprensa Potência + Diminuir volume ao mesmo tempo (isso pode variar um pouco de acordo com o dispositivo).
- A captura de tela será salva no seu Fotos ou Galeria aplicativo. Você pode então enviar a captura de tela em um bate-papo do Teams ou salvá-la para mais tarde.
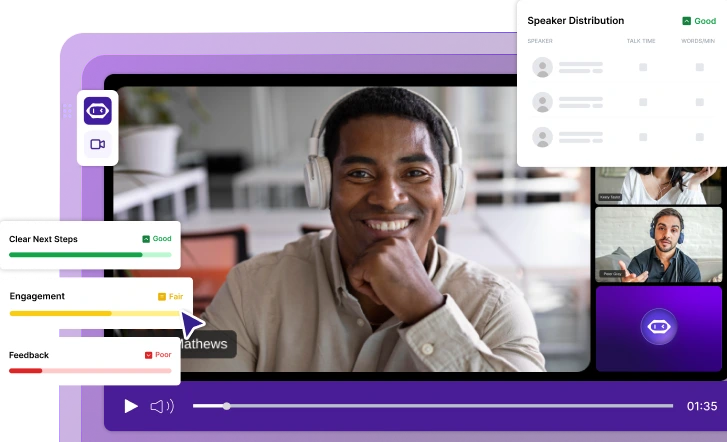
MeetGeek: uma maneira melhor de capturar suas reuniões do MS Teams
Capturar o Microsoft Teams manualmente pode ser um verdadeiro aborrecimento e, às vezes, é mais fácil gravar toda a reunião e revisitar o que importa mais tarde. É aí que MeetGeek entra para facilitar sua vida.
O MeetGeek é uma plataforma baseada em IA que automatiza seu processo de reunião. Ele se junta automaticamente às reuniões do Teams (mesmo aquelas que você não pode comparecer), as grava, transcreve a conversa e até envia resumos e e-mails de acompanhamento para todos, sem que você precise fazer nada. Você o configura uma vez sincronizando seu calendário, e o MeetGeek cuidará do resto.

Com o MeetGeek, cada reunião vem com uma gravação de vídeo, uma transcrição completa e organizada Notas de reunião de IA que destacam os pontos-chave e itens de ação. Você não precisará se preocupar em lembrar o que foi discutido e sempre terá tudo organizado em um só lugar.
E isso não para por aí. O MeetGeek escolhe os momentos mais importantes e os transforma em pequenos destaques de vídeo com transcrições. Você pode compartilhá-los como links ou até mesmo incorporá-los em uma página, então é muito fácil manter todos informados sem enviar a gravação inteira. Ele também divide sua reunião em tópicos importantes, como itens de ação, decisões ou preocupações, para que você possa encontrar o que está procurando em segundos.
Além disso, o MeetGeek oferece um aplicativo móvel que permite acessar todas as gravações e notas de reuniões em qualquer lugar. Você pode até mesmo gravar e transcrever reuniões presenciais diretamente do seu telefone!
Se você deseja simplificar a forma como gerencia as gravações do Teams e nunca mais perder nada importante, o MeetGeek é um divisor de águas. Isso economiza tempo, mantém tudo em ordem e mantém sua equipe alinhada, não importa o que aconteça.
Melhores práticas para fazer capturas de tela em reuniões
Capturas de tela (e até mesmo gravações de tela) podem ser uma ótima maneira de capturar as principais conclusões, o conteúdo compartilhado ou as decisões tomadas durante uma reunião, mas existem algumas práticas recomendadas que valem a pena seguir para que você não ultrapasse limites nem sobrecarregue suas pastas.
Se você estiver usando o Teams para uso pessoal ou comercial, essas dicas ajudarão você a fazer a coisa certa.
A. Respeite a privacidade de todos
Antes de fazer uma captura de tela ou clicar em gravar, pense no que está na tela e em quem ela envolve. Alguns participantes podem estar compartilhando informações confidenciais ou dados pessoais, então é melhor evitar capturar essas informações, a menos que você tenha permissão.
Lembre-se de que o Microsoft Teams não tem um recurso integrado para notificar outras pessoas se você estiver gravando ou tirando uma captura de tela, então a responsabilidade de ser atencioso recai sobre você.
B. Notifique os usuários de que você está capturando a tela
Um aviso rápido ajuda muito. Informar aos participantes que você está fazendo uma captura de tela (ou gravação de tela) mostra respeito e evita confusão. É especialmente importante quando você está lidando com conteúdo compartilhado em um ambiente de grupo.
DICA PROFISSIONAL: Ao contrário de outros softwares de gravação, MeetGeek notifica automaticamente outras pessoas quando o conteúdo está sendo capturado para uso futuro. Isso permite que você pule uma etapa extra sem se preocupar com gravando problemas de privacidade e concentre-se na reunião em andamento.

C. Salvar somente conteúdo relevante
É fácil ficar satisfeito com os cliques, mas fazer uma captura de tela de cada slide ou mensagem de bate-papo só cria ruído. Concentre-se em capturar o conteúdo que realmente importa, como decisões finais, elementos visuais importantes ou pontos de ação. Pule o preenchimento ou qualquer coisa que você não referenciará posteriormente.
D. Edite suas imagens para maior clareza
Não se limite a salvar e esquecer. Reserve um segundo para limpar suas capturas de tela: elimine distrações, desfoque informações pessoais ou destaque itens de ação. Faz uma grande diferença quando você volta para analisá-las ou compartilhá-las com sua equipe.
E. Organize seus arquivos de uma forma que faça sentido
Depois da reunião, você não quer perder tempo vasculhando sua pasta Downloads procurando por aquela captura de tela. Crie pastas com base em tópicos, clientes ou datas. Use nomes de arquivo claros.
DICA PROFISSIONAL: Repositório do MeetGeek armazena automaticamente todas as suas gravações de reuniões, notas e outros conteúdos em um só lugar. A melhor parte? Tudo já está classificado com base nas suas categorias preferidas, então você não precisa fazer isso manualmente. Ou você pode usar o recurso de pesquisa avançada para encontrar rapidamente os detalhes exatos da reunião que você precisa em todas as suas conversas.
Perguntas frequentes
1. Alguém no Microsoft Teams pode ver sua tela?
Sim, se você estiver compartilhando sua tela durante uma reunião do Microsoft Teams, os participantes poderão ver tudo o que você escolher compartilhar. Se você estiver mostrando uma janela específica ou toda a sua área de trabalho, qualquer pessoa na reunião pode ver o que você está exibindo.
No entanto, se você não estiver compartilhando sua tela, ninguém poderá vê-la, então não se preocupe!
2. Como você evita capturas de tela em reuniões de equipes?
Infelizmente, o Microsoft Teams não tem um recurso integrado para detectar capturas de tela ou gravações de tela, então não há uma maneira direta de impedir que alguém capture o que está na tela.
A melhor maneira de evitar capturas de tela é manter o conteúdo confidencial fora da tela ao compartilhar ou pedir aos participantes que respeitem a privacidade ao não fazer capturas de tela.
3. Como protejo minha captura de tela no Microsoft Teams?
Embora você não possa impedir que alguém faça uma captura de tela diretamente, existem maneiras de proteger o conteúdo que você está compartilhando. Primeiro, evite exibir informações pessoais ou confidenciais confidenciais na tela. Se você precisar compartilhar algo privado, considere usar planos de fundo desfocados ou limitar o que você compartilha apenas ao conteúdo necessário.
Além disso, pense em usar as configurações de segurança do Teams, como autenticação multifator (MFA), para impedir o acesso não autorizado às suas reuniões e conteúdo e adicionar proteção extra.
Salve suas reuniões de forma mais eficaz com o MeetGeek!
Embora o Microsoft Teams não notifique os usuários quando as capturas de tela são feitas, é importante ficar atento ao conteúdo que você está compartilhando, especialmente em configurações colaborativas. Sempre respeite a privacidade e seja cuidadoso ao capturar momentos das reuniões.
Se gerenciar gravações e acompanhamentos de reuniões parecer um pouco demais, MeetGeek pode tirar esse fardo de seus ombros. Com gravação automática, transcrições com inteligência artificial e resumos fáceis de compartilhar, ele simplifica tudo para que você não precise se preocupar em perder nada. Experimente o MeetGeek hoje e veja como ele pode tornar a experiência do seu Teams muito mais fácil!
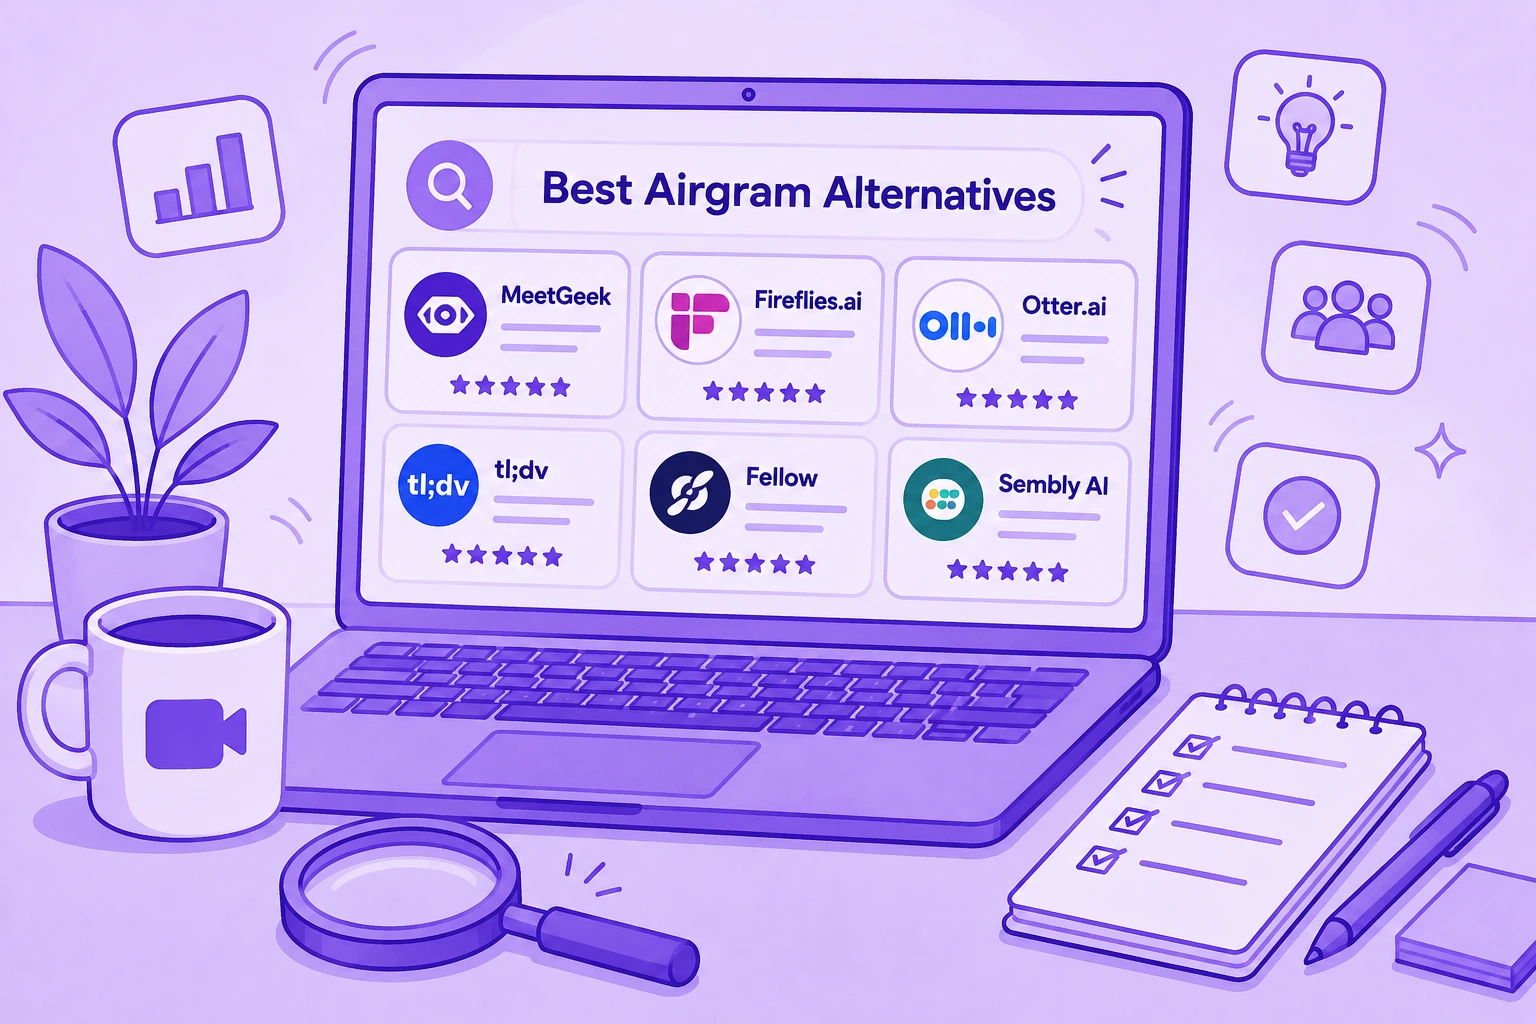
The 6 Best Airgram Alternatives in 2026
Compare the best Airgram alternatives for 2026, including MeetGeek, Fireflies, Otter, tl;dv, Fellow, and Sembly AI.
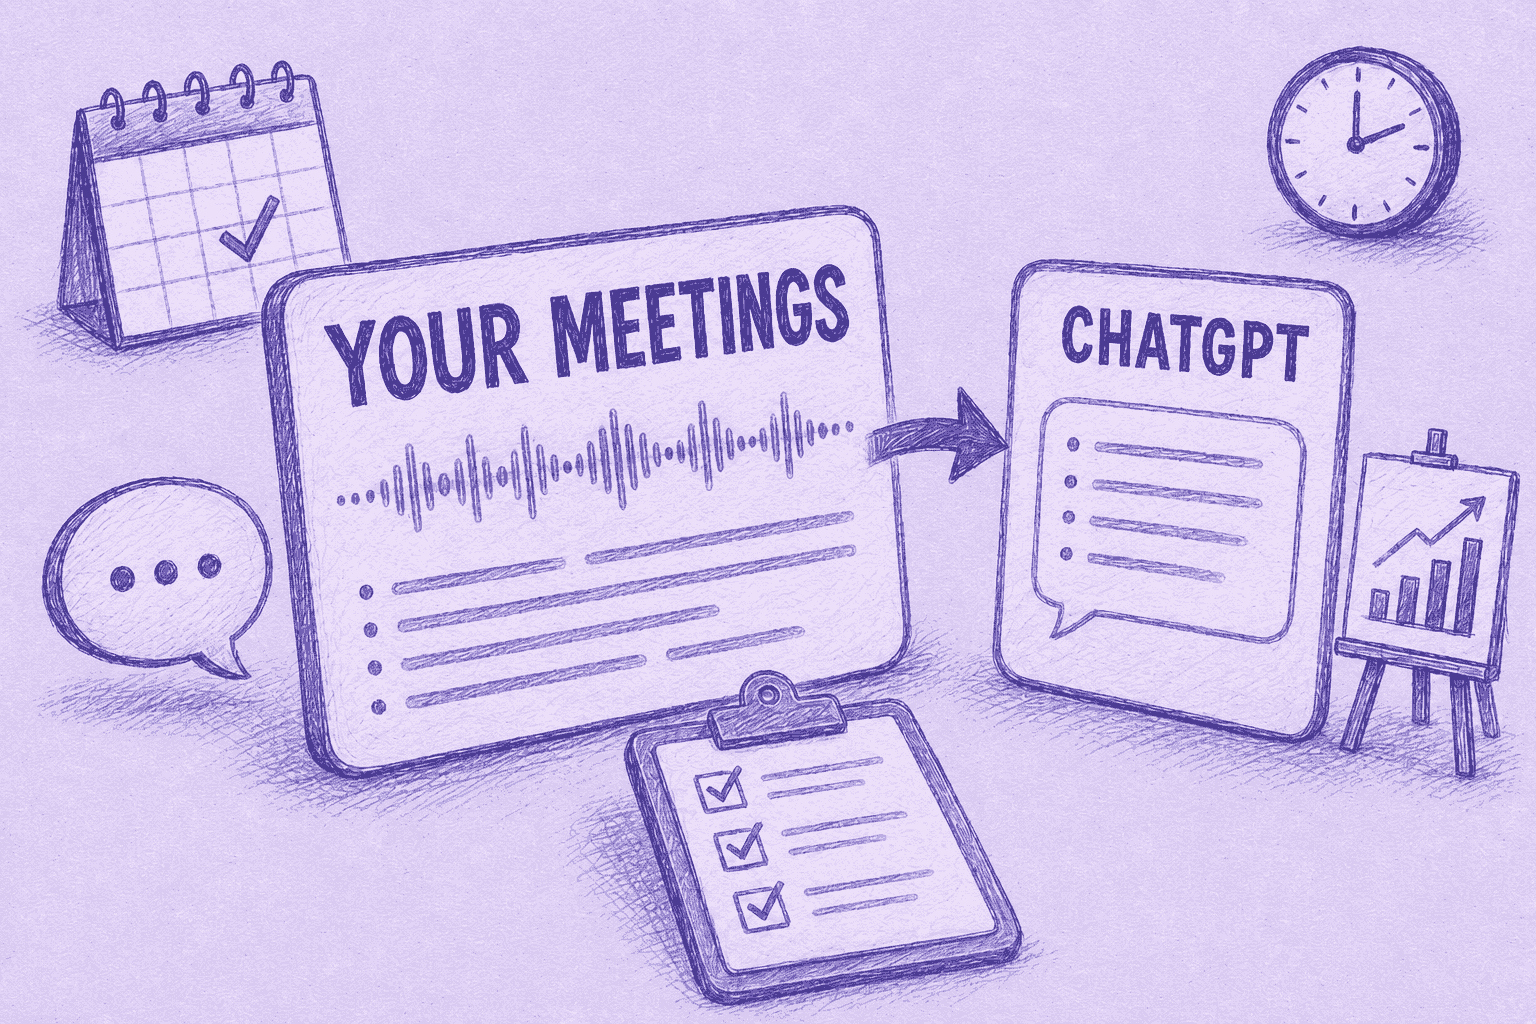
Ata de Reunião no ChatGPT: Benefícios, Usos e Configuração
Conecte as suas notas de reunião ao ChatGPT e transforme chamadas passadas em atas, respostas e automações instantâneas, em linguagem simples.
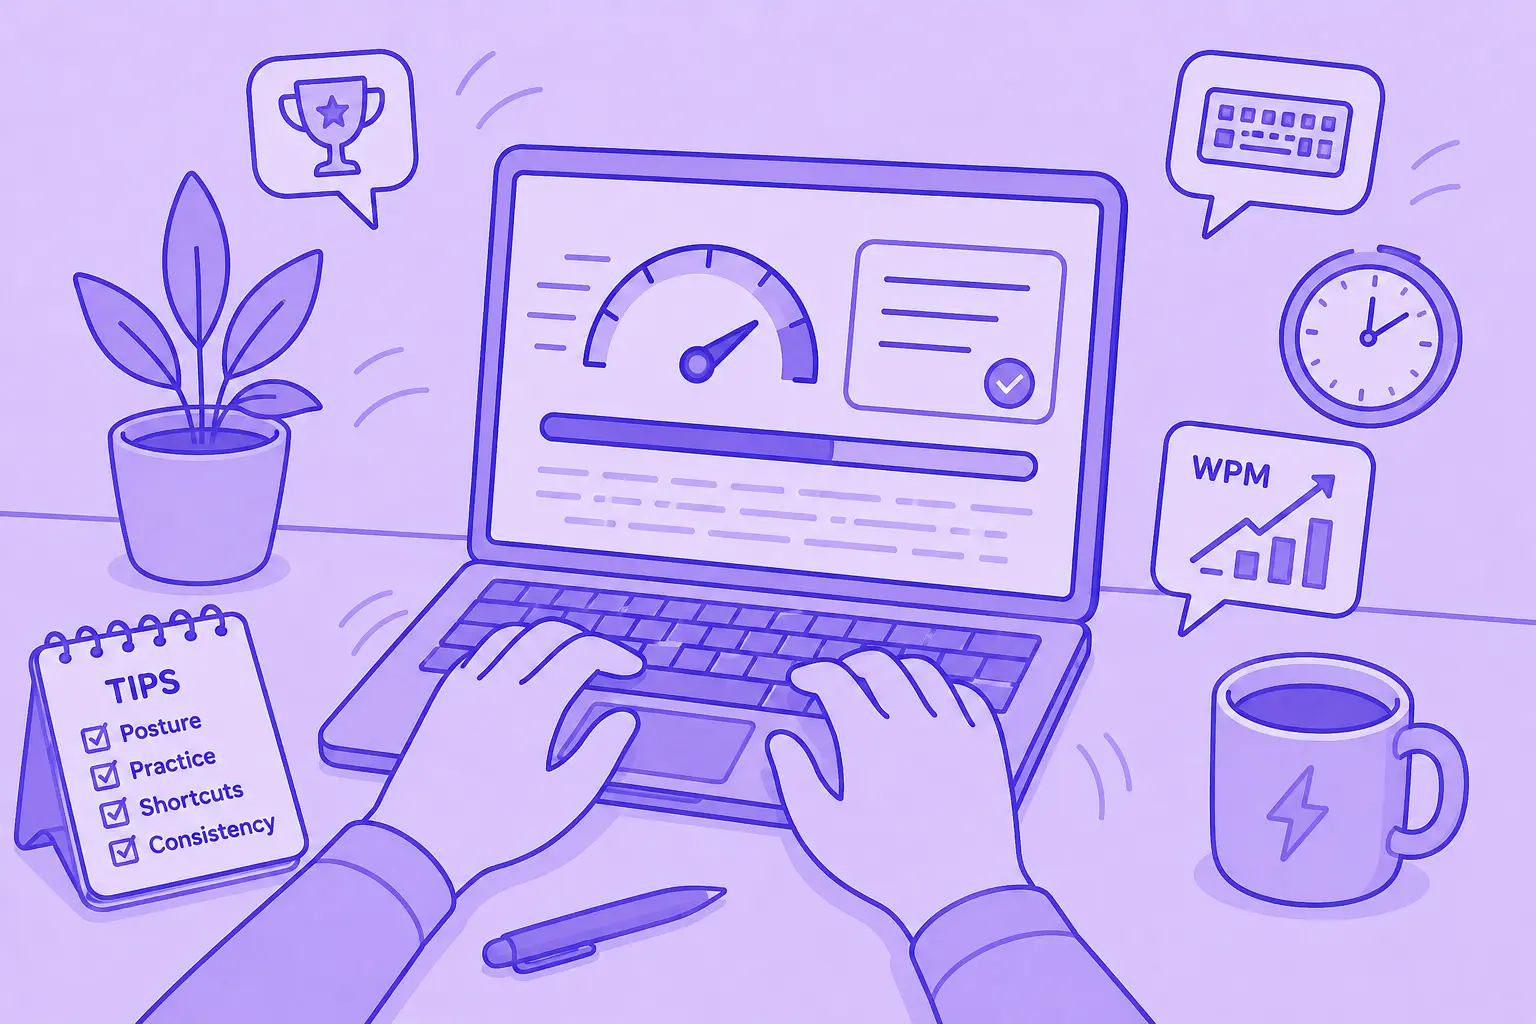
Como Digitar Mais Rápido: 15 Truques Que Funcionam
Quer digitar mais rápido e cometer menos erros? Descubra truques práticos de digitação, atalhos de teclado e ferramentas que o ajudam a trabalhar de forma mais inteligente.
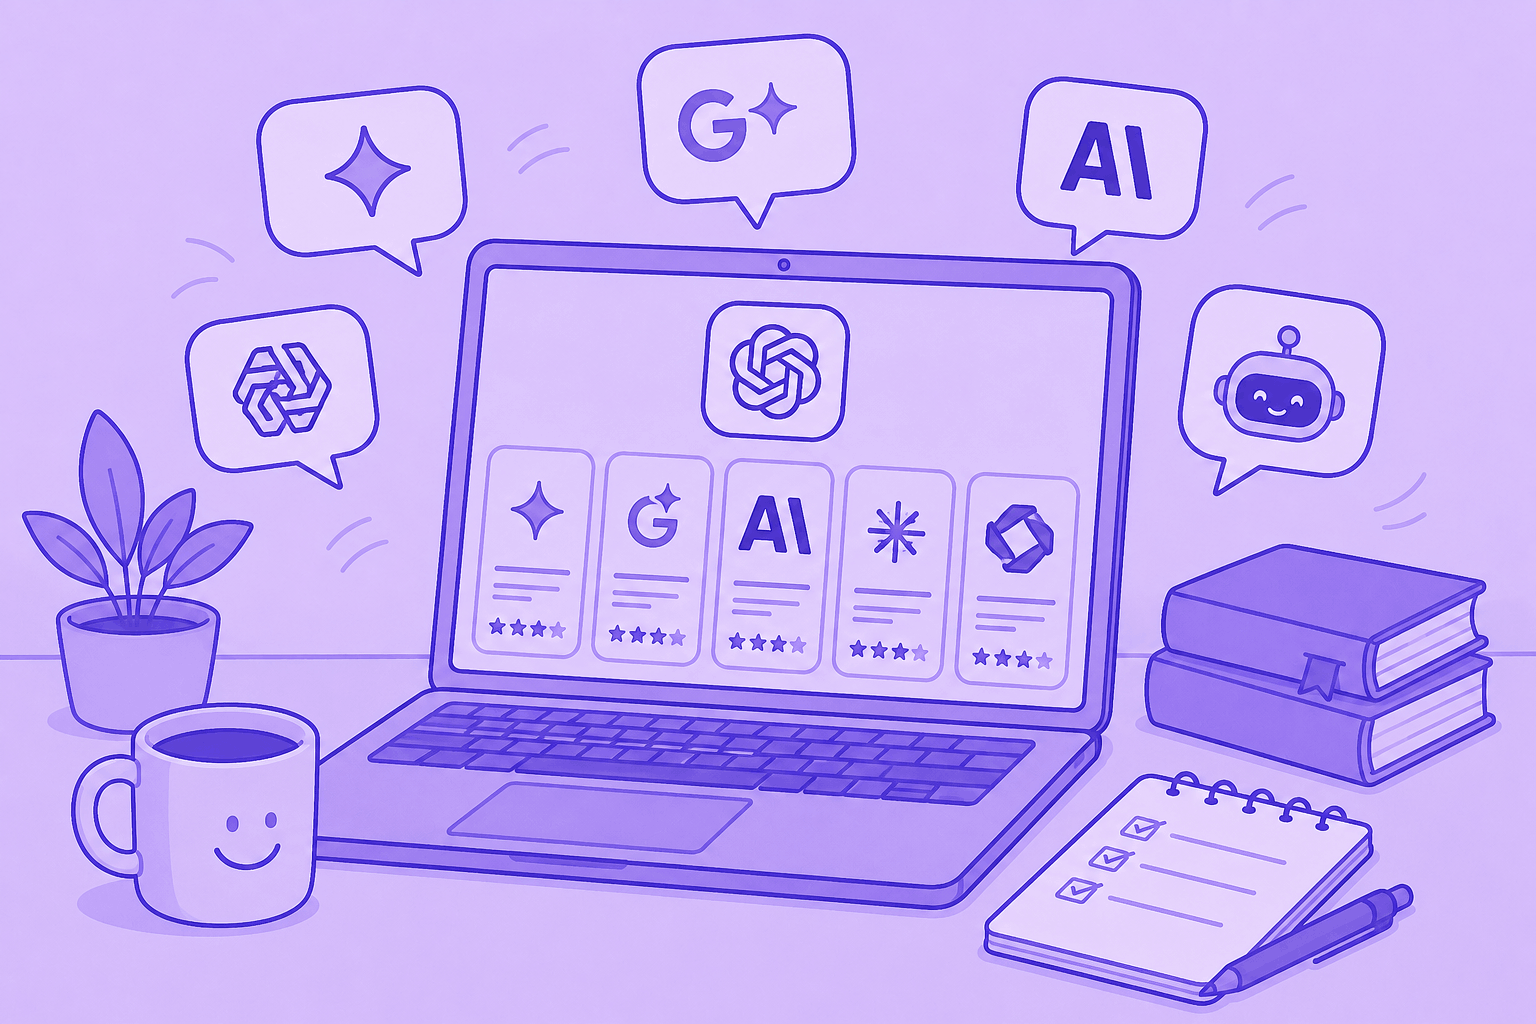
As 10 Melhores Alternativas ao ChatGPT Para o Trabalho em 2026
Procurando uma alternativa ao ChatGPT? Compare as principais ferramentas de IA para pesquisa, reuniões, escrita, codificação, busca e produtividade em 2026.
9 Melhores Alternativas ao Calendly em 2026 (Testadas + Comparadas)
Cal.com, Acuity, Chili Piper e mais — as melhores alternativas ao Calendly em 2026, testadas e classificadas por caso de uso.
8 Melhores Extensões do Google Meet em 2026 (Testadas para Produtividade)
De notas de IA a cancelamento de ruído, aqui estão 8 extensões do Chrome que corrigem o que o Google Meet não faz nativamente.

Ferramentas de Produtividade de IA Que Realmente Usamos em Vendas e Marketing
Uma visão prática das ferramentas de produtividade de IA que usamos diariamente para reuniões, conteúdo, automação, fluxos de trabalho de vendas e trabalho em equipe.

Gemini vs. Google Assistant: Guia Completo de Comparação
Confuso sobre Gemini vs Google Assistant? Descubra as principais diferenças, o que o Google está mudando e qual assistente se adapta melhor a você.
Gerenciando Equipes Híbridas em 2026: Desafios Comuns e Como Superá-los
Lacunas na comunicação, atrito de fuso horário, deriva cultural — os quatro desafios que todo gestor híbrido enfrenta, e como resolvê-los.

MeetGeek vs tl;dv: Qual ferramenta de reunião de IA é ideal para sua equipe em 2026?
Características, preços, precisão e integrações em uma comparação lado a lado com um veredicto claro para as equipes de vendas, CS e operações.
Como Converter MP4 em Transcrição (Rápido & Preciso)
Aprenda a converter arquivos MP4 em transcrições, legendas e legendas precisas com ferramentas de IA para reuniões, webinars e entrevistas.
Serviço de Transcrição do Google em 2026: Análise Honesta e Melhor Alternativa
Google Meet, Cloud Speech-to-Text, Docs, Recorder — o que cada um faz, onde cada um falha e a melhor alternativa.

Coaching de Vendas com IA: Como as Equipes de Vendas Modernas Usam a IA para Fechar Mais Negócios
How AI sales coaching analyzes every call (not just the 3% a manager samples) and surfaces coachable moments by rep, stage, and objection type.
O ChatGPT consegue transcrever áudio? O que ele pode e o que não pode fazer
O ChatGPT pode transcrever áudio? Descubra como funciona, suas limitações e quando usar o MeetGeek para obter melhores resultados.
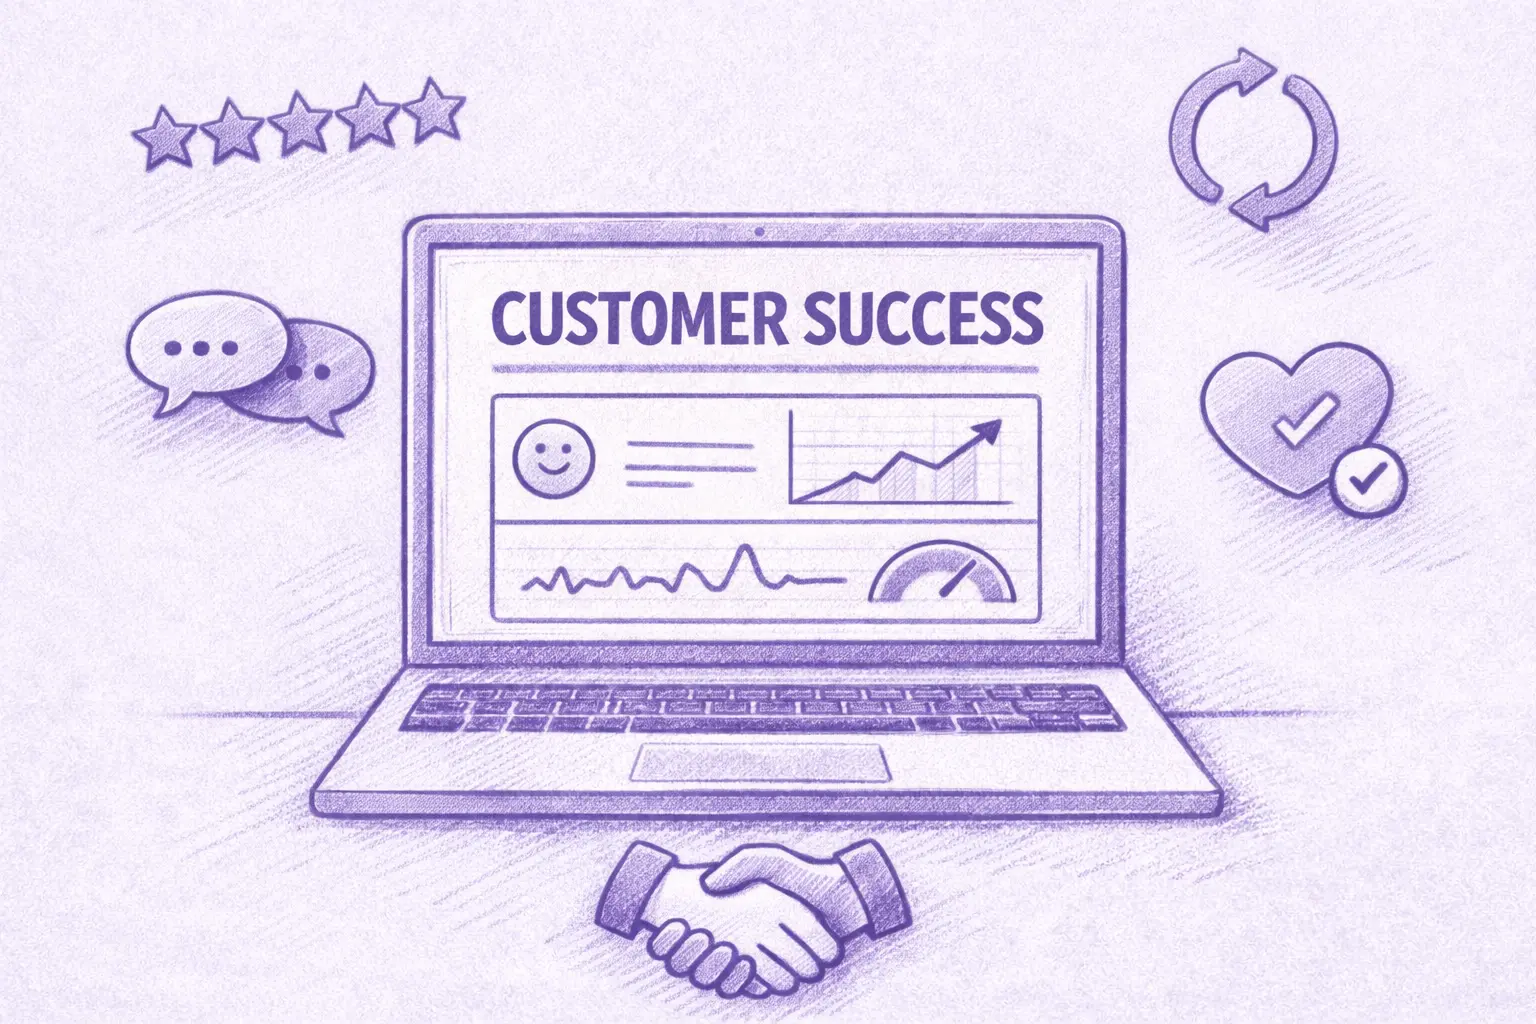
IA para o sucesso do cliente: O manual de 2026
Onde a IA se conecta ao dia do CSM (renovações, riscos, referências, avaliações), além de um modelo de maturidade e uma lista de verificação de 10 itens para escolher ferramentas.
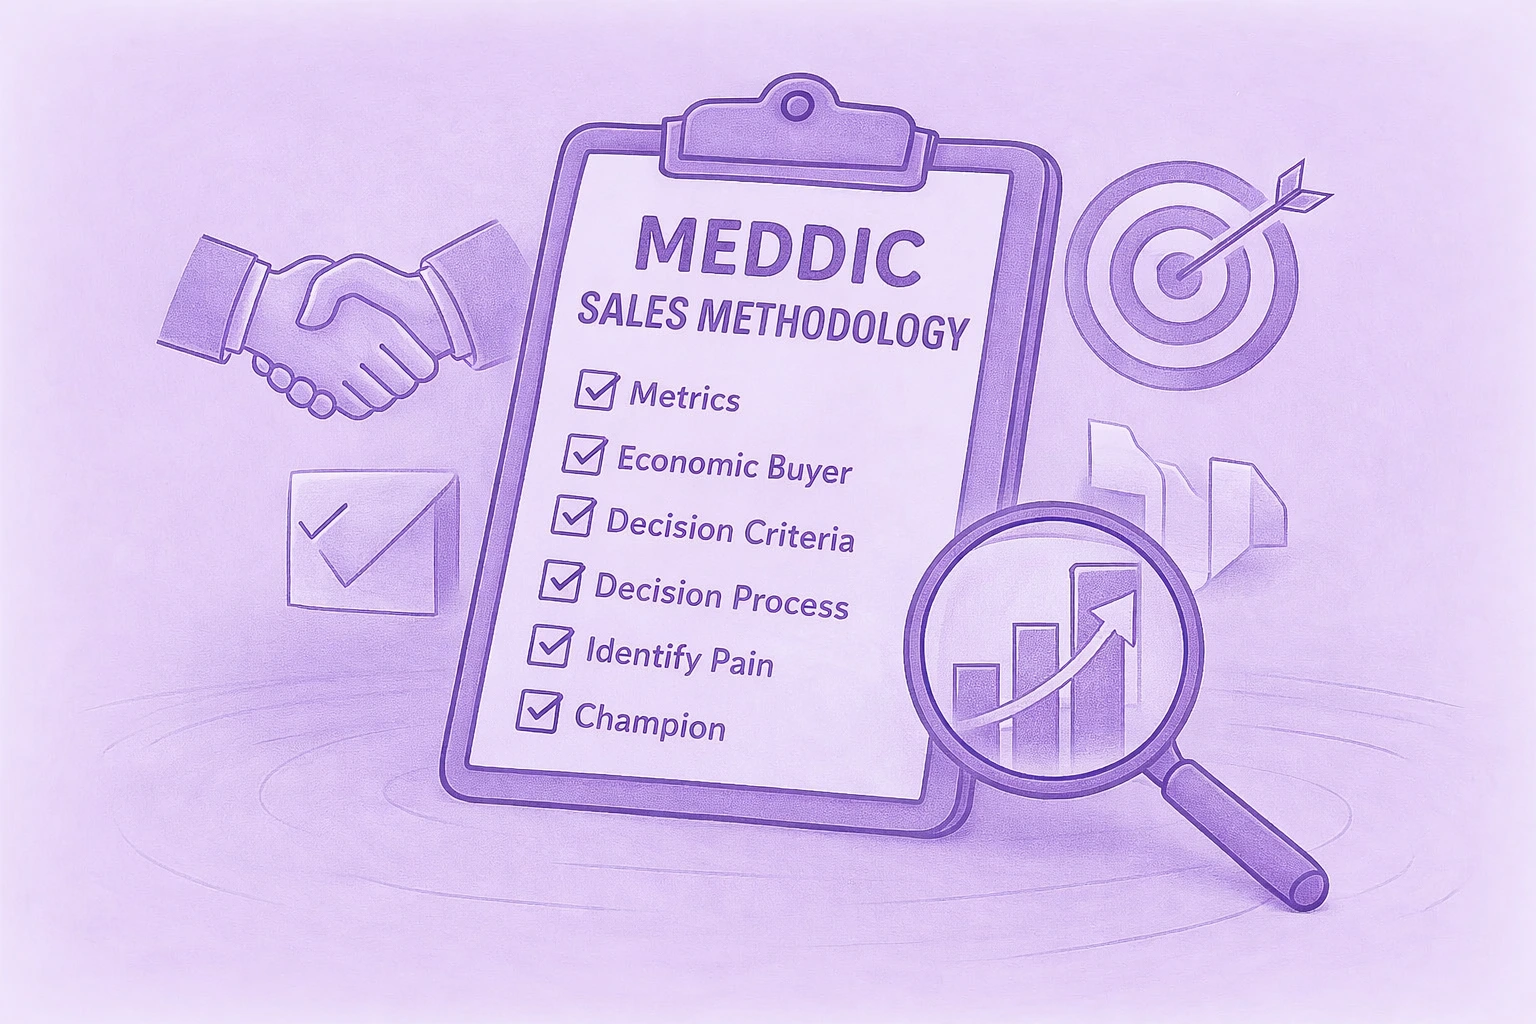
Um guia completo da metodologia de vendas do MEDDIC
Descubra as vendas da MEDDIC, como elas ajudam a qualificar leads, entender os processos de decisão e melhorar as taxas de vitória em ciclos complexos de vendas B2B.
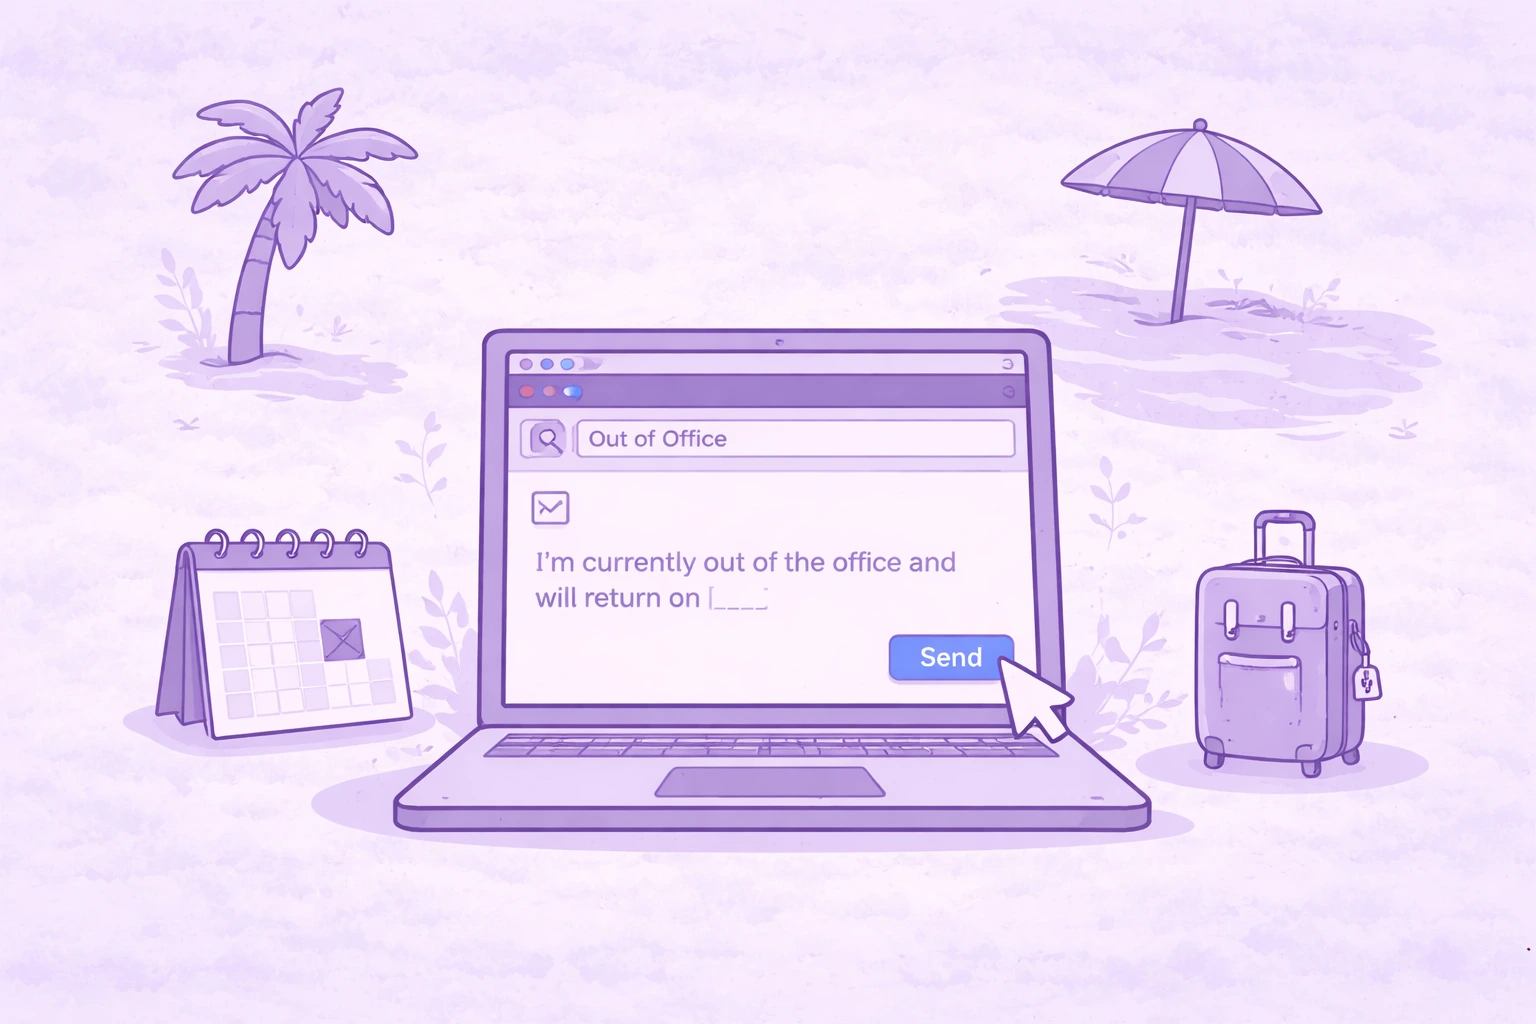
Como escrever uma mensagem de ausência temporária
Aprenda a escrever uma mensagem clara de ausência temporária, o que incluir e a usar exemplos prontos para copiar em qualquer situação.
.webp)
Como cancelar sua assinatura do Zoom em 2026
Precisa cancelar sua assinatura do Zoom? Este guia explica exatamente como fazer isso no site da Zoom, na Apple App Store ou no Google Play, o que acontece após o cancelamento e como evitar cobranças extras.
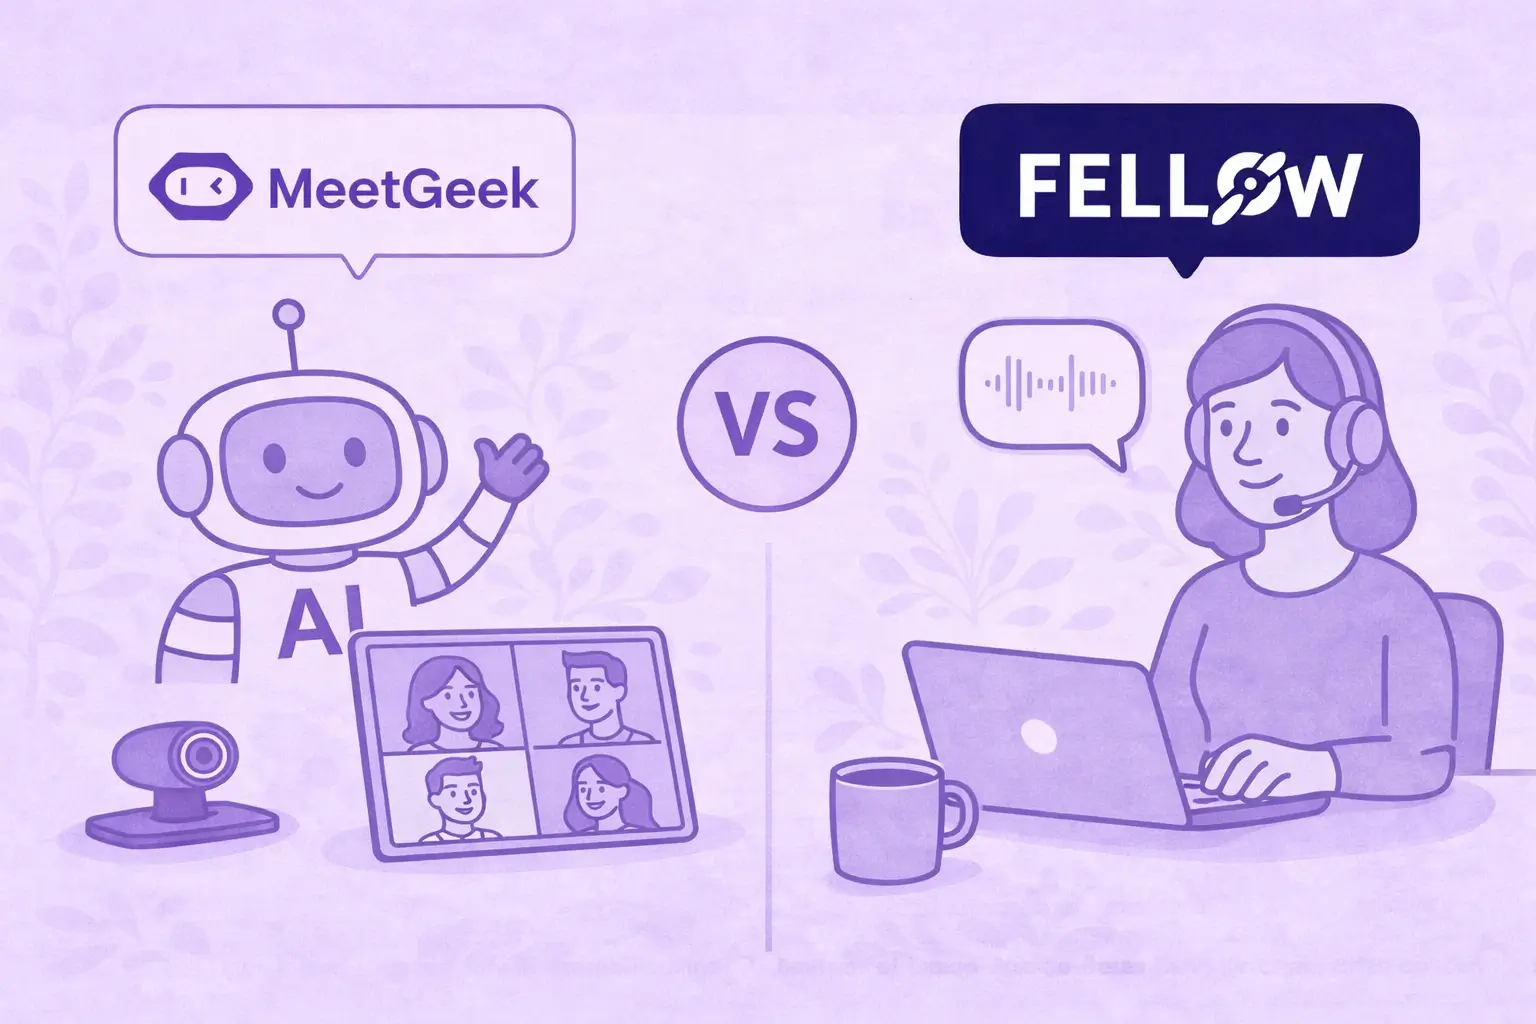
MeetGeek vs Fellow: Comparação de notas de reuniões, agendas e automação
Comparando MeetGeek com Fellow? Veja como suas notas de reuniões, agendas, gravações e recursos de automação de IA diferem para encontrar a melhor opção para sua equipe.
Como gravar tela no Mac (com áudio, som do sistema e dicas profissionais)
Aprenda a gravar a tela no Mac usando ferramentas integradas, capturar áudio corretamente e ver quando o MeetGeek é a opção mais inteligente.
MeetGeek vs Krisp: Qual assistente de reunião de IA é ideal para sua equipe?
Comparação entre MeetGeek e Krisp: notas de IA, cancelamento de ruído, preços, integrações e recursos de gravação explicados com clareza.
Dicas de videoconferência para realizar reuniões virtuais bem-sucedidas
Aprenda dicas práticas de videoconferência que melhoram a qualidade, o engajamento e o acompanhamento do áudio e ajudam as equipes a se manterem alinhadas após as reuniões virtuais.
Webex vs Zoom: Qual plataforma de videoconferência se adapta melhor às suas reuniões?
Uma comparação clara entre Webex e Zoom, desde recursos e preços até segurança e integrações.
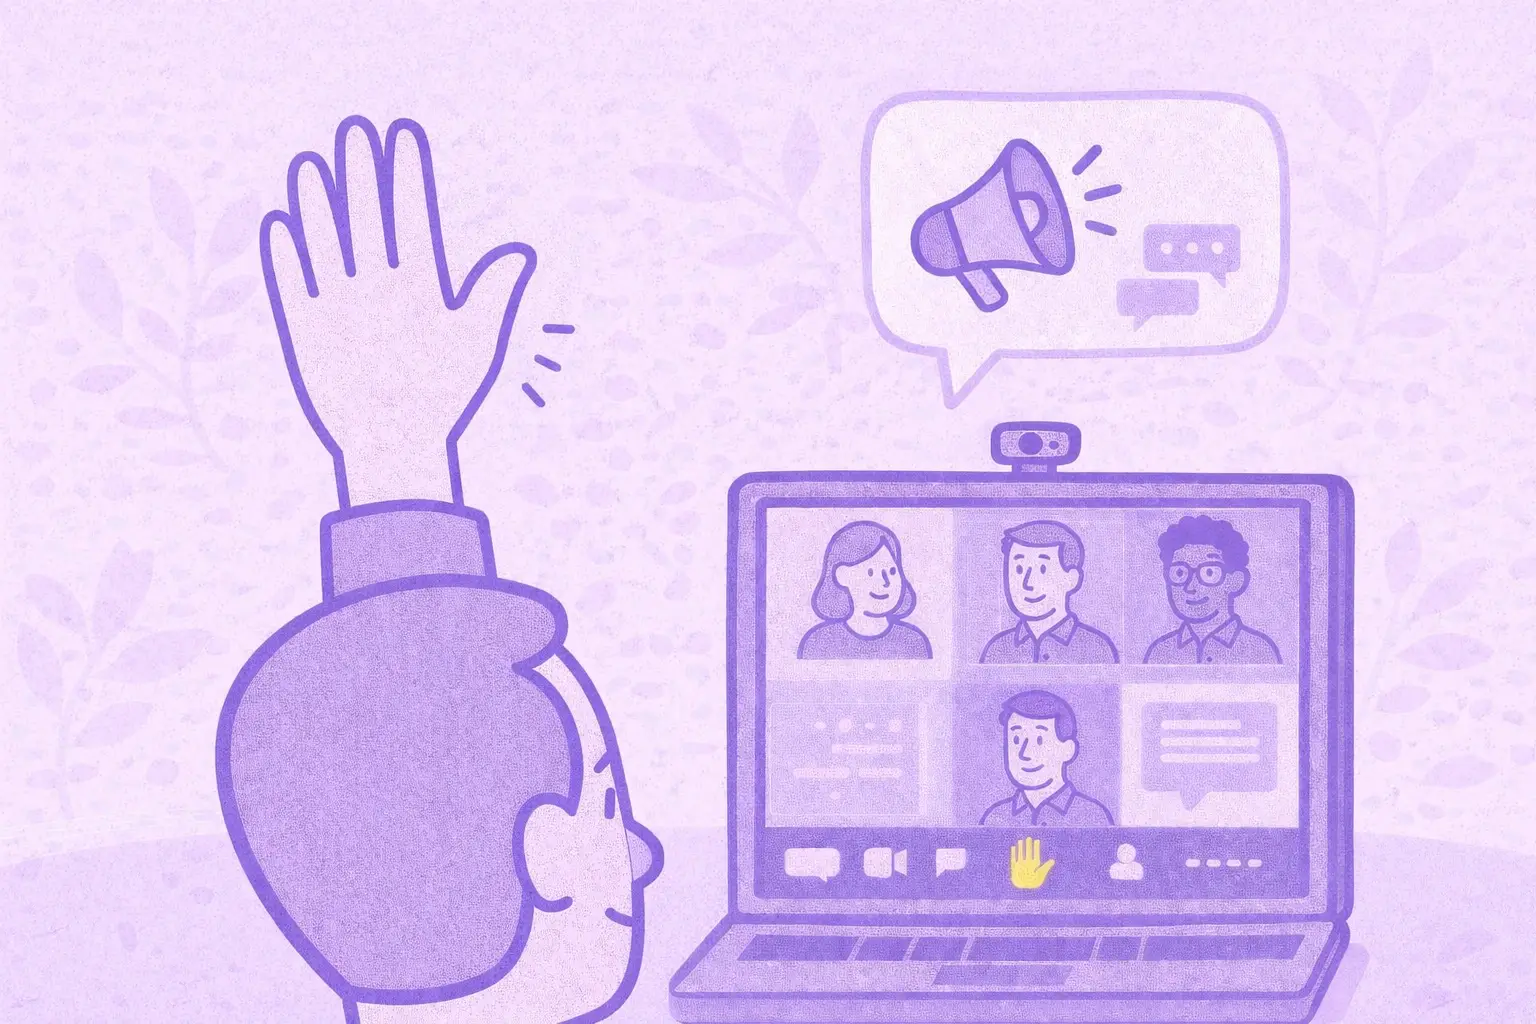
Como levantar a mão no Zoom e realmente ser ouvido
Saiba como levantar a mão no Zoom em qualquer dispositivo, evitar interrupções e manter as reuniões organizadas do início ao fim.
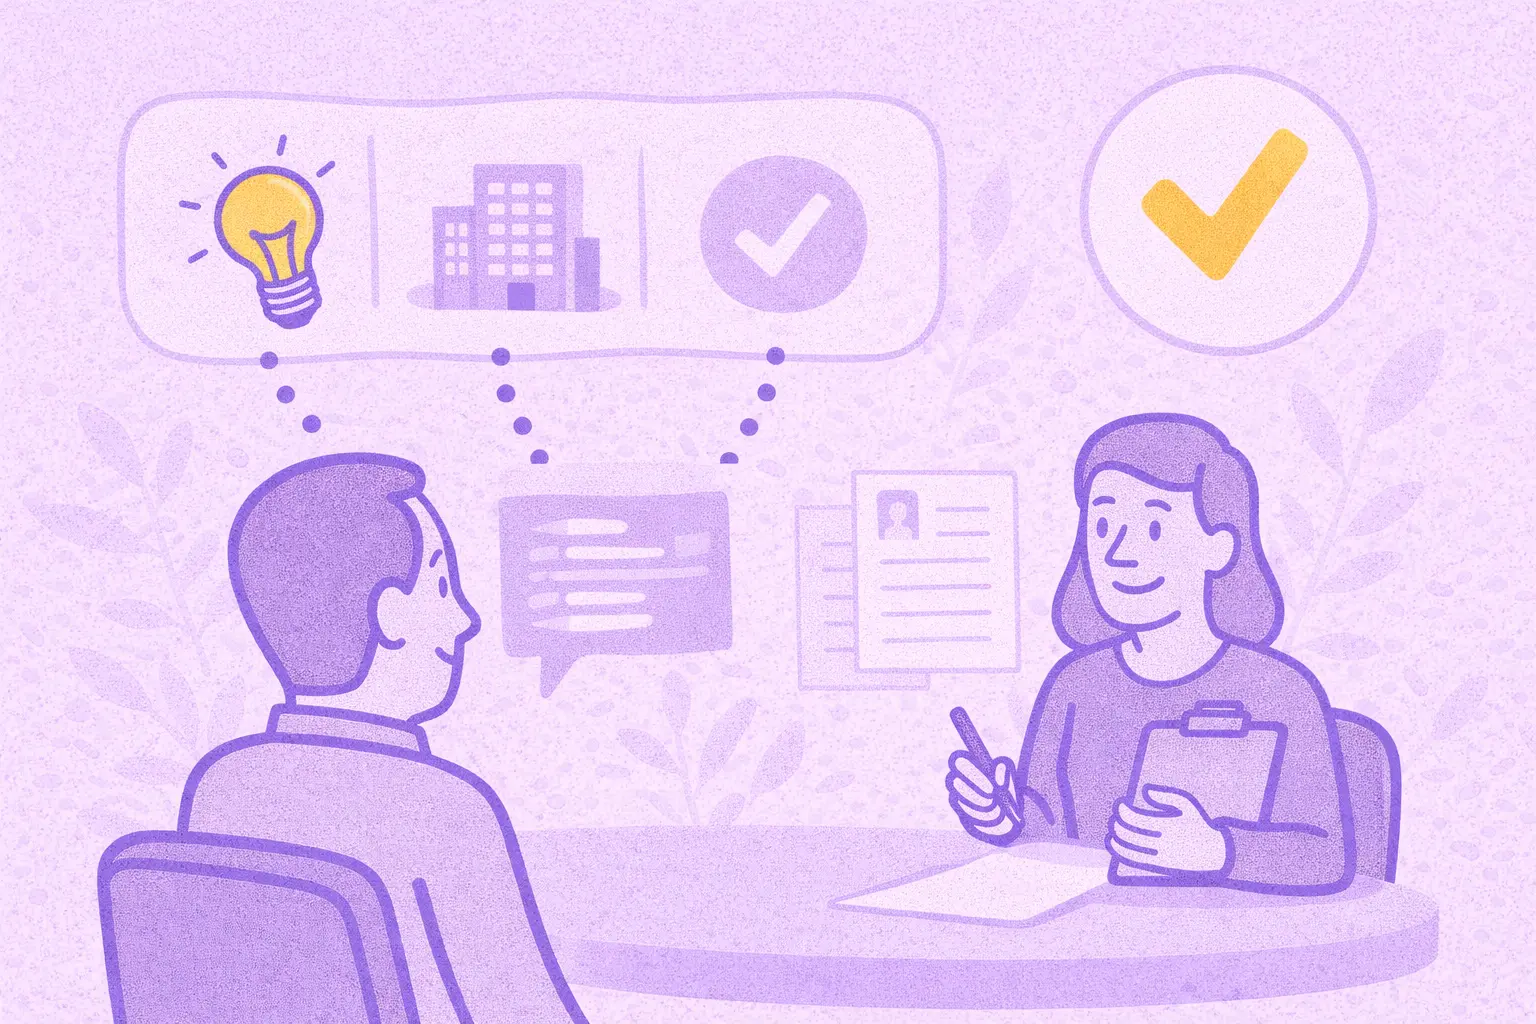
Boas perguntas para fazer em uma entrevista que ajudam você a fazer a escolha certa
Saiba quais perguntas fazer, quando fazê-las e como usar entrevistas para decidir se uma função, uma equipe e uma empresa são realmente adequadas para você.
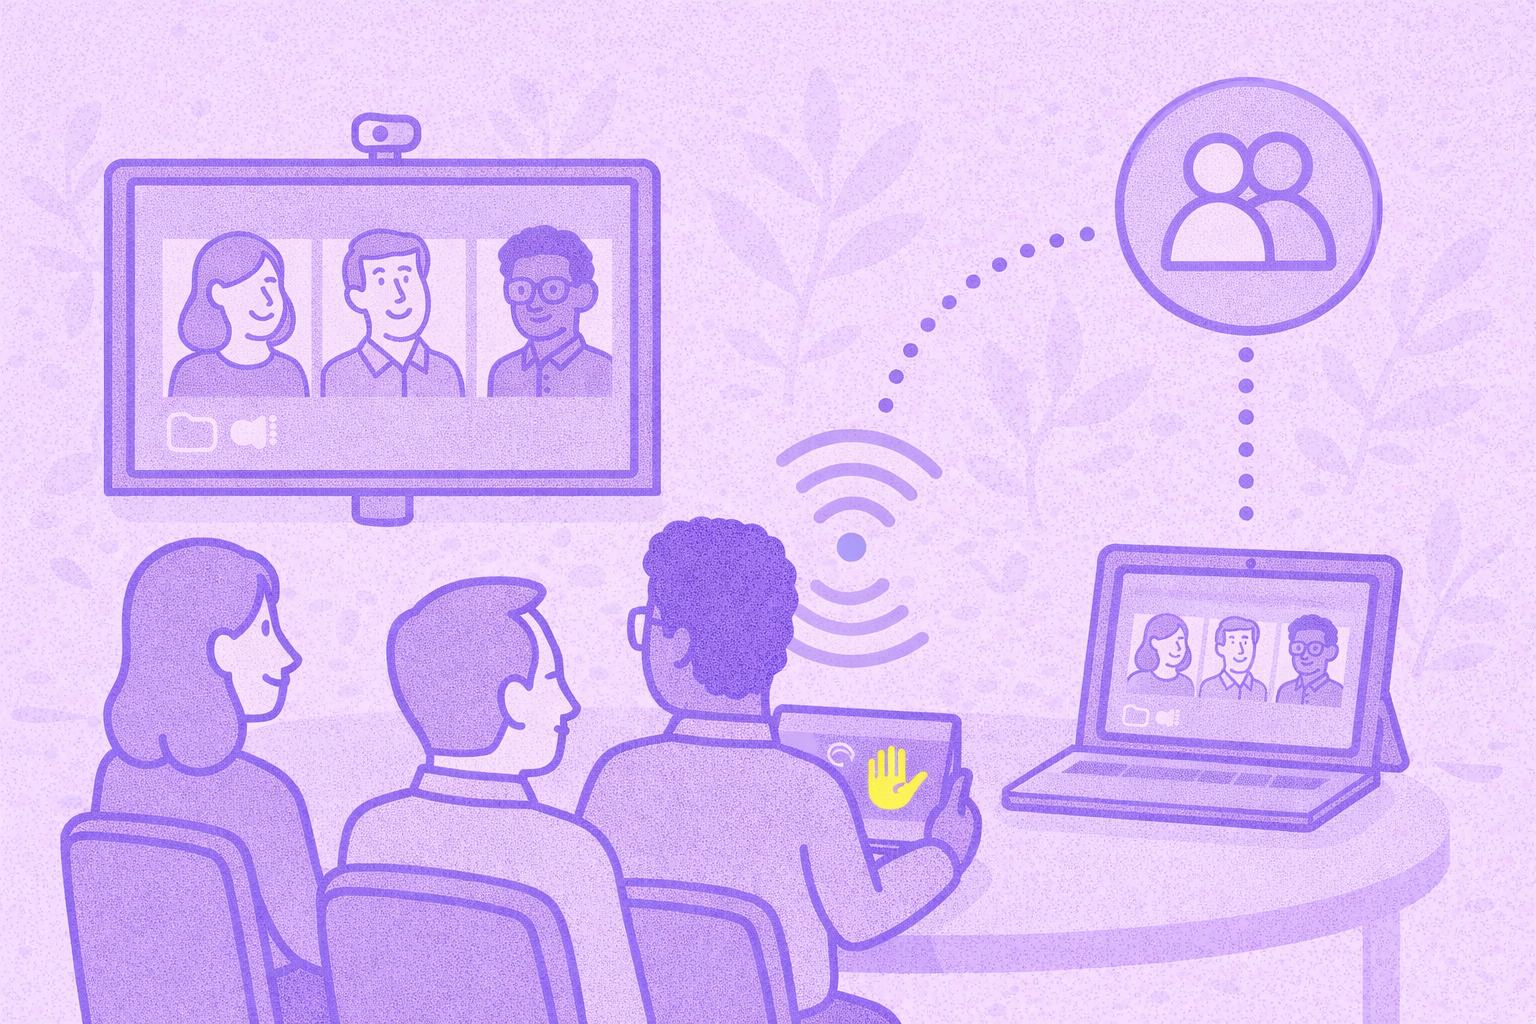
O que é o Modo Companion no Google Meet? Tudo o que você precisa saber
Continue lendo para obter um guia prático sobre como usar o Modo Companion no Google Meet para reuniões híbridas mais claras e equilibradas.
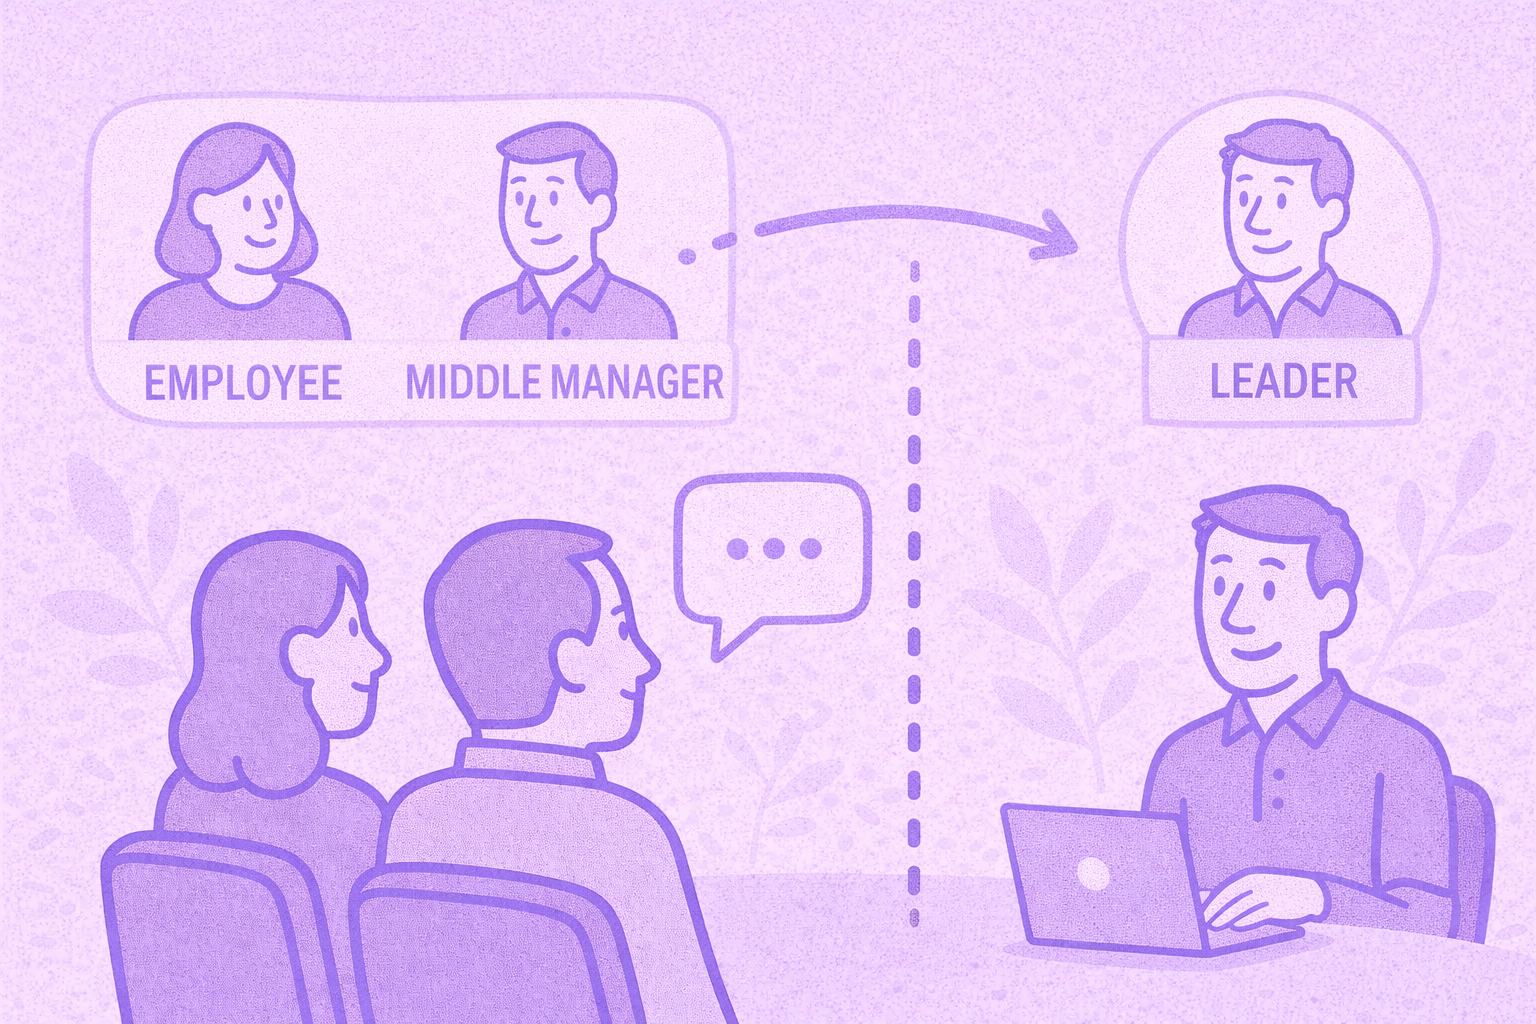
O que é uma reunião skip level? Como os líderes usam o pular de nível para melhorar a comunicação
Uma análise aprofundada das reuniões presenciais e de como elas ajudam os líderes a se conectarem com as equipes e obterem uma visão real.
O que é um Agente de Voz de IA? Um guia prático de como a IA de voz realmente funciona
Este guia explica o que é um agente de voz de IA, como ele funciona, os benefícios que ele oferece e onde ele se encaixa melhor com equipes humanas.

Guia de reuniões stand-up: o que são e como administrá-las
Descubra o que torna uma reunião presencial realmente útil. Este guia explica como fazer stand-ups diários que permaneçam curtos, bloqueiem a superfície e mantenham as equipes alinhadas.
Tudo sobre o Microsoft Teams AI Interpreter + Como ir além da tradução
Descubra como o Microsoft Teams AI Interpreter funciona, onde ele é insuficiente e como ir além da tradução.
Melhor aplicativo de gravação de palestras em 2026:5 ferramentas que os alunos realmente usam
Vamos analisar em profundidade o que os alunos estão usando hoje em dia para gravar e organizar suas palestras, tanto online quanto offline.
Explicação do preço da Read AI para 2026: Valerá a pena para anotação de reuniões
Explore os preços de 2026 da Read AI, seus principais recursos e como ela lida com notas de reuniões, transcrições e insights para apoiar equipes modernas.

O que é uma base de conhecimento pesquisável e como ela funciona?
Explore como as bases de conhecimento pesquisáveis melhoram o acesso às informações e veja como o MeetGeek transforma suas reuniões em um centro de conhecimento rápido e confiável.
Como desfocar o fundo no Google Meet (guia simples para todos os dispositivos)
Descubra como desfocar seu plano de fundo no Google Meet em computadores e dispositivos móveis, usar efeitos visuais e obter uma aparência mais limpa e focada em cada chamada.
Como participar de reuniões do Teams com código: um guia passo a passo completo
Descubra como participar de reuniões do Microsoft Teams usando um código de reunião, além de outras opções, como um link ou convite. Este guia explica cada método de forma clara e passo a passo.

5 melhores alternativas do NoteGPT em 2026
Explore as 5 principais alternativas do NoteGPT que ajudam você a capturar insights importantes, transcrever conteúdo e aumentar a produtividade em fluxos de trabalho profissionais e de aprendizado.
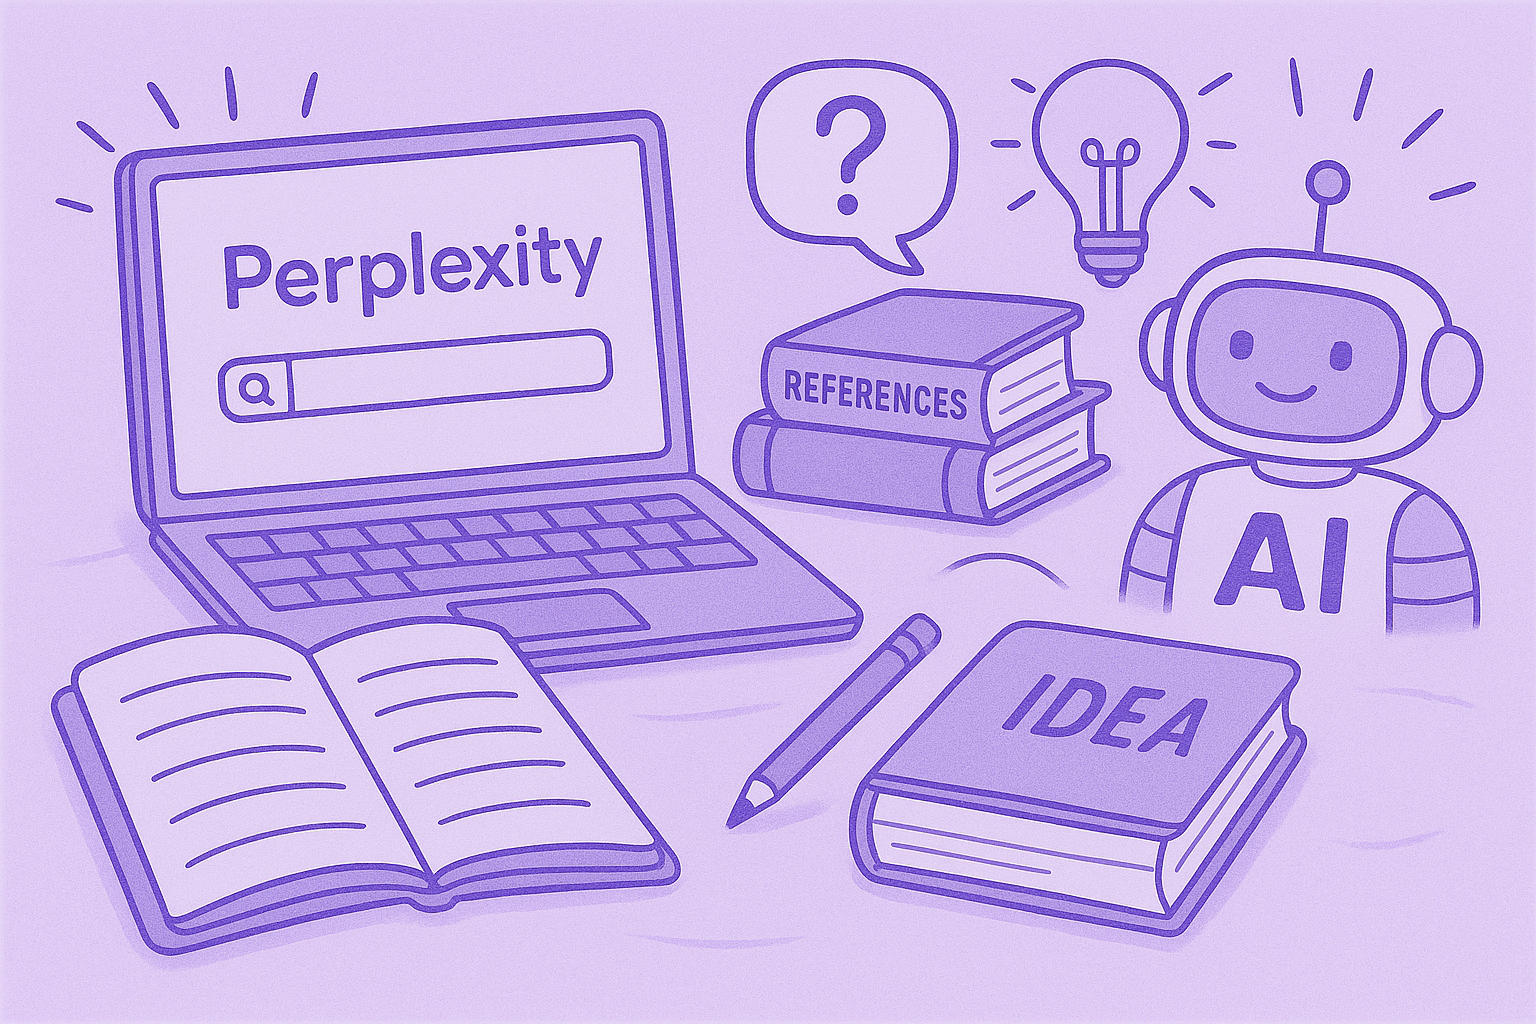
O que é Perplexity AI? Um guia para o mecanismo de pesquisa baseado em IA que transforma a forma como encontramos informações
Neste artigo, examinaremos de perto o Perplexity AI, o que ele pode fazer por você em comparação com os mecanismos de pesquisa tradicionais e alguns de seus prós e contras.
As melhores alternativas ao tl;dv para agilizar suas reuniões
Descubra as principais alternativas ao tl; dv e explore e compare seus recursos para escolher a ferramenta de reunião de IA certa para sua organização.
Modo de gravação ChatGPT vs MeetGeek: aqui está tudo o que você precisa saber
Quer saber como o gravador ChatGPT se compara ao MeetGeek? Analisamos os recursos, a integração e a segurança de dados para gravar reuniões.
Preços da Fathom AI 2026: ainda vale a pena para equipes modernas?
Explore os preços da Fathom AI para 2026, incluindo recursos, limites e comparações de planos, além de como o MeetGeek oferece mais flexibilidade para equipes.
Agentes de reuniões de IA: como a IA autônoma está transformando o futuro do trabalho
Descubra como os agentes de reuniões com inteligência artificial estão redefinindo o futuro do trabalho, gerenciando agendamentos, acompanhamentos e até mesmo falando em seu nome para economizar tempo e transformar cada reunião em ação real.
Análise do Notta AI: Essa ferramenta de transcrição de IA vale a pena em 2026?
Leia esta análise aprofundada do Notta AI para ver se ele transcreve bem reuniões, lida com vários idiomas e fornece resumos de IA, além de onde é insuficiente em comparação com assistentes de reunião mais inteligentes.
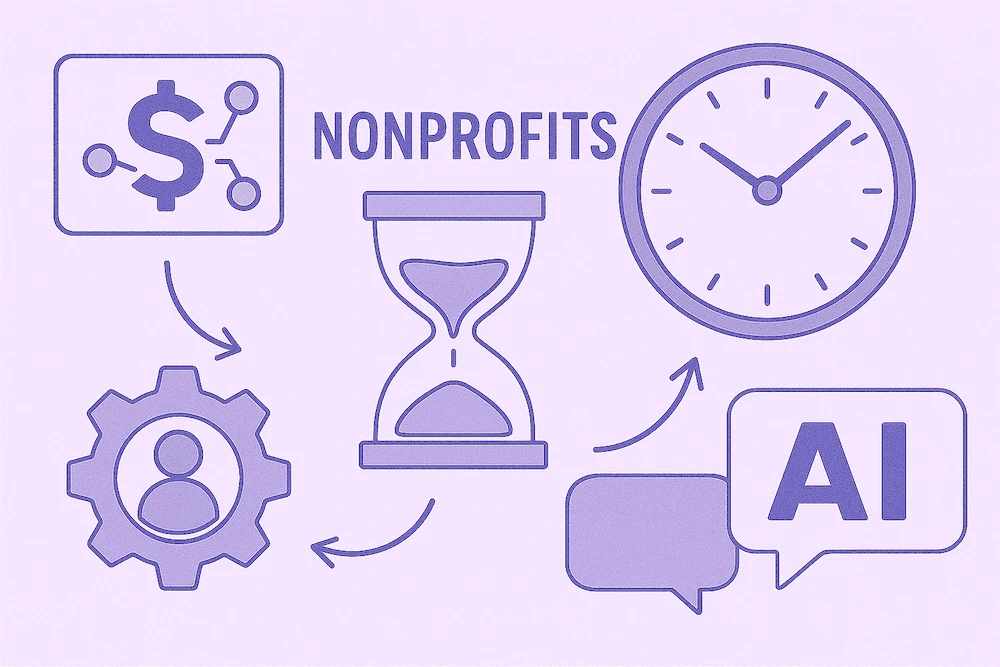
Essas 4 ferramentas de IA para organizações sem fins lucrativos farão com que cada hora conte
Torne sua organização sem fins lucrativos mais eficiente com ferramentas de IA que reduzem o tempo administrativo, melhoram a colaboração e maximizam cada hora de impacto.
Alternativas do Granola AI Notes: as melhores opções para experimentar em 2026
Explore as melhores alternativas do Granola AI Notes para 2026 com ferramentas mais inteligentes que vão além da transcrição, oferecendo automação, insights e colaboração.
E-mail de follow-up após a entrevista: como escrevê-lo, quando enviá-lo e o que dizer
Descubra como escrever um e-mail de acompanhamento eficaz após uma entrevista. Do tempo e dos modelos ao tom e à estrutura, este guia aborda tudo o que você precisa para se destacar e se manter memorável.
Análise de preços da Tactiq 2026: planos, limites e a melhor alternativa
Explore os planos de preços mais recentes da Tactiq e descubra como eles se comparam ao assistente de reuniões tudo-em-um do MeetGeek.

Significado da reunião ad hoc e como organizá-la
Descubra o verdadeiro significado de uma reunião ad hoc e aprenda como tornar as discussões espontâneas mais focadas e eficazes. Descubra quando mantê-los e gerenciá-los.
Etiqueta de reunião virtual: 15 regras essenciais para videochamadas profissionais
Descubra 15 regras e dicas essenciais de etiqueta para reuniões virtuais que mantêm as conversas focadas, profissionais e envolventes.
Como desfocar o fundo no Zoom: guia passo a passo
Descubra como usar o recurso de desfoque de fundo do Zoom para privacidade e foco, além de dicas, correções e quando mudar para planos de fundo virtuais.
Como compartilhar a tela no Google Meet: um guia passo a passo simples
Saiba como compartilhar sua tela no Google Meet com etapas claras para computador, iPhone, iPad e Android.
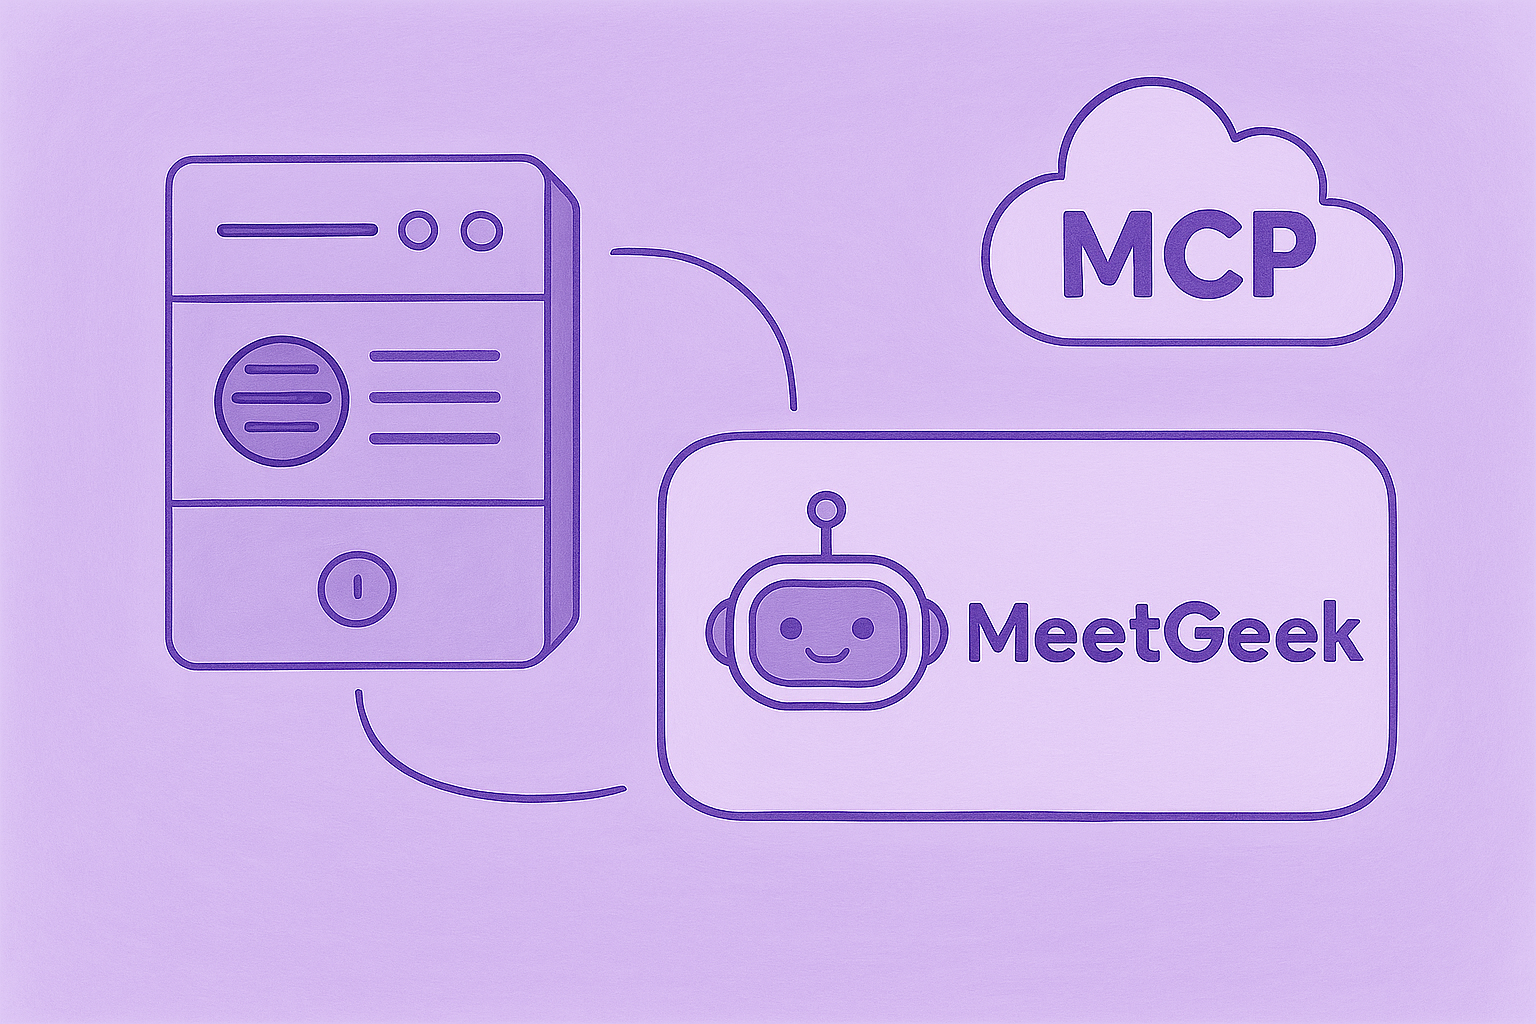
Explicação do servidor MCP da MeetGeek: Como ele permite que assistentes de IA transformem reuniões
Veja como o servidor MCP da MeetGeek ajuda os assistentes de IA a transformar suas reuniões em insights inteligentes e acionáveis, tudo a partir de sua máquina local.

Como alterar o nome no Zoom (antes e depois de entrar em uma reunião)
Saiba como alterar o nome do Zoom passo a passo em qualquer dispositivo, além de dicas para anfitriões, salas de espera e solução de problemas.
IA para tomar notas para estudantes: as melhores ferramentas para estudar de forma mais inteligente em 2026
Um guia das melhores ferramentas de IA para fazer anotações para estudantes em 2026, com recursos, prós e contras para ajudar você a escolher o aplicativo certo para aprender.
Análise de preço do Descript em 2026: o que ela oferece, onde fica aquém e uma alternativa melhor
Uma análise mais detalhada dos níveis de preços do Descript, suas vantagens e desvantagens e por que o MeetGeek se destaca como uma escolha mais inteligente para criadores.
Limite de tempo do Google Meet: tudo o que você precisa saber
Neste artigo, você aprenderá tudo o que precisa saber sobre os limites de tempo do Google Meet e como ultrapassá-los.

Como transcrever memorandos de voz para texto (3 maneiras diferentes)
Neste artigo, você aprenderá a transcrever mensagens de voz de três maneiras diferentes, pesando os prós e os contras de cada opção.
Melhores alternativas de ClickUp para anotações com IA
Conheça as 5 melhores alternativas do ClickUp se quiser ir além da simples tomada de notas com IA e encontrar um assistente de reuniões abrangente.
O que é um resumo objetivo? Definição, exemplos e dicas
Resumos objetivos são essenciais quando você precisa de informações importantes de reuniões longas. Vamos discutir tudo sobre eles neste artigo!

Como gravar um Google Meet: todas as opções explicadas
Neste artigo, detalhamos como gravar um Google Meet de forma nativa e com a ajuda de ferramentas de terceiros, como o MeetGeek.
Os 7 melhores aplicativos para anotações de reuniões do momento
Procurando o melhor aplicativo de anotações de reuniões para sua equipe? Analisamos os recursos, prós e contras dos 7 melhores no momento.
Como gravar um webinar do Zoom como anfitrião ou participante (2 métodos)
Neste artigo, analisaremos como gravar um webinar do Zoom como anfitrião ou participante usando a ferramenta integrada de gravação e de terceiros da Zoom com transcrição de IA.
7 melhores extensões do Chrome para vendedores
Neste artigo, exploraremos as melhores extensões do Chrome para representantes de vendas, com foco em ferramentas que melhoram a inteligência de reuniões, se integram aos CRMs e otimizam a produtividade.

As melhores extensões e ferramentas de captura de áudio do Chrome em 2026 [Comparação]
Vamos nos aprofundar em uma variedade de opções, desde gravadores básicos até plataformas avançadas que oferecem transcrição, resumos e integrações perfeitas.

7 melhores extensões de fala para texto do Chrome: comparação e recursos
Este guia detalha as 8 principais extensões de fala para texto do Chrome para 2025, analisando seus principais recursos, preços e casos de uso ideais para ajudar você a tomar uma decisão informada.

A sobrecarga de reuniões não é o problema real - é um design ruim de reuniões
Quando a sobrecarga de reuniões se torna óbvia, há algumas pequenas mudanças que podem transformar toda a sua cultura de reuniões.

Melhor software de inteligência conversacional em 2026
Ao aproveitar a IA, essas plataformas de inteligência conversacional fornecem a análise necessária para refinar as propostas de vendas ou de investidores, melhorar o treinamento e influenciar a receita.

Como adicionar notas de reunião ao Google Docs [3 maneiras fáceis]
Vamos explorar três maneiras de adicionar suas notas de reunião ao Google Docs, manual ou automaticamente.

Encontre a melhor alternativa ao Zoom em 2026
Procurando uma alternativa ao Zoom? Confira as melhores opções para 2026 e encontre a opção perfeita para suas reuniões!

Como estender o limite de tempo de Zoom: soluções pagas e gratuitas
Precisa de mais tempo para sua reunião do Zoom? Aprenda a estender facilmente sua sessão com este guia simples.

Como instalar o Microsoft Teams para Mac (guia para iniciantes)
Configurar o Microsoft Teams no Mac é fácil! Siga nosso guia rápido para começar a colaborar sem problemas.
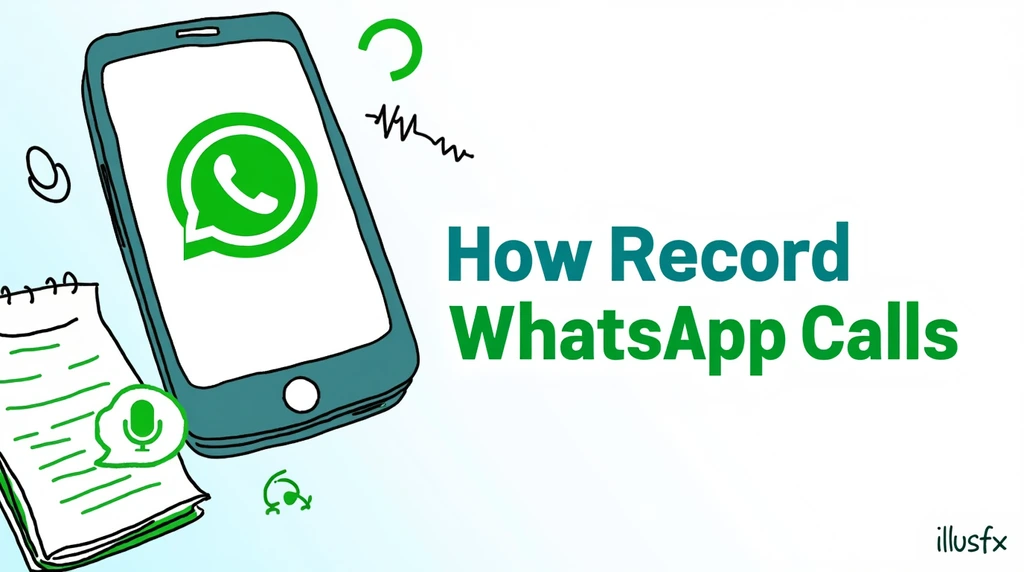
Como Gravar Chamadas do WhatsApp: 5 Métodos para Qualquer Dispositivo (2026)
Descubra a maneira mais fácil de gravar chamadas do WhatsApp com nossas instruções claras e passo a passo.

As 5 principais integrações para assistentes de reuniões de IA em 2026
Quer aumentar a produtividade de suas reuniões? Explore as principais integrações de IA de assistentes de reuniões de 2026 que se conectam perfeitamente às suas ferramentas e aplicativos favoritos.

7 maneiras pelas quais os assistentes de reunião de IA economizam tempo para as equipes de vendas em 2026
Saiba como os assistentes de reuniões com inteligência artificial transformam a produtividade de vendas em 2026, eliminando tarefas manuais, simplificando fluxos de trabalho e permitindo que os representantes se concentrem nas vendas.

Explicação e alternativas de todos os planos de preços da Zoom
Obtenha uma análise clara de todos os planos de preços da Zoom, além de dicas inteligentes para salvar ou usar recursos gratuitamente.
Posso fazer uma captura de tela no Teams? Suas perguntas, respondidas
Quer saber como fazer uma captura de tela no Teams? Analisamos o que funciona, o que não funciona e o que devemos observar.

Preços e planos do Google Meet, simplificados
Encontre o plano certo do Google Meet para sua equipe com nossas dicas claras e inteligentes de economia de custos.
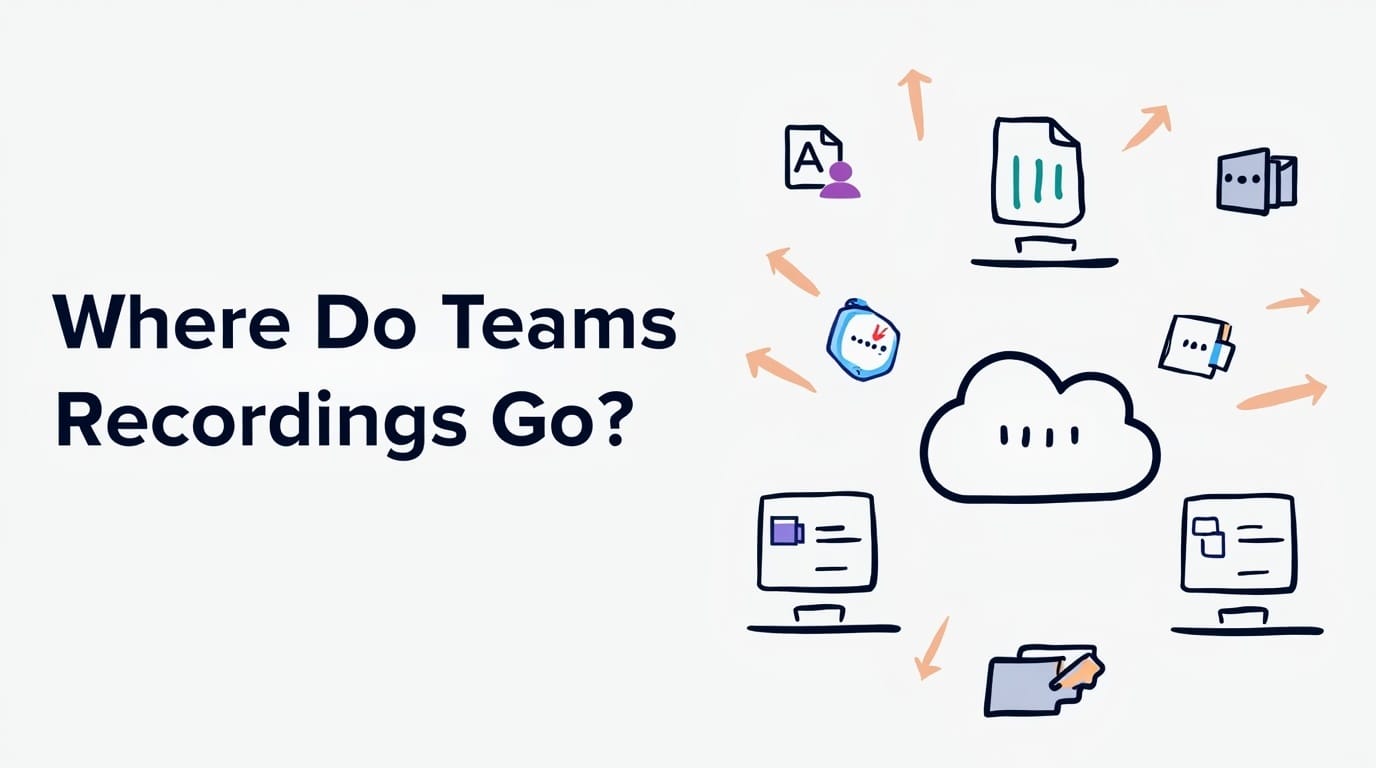
Onde as gravações do Teams são armazenadas? Todos os locais, explicados
Quer saber onde suas gravações do Microsoft Teams vão parar? Aqui estão todas as opções de armazenamento claramente explicadas.

A Semana de Trabalho de 4 Dias: Como as Empresas estão Vencendo a Guerra de Talentos
Por que trabalhar menos pode ser a decisão mais inteligente para empresas que buscam produtividade, inovação e retenção de talentos.
Encontre o melhor aplicativo de fala para texto para trabalho em 2026 (gratuito e pago)
Procurando um aplicativo de voz para texto em 2026? Reunimos as principais opções para aumentar a produtividade e economizar tempo no trabalho.

Gerenciando riscos de segurança e conformidade relacionados aos tomadores de notas com IA
Mantenha suas reuniões baseadas em IA seguras e compatíveis! Saiba como gerenciar riscos de segurança e conformidade, proteger dados confidenciais e garantir a privacidade em suas reuniões virtuais.

Como escrever um e-mail de acompanhamento para uma reunião de negócios + modelos e instruções do ChatGPT
Aprenda a escrever acompanhamentos claros e profissionais de reuniões de negócios com modelos e instruções do ChatGPT para economizar tempo e impulsionar as respostas.

Como usar o Microsoft Teams AI para reuniões
Saiba como automatizar notas, aprimorar a colaboração e tornar as reuniões do Teams mais produtivas com recursos baseados em IA.

Como reservar minutos para uma reunião como um profissional [+ Modelo personalizável gratuito]
Faça sempre atas de reuniões perfeitas! Aprenda dicas de especialistas para capturar pontos-chave, rastrear itens de ação e impressionar sua equipe com habilidades profissionais de anotações.
Os 5 A's da comunicação eficaz: um guia de startups para uma melhor colaboração em equipe
O sucesso de uma startup não tem a ver apenas com ótimas ideias, mas com o quão bem sua equipe se comunica. Descubra a estrutura dos 5 A para melhorar a colaboração, reduzir o atrito e transformar conversas em ações.
Relatório de participação em reuniões de Teams: O que é e como usá-lo
Desmistifique o relatório de presença em reuniões de Teams! Saiba como acessá-lo, interpretá-lo e aproveitá-lo para monitorar o engajamento e melhorar suas reuniões virtuais sem esforço.

Como criar e usar o Google Meet Breakout Rooms
Domine as salas de descanso do Google Meet! Aprenda a criá-los, gerenciá-los e usá-los para promover a colaboração e o engajamento em suas reuniões virtuais.

Como se gravar no Zoom, passo a passo
Domine a arte de gravar no Zoom com nosso guia simples. Aprenda a capturar suas reuniões ou anotações pessoais sem esforço.

Mais de 30 KPIs de vendas a serem monitorados em 2026
Descubra os segredos do sucesso de vendas em 2026 com este guia de mais de 30 KPIs de vendas essenciais. Saiba o que acompanhar para impulsionar o desempenho e o crescimento da receita da sua equipe.
Como criar uma transcrição do Zoom: 2 maneiras
Descubra como criar transcrições do Zoom sem esforço com nosso guia sobre dois métodos simples, perfeitos para capturar todos os principais pontos de discussão.

Encontre o modelo perfeito de avaliação de desempenho de funcionários
Descubra os melhores modelos de avaliação de desempenho de funcionários para agilizar seu processo de avaliação e aumentar a produtividade no local de trabalho.
As 60 melhores citações motivacionais de vendas para sua equipe de vendas em 2026
Procurando motivação para vendas? Encontre as melhores cotações de vendas para 2026 para capacitar sua equipe, incentivar uma mentalidade positiva e manter todos focados em atingir as metas.
Como lidar profissionalmente com qualquer conflito de horário
Aprenda a lidar com conflitos de agenda profissionalmente. Este guia oferece dicas práticas para gerenciar sobreposições, reagendar reuniões e manter relacionamentos fortes.

Guia Fácil para Instalar o Zoom para Windows
Novo no Zoom? Siga este guia simples para instalar o Zoom em seu computador Windows. Prepare-se rapidamente e comece a participar de reuniões com facilidade. Perfeito para iniciantes.
Como Gerar Notas de Reunião com ChatGPT [+ Prompts Gratuitos para ChatGPT]
Descubra etapas simples para gerar notas de reunião com o ChatGPT. Siga este guia para capturar pontos-chave, itens de ação e muito mais para obter registros de reuniões organizados e eficientes.
7 Melhores Alternativas ao Loom em 2026
Descubra as 7 melhores alternativas de Loom em 2024. Encontre as melhores ferramentas para mensagens de vídeo e colaboração em equipe.
.webp)
Zoom vs Microsoft Teams: Qual Escolher em 2026
Descubra o que é melhor para você em 2024: Zoom ou Microsoft Teams? Compare os recursos e faça a melhor escolha para suas necessidades!
Consiga mais compromissos com os códigos QR de uma reunião
Leia este manual para saber tudo sobre como encontrar códigos QR. Mergulhe em seus casos de uso práticos, benefícios e instruções passo a passo para criá-los de acordo com suas necessidades.
Fireflies vs Otter: Qual é o Melhor
Compare o Fireflies.AI e o Otter.AI para descobrir qual ferramenta de transcrição de reuniões atende melhor às suas necessidades. Explore recursos, preços e muito mais para fazer a escolha certa!
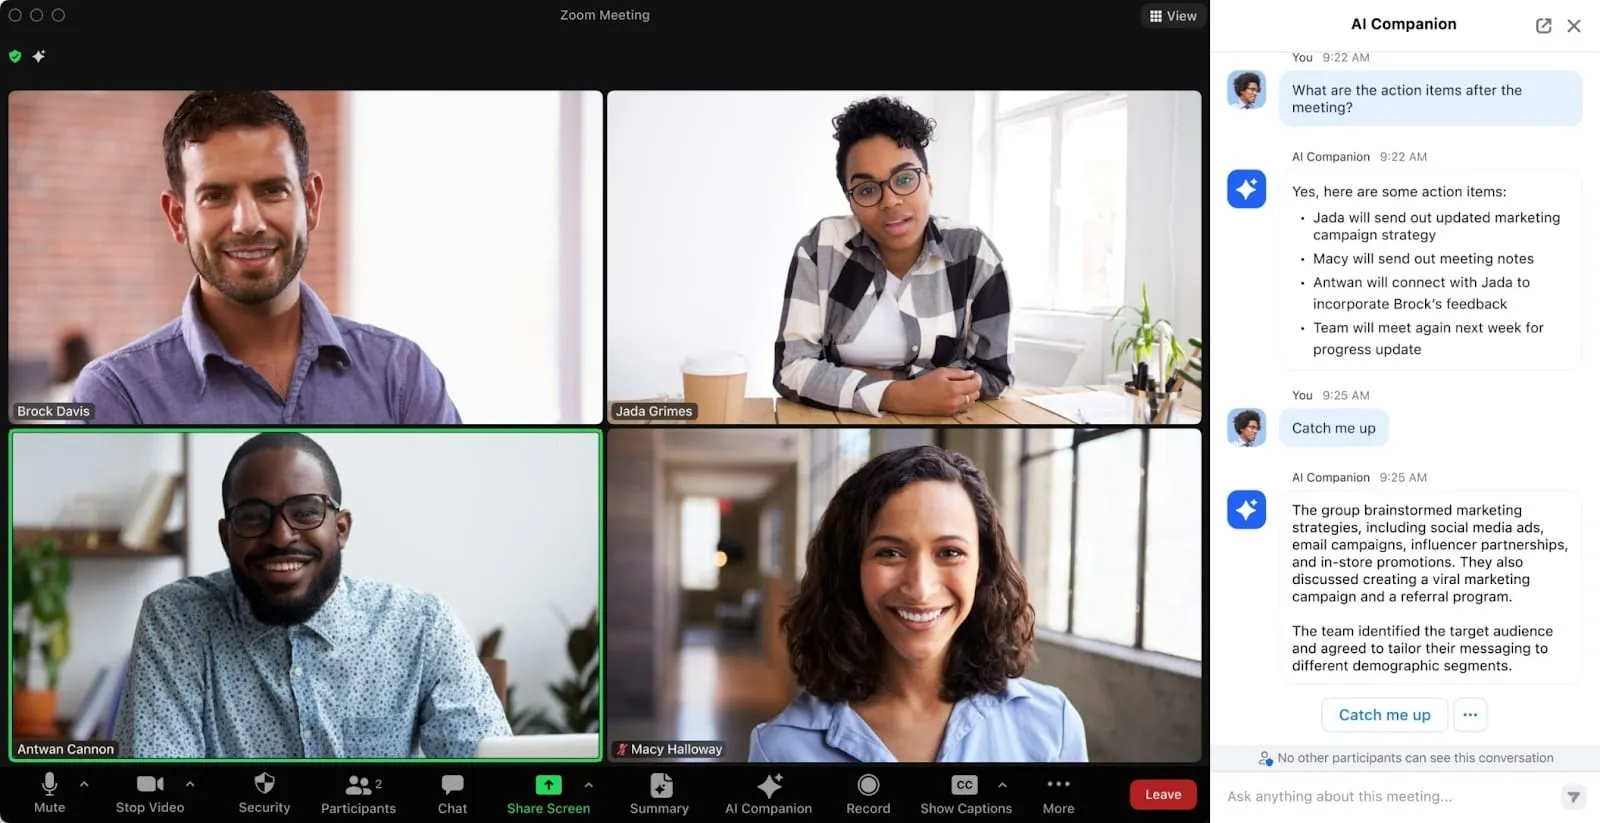
Como Aproveitar ao Máximo o Zoom AI Companion Como seu Assistente de Reuniões de IA
Aprenda a usar os recursos do Zoom AI Companion para aprimorar suas reuniões, economizar tempo e aumentar a produtividade com recursos e dicas úteis para um fluxo de trabalho mais tranquilo.

Como Usar o Google Meet AI Note-Taker
Saiba como aproveitar ao máximo o tomador de notas de IA do Google Meet para capturar automaticamente os detalhes da reunião, manter-se organizado e economizar tempo em acompanhamentos e resumos!