


Microsoft Teams does not notify anyone when you take a screenshot of a chat, a channel, or a meeting. No banner appears, nothing is logged for the other participants, and the conversation carries no mark that an image was captured. Teams announces its own recording and transcription to everyone in the call, but screen capture sits outside that system.
The second half of the question changed in late 2025. A meeting organizer on Teams Premium can now switch on Prevent screen captures, which blacks out the Teams window inside any screenshot taken on Windows and blocks captures entirely on iOS and Android. Silence and permission became two different things.
Screenshots leave less of a trace than most people assume, and recordings leave more. Teams announces its own recording to everyone in the call, while an AI note taker for Microsoft Teams can capture the same meeting without adding a bot to the participant list.
Does Microsoft Teams Notify Screenshots?
No. Teams has no screenshot detection, no screenshot alert, and no screenshot audit event. Microsoft ships exactly one screen-capture-aware feature, covered further down, and even that one blocks the capture rather than reporting it to anyone.
The clearest confirmation sits in Microsoft's own Purview documentation. The sensitivity-label control that stops people copying and forwarding meeting chat states plainly that it cannot prevent screen captures, which is Microsoft describing screen capture as something outside what Teams observes in a conversation.
Screenshots in Teams Chats and Channels
Nothing happens. A 1:1 chat, a group chat, and a channel post can all be captured with no signal to the sender, and this holds whether the content is text, an image, a file preview, or a message someone later deletes. A screenshot taken before a message is deleted survives the deletion.
Screenshots During Teams Meetings
By default, the same silence applies to a live meeting, including someone else's shared screen. Prevent screen captures is off unless the organizer turns it on, and it requires a Teams Premium licence, so most meetings you join carry no protection at all.
Screenshots on iPhone and Android
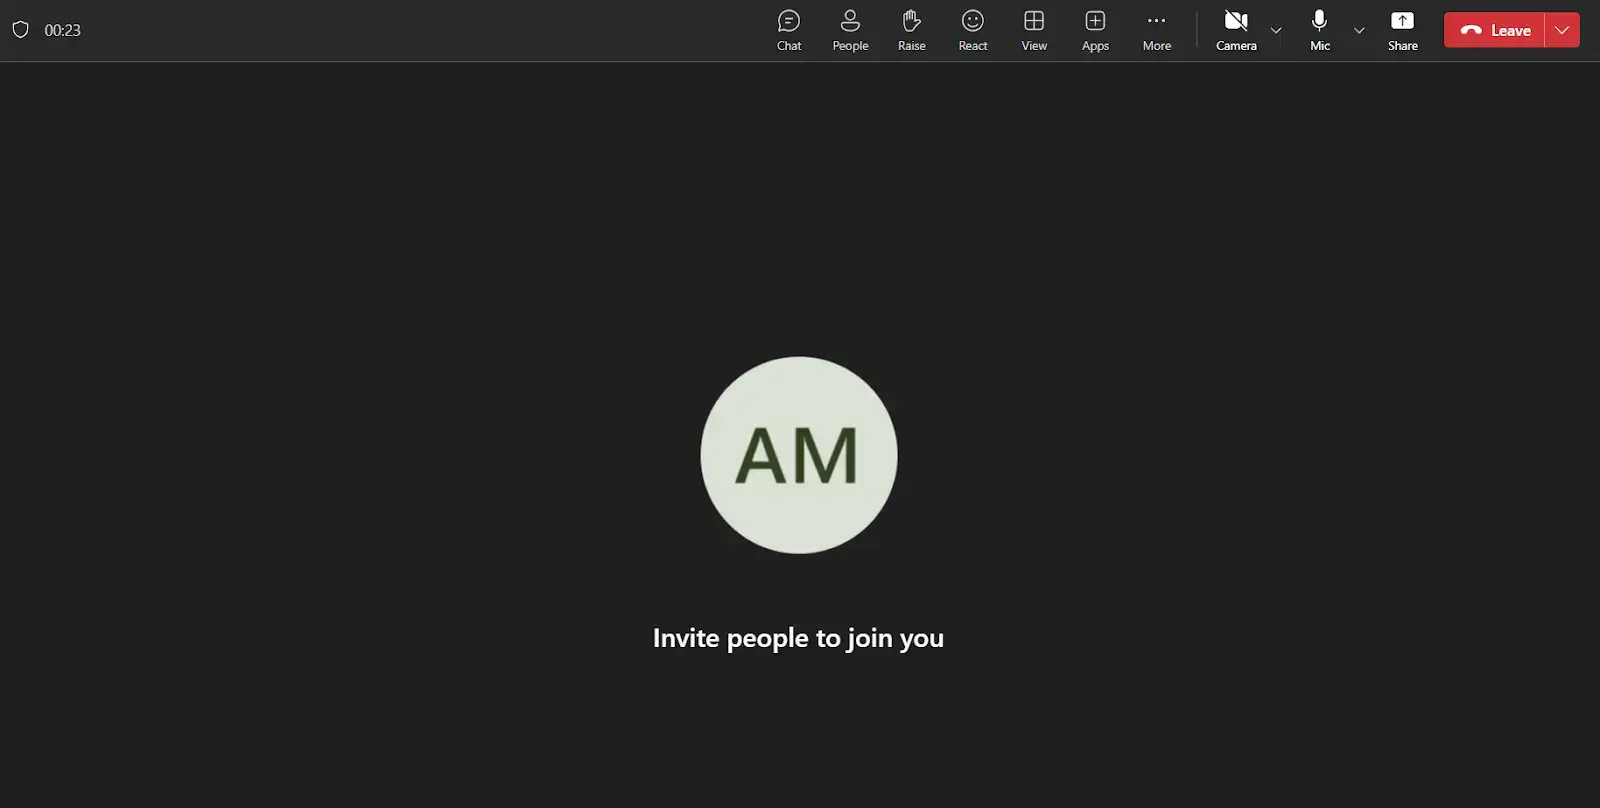
The Teams mobile apps behave the same way by default. Two things can change that: a meeting where the organizer enabled Prevent screen captures, and a work phone where an administrator applies Intune app protection policies, which can block screen capture of Teams on both Android and iOS.
Can Someone Tell If You Screenshot a Teams Chat?
Not from Teams itself. There is no notification, no read-receipt equivalent, and no admin report that lists screenshots taken by a user. An administrator can see message content, meeting attendance, and recording activity, but a screenshot is an action of the operating system and never reaches Teams.
Two things can still identify you after the fact. Watermarking stamps each participant's own email address across the camera feed and the shared content, so a leaked image points straight back to the account that was looking at it. And a screenshot of a labelled or confidential meeting is still governed by your organisation's policies, whether or not any software noticed it.
How to Take a Screenshot in Teams
Teams has no built-in snipping or capture button. The compose box offers file attachments, links, and recorded video or audio clips, so every screenshot goes through the operating system and gets pasted into Teams afterwards.
On Windows 11 the PrtScn key opens the snipping overlay rather than copying the whole screen, controlled by Use the Print screen key to open screen capture under Settings, Accessibility, Keyboard. Android handset makers vary the gesture, and Google's screenshot documentation points you to the manufacturer when the standard combination does nothing.
How to Stop People From Capturing Your Teams Meetings
Four controls exist, and only one of them actually stops a capture. Each needs a licence, and none of them is on by default.
Prevent screen captures lives under Calendar, then the meeting, then Options, then Advanced protection. Turn it on before the meeting starts, because enabling it mid-call only takes effect when people rejoin. Attendees do not need Teams Premium, only the organizer does.
The trade-off is coverage. Attendees on macOS, on the web, on virtual desktops, and on Teams Rooms for Android are dropped to an audio-only experience rather than blocked, so a mixed-device meeting loses video for part of the room. Microsoft also says it stops most third-party capture tools, not all of them.
Watermarking solves a different problem. It prevents nothing, and it makes any leaked frame traceable to one person, which is often the more useful deterrent for a board deck or a compensation review.
None of the four stops the oldest method there is. A phone pointed at a monitor produces a perfectly readable image that no policy can see.
Does Teams Notify Screen Recording?
Teams notifies participants about its own recording and transcription, and about nothing else. When someone presses record in Teams, everyone in the meeting gets a banner, administrators can customise that message, and a stricter mode forces each participant to answer a consent prompt before they can unmute, share, or turn on a camera.
That notification does not extend to a recording made with QuickTime, the Xbox Game Bar, OBS, or any other tool running outside Teams. The exception is a meeting with Prevent screen captures enabled, where recordings on mobile are blocked outright. If you want a recording everyone can see coming, use the recording built into Teams and check where Teams recordings are stored before you rely on finding it later.
A screenshot is what people fall back on when recording is not an option. Teams announces its recording to the whole call, it depends on the licence, and in many tenants a non-host cannot start one at all, so a cropped image ends up being the only record anyone keeps.
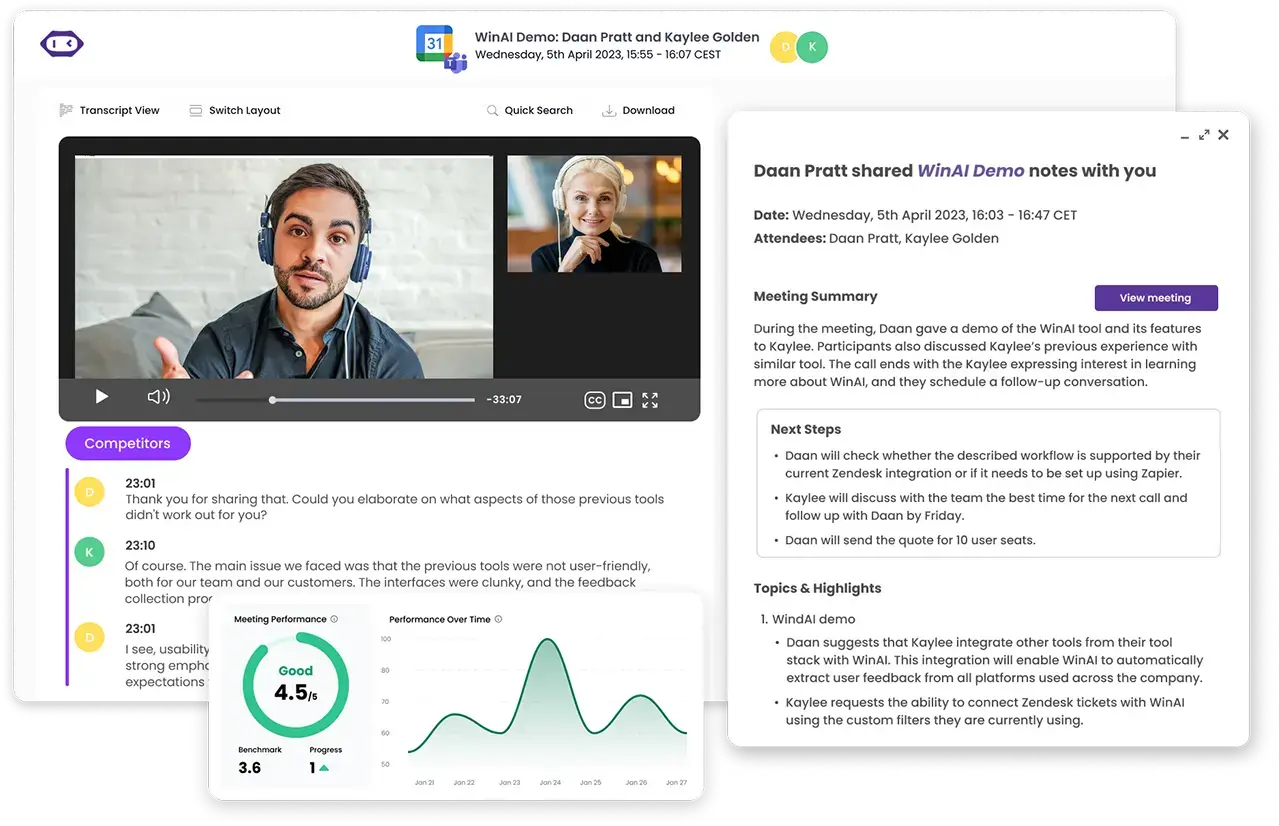
The MeetGeek desktop app closes that gap from the other side. It records Teams meetings without adding a bot to the participant list, then turns the call into a searchable transcript with a summary and action items. No-bot recording is included on every plan, including the free one, which covers 3 hours of transcription a month. Telling people you are recording is still your job, and it is the part a screenshot quietly skips.
Best Practices for Screenshots in Meetings
Screenshots are not covered by consent rules the way recording is, which puts the judgement on you rather than on the software:
- Say it out loud when you capture someone else's shared content, since a two-second heads-up costs nothing and prevents most complaints;
- Crop before you share, because the Teams sidebar usually carries names, unread chats, and calendar entries that were never part of the point;
- Capture the decision, not the deck, so one image of the agreed numbers beats 12 images of slides nobody opens again.
For anything that would sit badly in a screenshot, ask for a Microsoft Teams transcription instead, which leaves a record everyone in the meeting knows exists.
Key Takeaways
- Teams sends no notification when anyone screenshots a chat, a channel, or a meeting;
- Prevent screen captures has been generally available since November 2025, requires Teams Premium for the organizer, and is off by default;
- On Windows it blacks out the Teams window in the image, and on iOS and Android it blocks the capture completely;
- Attendees on macOS, web, VDI and Teams Rooms for Android get audio-only in a protected meeting rather than being blocked;
- Watermarking does not stop a capture, it makes the capture traceable to one email address;
- Teams announces its own recording and transcription to everyone, and it cannot see an external screen recorder.
Frequently Asked Questions
1. Does Teams Notify Screenshots on iPhone?
No. Taking a screenshot in the Teams iOS app sends no alert to anyone. The exceptions are a meeting where the organizer enabled Prevent screen captures, which blocks the screenshot on mobile, and a work phone where Intune app protection blocks screen capture for managed apps.
2. Can Someone See My Screen in a Teams Meeting?
Only what you deliberately share. Teams shows other participants your screen when you use Share, and stops showing it the moment you stop sharing. Nobody can view your desktop without you starting a share.
3. How Do I Stop People From Screenshotting a Teams Chat?
You cannot. Prevent screen captures applies to meetings, and Microsoft does not document any equivalent for 1:1 or group chat. Sensitivity labels can block copying and forwarding of chat content, and Microsoft states directly that they do not prevent screen captures.
4. Does Teams Keep a Log of Screenshots?
No. Screenshots are handled by Windows, macOS, iOS or Android, never by Teams, so there is no audit event, no admin report, and nothing in the compliance record showing that an image was taken.
5. Does Prevent Screen Captures Work on Mac?
No. Microsoft's support documentation lists Teams on macOS as unsupported, and attendees on a Mac join a protected meeting with audio only. The Microsoft 365 Roadmap entry still says Mac is covered, and the newer support article is the accurate one.





.avif)