


A Zoom test meeting is the fastest way to check your audio, video, and internet connection before joining a live call. It lets you verify your microphone, speakers, camera, and internet and device settings so your next Zoom meeting runs smoothly.
Zoom test meeting: TL;DR
- A Zoom test meeting checks your audio, video, and internet connection before an actual meeting
- You can join a test meeting at https://zoom.us/test without a Zoom account
- It lets you test speaker, test mic, and preview your camera
- You can also manually test device settings inside the Zoom app
- Running a test meeting helps avoid technical issues and improves professionalism
Why is a Zoom test meeting essential?
A Zoom test meeting is essential because it ensures your setup works before you join a real meeting. It removes technical unknowns so you can focus on the conversation instead of troubleshooting.
Testing your setup before a meeting helps you:
- Avoid issues with your microphone, speaker, or webcam
- Confirm your internet connection is stable
- Reduce background noise and improve sound quality
- Familiarize yourself with Zoom features before your next Zoom meeting
- Maintain a professional presence with proper lighting and camera framing
For high-stakes calls, like interviews, sales demos, or presentations, a quick test meeting can be the difference between a smooth experience and a disrupted one.
Similar test features exist in Google Meet and Microsoft Teams, where you can preview your camera and audio before joining, but they’re built into the pre-join screen rather than a dedicated guided test meeting like Zoom.
How do you join a Zoom test meeting?
You can join a Zoom test meeting using Zoom’s official test meeting page. This is the most reliable way to test your setup and get familiar with Zoom’s video conferencing features.
Step-by-step guide to joining a test meeting
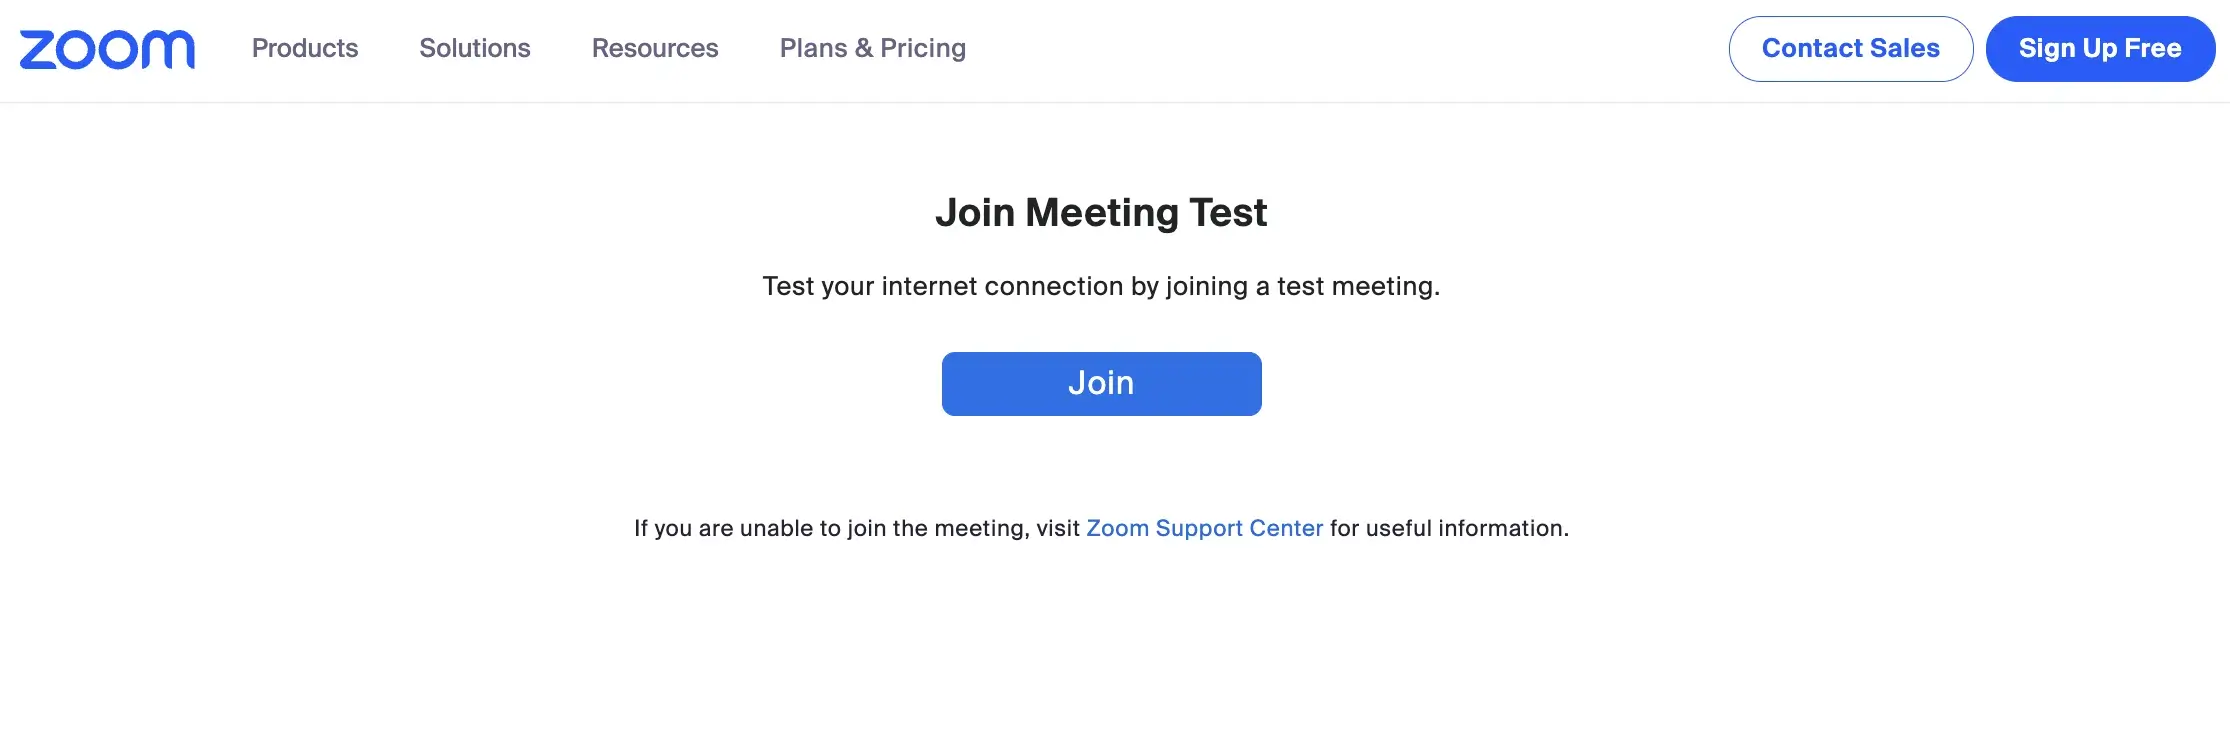
- Visit the Zoom test meeting page. Go to https://zoom.us/test in your browser.
- Click the “Join” button. This starts the Zoom test call.
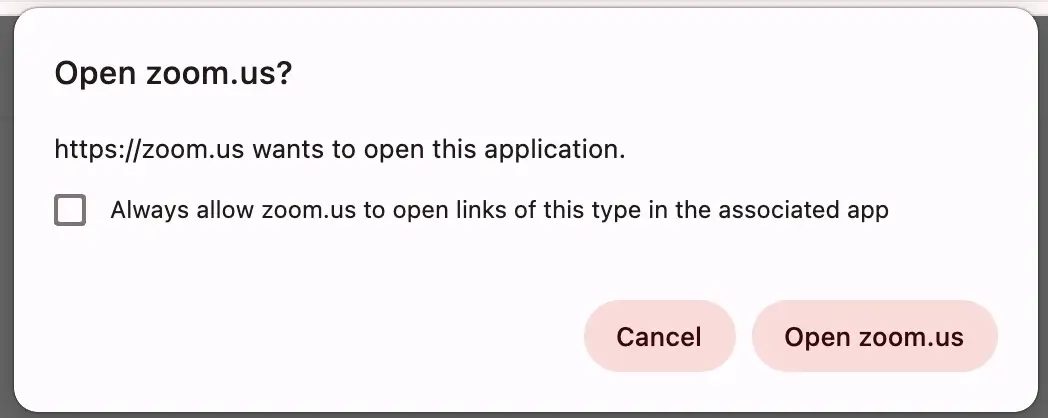
- Launch Zoom. A pop-up window will prompt you to open Zoom. Click “Open Zoom” to launch the Zoom app if you have the Zoom desktop app installed, or choose to join from your browser.
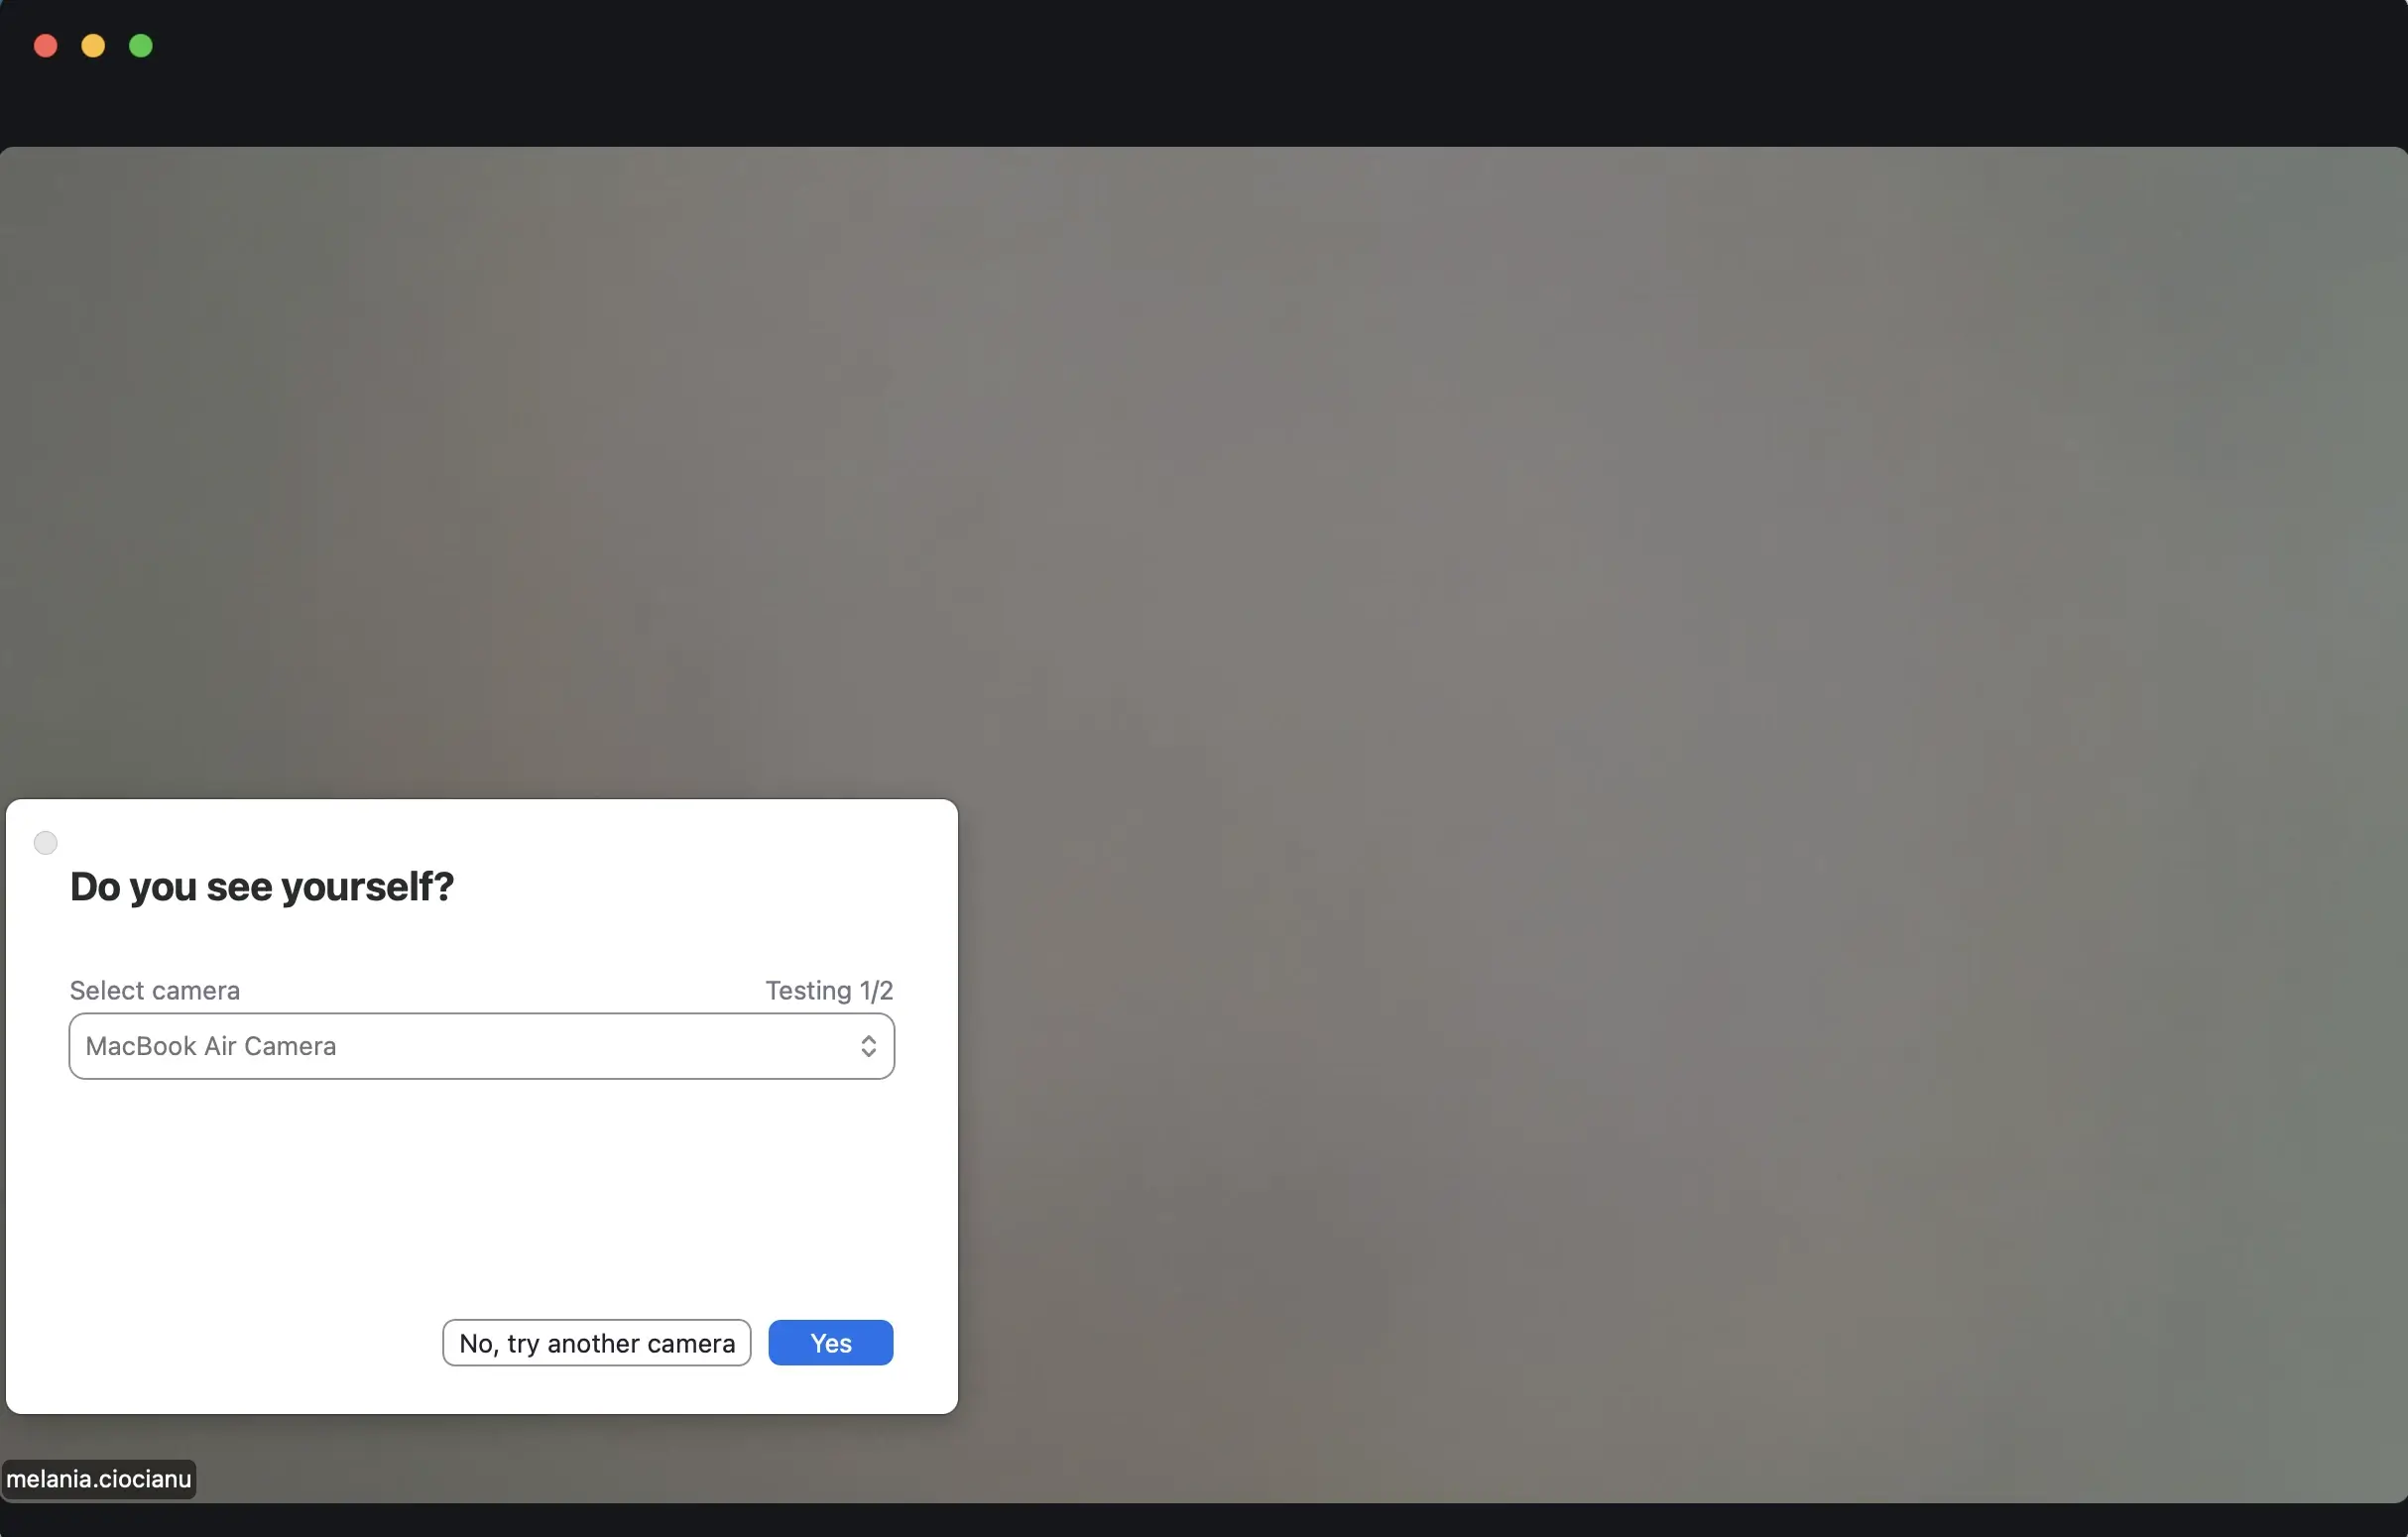
- Join the meeting test. Enter your name and click Join.
- Allow access to devices. Give Zoom access to your camera, microphone, and audio.
- Follow the prompts. Zoom will guide you to:
- Test your video (camera preview)
- Test speaker (hear a ringtone)
- Test mic (record and playback your voice)
After testing everything, if it all went smoothly or you’ve fixed all the issues, you’ll be able to end the test call.
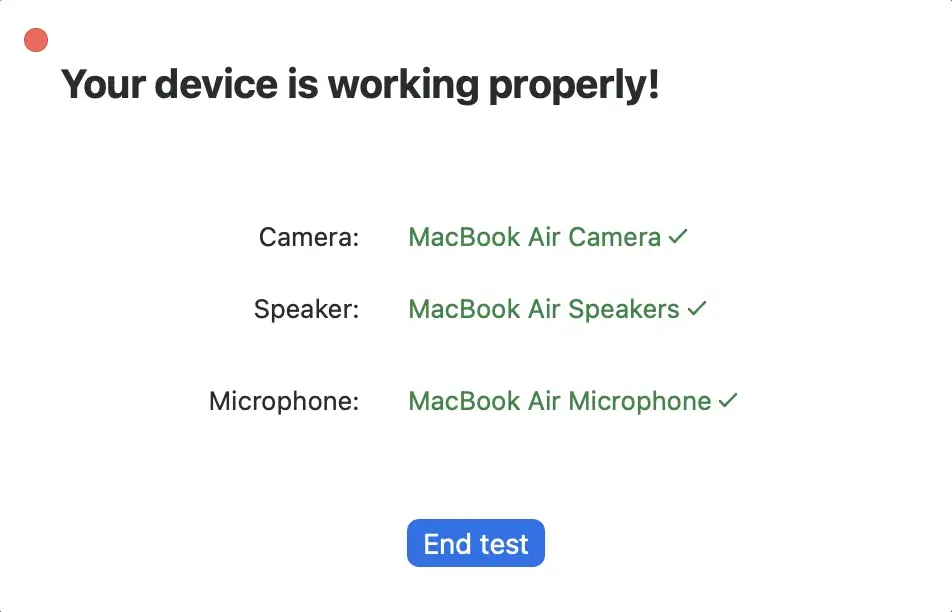
This process works on desktop, in a browser, or on the Zoom mobile app, as long as your device has internet access.
What happens during a Zoom meeting test?
A test Zoom meeting walks you through your core setup step by step so you can confirm everything is working correctly before any upcoming Zoom meetings.
During the test video call, you will:
- Preview your camera to check framing, lighting, and face visibility
- Test speaker output by listening to a sound or ringtone
- Test mic input by speaking and hearing playback
- Adjust your output volume and input levels
- Select devices from a dropdown menu if needed
If something doesn’t work, Zoom will prompt you to fix it before continuing.
How do you manually test Zoom without joining a meeting?
You can also manually test your setup directly inside the Zoom app without joining a test meeting.
How to test your video (camera)
- Open Zoom Meetings
- Click your profile picture in the top corner
- Go to Settings → Video
- Check the preview window
Here you can:
- Select a different webcam
- Adjust lighting and camera angle
- Ensure your video is working correctly
How to test your speaker and microphone
- Open Zoom
- Go to Settings → Audio
- Click Test Speaker
- Click Test Mic and speak
You should:
- Hear a sound when testing the speaker
- Hear your voice playback when testing the mic
If not, use the dropdown menu to select the correct input/output device.
What should you check before your next Zoom meeting?
Before running a Zoom test meeting, it’s important to quickly review your internet, audio, and video to ensure everything is working correctly and helps you avoid technical issues once the meeting starts.
Essential test meeting checklist
- Internet connection: Use a stable network (wired if possible) and test the connection before the meeting
- Audio settings: Test mic, speaker, and headphones
- Camera setup: Check framing, lighting, and background
- Device settings: Select the correct input/output devices
- Zoom app updates: Install the latest version
- Background noise: Minimize distractions
- Computer performance: Close unnecessary apps
How to make your Zoom meetings more productive with MeetGeek
A Zoom test meeting makes sure your setup is working, but it doesn’t help you retain or reuse what’s discussed once the meeting ends.
From what I’ve seen in real workflows, the issue shows up afterward. Notes are incomplete, action items aren’t clearly tracked, and valuable information gets buried in recordings that no one revisits.
MeetGeek solves this by turning every Zoom meeting into structured, searchable knowledge.
It automatically records your meetings and generates accurate transcriptions, then organizes them into clear notes with key points and action items already identified.
.webp)
Instead of digging through files, you get a searchable library of all past meetings, so you can instantly find decisions, discussions, or specific moments across your entire history.
.webp)
The AI chat takes this a step further. You can ask questions about any meeting and get direct answers pulled from the transcript, without manually scanning notes or playback.
.webp)
MeetGeek also connects with 10,000+ integrations, which means your meeting data doesn’t stay siloed. Notes, recordings, and action items can flow directly into your existing tools, keeping everything aligned with how your team already works.
.webp)
In practice, this turns Zoom from a place where conversations happen into a system where information is captured, organized, and actually used afterward.
How to fix common Zoom test meeting issues
Even after a test, issues can happen. Here’s how to fix the most common ones.
Microphone not working
If your microphone isn’t working during a Zoom test meeting, start by checking whether it’s muted, either in Zoom or on your physical device. Then open your audio settings and select the correct microphone from the dropdown menu.
If your voice sounds too quiet or isn’t detected, adjust the input volume. It’s also important to confirm that Zoom has permission to access your microphone in your system settings. If you’re using an external mic, try reconnecting it or switching ports.
Speaker issues (can’t hear sound)
If you’re unable to hear sound, first increase your output volume both in Zoom and on your computer. Then make sure the correct speaker or headphones are selected in the audio settings.
If the issue persists, check your system-level sound settings on Windows or Mac to ensure the right output device is active. Restarting the Zoom app can also resolve temporary glitches.
Camera not working
When your camera isn’t working, go into Zoom settings and make sure the correct webcam is selected. If you have multiple cameras connected, switch between them using the dropdown menu. You should also verify that your operating system allows Zoom to access your camera. If you just connected a webcam, restarting Zoom often helps it recognize the device properly.
Internet connection problems
If you’re experiencing connection issues during a Zoom meeting test, try switching to a stronger and more stable network. A wired Ethernet connection is usually more reliable than Wi-Fi. It also helps to close any apps or browser tabs that consume a lot of bandwidth, as they can interfere with Zoom’s performance.
Pro tips for a successful Zoom test meeting
Beyond the basics, a few simple tricks can improve your experience:
- Test 10–15 minutes before your meeting
- Use front-facing lighting to clearly show your face
- Keep your background clean or use a virtual background
- Use headphones to reduce echo and improve sound
- Familiarize yourself with mute, chat, and screen share features
- Run a quick join meeting test if you received a meeting link
These small adjustments can make a big difference in how you sound and appear.
Run a Zoom test meeting before every important call
A Zoom test meeting takes just a few minutes, but it can save you from technical issues that disrupt your meeting.
By testing your audio, video, and internet connection in advance, you ensure a smoother, more professional experience for every participant.
And once your setup is solid, tools like MeetGeek help you turn every successful meeting into clear notes, structured insights, and actionable outcomes.
Try MeetGeek for free and make every Zoom meeting more productive.
Frequently asked questions
Can you join a Zoom test meeting without an account?
Yes, you can join a Zoom test meeting without creating or signing into an account. Just go to the Zoom test meeting page at https://zoom.us/test, click “Join,” and follow the on-screen prompts to check your audio and video setup.
How do I test my Zoom meeting before joining?
To test your Zoom meeting before joining an actual call, use the same page. Click “Join,” then go through the guided steps to verify your camera, microphone, and speakers are working correctly. You can also manually test your device settings inside the Zoom app.
What does a Zoom test meeting check?
A Zoom test meeting checks your camera, microphone, speakers, and internet connection. It also lets you adjust your audio and video settings and confirm everything is working correctly before a live meeting.
Can I test Zoom without joining a meeting?
Yes, you can manually test Zoom without joining a meeting by opening the Zoom app, going to Settings, and checking your video and audio under the respective tabs.
Why is my mic or speaker not working on Zoom?
If your mic or speaker isn’t working, it’s usually due to incorrect device selection, muted settings, or missing permissions. Use the dropdown menu in Zoom settings to select the correct device and test again.




.avif)