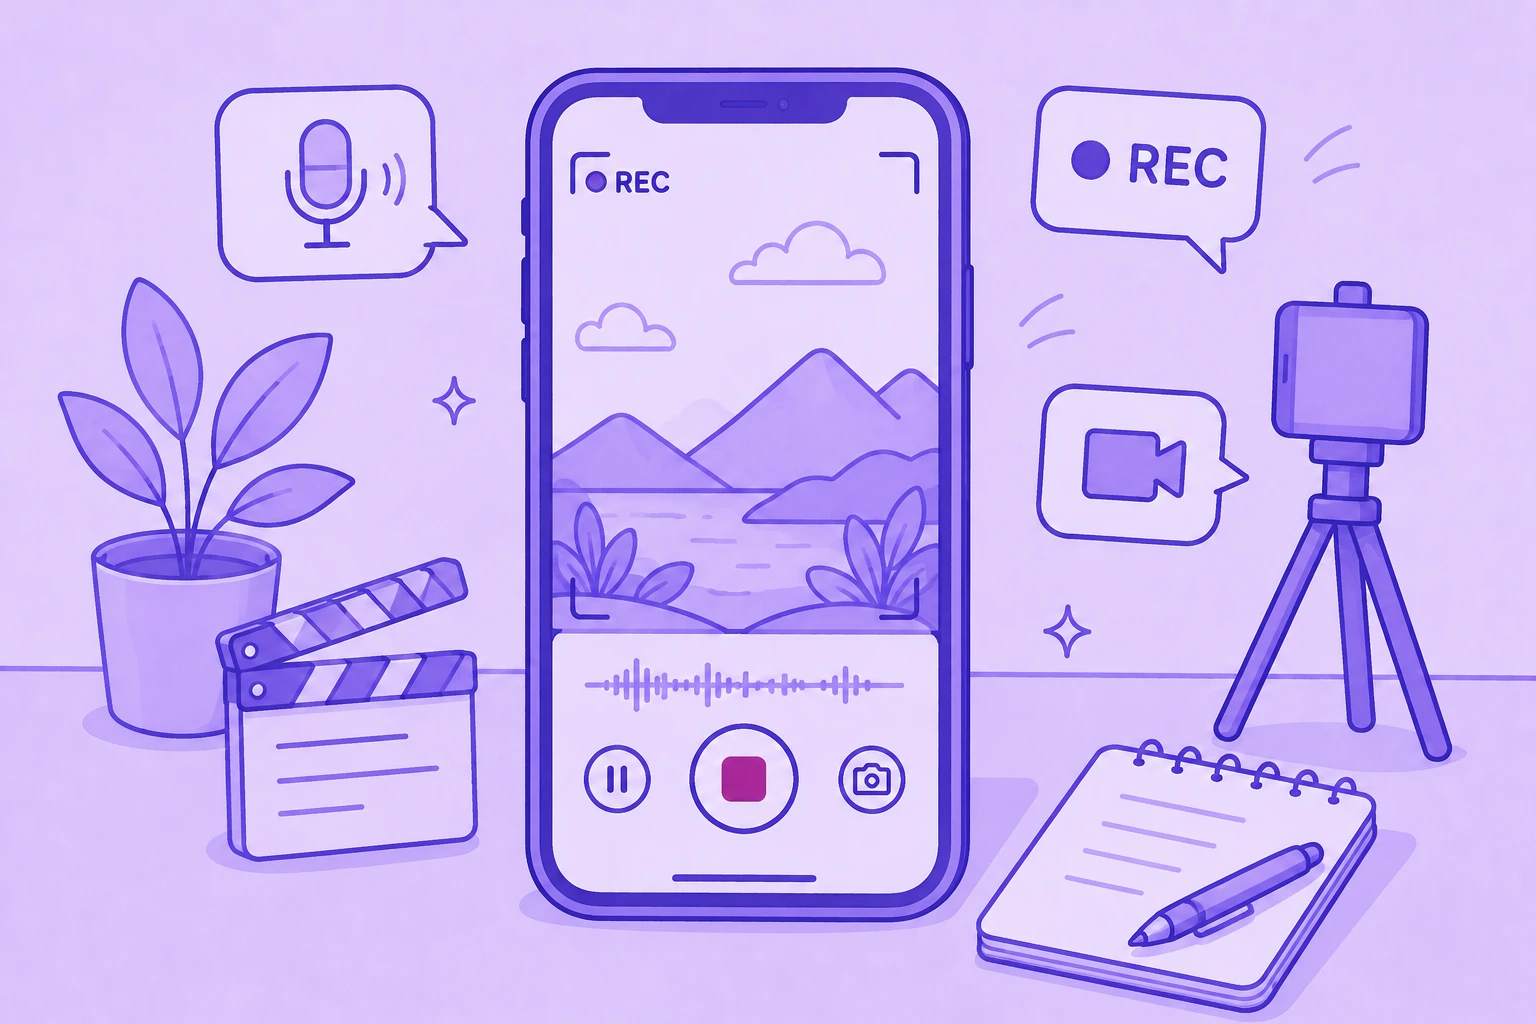
.avif)

Comment enregistrer un écran sur Mac (avec audio, système audio et astuces professionnelles)
Apprenez à effectuer un enregistrement d'écran sur Mac à l'aide des outils intégrés, à capturer correctement le son et à voir quand MeetGeek est l'option la plus intelligente.


✅ Free meeting recording & transcription
💬 Automated sharing of insights to other tools.
L'apprentissage de l'enregistrement d'écran sur Mac prend moins d'une minute. Apple inclut un outil d'enregistrement d'écran intégré qui vous permet d'enregistrer la totalité de votre écran, de capturer une fenêtre sélectionnée, d'ajouter votre microphone et d'enregistrer gratuitement un fichier vidéo sur votre bureau.
Pour les didacticiels et les procédures pas à pas rapides, cette configuration fonctionne parfaitement.
Pour les appels récurrents, les réunions avec les clients et les synchronisations internes, l'enregistrement de fichiers vidéo bruts sur votre ordinateur crée des tensions à long terme.
Ce guide explique exactement comment enregistrer un écran sur un Mac, y compris les considérations relatives au son et au son du système, et explique où s'intègre un système d'enregistrement de réunion dédié tel que MeetGeek.
Méthode 1 : Comment enregistrer un écran sur Mac à l'aide de la barre d'outils de capture d'écran (méthode la plus rapide)
Si vous utilisez macOS Mojave (10.14) ou une version ultérieure, c'est la solution la plus simple.
Étape 1 : Ouvrez la barre d'outils d'enregistrement d'écran
Presse Shift + Commande + 5. Cette commande clavier ouvre le Barre d'outils de capture d'écran en bas de votre écran.
Des options s'offrent à vous pour :
- Capturez une capture d'écran
- Enregistrer la totalité de l'écran
- Enregistrer la partie sélectionnée
- Régler les options d'enregistrement
Étape 2 : Choisissez ce que vous voulez enregistrer
Vous disposez de trois options principales d'enregistrement d'écran :
- Enregistrer la totalité de l'écran — capture tout ce qui se trouve sur votre bureau
- Enregistrer la fenêtre sélectionnée (sur les nouvelles versions de macOS)
- Enregistrer la partie sélectionnée — faites glisser votre souris pour sélectionner une zone spécifique

Si vous choisissez d'enregistrer une partie sélectionnée, faites simplement glisser les bordures pour ajuster la taille.
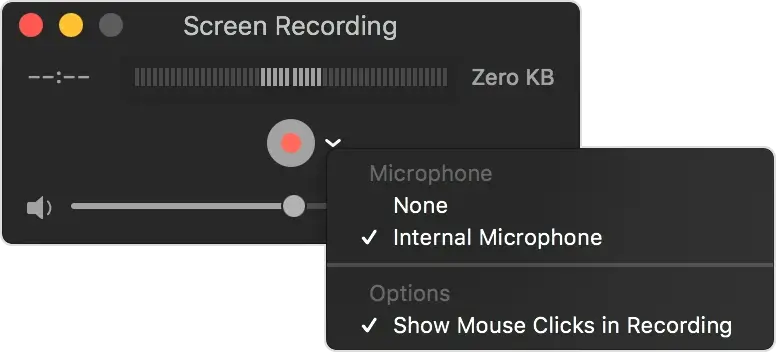
Étape 3 : Régler les paramètres d'enregistrement (important)
Cliquez Options dans la barre d'outils avant d'appuyer sur bouton d'enregistrement.
Ici, vous pouvez :
- Sélectionnez un microphone (micro) pour enregistrer votre voix
- Afficher clics de souris
- Réglez une minuterie (attendez 5 à 10 secondes avant le début de l'enregistrement)
- Choisissez l'endroit où le fichier sera enregistré
- Régler le format et la résolution (sur les appareils Mac compatibles)
Si vous enregistrez un didacticiel, une présentation YouTube ou une formation, assurez-vous que le bon micro est sélectionné avant de commencer.
Étape 4 : démarrer l'enregistrement
Cliquez Record.
- Si vous avez sélectionné la totalité de l'écran, cliquez n'importe où pour commencer.
- Si vous avez sélectionné une partie, cliquez sur Commencer l'enregistrement à l'intérieur de cette sélection.
Votre Mac va commencer à enregistrer votre écran.
Étape 5 : arrêter l'enregistrement
Pour arrêter l'enregistrement :
- Cliquez sur Arrêter l'enregistrement bouton dans la barre de menu
OU - Presse Commande + Contrôle + Esc
Une fois que vous avez arrêté l'enregistrement, miniature flottante apparaît dans le coin de votre écran.
Vous pouvez :
- Cliquez dessus pour le modifier immédiatement
- Ou attendez quelques secondes qu'il disparaisse et sauvegardez automatiquement
Votre fichier vidéo sera enregistré à l'emplacement de votre choix.
Comment enregistrer le son du système sur Mac
C'est là que les choses se compliquent. Par défaut, macOS peut :
- Enregistrez votre microphone
- Enregistrez votre écran
Mais il n'enregistre pas le son du système (comme le son YouTube, l'audio de l'application ou le son interne du système).
Si vous devez enregistrer le son du système, vous devez :
- Téléchargez un pilote audio virtuel (comme BlackHole ou Loopback)
- Régler les paramètres audio du système
- Acheminer le son via cet outil
Cela fonctionne, mais ce n'est pas simple.
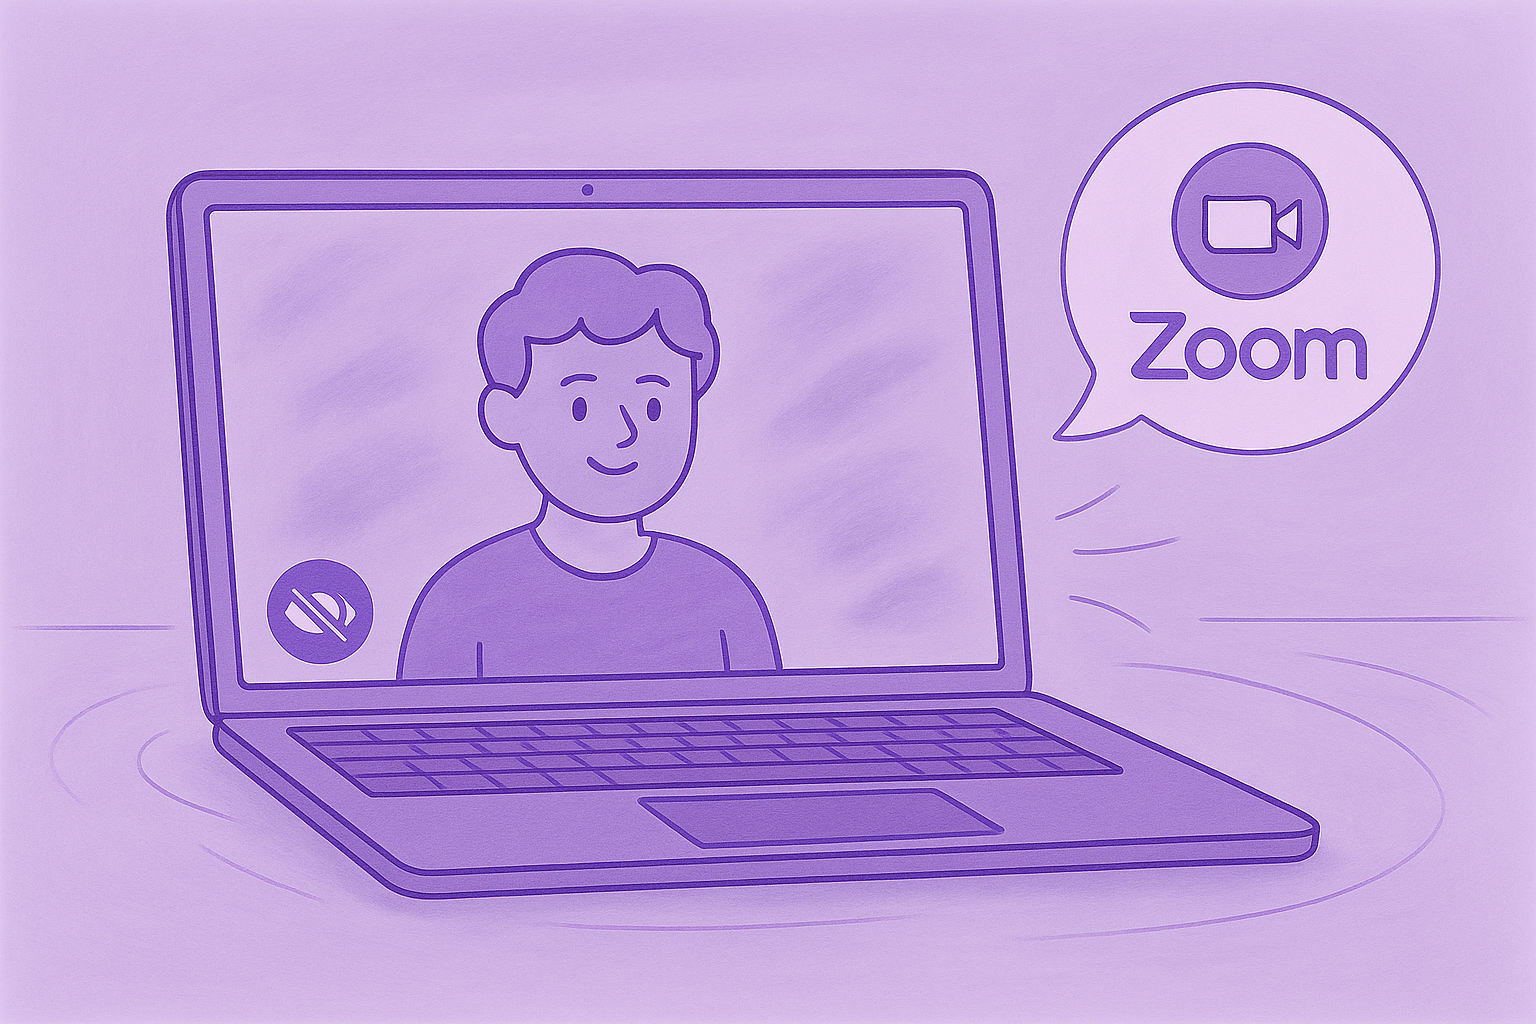
Si vous enregistrez un appel Zoom, un webinaire ou une réunion interne et que vous avez besoin d'un système audio sans configuration compliquée, continuez à lire, car MeetGeek est peut-être la meilleure solution.
Méthode 2 : Comment enregistrer un écran sur Mac à l'aide de QuickTime Player
Vous pouvez également utiliser Lecteur QuickTime.
Étape 1 : Ouvrez QuickTime
- Ouvrez le Finder
- Accédez aux applications
- Lancement Lecteur QuickTime
Ou appuyez sur Commande + Espace et recherchez-le.
Étape 2 : démarrer un nouvel enregistrement d'écran
Depuis la barre de menu :
Fichier → Nouvel enregistrement d'écran
Vous verrez une petite fenêtre d'enregistrement.
Cliquez sur la flèche à côté du bouton d'enregistrement pour :
- Sélectionnez votre microphone
- Régler le volume
- Activer les indicateurs de clic de souris
Cliquez ensuite sur Enregistrer.
Choisissez :
- Cliquez n'importe où pour enregistrer la totalité de l'écran
- Ou faites glisser le pointeur pour capturer une zone sélectionnée
Étape 3 : Arrêter et modifier
Cliquez sur le bouton d'arrêt dans la barre de menu.
QuickTime ouvre automatiquement le fichier vidéo.
Vous pouvez :
- Réduisez les secondes indésirables
- Rejouez-le
- Sauvegardez-le ou téléchargez-le
Ceci est utile pour les didacticiels vidéos de base ou pour une documentation interne rapide.
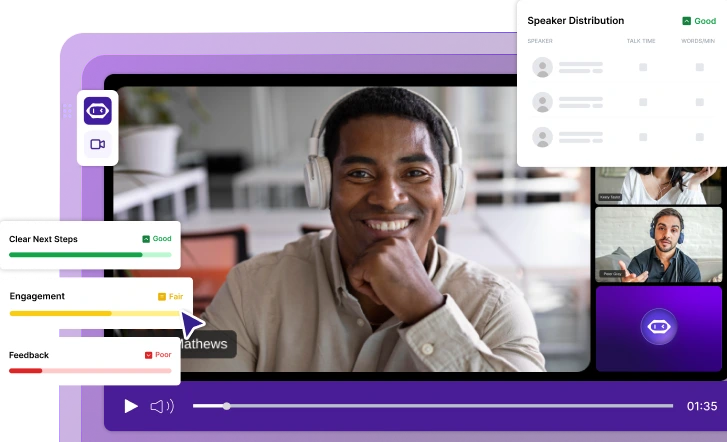
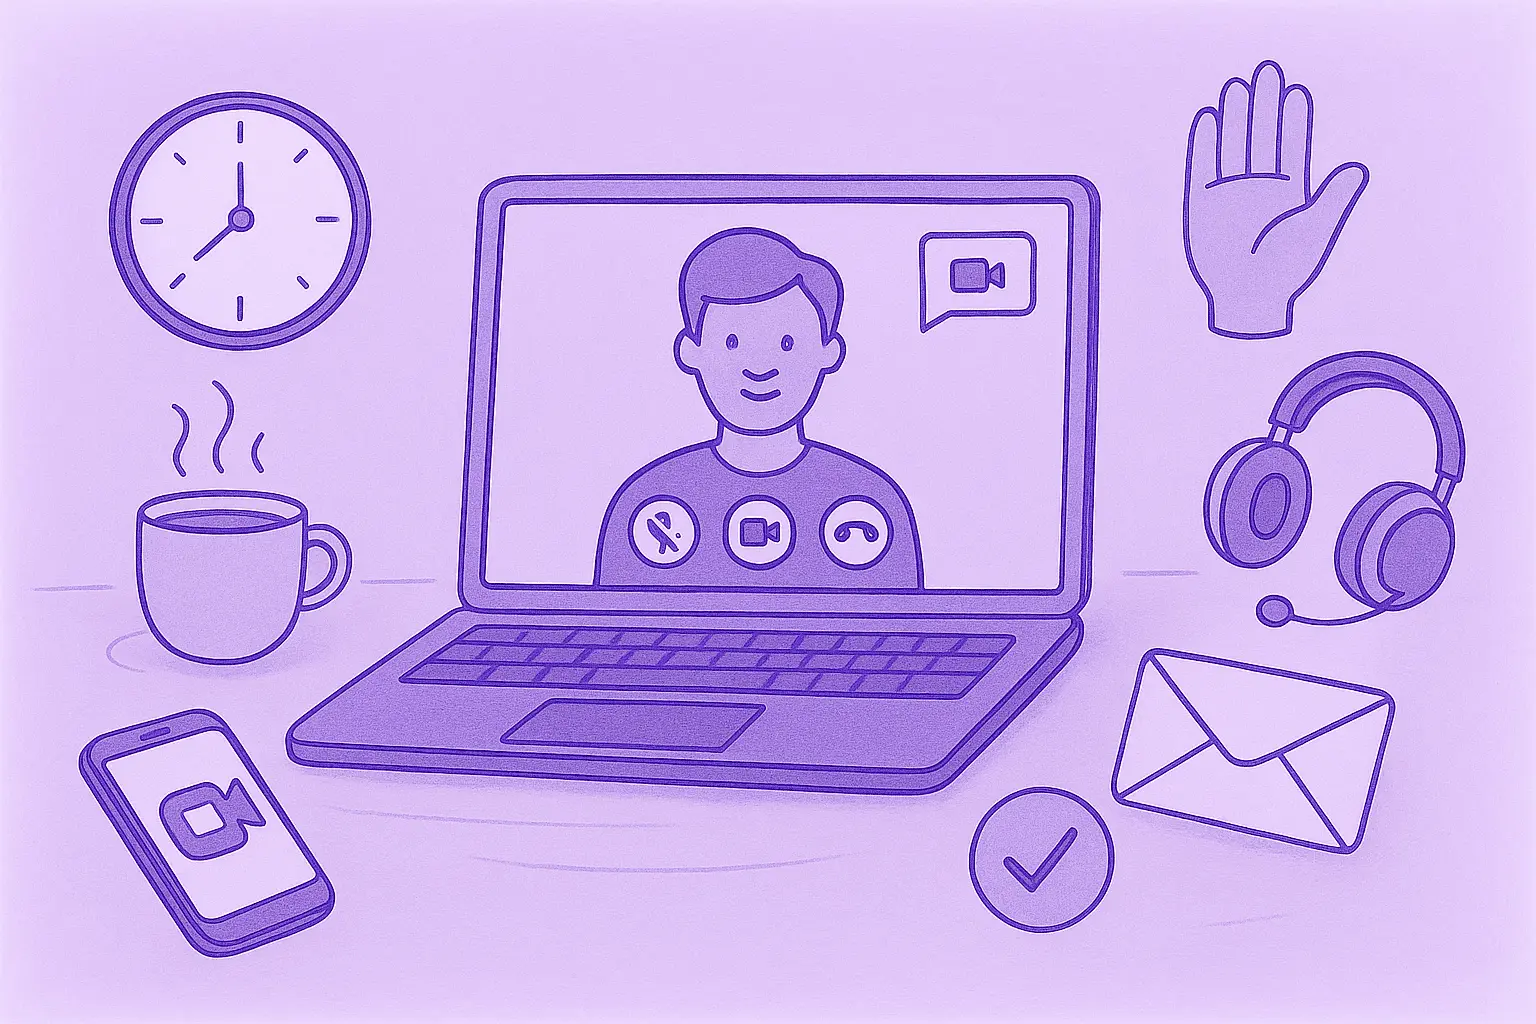
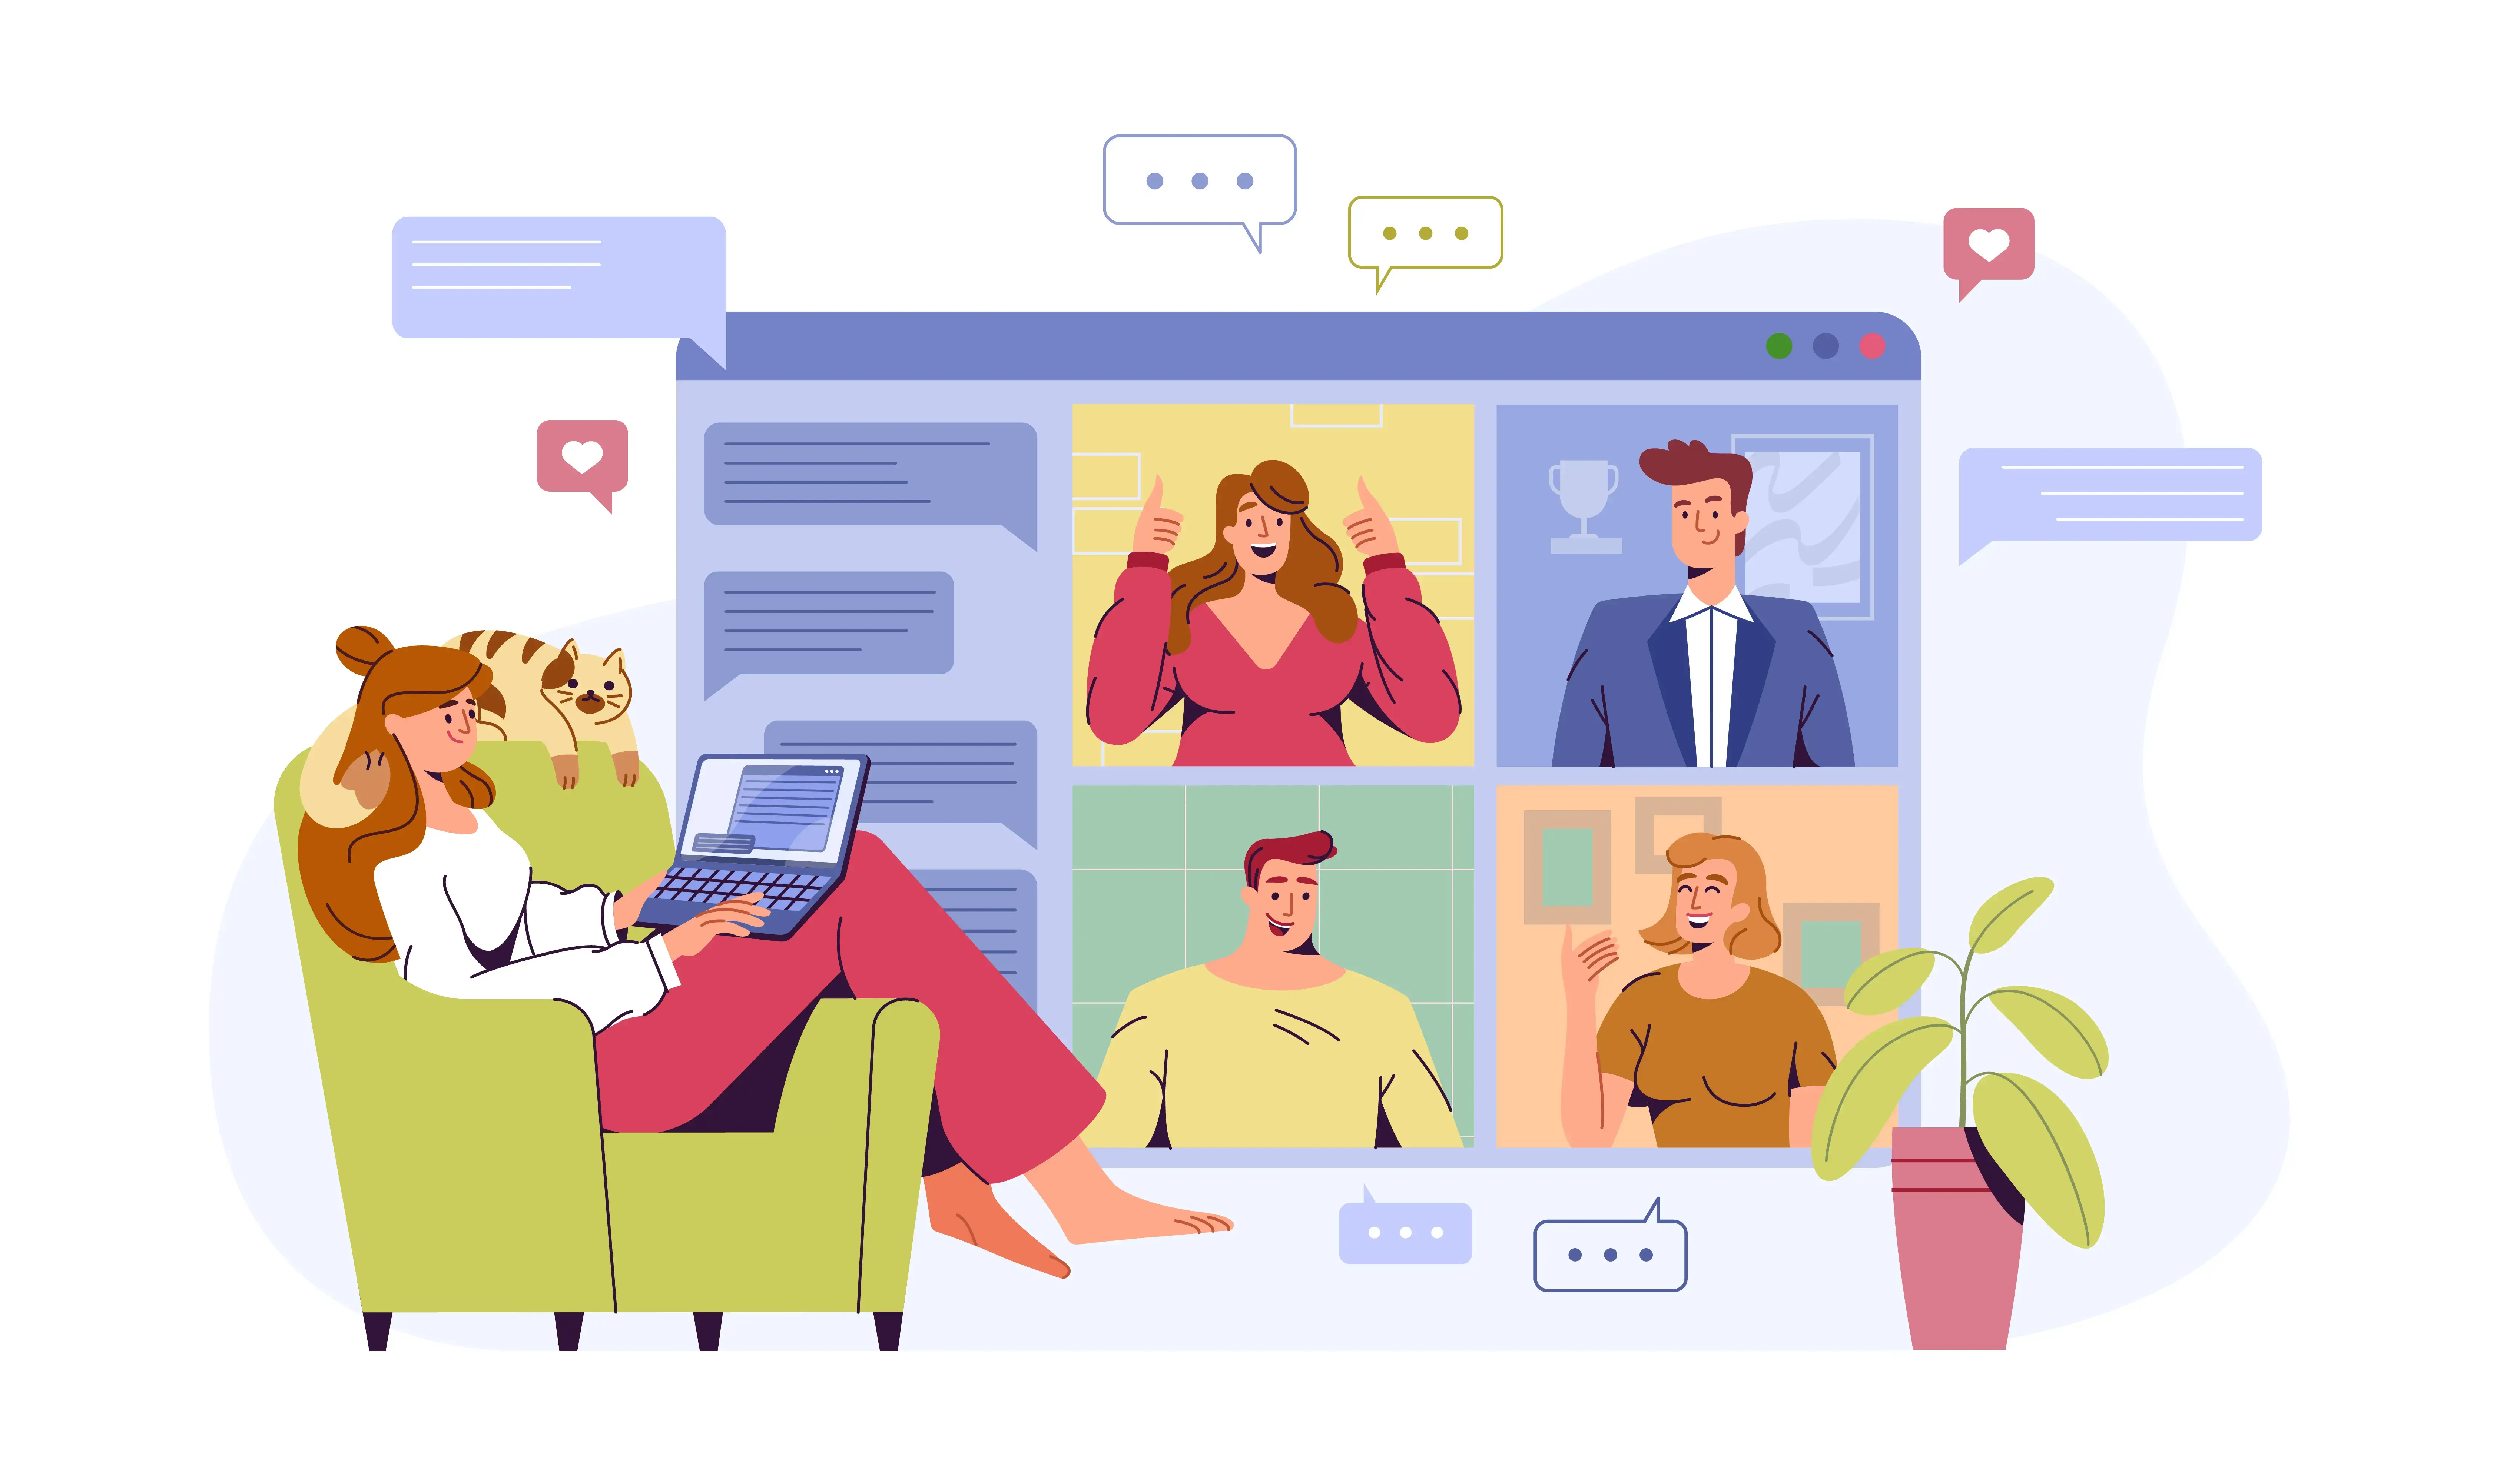
Méthode 3 : enregistrement d'écran avec MeetGeek
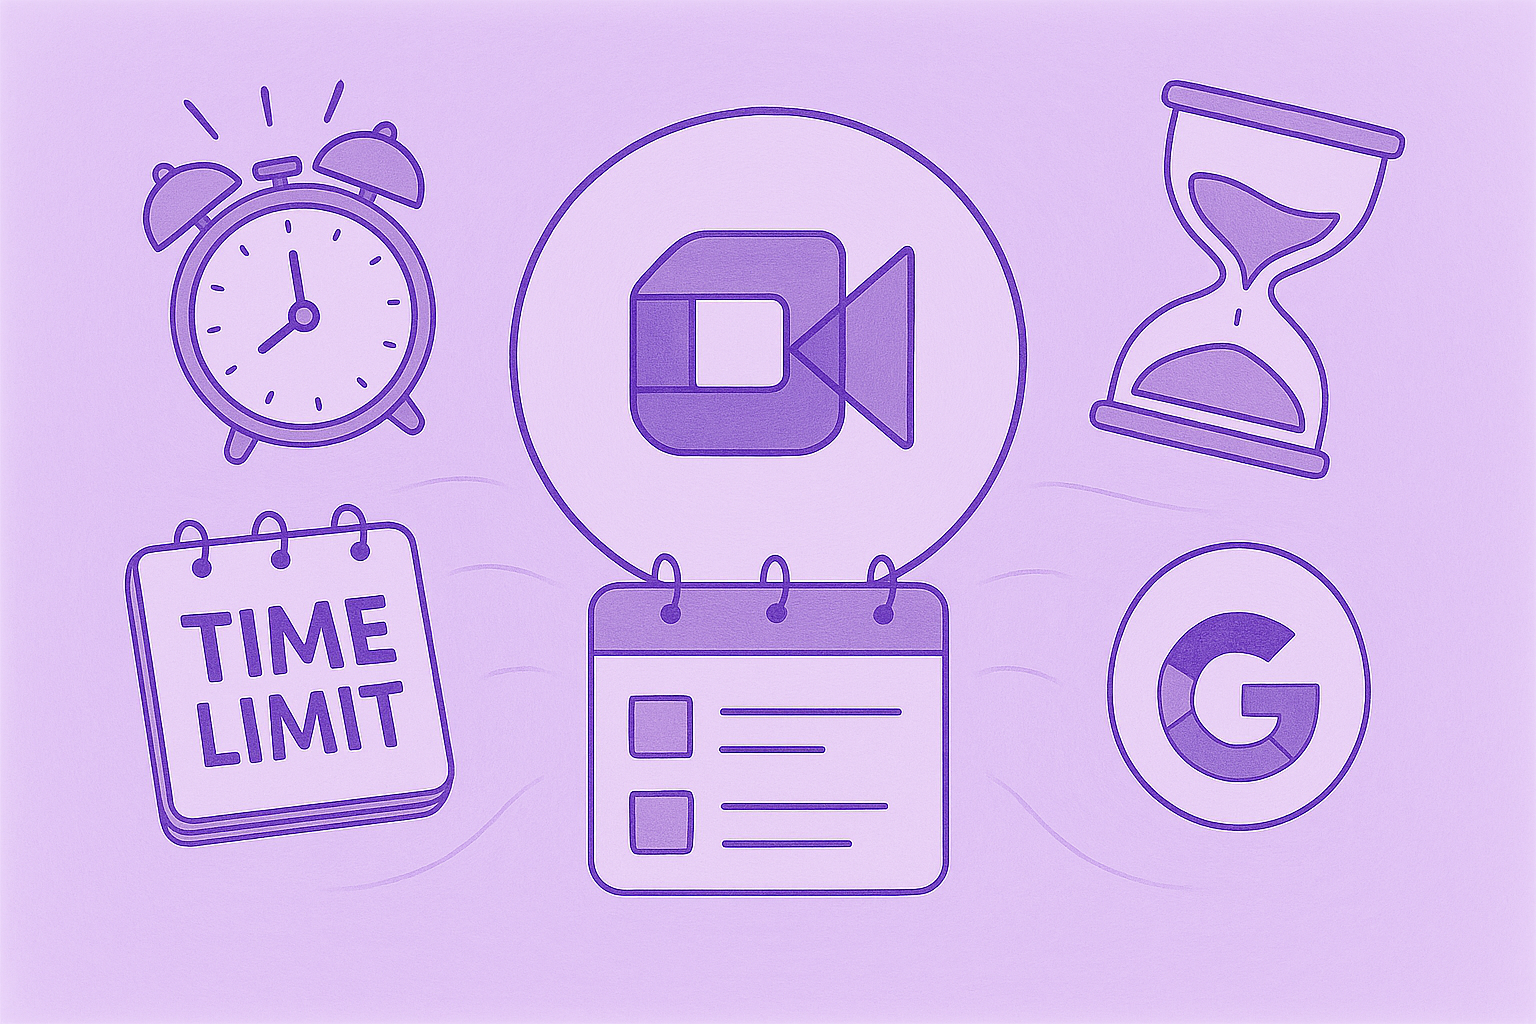
Si vous enregistrez des réunions récurrentes sur votre Mac, il arrive un moment où appuyer sur Shift + Command + 5 et enregistrer un autre fichier vidéo sur votre bureau cesse d'être pratique. Les appels aux clients, les démonstrations commerciales, les sessions de formation, les réunions de synchronisation hebdomadaires et les webinaires ne se limitent pas à une simple capture d'écran. Ils nécessitent une structure, une capacité de recherche et un suivi.
MeetGeek remplace l'enregistrement d'écran manuel par une capture automatique des réunions et des informations après les réunions.
Étape 1 : connectez MeetGeek à votre plateforme de réunion
- Connectez-vous à votre compte MeetGeek.
- Connectez votre compte Zoom, Google Meet ou Microsoft Teams.
- Choisissez vos préférences d'enregistrement dans les paramètres.
Une fois connecté, MeetGeek peut automatiquement rejoindre des réunions planifiées ou être invité en tant que participant. Il n'est pas nécessaire d'appuyer sur Enregistrer sur votre Mac, d'ouvrir QuickTime ou de configurer le routage audio du système.
Si vous souhaitez enregistrer sans bot ou étendre votre enregistrement à d'autres plateformes telles que Discord ou Webex, vous pouvez également ajouter l'extension MeetGeek Chrome pour enregistrer vos réunions.
Étape 2 : Laissez MeetGeek enregistrer la réunion
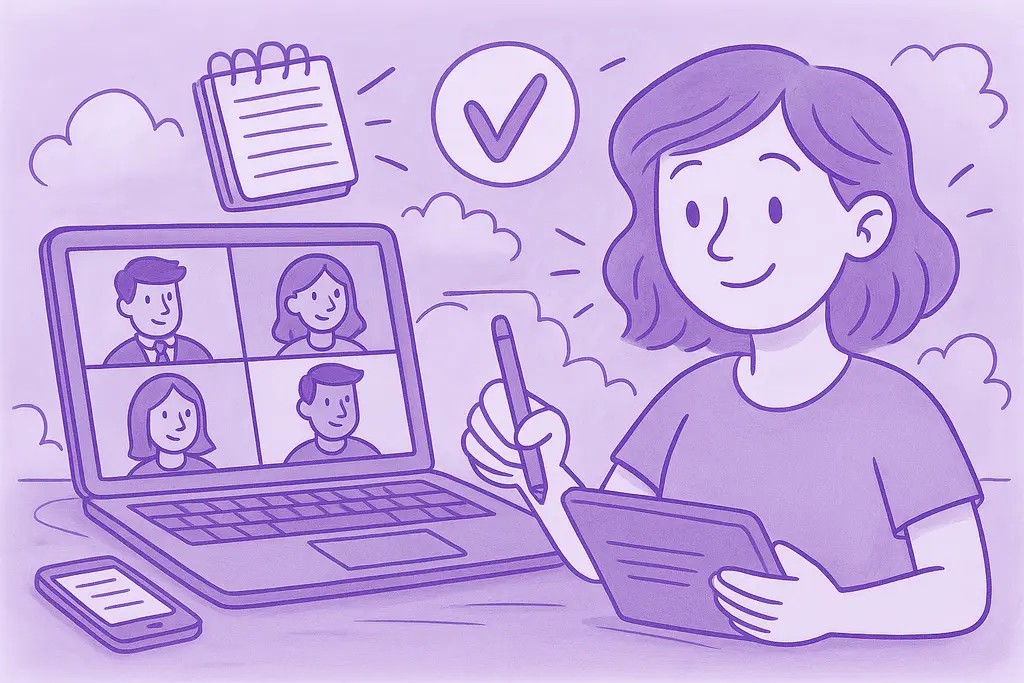
À l'heure prévue, MeetGeek rejoint l'appel et gère :
- Enregistrement vidéo de la séance.
- Capture audio claire sans vous fier aux paramètres du microphone de votre Mac.
- Stockage sécurisé de l'enregistrement dans le cloud.
Il n'est pas nécessaire de gérer les zones d'écran, de sélectionner la totalité de l'écran ou de régler la résolution de capture. La réunion est enregistrée directement dans l'environnement de la plateforme plutôt que sur l'écran de votre bureau.
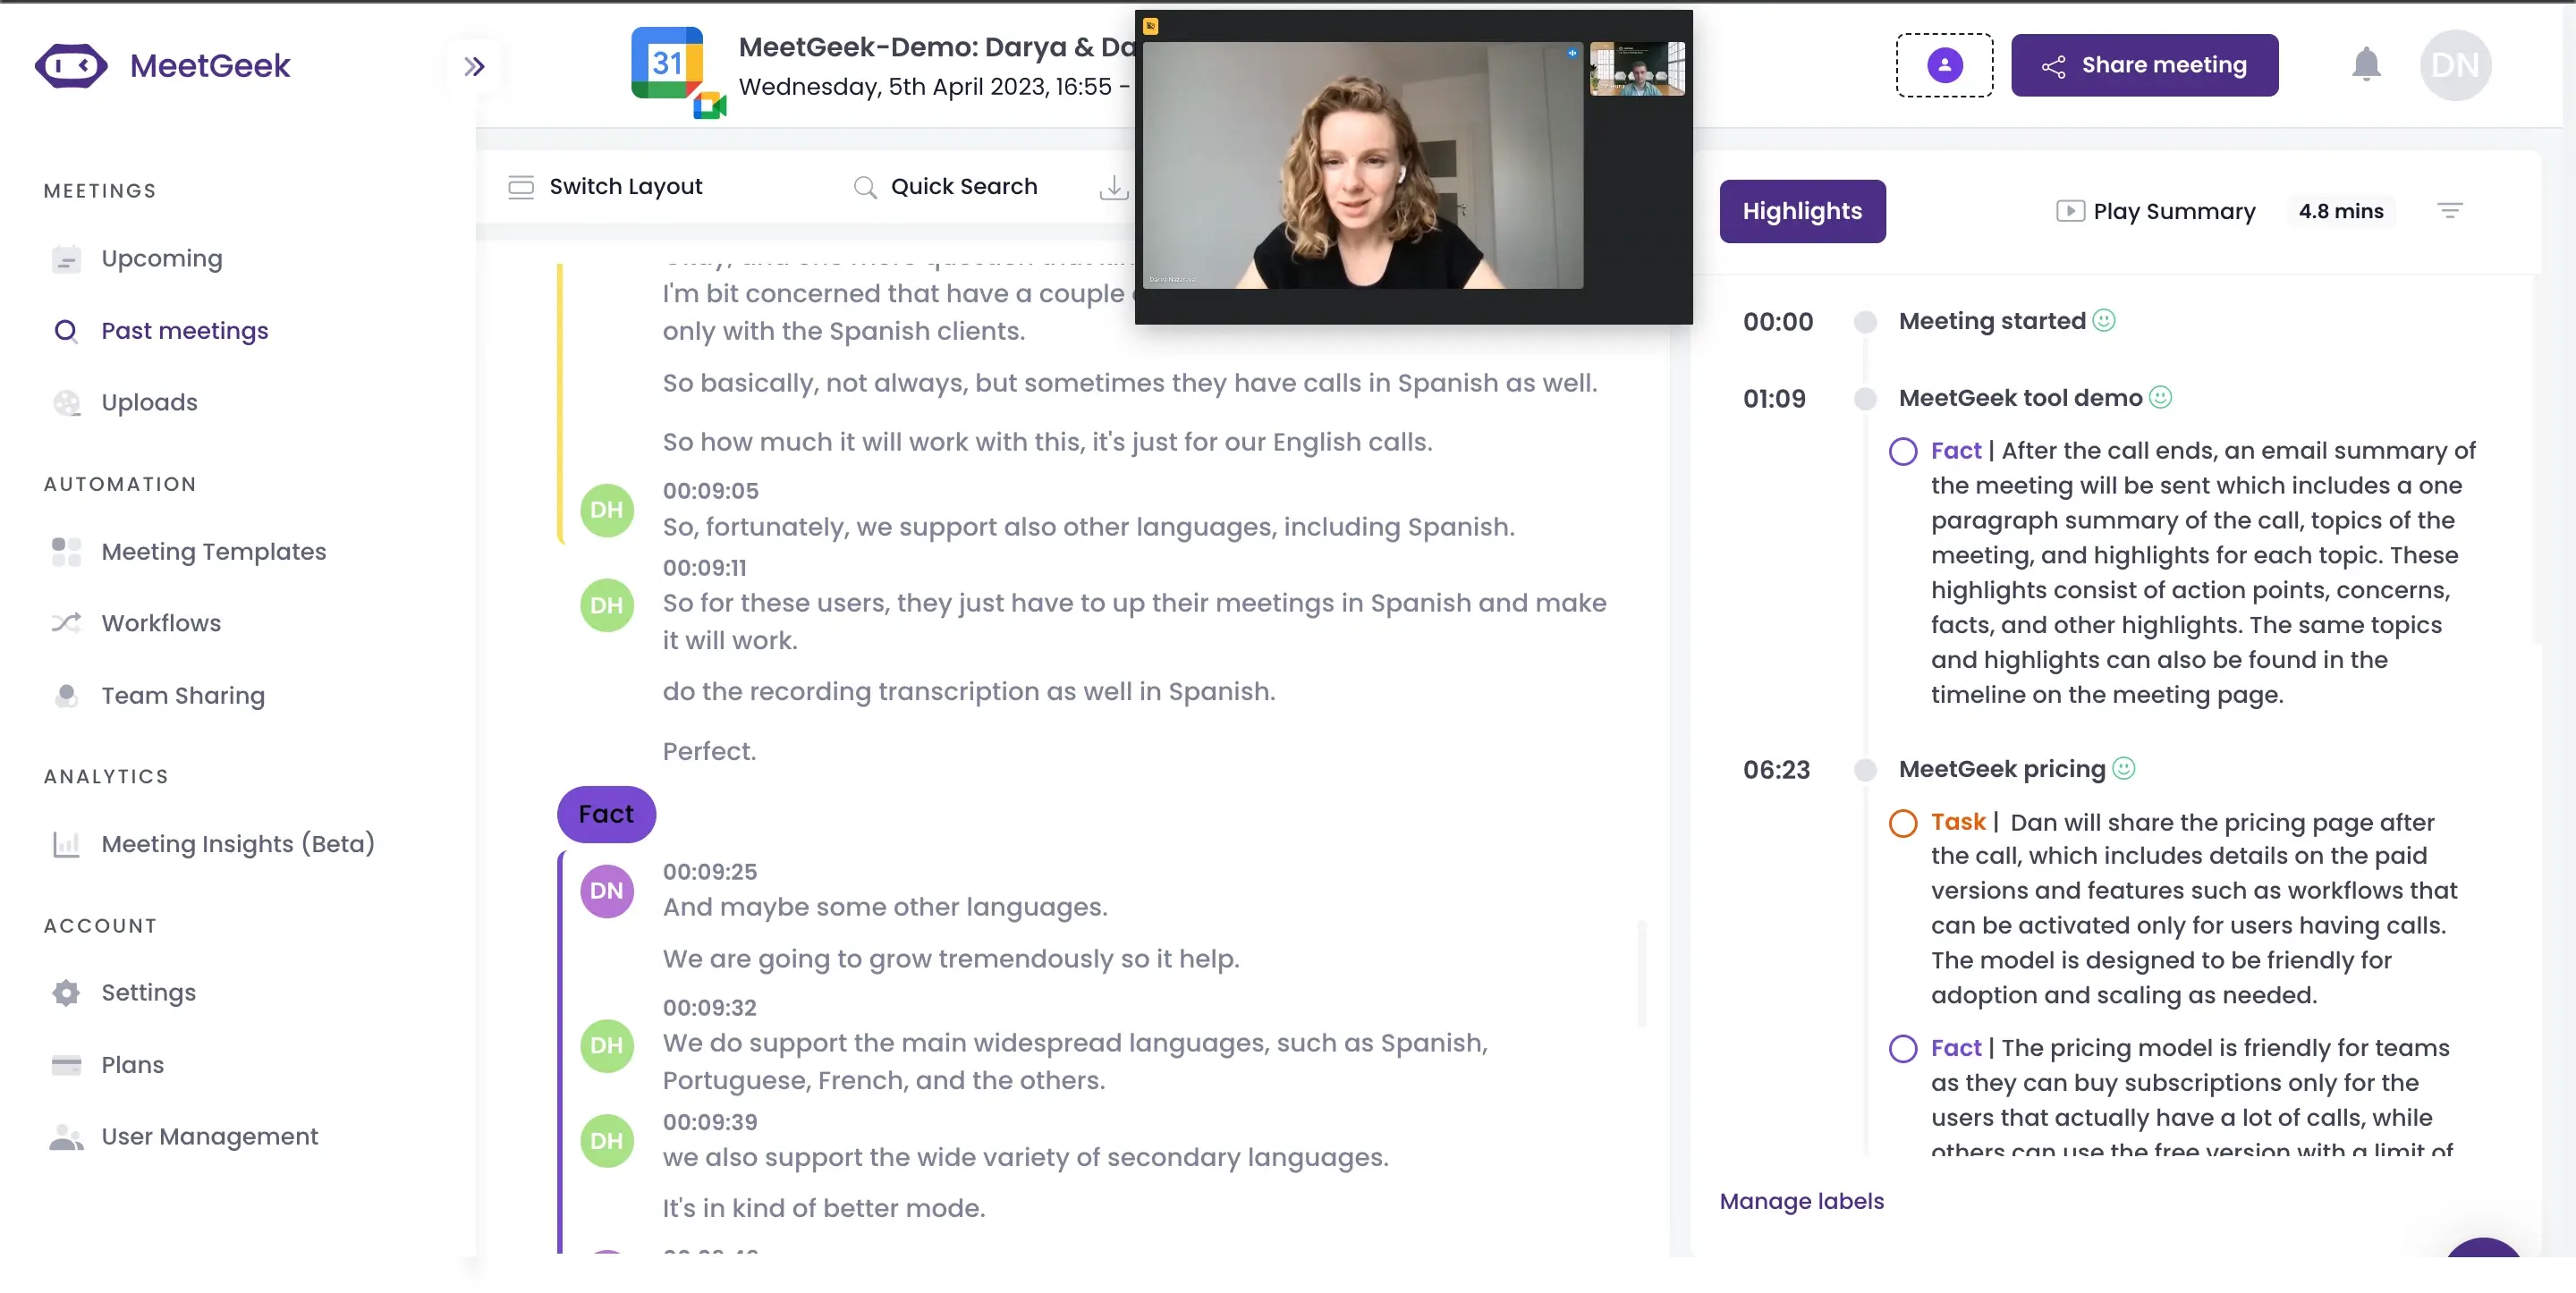
Étape 3 : Accédez à la transcription et au résumé de l'IA
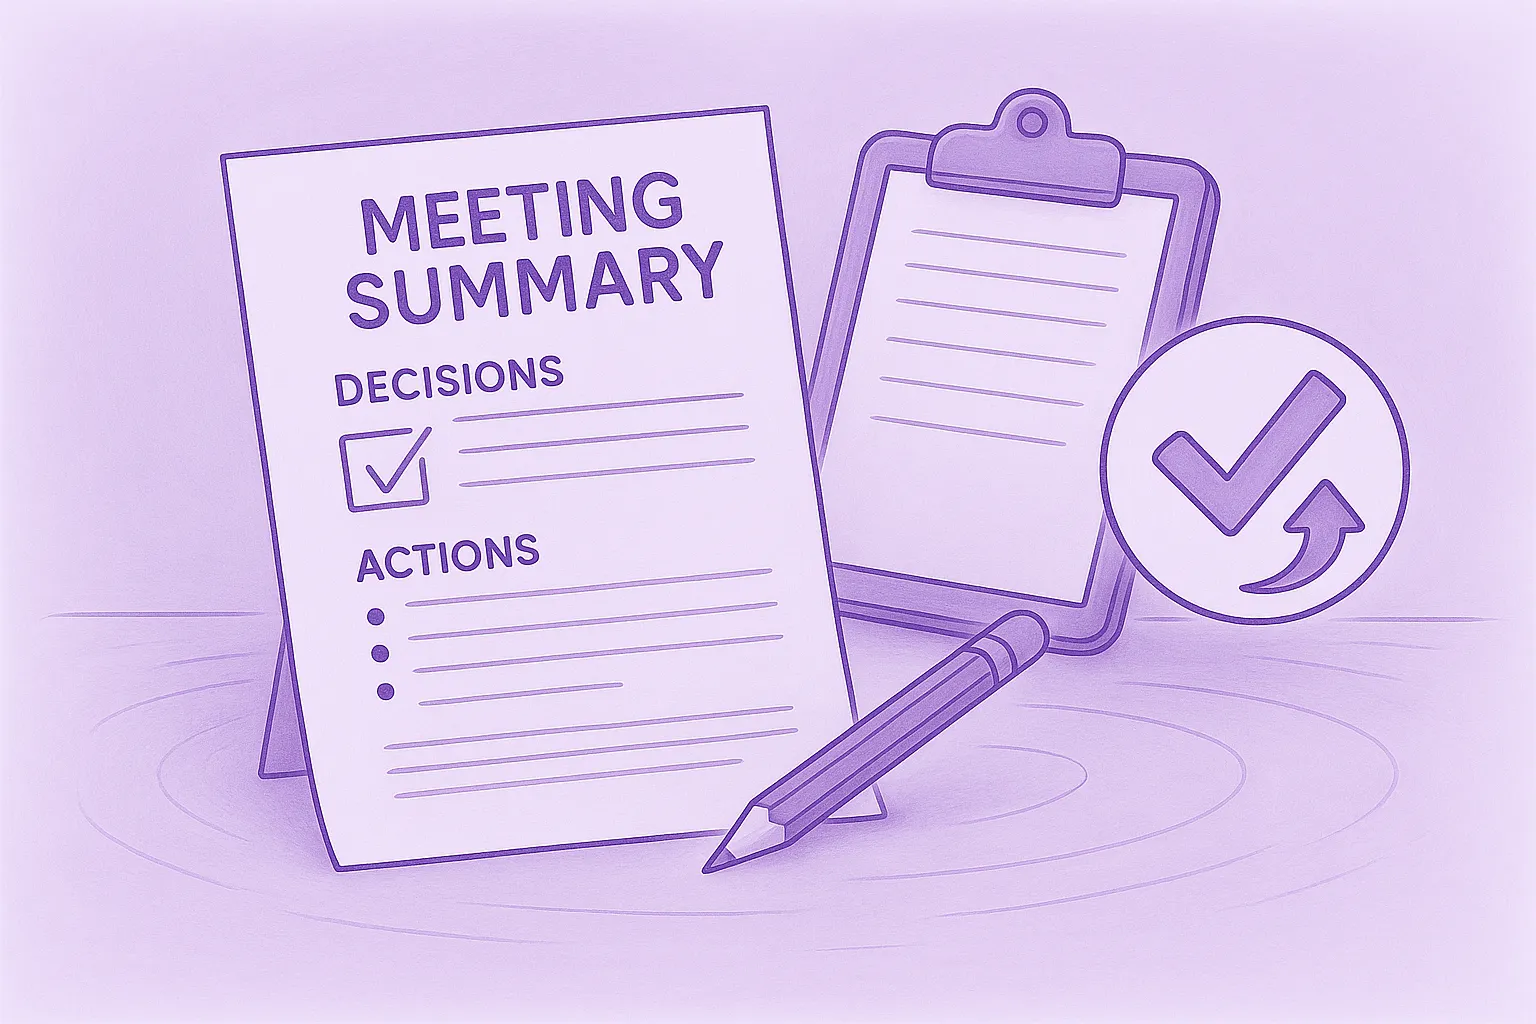
Une fois la réunion terminée, MeetGeek génère automatiquement :
- Une transcription complète.
- Un résumé structuré de l'IA.
- Principaux points de discussion.
- Eléments d'action identifiés.

Au lieu de revoir une vidéo complète pour trouver un détail, vous pouvez effectuer une recherche dans la transcription par mot clé et accéder au moment exact de l'enregistrement.
Cela change la façon dont les équipes utilisent les enregistrements des réunions. La valeur passe de « nous avons le fichier » à « nous pouvons retrouver instantanément ce qui a été dit ».
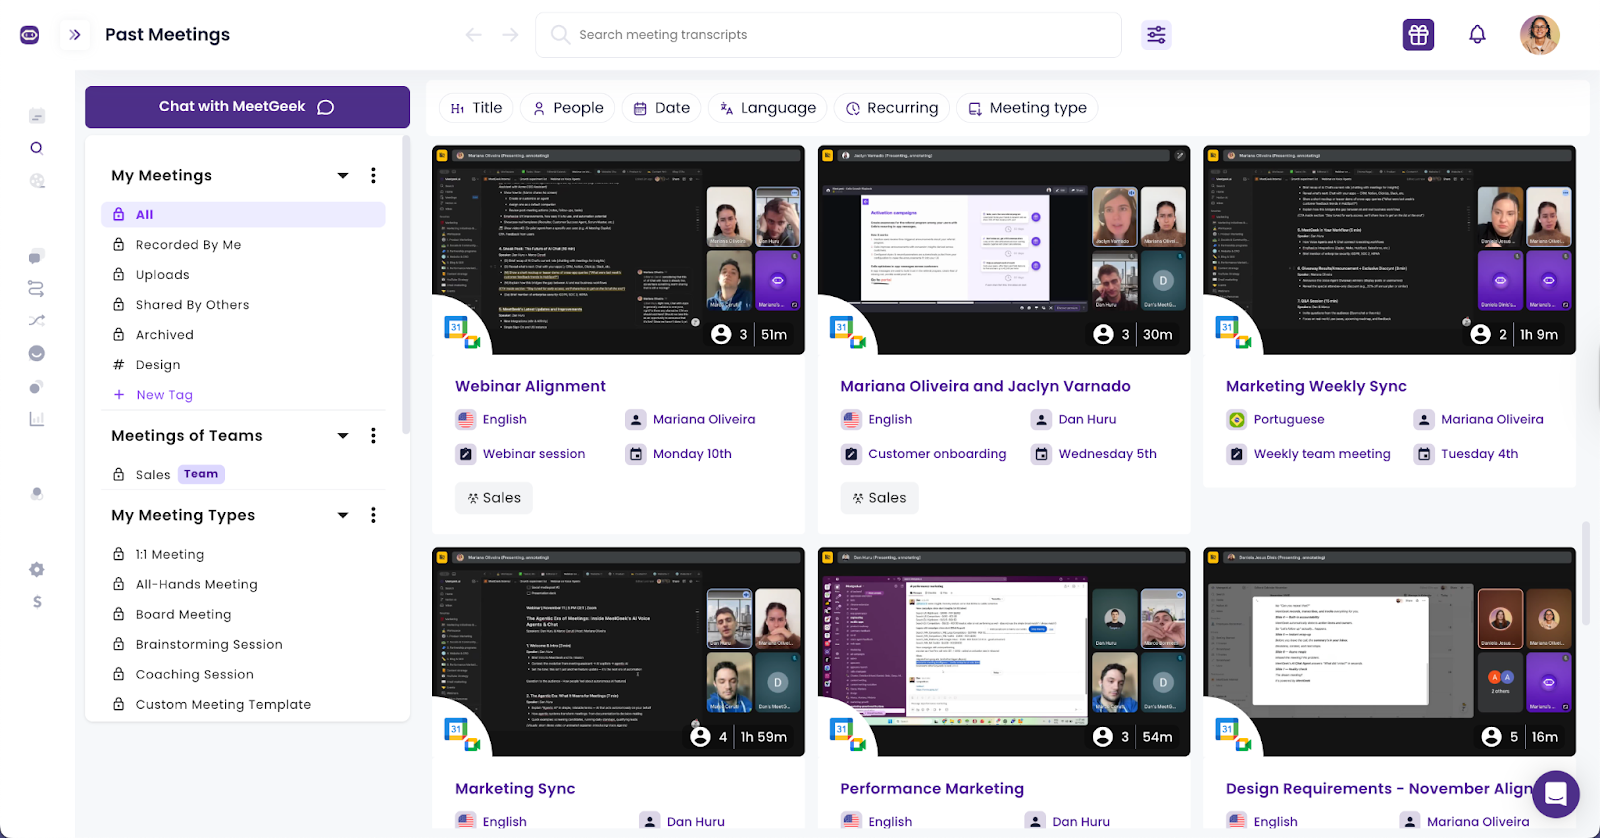
Étape 4 : partager, organiser et intégrer
MeetGeek stocke les réunions dans un espace de travail centralisé. À partir de là, vous pouvez :
- Partagez un lien sécurisé avec vos collègues ou vos clients.
- Copiez les résumés dans la documentation.
- Filtrez les réunions par participant ou par thème.
- Intégrez-le à d'autres outils pour synchroniser les notes et les actions.
Plutôt que de télécharger un fichier, de le renommer, de le charger ailleurs et de rédiger manuellement des notes de suivi, le système maintient tout connecté.
Ce que vous pouvez faire au-delà de l'enregistrement avec MeetGeek
L'enregistrement d'écran manuel produit une vidéo. MeetGeek transforme chaque réunion en un actif structuré qui reste utile longtemps après la fin de l'appel.
Effectuez des recherches dans les conversations
Vous pouvez effectuer une recherche dans plusieurs réunions en fonction d'un terme, d'une demande de fonctionnalité ou d'un nom de client spécifique. Cela n'est pas possible avec des fichiers de bureau isolés, sauf si quelqu'un les transcrit manuellement.
Suivez les décisions et les mesures à prendre
MeetGeek met en évidence les tâches et les engagements afin qu'ils ne soient pas enterrés dans un long enregistrement vidéo. Les réunions de synchronisation hebdomadaires et les appels avec les clients deviennent plus faciles à suivre car les responsabilités sont visibles.
Revivez des moments spécifiques avec des chapitres
Au lieu de faire glisser une chronologie d'avant en arrière, vous pouvez accéder directement aux sections qui vous intéressent. Pour les sessions de formation et les webinaires, cela permet aux coequ ipiers de consulter uniquement les parties pertinentes.
Créez une bibliothèque de réunions à long terme
Au fil du temps, les enregistrements s'accumulent. Avec la capture d'écran manuelle, cette accumulation devient un encombrement. Avec MeetGeek, les réunions constituent un archive consultable qui prend en charge l'intégration, les évaluations des performances, les études de clientèle et la planification stratégique.
Conseils de pro pour un meilleur enregistrement d'écran sur Mac
L'outil d'enregistrement d'écran intégré sur Mac est simple, mais de petits ajustements font une différence notable en termes de qualité vidéo et audio. Quelques habitudes pratiques permettent d'éviter les problèmes courants et de réduire le temps de montage ultérieur.
Vérifiez votre micro avant de commencer
Avant d'appuyer sur Enregistrer, ouvrez le menu Options dans la barre d'outils de la capture d'écran et vérifiez que le bon microphone est sélectionné. De nombreux problèmes d'enregistrement se produisent parce que le mauvais micro est actif ou que les niveaux d'entrée sont trop faibles. Si possible, testez pendant quelques secondes et relisez-le pour vérifier que votre voix est claire et équilibrée.
Nettoyez votre bureau
Fermez les fenêtres inutiles et supprimez l'encombrement visuel de votre écran. Les notifications, les onglets d'arrière-plan et les icônes de bureau désordonnées distraient les spectateurs et réduisent la clarté. Si vous enregistrez un didacticiel ou une démonstration, ne laissez apparaître sur votre écran que la fenêtre ou l'application dont vous avez besoin.
Ajustez intentionnellement la résolution
Une résolution plus élevée crée des vidéos plus nettes, ce qui est utile pour les didacticiels détaillés et les procédures pas à pas de l'interface utilisateur. Cela augmente également la taille du fichier. Si vous envisagez de mettre en ligne sur YouTube ou de partager en externe, une résolution plus élevée peut améliorer la clarté. Pour le partage interne, une résolution modérée permet d'alléger les fichiers et de les stocker plus facilement.
Utiliser un casque pendant l'enregistrement
Si vous capturez le son d'un appel Zoom ou d'une autre application, les écouteurs réduisent l'écho et le feedback. Ils empêchent également votre microphone de capter le son du système émis par les haut-parleurs de votre ordinateur, ce qui améliore la qualité sonore globale.
Découper immédiatement après l'enregistrement
Dès que vous arrêtez l'enregistrement, visionnez la vidéo et réduisez les secondes inutiles depuis le début ou la fin. QuickTime simplifie les choses, et le découpage immédiat empêche les séquences inutilisées de s'accumuler dans plusieurs fichiers. Une vidéo finale plus propre fait gagner du temps à tous ceux qui la regarderont plus tard.
Où sont enregistrés vos enregistrements d'écran
Par défaut, les fichiers sont enregistrés sur votre bureau.
Pour modifier l'emplacement de sauvegarde :
- Appuyez sur Shift + Command + 5
- Cliquez sur Options
- Sélectionnez un nouveau lieu
Vous pouvez choisir :
- PC de bureau
- Documents
- Autre dossier
Comment prendre une capture d'écran à la place
Si vous n'avez pas besoin de vidéo, il suffit d'une capture d'écran :
- Presse Commande + Maj + 4
- Faites glisser pour sélectionner la zone
- Relâchez la souris
Pour une capture d'écran en plein écran :
- Presse Commande + Maj + 3
Réflexions finales
L'apprentissage de l'enregistrement d'écran sur Mac vous offre un moyen rapide et intégré de capturer des vidéos sur votre ordinateur. Cependant, la limitation apparaît lorsque vous arrêtez l'enregistrement. Un fichier vidéo enregistré ne s'organise pas tout seul, ne résume pas les décisions et ne permet pas de suivre les actions. Lorsque les réunions deviennent fréquentes et que les résultats sont importants, le stockage d'enregistrements bruts sur un ordinateur de bureau crée des tensions qui s'aggravent au fil du temps.
MeetGeek comble cette lacune en transformant les réunions enregistrées en actifs structurés et consultables avec des transcriptions, des résumés d'IA, des chapitres et des suivis clairs. Au lieu de gérer des fichiers, vous gérez des informations.
Si votre équipe utilise Zoom, Google Meet ou Microsoft Teams et a besoin de plus qu'un simple enregistrement d'écran, essayez MeetGeek gratuitement et découvrez comment la capture automatique des réunions et les résumés alimentés par l'IA modifient la façon dont vous documentez les conversations.
Questions fréquemment posées
Comment effectuer un enregistrement d'écran avec audio sur un Mac ?
Pour effectuer un enregistrement d'écran avec audio sur un Mac, appuyez sur Shift + Commande + 5 pour ouvrir la barre d'outils de capture d'écran. Choisissez Enregistrer la totalité de l'écran ou Enregistrer la partie sélectionnée, puis cliquez sur Options et sélectionnez un microphone dans la section audio. Appuyez sur Record bouton pour démarrer et utiliser Commande + Contrôle + Esc pour arrêter l'enregistrement.
Cette méthode enregistre l'entrée de votre écran et de votre microphone. L'enregistrement du son interne du système nécessite une configuration supplémentaire ou des outils tiers.
Un enregistrement d'écran Mac peut-il capturer le son du système ?
Par défaut, l'enregistrement d'écran macOS capture l'entrée du microphone mais n'enregistre pas directement le son interne du système, tel que le son de l'application ou la lecture YouTube. La capture du son du système nécessite un logiciel de routage audio supplémentaire et la modification des paramètres du système.
Pour les réunions sur Zoom, Google Meet ou Microsoft Teams, l'utilisation d'un outil d'enregistrement de réunion dédié tel que MeetGeek permet d'éviter une configuration complexe et garantit une capture audio propre sans configuration audio manuelle du système.
Quel est le meilleur moyen d'enregistrer des réunions Zoom sur un Mac ?
La meilleure façon d'enregistrer des réunions Zoom sur un Mac dépend de votre objectif. Pour un simple fichier vidéo, vous pouvez utiliser la fonction d'enregistrement intégrée de Zoom ou l'outil d'enregistrement d'écran macOS.
Pour les équipes qui ont besoin de transcriptions, de notes consultables, de résumés d'IA et d'un stockage organisé, un assistant de réunion tel que MeetGeek fournit un enregistrement automatique, des résumés structurés, un suivi des actions et un accès centralisé aux conversations passées.

Recruitment Automation Tools: 7 Platforms To Try
Discover the best recruitment automation tools for hiring teams. Compare AI recruiting software, ATS platforms, and interview automation tools to reduce manual work and shorten time to hire.

Compte Rendu de Réunion IA sur Zoom : 8 Outils Testés (2026)
Comment 8 outils de compte rendu de réunion IA se connectent vraiment à Zoom et ce que chacun fait quand vous n'êtes pas l'organisateur.
Meilleur ATS Recrutement : Top Logiciels 2026
Comparatif des meilleurs ATS et logiciels de recrutement : pour qui chacun est fait, combien ça coûte, et comment choisir.

Le Comité de Direction (Codir) : Rôles, Structure et Bonnes Pratiques
Découvrez les rôles, les responsabilités et les traits des comités de direction performants, ainsi que des stratégies concrètes pour un leadership plus fort.
Enregistrer un Appel, l'Écran et l'Audio sur Téléphone
Découvrez comment enregistrer un appel, l'écran et l'audio sur téléphone Android et iPhone, avec applis, conseils de qualité et règles légales.

La Note de Synthèse : Types, Structure et Exemple
Une note de synthèse transforme une information complexe en conclusions claires. Découvrez les types, les sections essentielles, un exemple et les bonnes pratiques.
Notes de Réunion dans Claude : Ce Que Vous Pouvez Créer et Comment Connecter
Connectez vos notes de réunion à Claude et transformez les appels passés en réponses, documents finalisés et travail en plusieurs étapes.
Les 6 Meilleures Alternatives à Airgram en 2026
Comparez les meilleures alternatives à Airgram pour 2026, notamment MeetGeek, Fireflies, Otter, tl;dv, Fellow et Sembly AI.
Compte Rendu de Réunion avec ChatGPT : Avantages et Usages
Connectez vos notes de réunion à ChatGPT et transformez vos appels passés en comptes rendus, réponses et automatisations instantanés, en langage naturel.
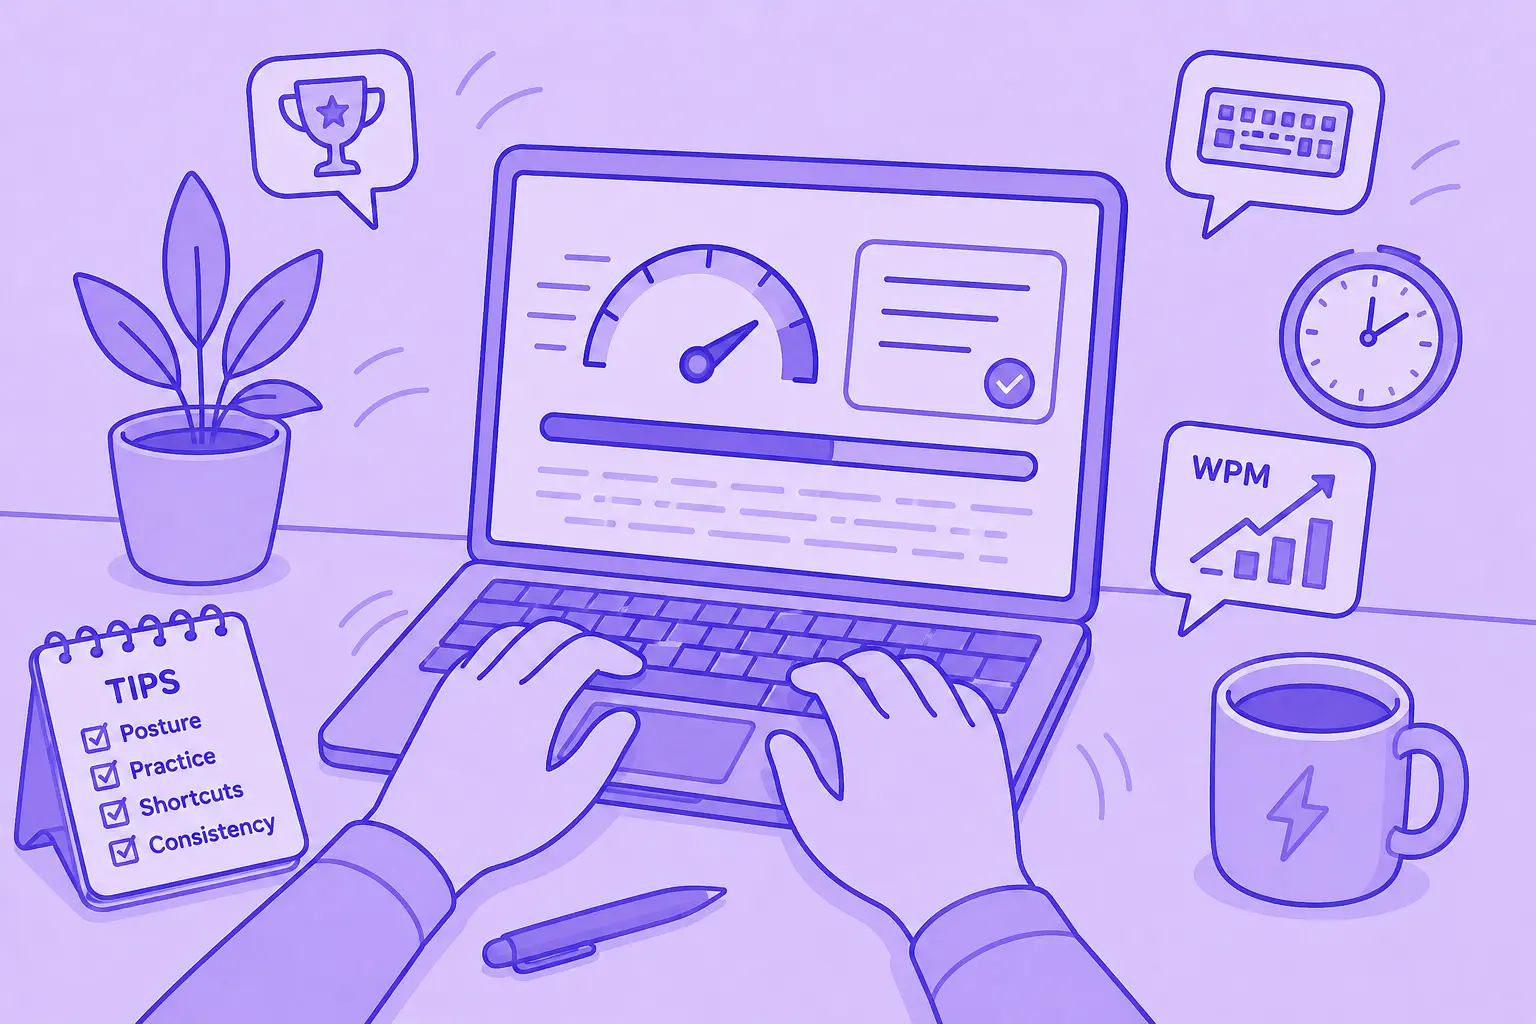
Comment taper plus vite : 15 astuces de frappe qui fonctionnent
Vous voulez taper plus vite et faire moins de fautes ? Découvrez des astuces de frappe pratiques, des raccourcis clavier et des outils qui vous aident à travailler plus intelligemment.
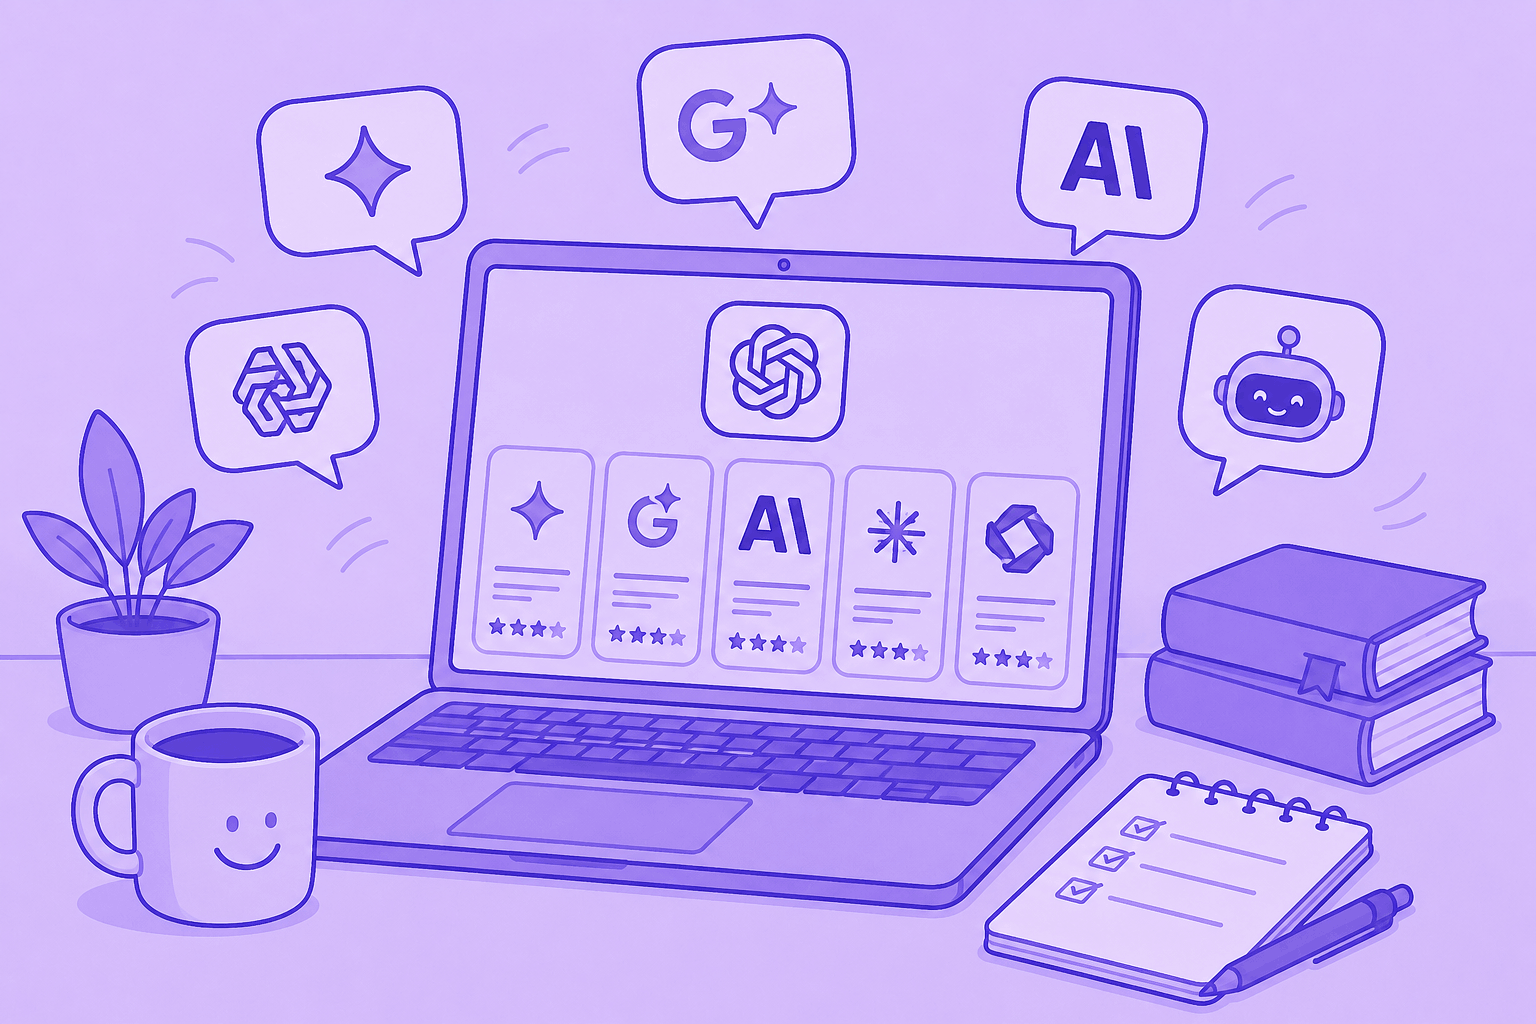
Les 10 meilleures alternatives à ChatGPT pour le travail en 2026
Vous cherchez une alternative à ChatGPT ? Comparez les meilleurs outils d'IA pour la recherche, les réunions, la rédaction, le codage, la recherche d'informations et la productivité en 2026.
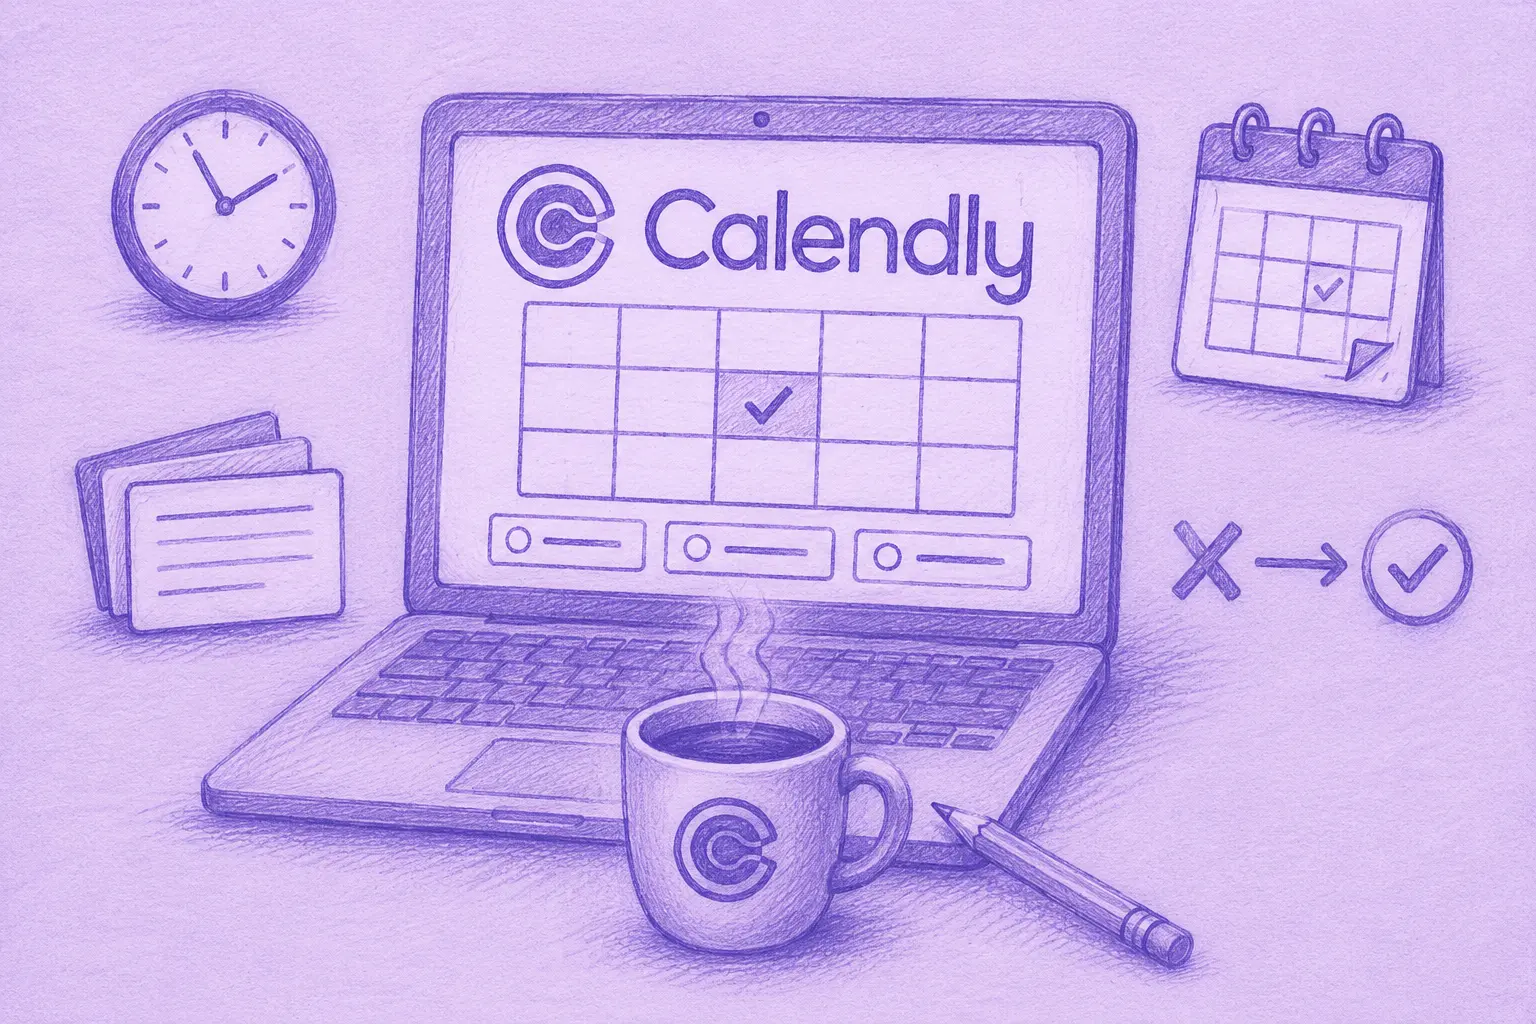
Les 9 Meilleures Alternatives à Calendly en 2026 (Testées et Comparées)
Cal.com, Acuity, Chili Piper, et bien d'autres — les meilleures alternatives à Calendly en 2026, testées et classées par cas d'utilisation.
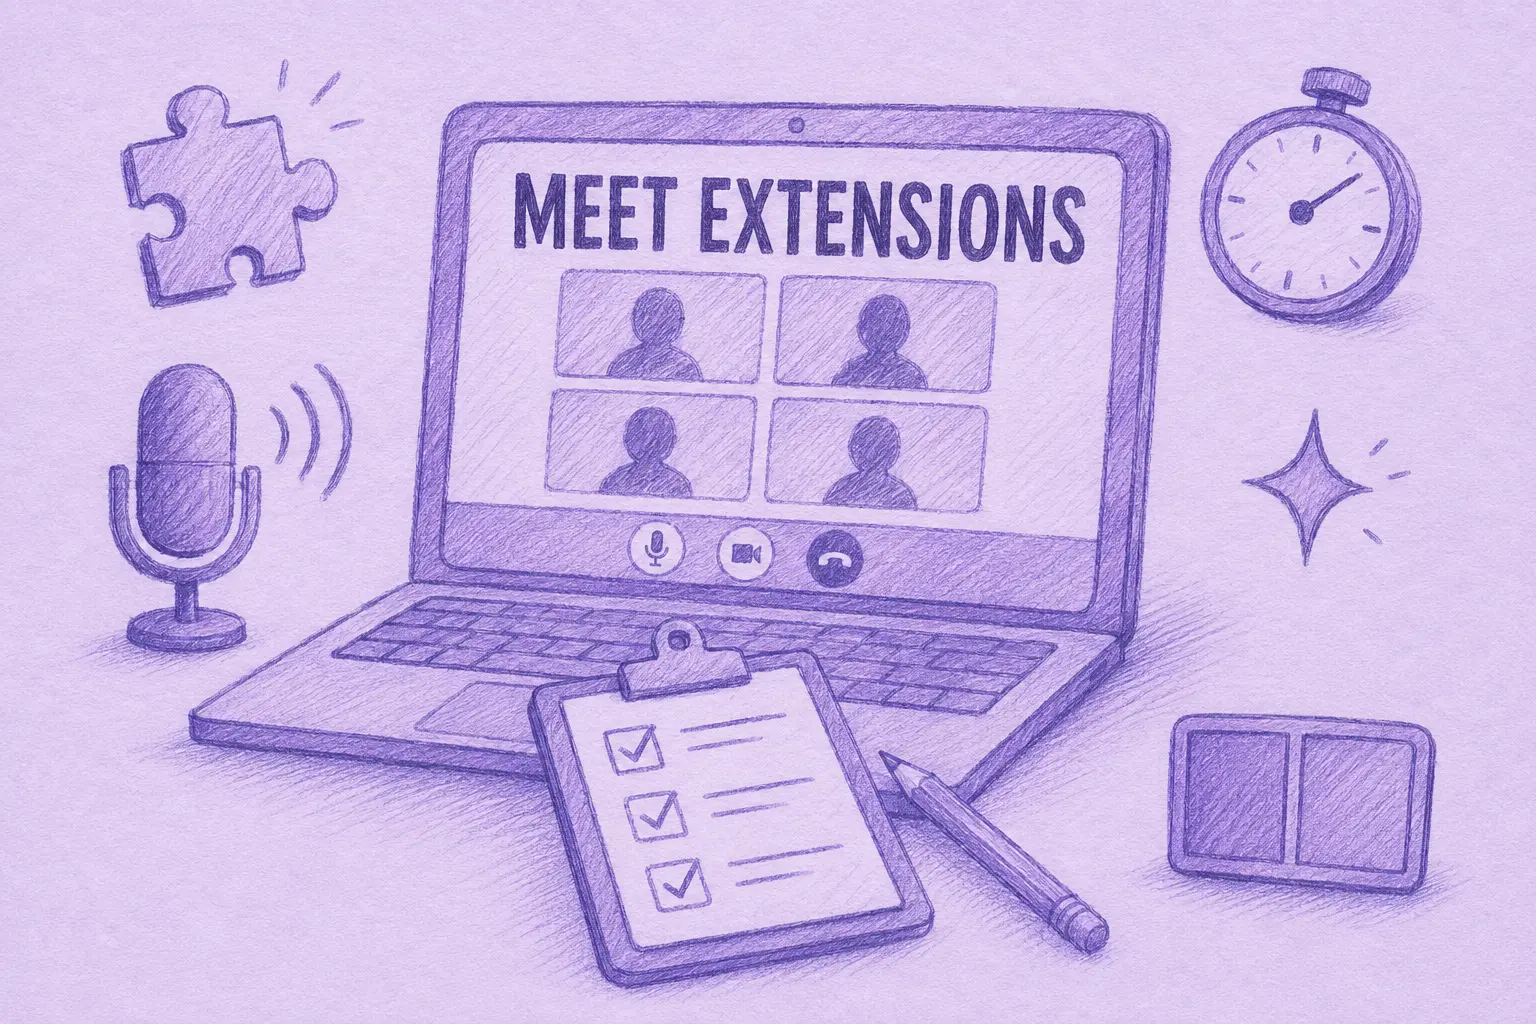
Les 8 Meilleures Extensions Google Meet en 2026 (Testées pour la Productivité)
Des notes IA à la suppression du bruit, voici 8 extensions Chrome qui corrigent ce que Google Meet ne fait pas nativement.

Outils de Productivité IA que Nous Utilisons Réellement en Vente et Marketing
Un aperçu pratique des outils de productivité IA que nous utilisons quotidiennement pour les réunions, le contenu, l'automatisation, les flux de travail de vente et le travail d'équipe.

Gemini vs. Google Assistant : Guide de Comparaison Complet
Vous êtes perdu entre Gemini et Google Assistant ? Découvrez les principales différences, ce que Google modifie et quel assistant vous convient le mieux.
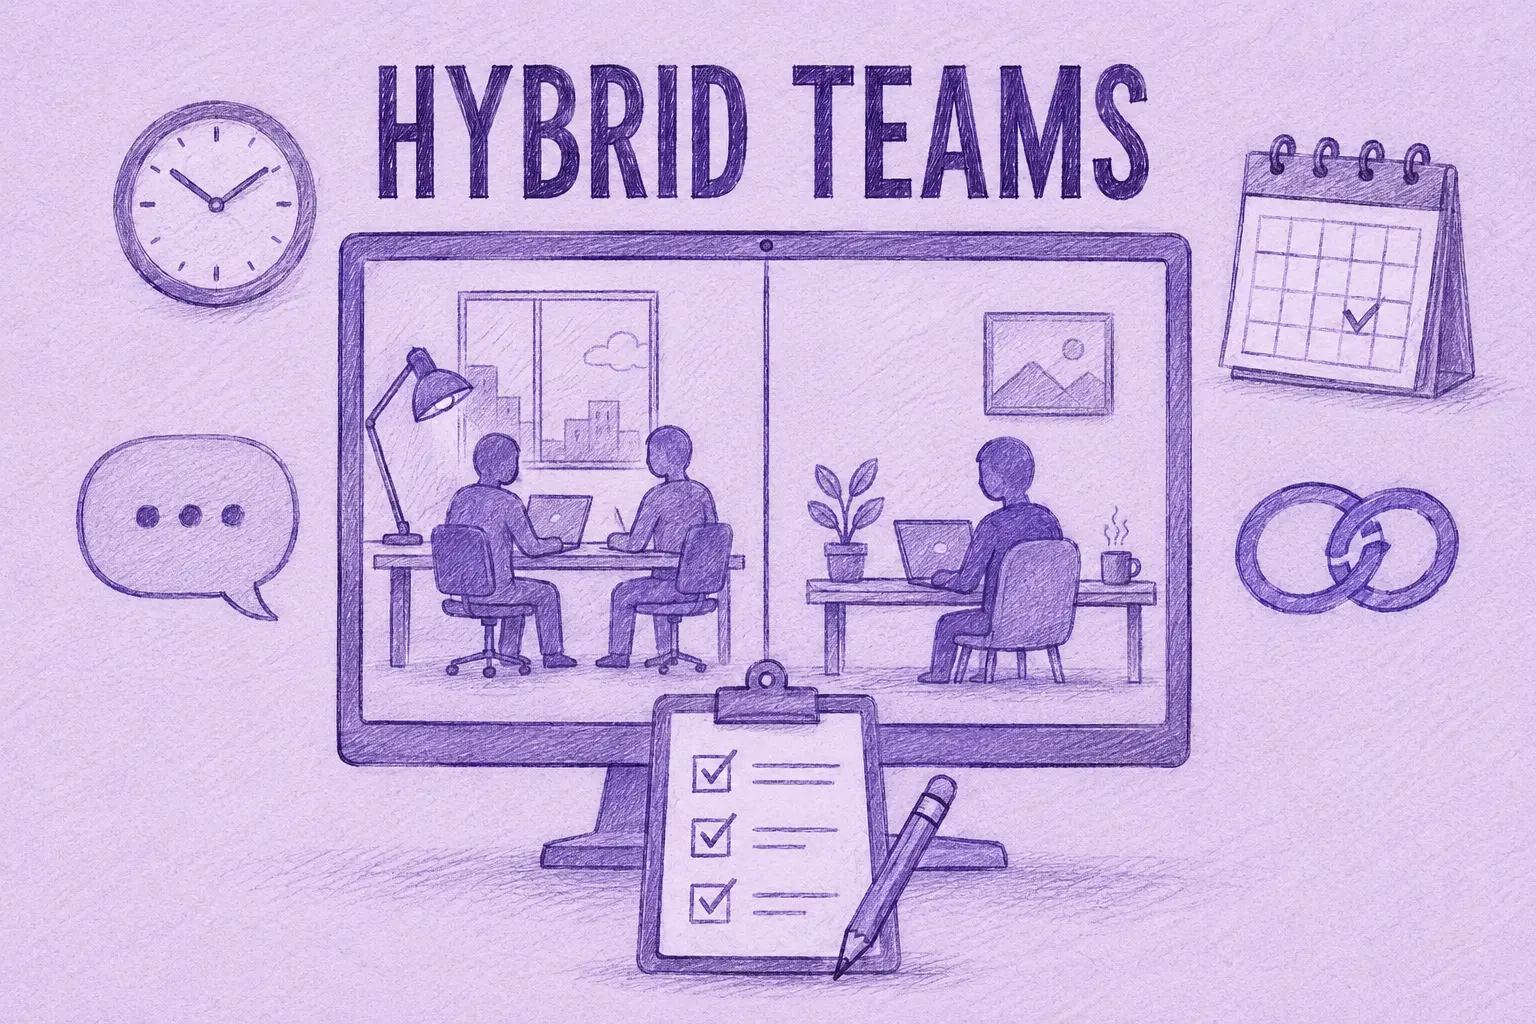
Gérer les Équipes Hybrides en 2026 : Défis Courants et Comment les Surmonter
Lacunes de communication, frictions liées aux fuseaux horaires, dérive culturelle — les quatre défis auxquels tout manager hybride est confronté, et comment les résoudre.

MeetGeek contre tl;dv : quel outil de réunion basé sur l'IA convient le mieux à votre équipe en 2026 ?
Caractéristiques, prix, précision, intégrations dans une comparaison côte à côte avec un verdict clair pour les équipes commerciales, commerciales et opérationnelles.
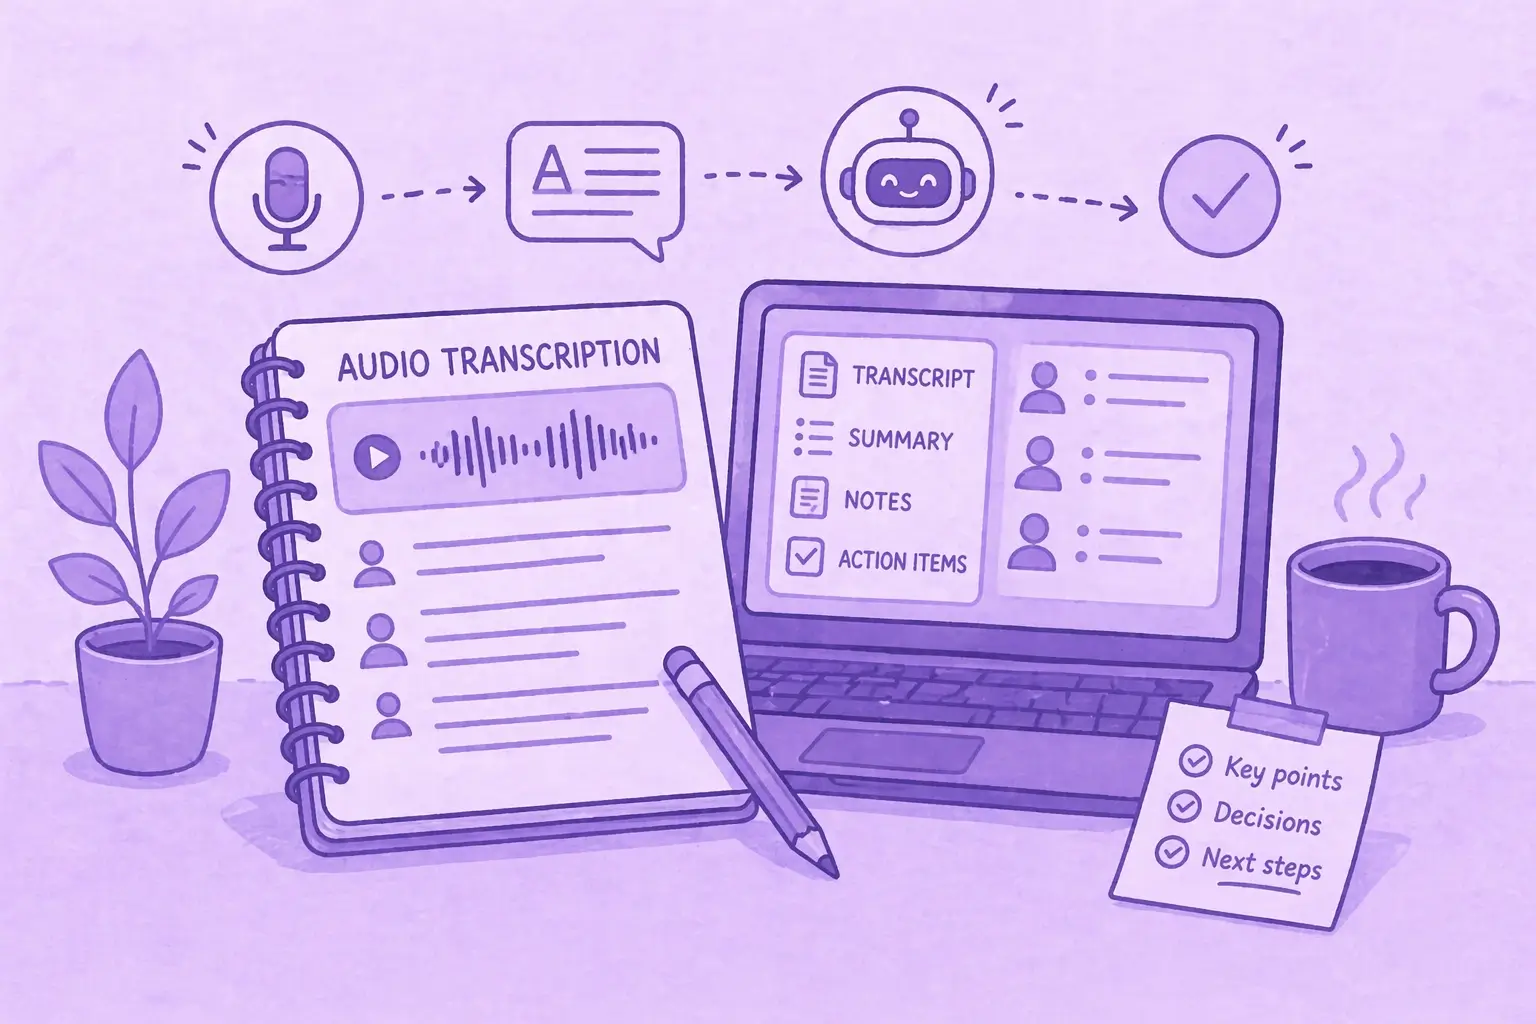
Comment Convertir MP4 en Transcription (Rapide et Précis)
Apprenez à convertir des fichiers MP4 en transcriptions, sous-titres et légendes précis à l'aide d'outils d'intelligence artificielle pour les réunions, les webinaires et les entretiens.
Service de Transcription Google en 2026: Avis Honnête et Meilleure Alternative
Google Meet, Cloud Speech-to-Text, Docs, Recorder — leurs fonctions, leurs limites et la meilleure alternative.

Coaching Commercial Basé sur l'IA: Comment les Équipes Commerciales Modernes Utilisent l'IA pour Conclure Davantage de Ventes
Comment le coaching commercial basé sur l'IA analyse chaque appel (et pas seulement les 3 % échantillonnés par un responsable) et met en évidence les moments propices au coaching par représentant, étape et type d'objection.
Est-ce que ChatGPT peut transcrire l'audio? Ce qu'il peut et ne peut pas faire
Est-ce que ChatGPT peut transcrire de l'audio? Découvrez comment il fonctionne, ses limites et quand utiliser MeetGeek pour de meilleurs résultats.

L'IA au service de la réussite des clients: Le guide de 2026
Où l'IA s'intègre à la journée CSM (renouvellements, risques, références, révisions), ainsi qu'à un modèle de maturité et à une liste de contrôle en 10 éléments pour choisir les outils.
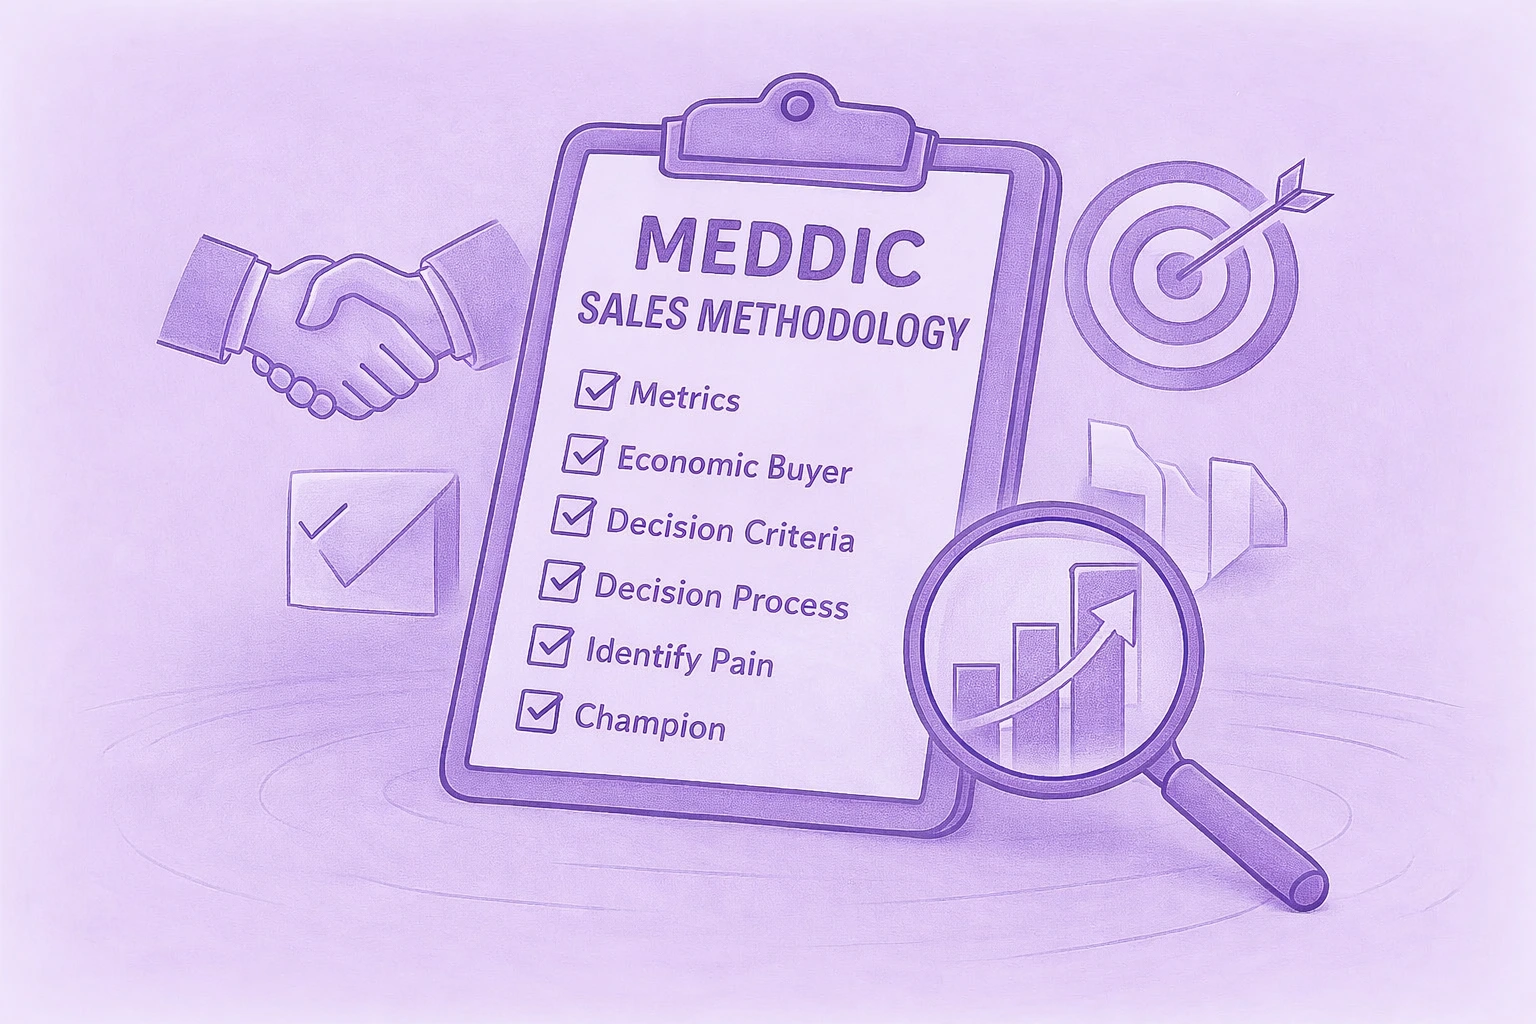
Un guide complet de la méthodologie de vente MEDDIC
Découvrez les ventes de MEDDIC et comment elles aident à qualifier les prospects, à comprendre les processus décisionnels et à améliorer les taux de réussite au cours de cycles de vente B2B complexes.
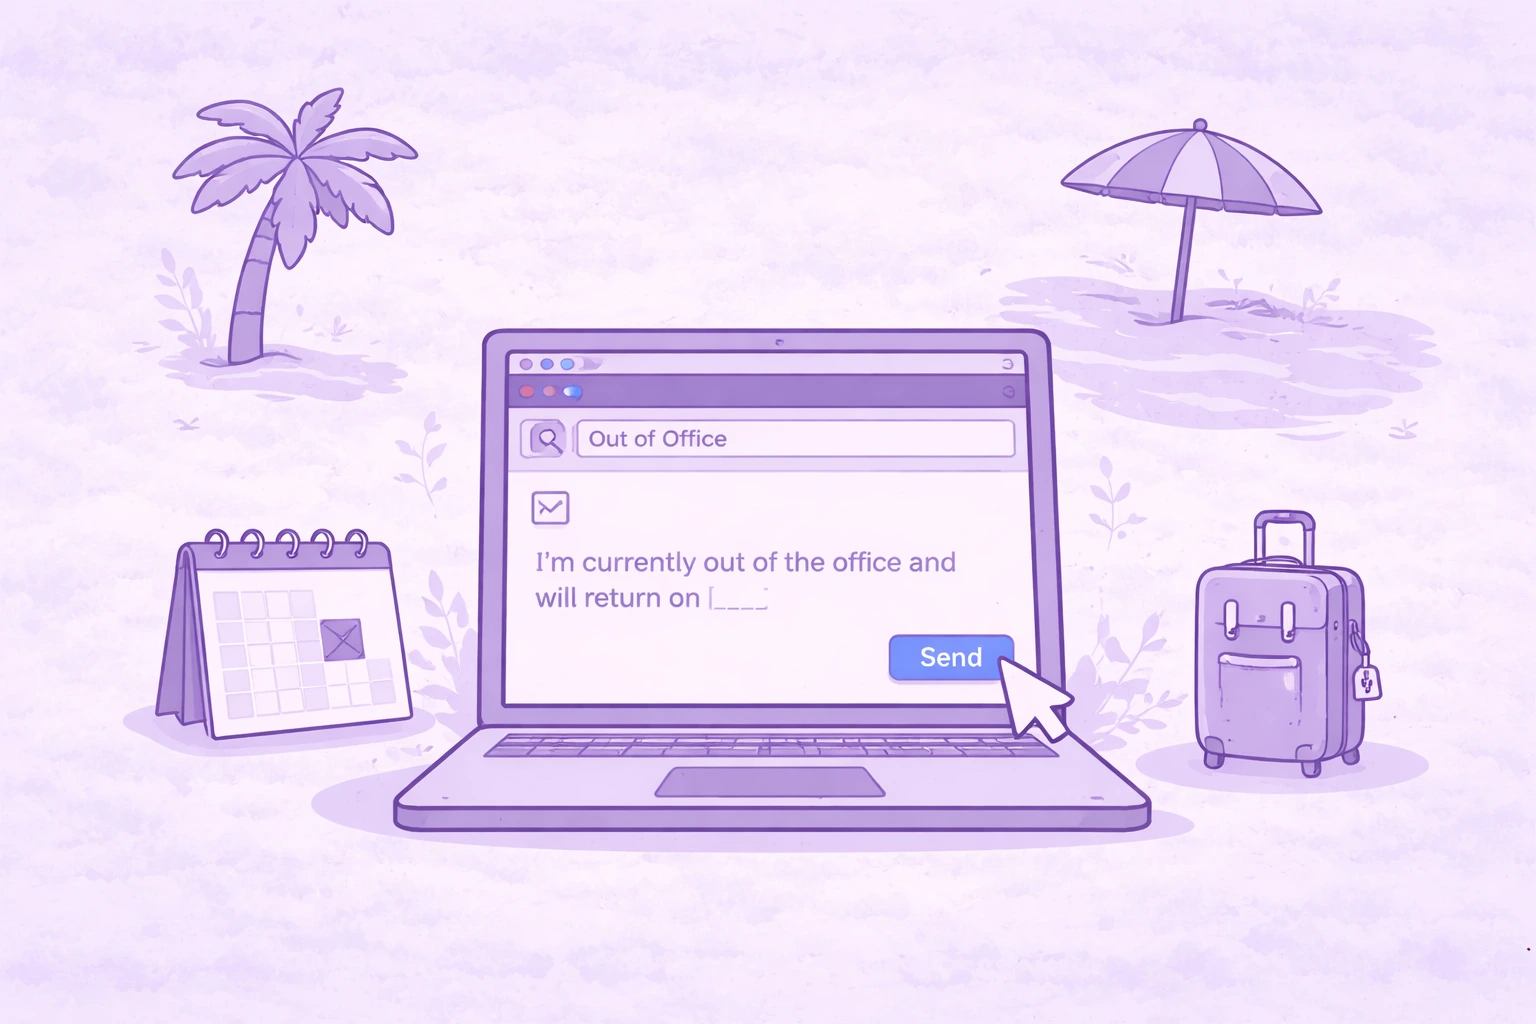
Comment rédiger un message d'absence du bureau
Apprenez à rédiger un message d'absence du bureau clair, ce qu'il faut inclure et utilisez des exemples prêts à copier pour toutes les situations.
.webp)
Comment annuler votre abonnement Zoom en 2026
Vous devez annuler votre abonnement Zoom ? Ce guide explique exactement comment procéder sur le site Web de Zoom, l'App Store d'Apple ou Google Play, ce qui se passe après l'annulation et comment éviter des frais de facturation supplémentaires.
MeetGeek vs Fellow: Comparaison des notes de réunion, des ordres du jour et de l'automatisation
Vous comparez MeetGeek à Fellow? Découvrez en quoi leurs notes de réunion, leurs ordres du jour, leurs enregistrements et leurs fonctionnalités d'automatisation basés sur l'IA diffèrent pour trouver la solution la mieux adaptée à votre équipe.
Comment enregistrer un écran sur Mac (avec audio, système audio et astuces professionnelles)
Apprenez à effectuer un enregistrement d'écran sur Mac à l'aide des outils intégrés, à capturer correctement le son et à voir quand MeetGeek est l'option la plus intelligente.
MeetGeek vs Krisp: Quel assistant de réunion IA convient le mieux à votre équipe?
Comparaison entre MeetGeek et Krisp: Notes d'IA, suppression du bruit, tarification, intégrations et fonctionnalités d'enregistrement expliquées clairement.
Conseils en matière de vidéoconférence pour organiser des réunions virtuelles réussies
Découvrez des conseils pratiques en matière de visioconférence qui améliorent la qualité audio, l'engagement et le suivi, et qui aident les équipes à rester alignées après les réunions virtuelles.
Webex vs Zoom : Quelle plateforme de visioconférence convient le mieux à vos réunions ?
Une comparaison claire entre Webex et Zoom, en termes de fonctionnalités et de prix, de sécurité et d'intégrations.
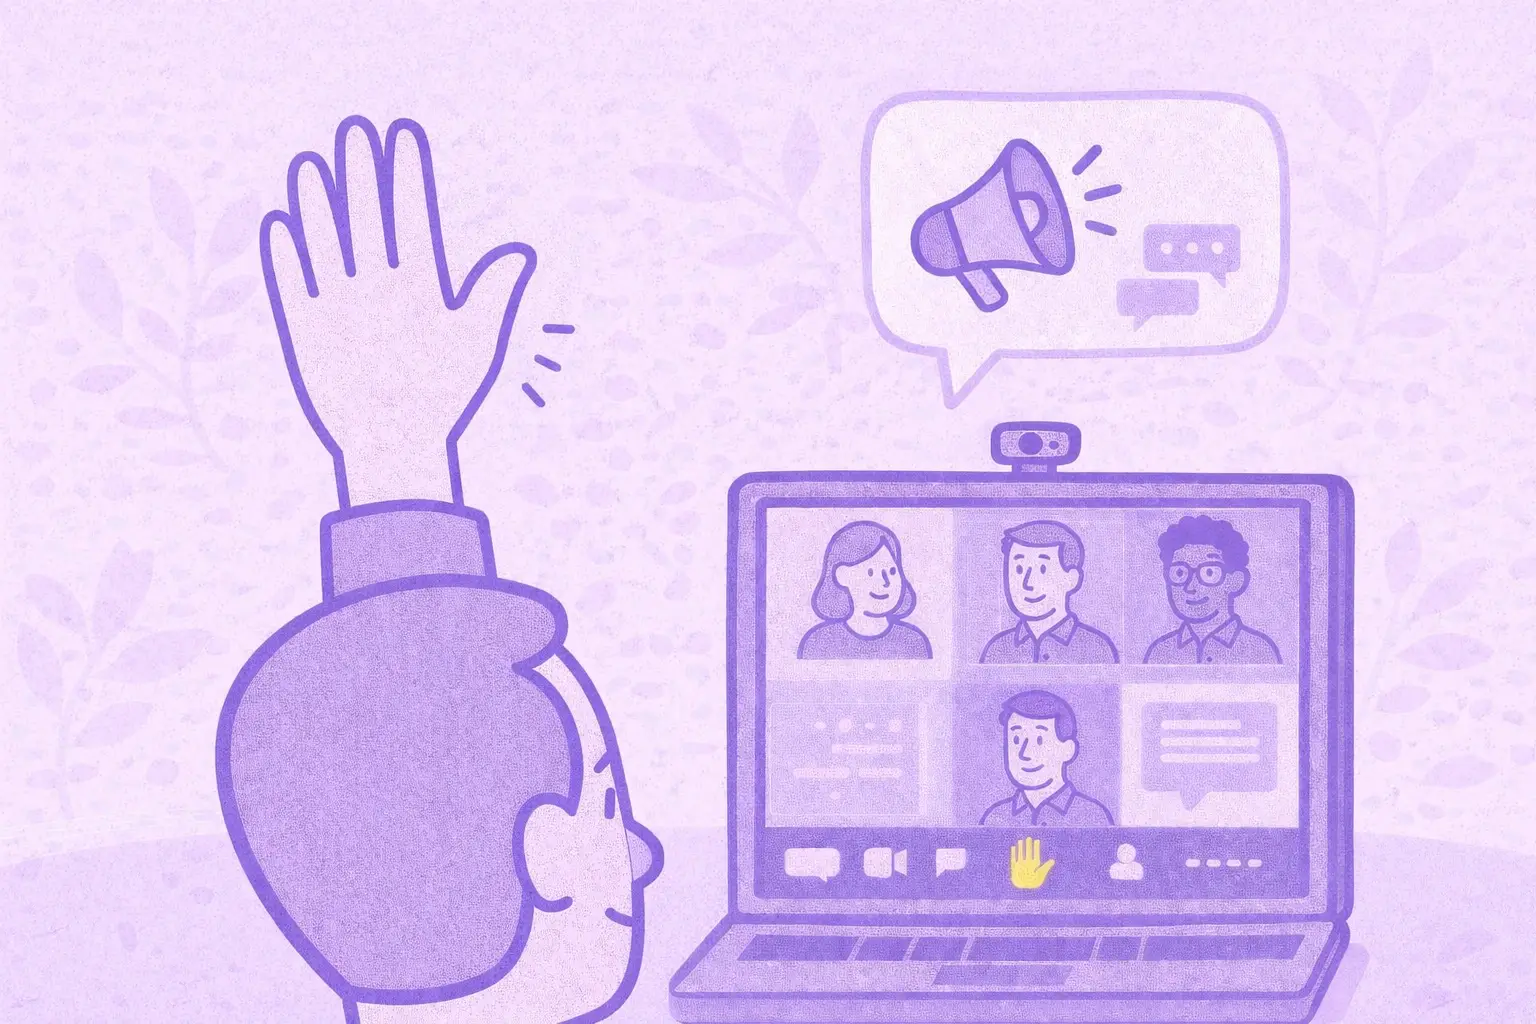
Comment lever la main dans Zoom et se faire entendre
Apprenez à lever la main dans Zoom sur n'importe quel appareil, à éviter les interruptions et à organiser les réunions du début à la fin.
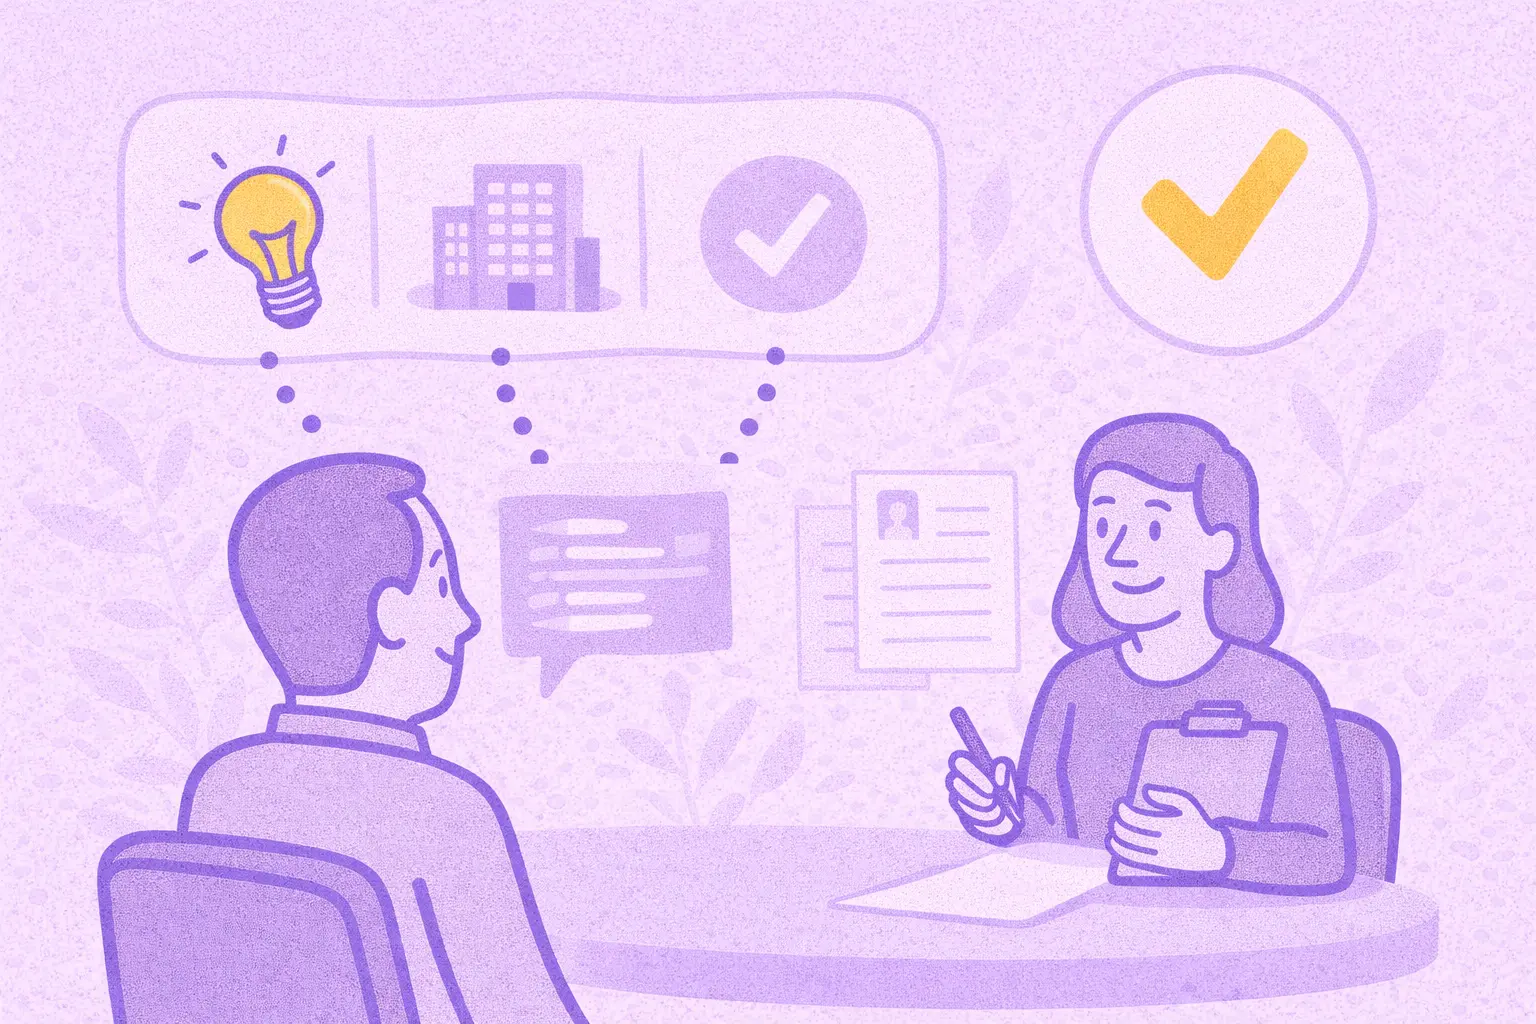
Les bonnes questions à poser lors d'un entretien pour vous aider à faire le bon choix
Découvrez quelles questions poser, quand les poser et comment utiliser les entretiens pour décider si un poste, une équipe et une entreprise vous conviennent vraiment.

Qu'est-ce que le mode Companion dans Google Meet ? Tout ce que vous devez savoir
Lisez la suite pour obtenir un guide pratique sur l'utilisation du mode compagnon dans Google Meet pour des réunions hybrides plus claires et plus équilibrées.
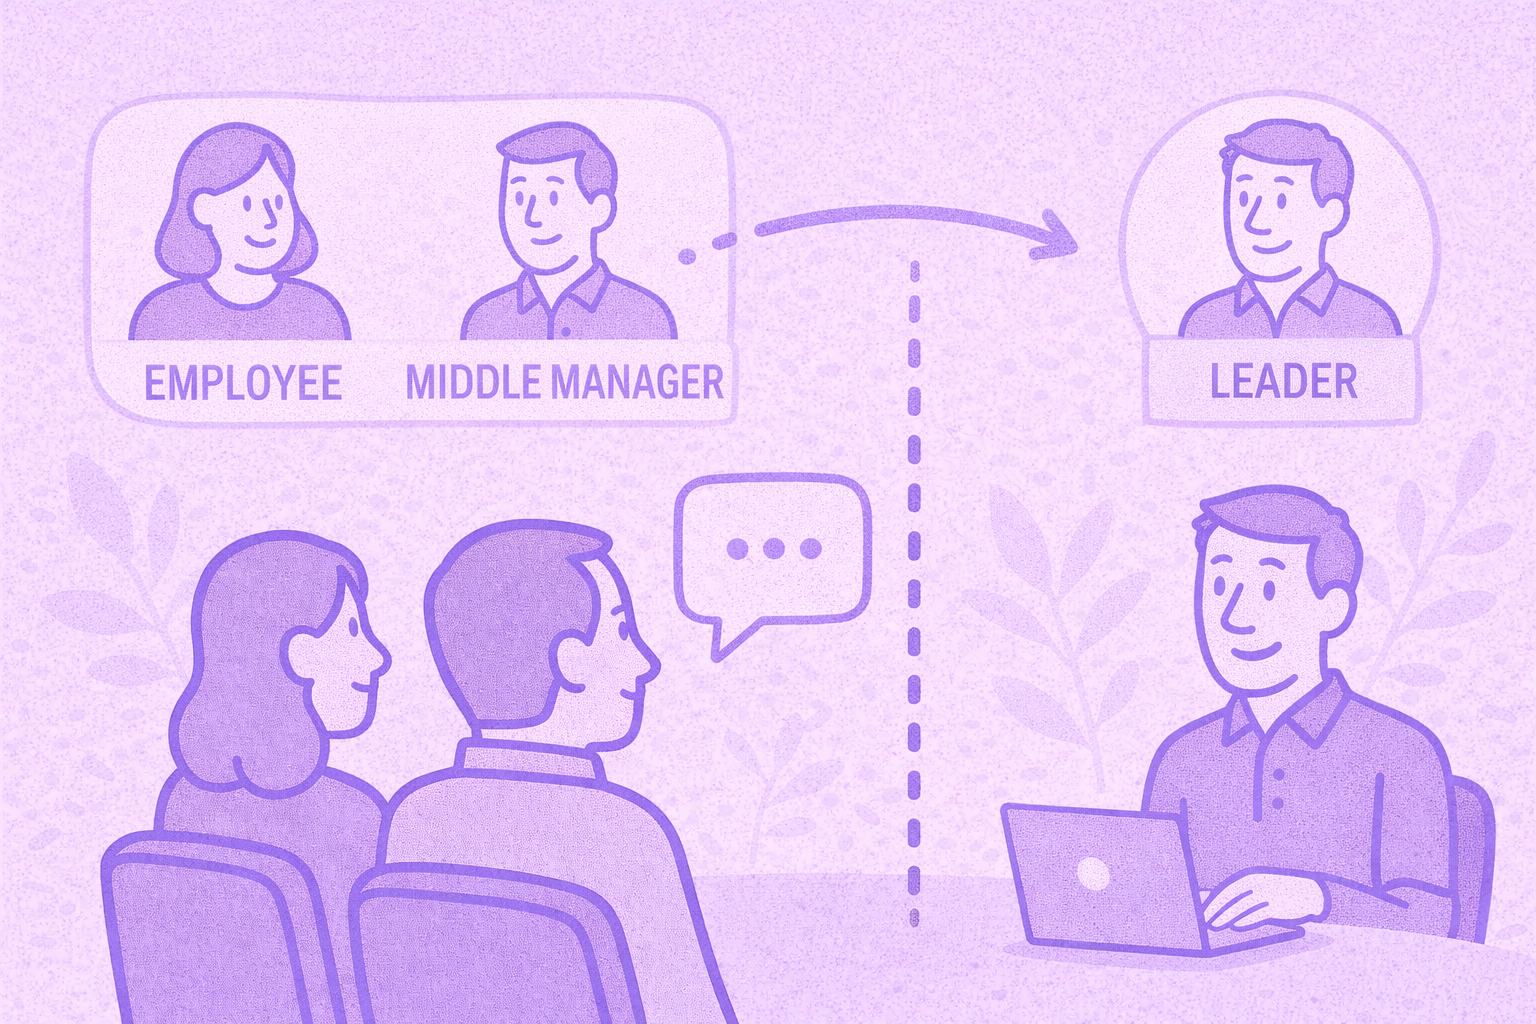
Qu'est-ce qu'une réunion Skip-Level ? Comment les dirigeants utilisent Skip-Levels pour améliorer la communication
Un examen approfondi des réunions de niveau intermédiaire et de la manière dont elles aident les dirigeants à entrer en contact avec les équipes et à obtenir de véritables informations.
Qu'est-ce Qu'un Agent Vocal IA ? Un Guide Pratique Sur le Fonctionnement Réel de l'IA Vocale
Ce guide explique ce qu'est un agent vocal basé sur l'IA, son fonctionnement, les avantages qu'il offre et les domaines dans lesquels il convient le mieux aux équipes humaines.

Guide des réunions autonomes: ce qu'elles sont et comment les gérer
Découvrez ce qui rend un stand-up meeting réellement utile. Ce guide explique comment organiser des stand-ups quotidiens qui restent courts, bloquent la surface et permettent aux équipes de rester alignées.
Tout savoir sur Microsoft Teams AI Interpreter et comment aller au-delà de la traduction
Découvrez comment fonctionne Microsoft Teams AI Interpreter, quelles sont ses lacunes et comment aller au-delà de la traduction.
Meilleure application d'enregistrement de cours en 2026 : 5 outils que les étudiants utilisent réellement
Examinons en profondeur ce que les étudiants utilisent aujourd'hui pour enregistrer et organiser leurs cours, en ligne et hors ligne.
Tarification de Read AI expliquée pour 2026 : est-ce que ça vaut le coup pour les comptes rendus de réunion ?
Découvrez la tarification 2026 de Read AI, ses principales fonctionnalités et la manière dont elle gère les notes de réunion, la transcription et les informations pour soutenir les équipes modernes.

Qu'est-ce qu'une base de connaissances consultable et comment fonctionne-t-elle ?
Découvrez comment les bases de connaissances consultables améliorent l'accès aux informations et découvrez comment MeetGeek transforme vos réunions en un centre de connaissances rapide et fiable.
Comment flouter l'arrière-plan dans Google Meet (guide simple pour tous les appareils)
Découvrez comment flouter votre arrière-plan dans Google Meet sur ordinateur et sur mobile, utiliser les effets visuels et obtenir une apparence plus nette et plus précise à chaque appel.
Comment rejoindre Teams Meeting avec Code : un guide complet étape par étape
Découvrez comment participer à des réunions Microsoft Teams à l'aide d'un code de réunion, ainsi que d'autres options, telles qu'un lien ou une invitation. Ce guide explique chaque méthode de manière claire, étape par étape.

Les 5 meilleures alternatives à NoteGPT en 2026
Explorez les 5 meilleures alternatives à NoteGPT qui vous aident à capturer des informations clés, à transcrire du contenu et à augmenter la productivité dans les flux de travail professionnels et d'apprentissage.
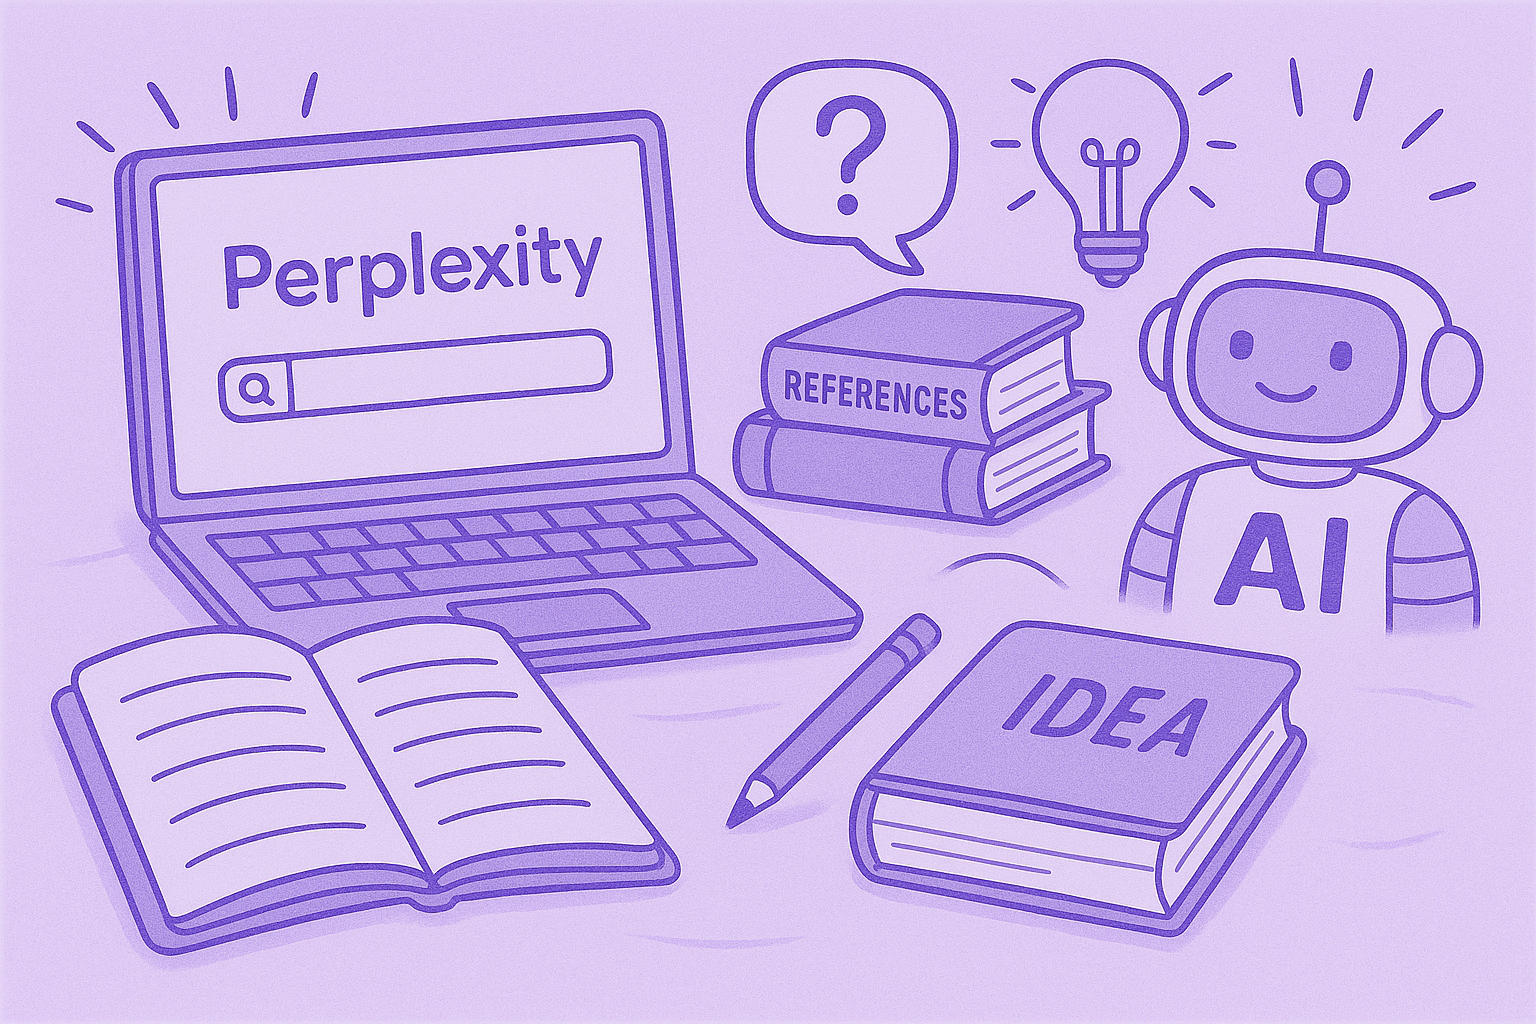
Qu'est-ce que Perplexity AI? Un guide sur le moteur de recherche alimenté par l'IA qui transforme la façon dont nous trouvons l'information
Dans cet article, nous allons examiner de près Perplexity AI, ce qu'elle peut faire pour vous par rapport aux moteurs de recherche traditionnels, ainsi que certains de ses avantages et inconvénients.
Les meilleures alternatives à tl;dv pour rationaliser vos réunions
Découvrez les meilleures alternatives à tl;dv et explorez et comparez leurs fonctionnalités pour choisir l'outil de réunion IA adapté à votre organisation.
Mode d'enregistrement ChatGPT contre MeetGeek : voici tout ce que vous devez savoir
Vous voulez savoir comment l'enregistreur ChatGPT se compare à MeetGeek ? Nous avons examiné les fonctionnalités, l'intégration et la sécurité des données pour l'enregistrement des réunions.
Tarification de Fathom AI 2026 : cela en vaut-il toujours la peine pour les équipes modernes ?
Découvrez les tarifs de Fathom AI pour 2026, y compris les fonctionnalités, les limites et les comparaisons de forfaits, ainsi que la manière dont MeetGeek offre plus de flexibilité aux équipes.
AI Meeting Agents : comment l'IA autonome transforme l'avenir du travail
Découvrez comment les agents de réunion dotés d'IA redéfinissent l'avenir du travail en gérant la planification, les suivis et même en parlant en votre nom pour gagner du temps et transformer chaque réunion en action concrète.
Notta AI Review : cet outil de transcription basé sur l'IA en vaut-il la peine en 2026 ?
Lisez cette revue approfondie de Notta AI pour découvrir dans quelle mesure l'IA transcrit les réunions, gère plusieurs langues et fournit des résumés d'IA, ainsi que ses lacunes par rapport à des assistants de réunion plus intelligents.
Ces 4 outils d'IA pour les organisations à but non lucratif feront en sorte que chaque heure compte
Rendez votre organisation à but non lucratif plus efficace grâce à des outils d'IA qui réduisent le temps consacré à l'administration, améliorent la collaboration et maximisent chaque heure d'impact.
Granola AI note des alternatives : les meilleures options à essayer en 2026
Explorez les meilleures alternatives à Granola AI Notes pour 2026 grâce à des outils plus intelligents qui vont au-delà de la transcription, en offrant automatisation, informations et collaboration.
Courriel de suivi après l'entretien : comment le rédiger, quand l'envoyer et quoi dire
Découvrez comment rédiger un e-mail de suivi efficace après un entretien. Du calendrier aux modèles, en passant par le ton et la structure, ce guide couvre tout ce dont vous avez besoin pour vous démarquer et rester mémorable.

Tarifs Tactiq 2026 : Ça Vaut le Coup ? Plans et Coûts
Un aperçu clair de chaque forfait Tactiq, ce que les crédits IA limitent vraiment et comment les coûts s'additionnent pour les particuliers et les équipes.

Signification d'une réunion ad hoc et comment en organiser une
Découvrez le véritable sens des réunions ad hoc et apprenez à rendre les discussions spontanées plus ciblées et plus efficaces. Découvrez quand les conserver et les gérer.
Etiquette des réunions virtuelles: 15 règles essentielles pour les appels vidéo professionnels
Découvrez 15 règles et conseils essentiels en matière d'étiquette lors des réunions virtuelles pour que les conversations restent ciblées, professionnelles et engageantes.
Comment flouter l'arrière-plan dans Zoom : guide étape par étape
Découvrez comment utiliser la fonction d'arrière-plan flou de Zoom pour plus de confidentialité et de concentration, ainsi que des conseils, des correctifs et quand passer aux arrière-plans virtuels.
Comment partager un écran sur Google Meet : un guide simple étape par étape
Découvrez comment partager votre écran sur Google Meet en suivant des étapes claires pour ordinateur, iPhone, iPad et Android.
Le serveur MCP de MeetGeek expliqué : comment il permet aux assistants IA de transformer les réunions
Découvrez comment le serveur MCP de MeetGeek aide les assistants IA à transformer vos réunions en informations intelligentes et exploitables, le tout à partir de votre machine locale.

Comment changer de nom sur Zoom (avant et après avoir rejoint une réunion)
Découvrez comment modifier votre nom Zoom étape par étape sur n'importe quel appareil, ainsi que des conseils pour les hôtes, les salles d'attente et la résolution des problèmes.
L'IA de prise de notes pour les étudiants : les meilleurs outils pour étudier plus intelligemment en 2026
Un guide des meilleurs outils de prise de notes IA pour les étudiants en 2026, avec des fonctionnalités, des avantages et des inconvénients pour vous aider à choisir la bonne application pour apprendre.
L'examen des prix de Descript 2026 : ce qu'il propose, ses lacunes et une meilleure alternative
Examinons de plus près les niveaux de tarification de Descript, leurs compromis et les raisons pour lesquelles MeetGeek se distingue en tant que choix plus intelligent pour les créateurs.
Google Meet gratuit : limite de temps et durée
Google publie une durée différente pour les comptes gratuits, les éditions Workspace et Google One. Voici chacune d’elles.

Comment transcrire des mémos vocaux en texte (3 manières différentes)
Dans cet article, vous allez apprendre à transcrire des mémos vocaux de trois manières différentes, en évaluant les avantages et les inconvénients de chaque option.
Meilleures alternatives à ClickUp pour la prise de notes par IA
Découvrez les 5 meilleures alternatives à ClickUp si vous souhaitez aller au-delà de la simple prise de notes par IA et trouver un assistant de réunion complet.
Qu'est-ce qu'un résumé objectif et comment en rédiger un pour vos réunions
Les résumés objectifs sont indispensables lorsque vous avez besoin d'informations clés issues de longues réunions. Nous en parlerons dans cet article !

Comment enregistrer un Google Meet : toutes les options expliquées
Dans cet article, nous expliquons comment enregistrer un Google Meet de manière native et à l'aide d'outils tiers tels que MeetGeek
Les 7 meilleures applis de prise de notes de réunion 2026
Vous cherchez la meilleure appli de prise de notes de réunion pour votre équipe ? Voici les fonctionnalités, avantages et inconvénients des 7 meilleures du moment.
Comment enregistrer un webinaire Zoom en tant qu'hôte ou participant (2 méthodes)
Dans cet article, nous verrons comment enregistrer un webinaire Zoom en tant qu'hôte ou participant à l'aide de l'outil d'enregistrement intégré de Zoom et de l'outil tiers avec transcription IA.
7 meilleures extensions Chrome pour les vendeurs
Dans cet article, nous allons explorer les meilleures extensions Chrome pour les commerciaux, en nous concentrant sur les outils qui améliorent l'intelligence des réunions, s'intègrent aux CRM et optimisent la productivité.

Les meilleurs outils et extensions de capture audio pour Chrome en 2026 [Comparaison]
Nous aborderons une gamme d'options, allant des enregistreurs de base aux plateformes avancées proposant des transcriptions, des résumés et des intégrations fluides.

La surcharge de réunions n'est pas le vrai problème, mais une mauvaise conception des réunions
Lorsque la surcharge de réunions devient évidente, quelques petits changements peuvent transformer l'ensemble de votre culture de réunion.

Meilleur logiciel d'intelligence conversationnelle en 2026
En tirant parti de l'IA, ces plateformes d'intelligence conversationnelle fournissent les analyses nécessaires pour affiner les arguments de vente ou d'investissement, améliorer le coaching et influencer les revenus.

Comment ajouter des notes de réunion à Google Docs [3 méthodes simples]
Explorons trois manières d'ajouter vos notes de réunion à Google Docs, manuellement ou automatiquement.

Trouvez la meilleure alternative au Zoom en 2026
Vous recherchez une alternative à Zoom ? Découvrez les meilleures options pour 2026 et trouvez la solution idéale pour vos réunions !

Comment prolonger la limite de temps de Zoom : solutions payantes et gratuites
Vous avez besoin de plus de temps pour votre réunion Zoom ? Découvrez comment prolonger facilement votre session grâce à ce guide simple.

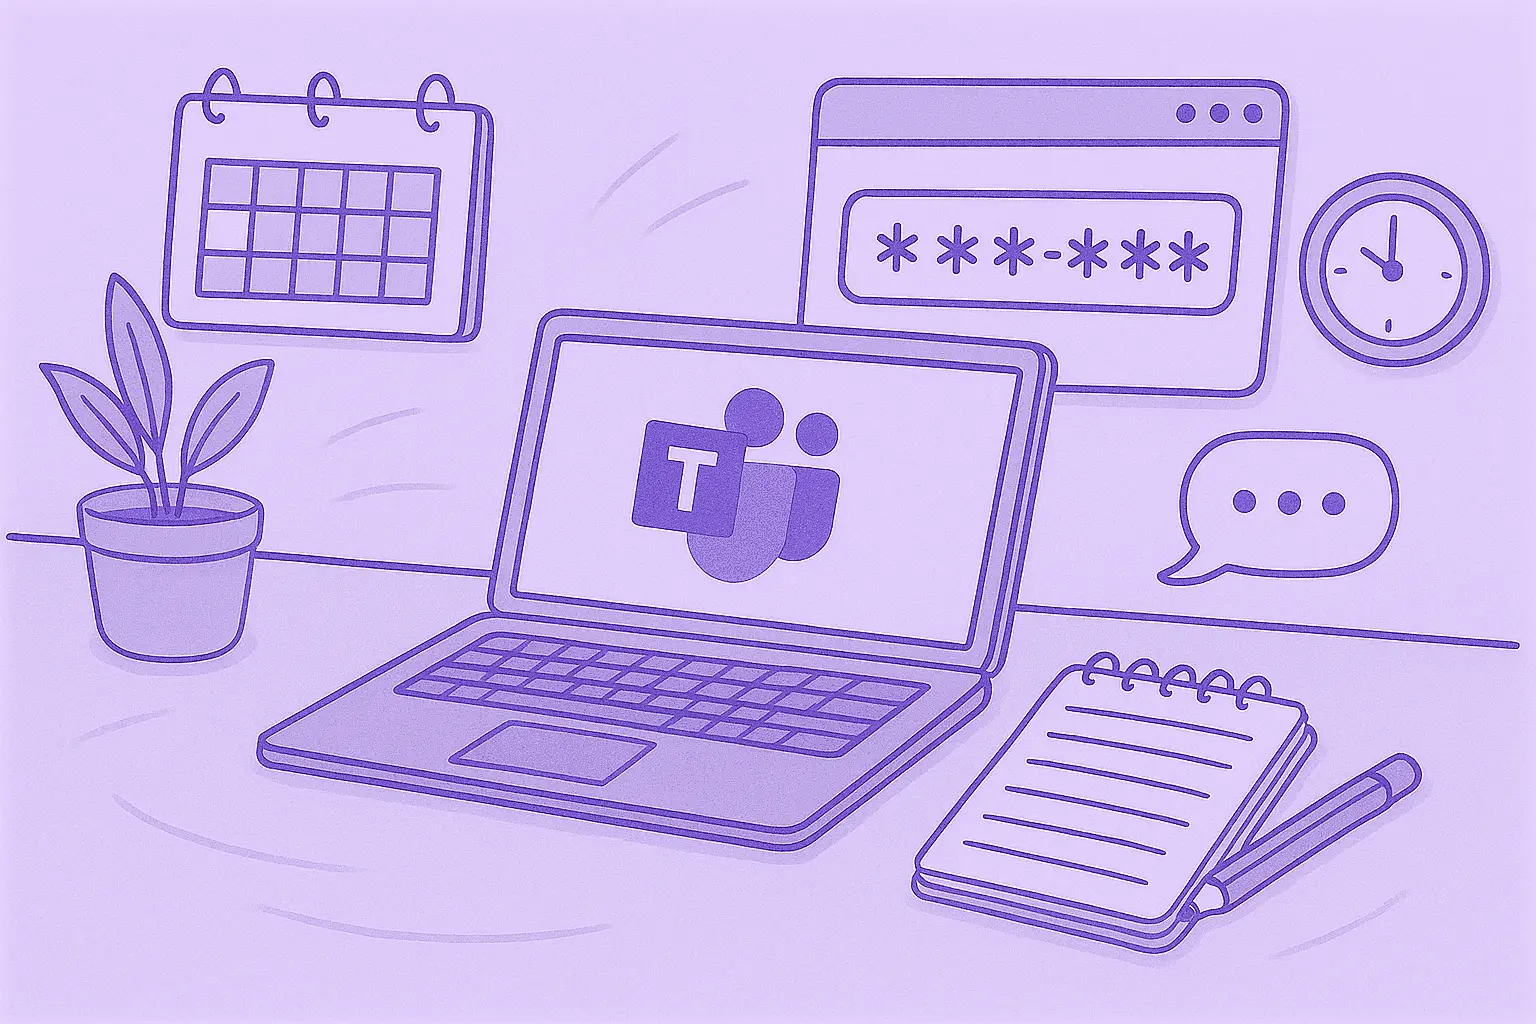
Comment installer Microsoft Teams pour Mac (guide convivial pour débutants)
Il est facile de configurer Microsoft Teams sur Mac ! Suivez notre guide rapide pour commencer à collaborer en toute fluidité.
Comment Enregistrer des Appels WhatsApp: 5 Méthodes Pour N'importe Quel Appareil (2026)
Découvrez le moyen le plus simple d'enregistrer des appels WhatsApp grâce à nos instructions claires, étape par étape.

Les 5 meilleures intégrations pour les assistants de réunion basés sur l'IA en 2026
Vous souhaitez améliorer la productivité de vos réunions ? Découvrez les meilleures intégrations d'assistants de réunion IA de 2026 qui se connectent de manière fluide à vos outils et applications préférés.

7 façons dont les assistants de réunion dotés d'IA peuvent faire gagner du temps aux équipes commerciales en 2026
Découvrez comment les assistants de réunion dotés d'intelligence artificielle transformeront la productivité des ventes en 2026 en éliminant les tâches manuelles, en rationalisant les flux de travail et en permettant aux commerciaux de se concentrer sur les ventes.

Tous les plans tarifaires Zoom expliqués et leurs alternatives
Consultez une liste claire de tous les plans tarifaires de Zoom, ainsi que des conseils intelligents pour économiser ou utiliser des fonctionnalités gratuitement.

Puis-je prendre une capture d'écran dans Teams ? Réponses à vos questions
Vous vous demandez comment prendre une capture d'écran dans Teams ? Nous analysons ce qui fonctionne, ce qui ne fonctionne pas et ce qu'il faut surveiller.

Tarifs de Google Meet en 2026 : Gratuit vs. Payant
Trouvez le forfait Google Meet qui convient à votre équipe grâce à notre analyse claire et à nos conseils intelligents pour économiser des coûts.
Où sont stockés les enregistrements des équipes? Toutes les localisations, expliquées
Vous vous demandez où finissent vos enregistrements Microsoft Teams ? Voici toutes les options de stockage clairement expliquées.

La semaine de travail de 4 jours : comment les entreprises gagnent la guerre des talents
Pourquoi travailler moins est peut-être la solution la plus intelligente pour les entreprises qui recherchent la productivité, l'innovation et la rétention des talents.

Trouvez la meilleure application de synthèse vocale pour le travail en 2026 (gratuite et payante)
Vous recherchez une application de synthèse vocale en 2026 ? Nous avons rassemblé les meilleurs choix pour améliorer la productivité et gagner du temps au travail.

Gestion des risques de sécurité et de conformité liés à l'IA pour les preneurs de notes
Assurez la sécurité et la conformité de vos réunions alimentées par l'IA ! Apprenez à gérer les risques de sécurité et de conformité, à protéger les données sensibles et à garantir la confidentialité de vos réunions virtuelles.

Comment rédiger un e-mail de suivi d'une réunion d'affaires + modèles et invites ChatGPT
Apprenez à rédiger des suivis de réunions d'affaires clairs et professionnels à l'aide de modèles et d'instructions ChatGPT pour gagner du temps et améliorer les réponses.

Comment utiliser Microsoft Teams AI pour les réunions
Apprenez à automatiser les notes, à améliorer la collaboration entre les équipes et l'échange de connaissances, et à rendre les réunions Teams plus productives grâce à des fonctionnalités basées sur l'IA.

Comment rédiger le procès-verbal d'une réunion comme un pro [+ Modèle personnalisable gratuit]
Réalisez des comptes rendus de réunion impeccables à chaque fois ! Découvrez des conseils d'experts pour saisir les points clés, suivre les mesures à prendre et impressionner votre équipe grâce à ses compétences professionnelles en matière de prise de notes.
Les 5 A d'une communication efficace : un guide de démarrage pour une meilleure collaboration en équipe
Le succès d'une start-up n'est pas seulement une question de bonnes idées, mais aussi de la qualité de la communication au sein de votre équipe. Découvrez le cadre des 5 A pour améliorer la collaboration, réduire les frictions et transformer les conversations en actions.

Rapport de présence aux réunions des équipes : qu'est-ce que c'est et comment l'utiliser
Démystifiez le rapport de présence aux réunions des équipes ! Apprenez à y accéder, à l'interpréter et à en tirer parti pour suivre l'engagement et améliorer vos réunions virtuelles sans effort.

Comment créer et utiliser Google Meet Breakout Rooms
Maîtrisez les salles de réunion Google Meet ! Apprenez à les créer, à les gérer et à les utiliser pour favoriser la collaboration et l'engagement lors de vos réunions virtuelles.

Comment vous enregistrer sur Zoom, étape par étape
Maîtrisez l'art de l'enregistrement sur Zoom grâce à notre guide simple. Apprenez à enregistrer vos réunions ou vos notes personnelles sans effort.

Plus de 30 indicateurs de performance clés des ventes à suivre en 2026
Découvrez les secrets de la réussite des ventes en 2026 grâce à ce guide contenant plus de 30 indicateurs de performance clés de vente essentiels. Découvrez ce qu'il faut suivre pour améliorer les performances de votre équipe et augmenter ses revenus.
Comment créer une transcription Zoom : 3 méthodes
Découvrez comment créer facilement des transcriptions Zoom grâce à notre guide sur trois méthodes simples, idéales pour capturer chaque point de discussion clé.

Trouvez le modèle d'évaluation des performances des employés idéal
Découvrez les meilleurs modèles d'évaluation des performances des employés pour rationaliser votre processus d'évaluation et améliorer la productivité au travail.

Plus de 60 meilleures citations de motivation pour votre équipe de vente en 2026
À la recherche de motivation pour les ventes ? Trouvez les meilleures offres de vente pour 2026 afin de responsabiliser votre équipe, d'encourager un état d'esprit positif et de permettre à chacun de se concentrer sur l'atteinte de ses objectifs.

Comment gérer de manière professionnelle tout conflit d'horaire
Apprenez à gérer les conflits d'horaires de manière professionnelle. Ce guide propose des conseils pratiques pour gérer les chevauchements, replanifier les réunions et entretenir des relations solides.
Guide facile d'installation de Zoom pour Windows
Vous êtes nouveau sur Zoom ? Suivez ce guide simple pour installer Zoom sur votre ordinateur Windows. Configurez-vous en un rien de temps et commencez à participer à des réunions en toute simplicité. Parfait pour les débutants.

Comment générer des notes de réunion ChatGPT [+invites ChatGPT gratuites]
Découvrez des étapes simples pour générer des notes de réunion avec ChatGPT. Suivez ce guide pour saisir les points clés, les mesures à prendre et plus encore pour des enregistrements de réunions organisés et efficaces.