.avif)

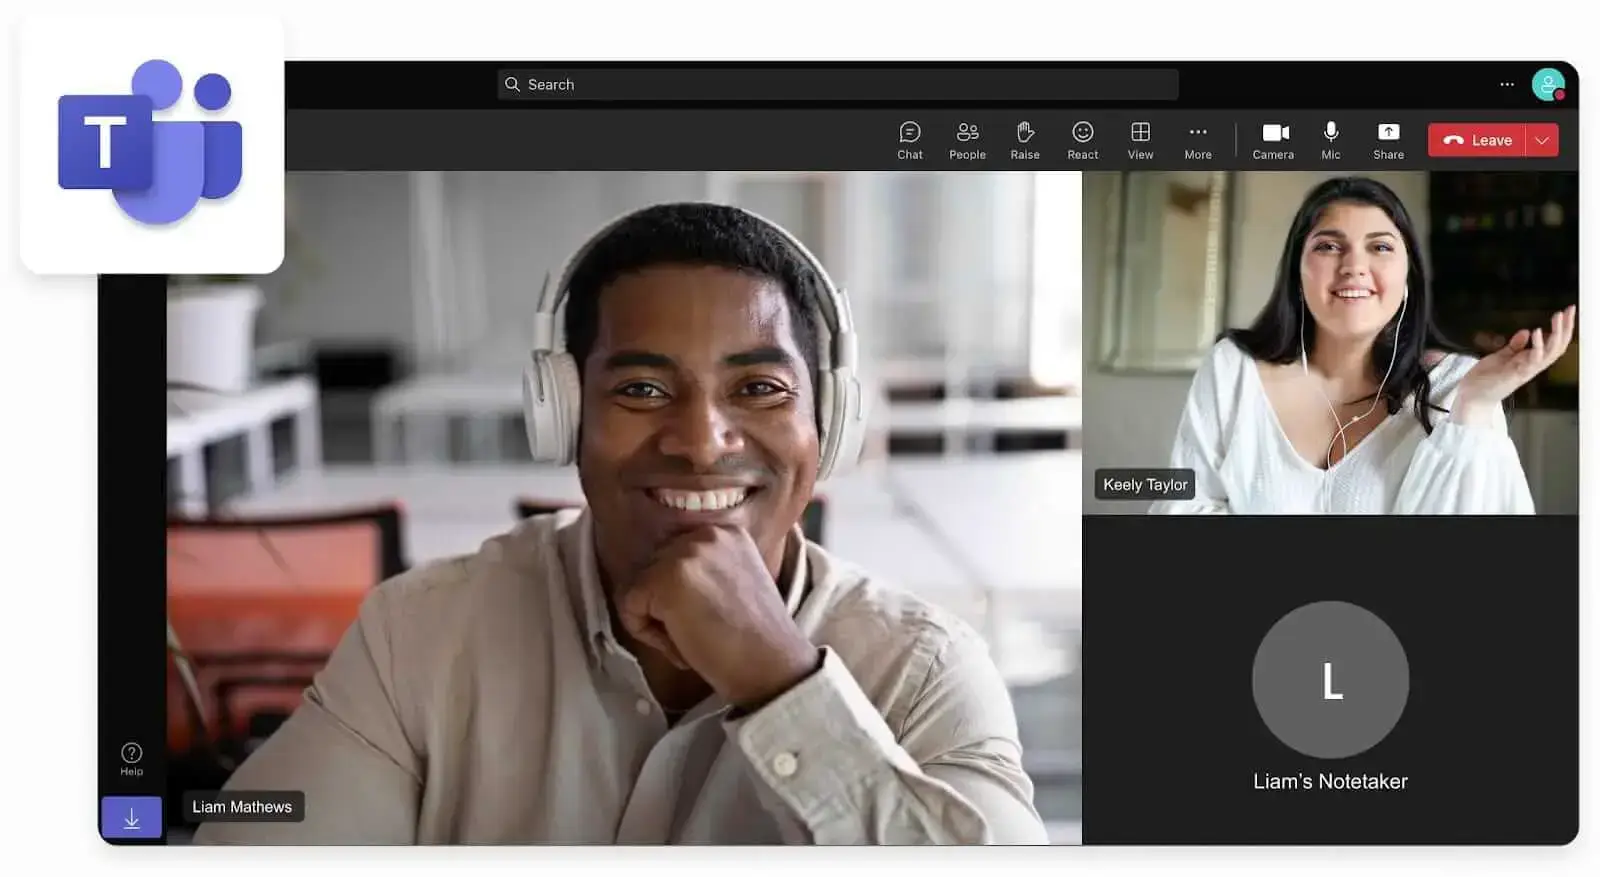
How to Record a Webex Meeting: Step-By-Step for Desktop, Mobile, and Cloud
Record on Webex by using the built-in recording feature or enhance recording with third-party tools like the MeetGeek AI Chrome extension.


✅ Free meeting recording & transcription
💬 Automated sharing of insights to other tools.
TL;DR
To record a Webex meeting, use Webex’s built-in recording capabilities if you are the meeting host (or an alternate host). Click the record button, choose cloud recordings or local recording, then tap Start recording. If you are not the host, use a screen recording approach or MeetGeek to record meetings with meeting audio, transcripts, summaries, and action items.
What do you need before recording Webex meetings?
Before you record meetings, check three basic Webex recording rules. This avoids the common “why can’t I record a meeting?” problem.
- You are signed into the correct Webex account (confirm the right user name)
- You have a stable internet connection (cloud processing needs it)
- You have recording permission: meeting host, alternate host, or recording privilege
If you are not the host, you may not see the record button at all.
How do you record a Webex meeting using built-in recording features?
This is the standard recording method for a Webex meeting when you host it. It works best from the desktop app.
Step-by-step: how to record a Webex meeting on the desktop app
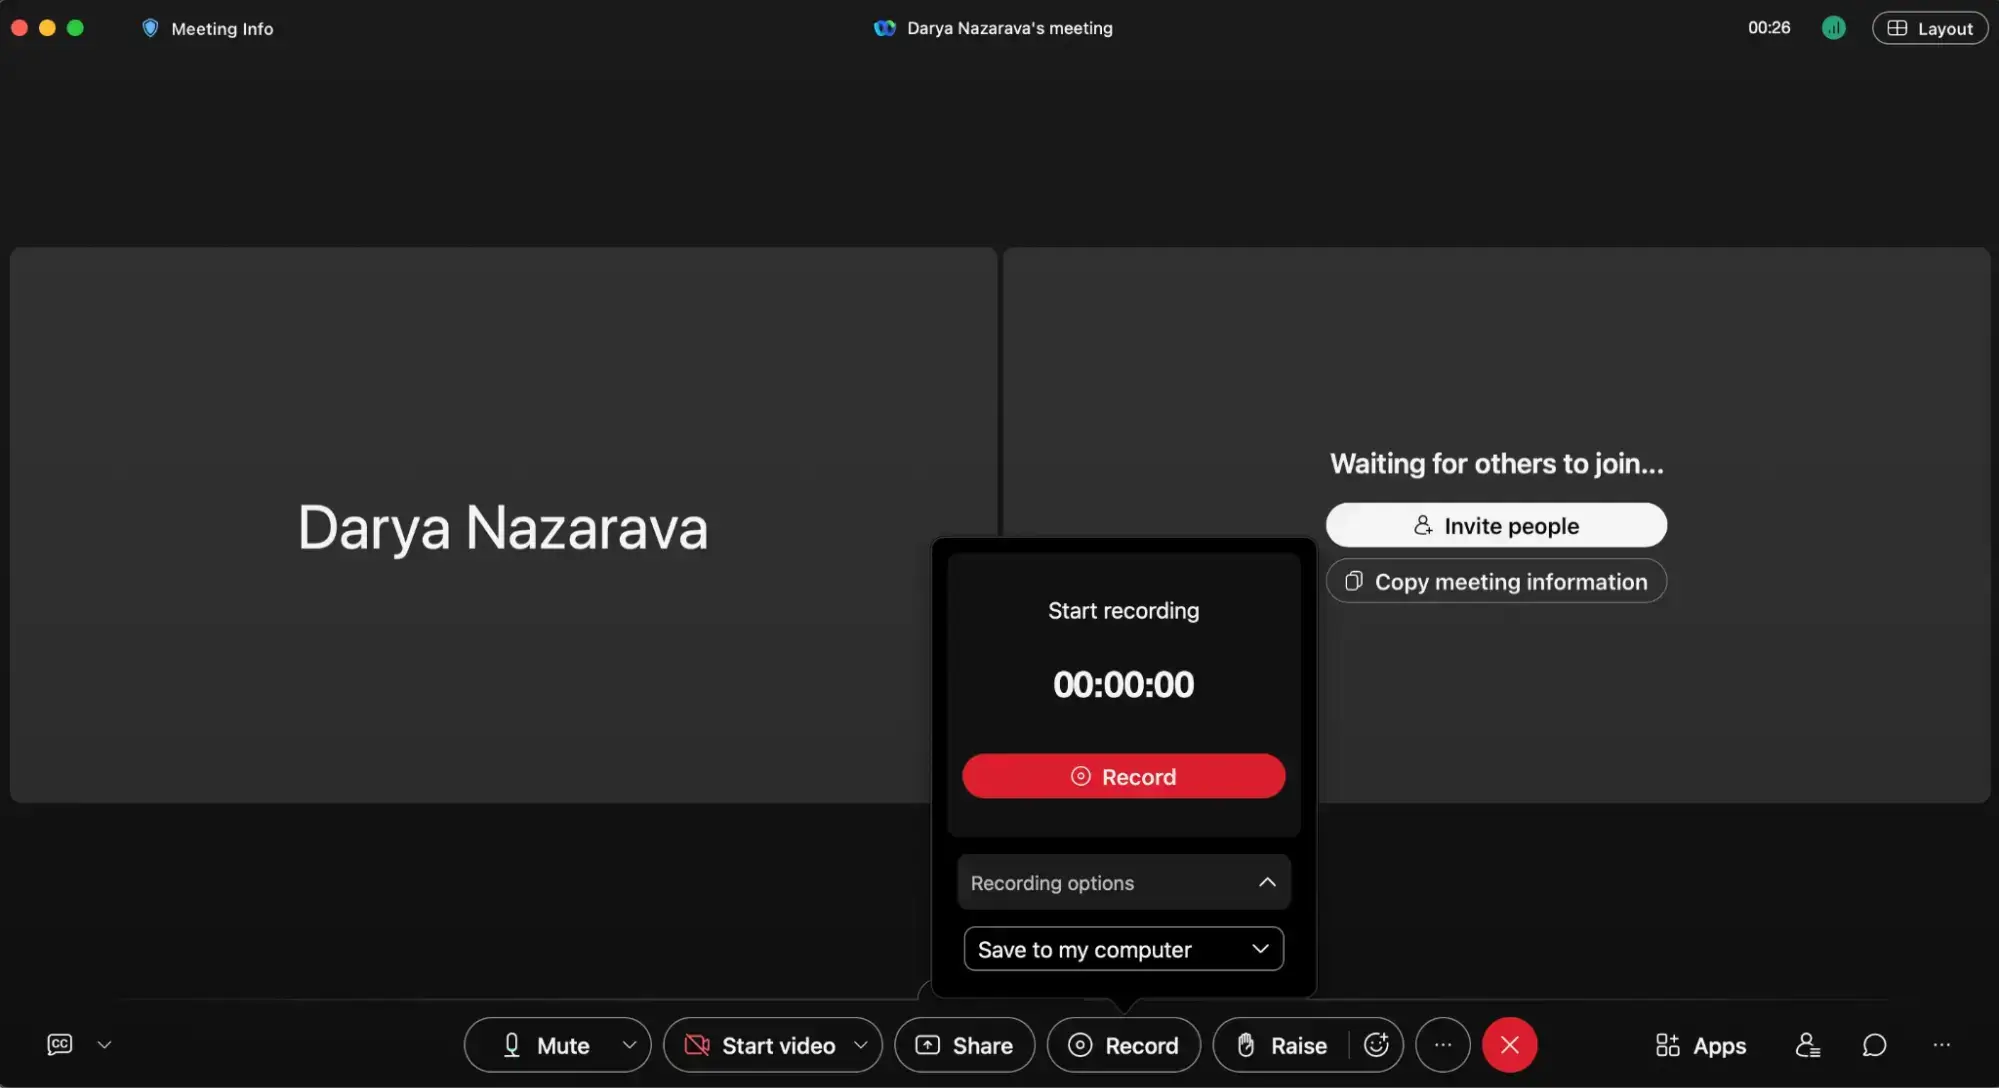
- Open Webex and start meeting (or join your own meeting) in the desktop app.
- Check your audio connection so meeting audio is captured correctly.
- In the bottom control center, find the record button.
- Click record to begin recording.
- In the popup window, choose your recording options:
- Webex cloud recording (cloud recordings)
- Local recording (saved on your computer)
- Confirm to start recording. You may see a three-second countdown before you have screen recording enabled.
- During the meeting, select pause if needed, then resume.
- End the meeting. Webex will finalize the file after the finished recording step.
Note: Only one user can record a meeting at a time, so if someone has already started, you won't be able to start a simultaneous recording.
What gets captured in a Webex meeting recording?
Most people assume Webex captures everything. In reality, what you get depends on the video settings and plan.
A typical Webex meeting recording includes:
- Meeting audio and record audio from your selected audio connection
- Video (often switching to the active speaker)
- Shared content, including screen sharing and some screen recording views
Can free users record a Webex meeting?
Yes, free users can use the screen recording feature, but there are limits.
- On the free version, video recording is typically available through the desktop app
- Cloud recordings are often tied to a paid account or paid plans
- Free users commonly rely on local recording
If you do not see the record button, the most likely cause is permissions, not your plan.
What are the recording options: cloud recordings vs local recordings?
Use this quick table to pick the right save method after you record video meetings.
If you need easy sharing, cloud recordings win. If you want full control, local recording wins.
MeetGeek: the easiest way to record meetings and get notes without extra work
If you want more than a video file, MeetGeek is built for that.
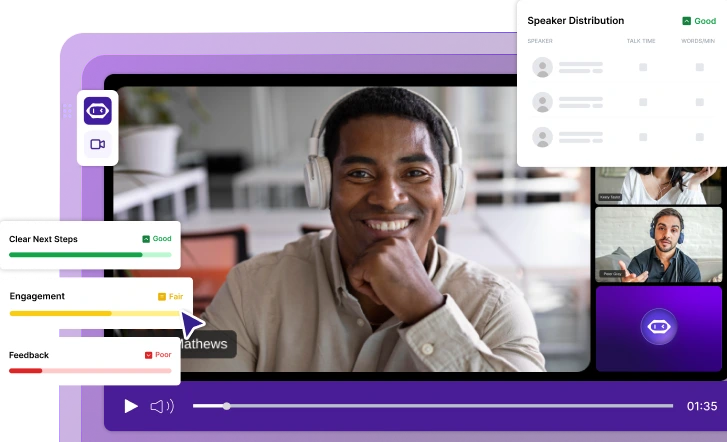
MeetGeek is a third-party app that can record Webex meetings and turn them into usable outputs fast. You get the recording, transcription, and structured notes without rewatching the whole meeting. It is especially useful when you are not the meeting host, or when you need follow-ups, compliance-ready documentation, and fast search across past meetings.
MeetGeek features:
- Reliable capture of meeting audio, plus video and shared content
- Automatic transcription in 60+ languages
- AI summaries with key highlights and action items
- A searchable archive for fast retrieval
- Meeting analytics, like speaking time and engagement trends
- 10,000+ integrations with tools like Google Docs, Slack, Notion, Zapier, HubSpot, and more
- AI Chat to ask questions across meetings instead of digging through files
- Options that support virtual meetings, prerecorded uploads, and mobile capture
- An AI Voice Agent to delegate certain meetings to
This is the difference between “a recording” and “a meeting asset you can use.”
How to record Webex meetings with MeetGeek
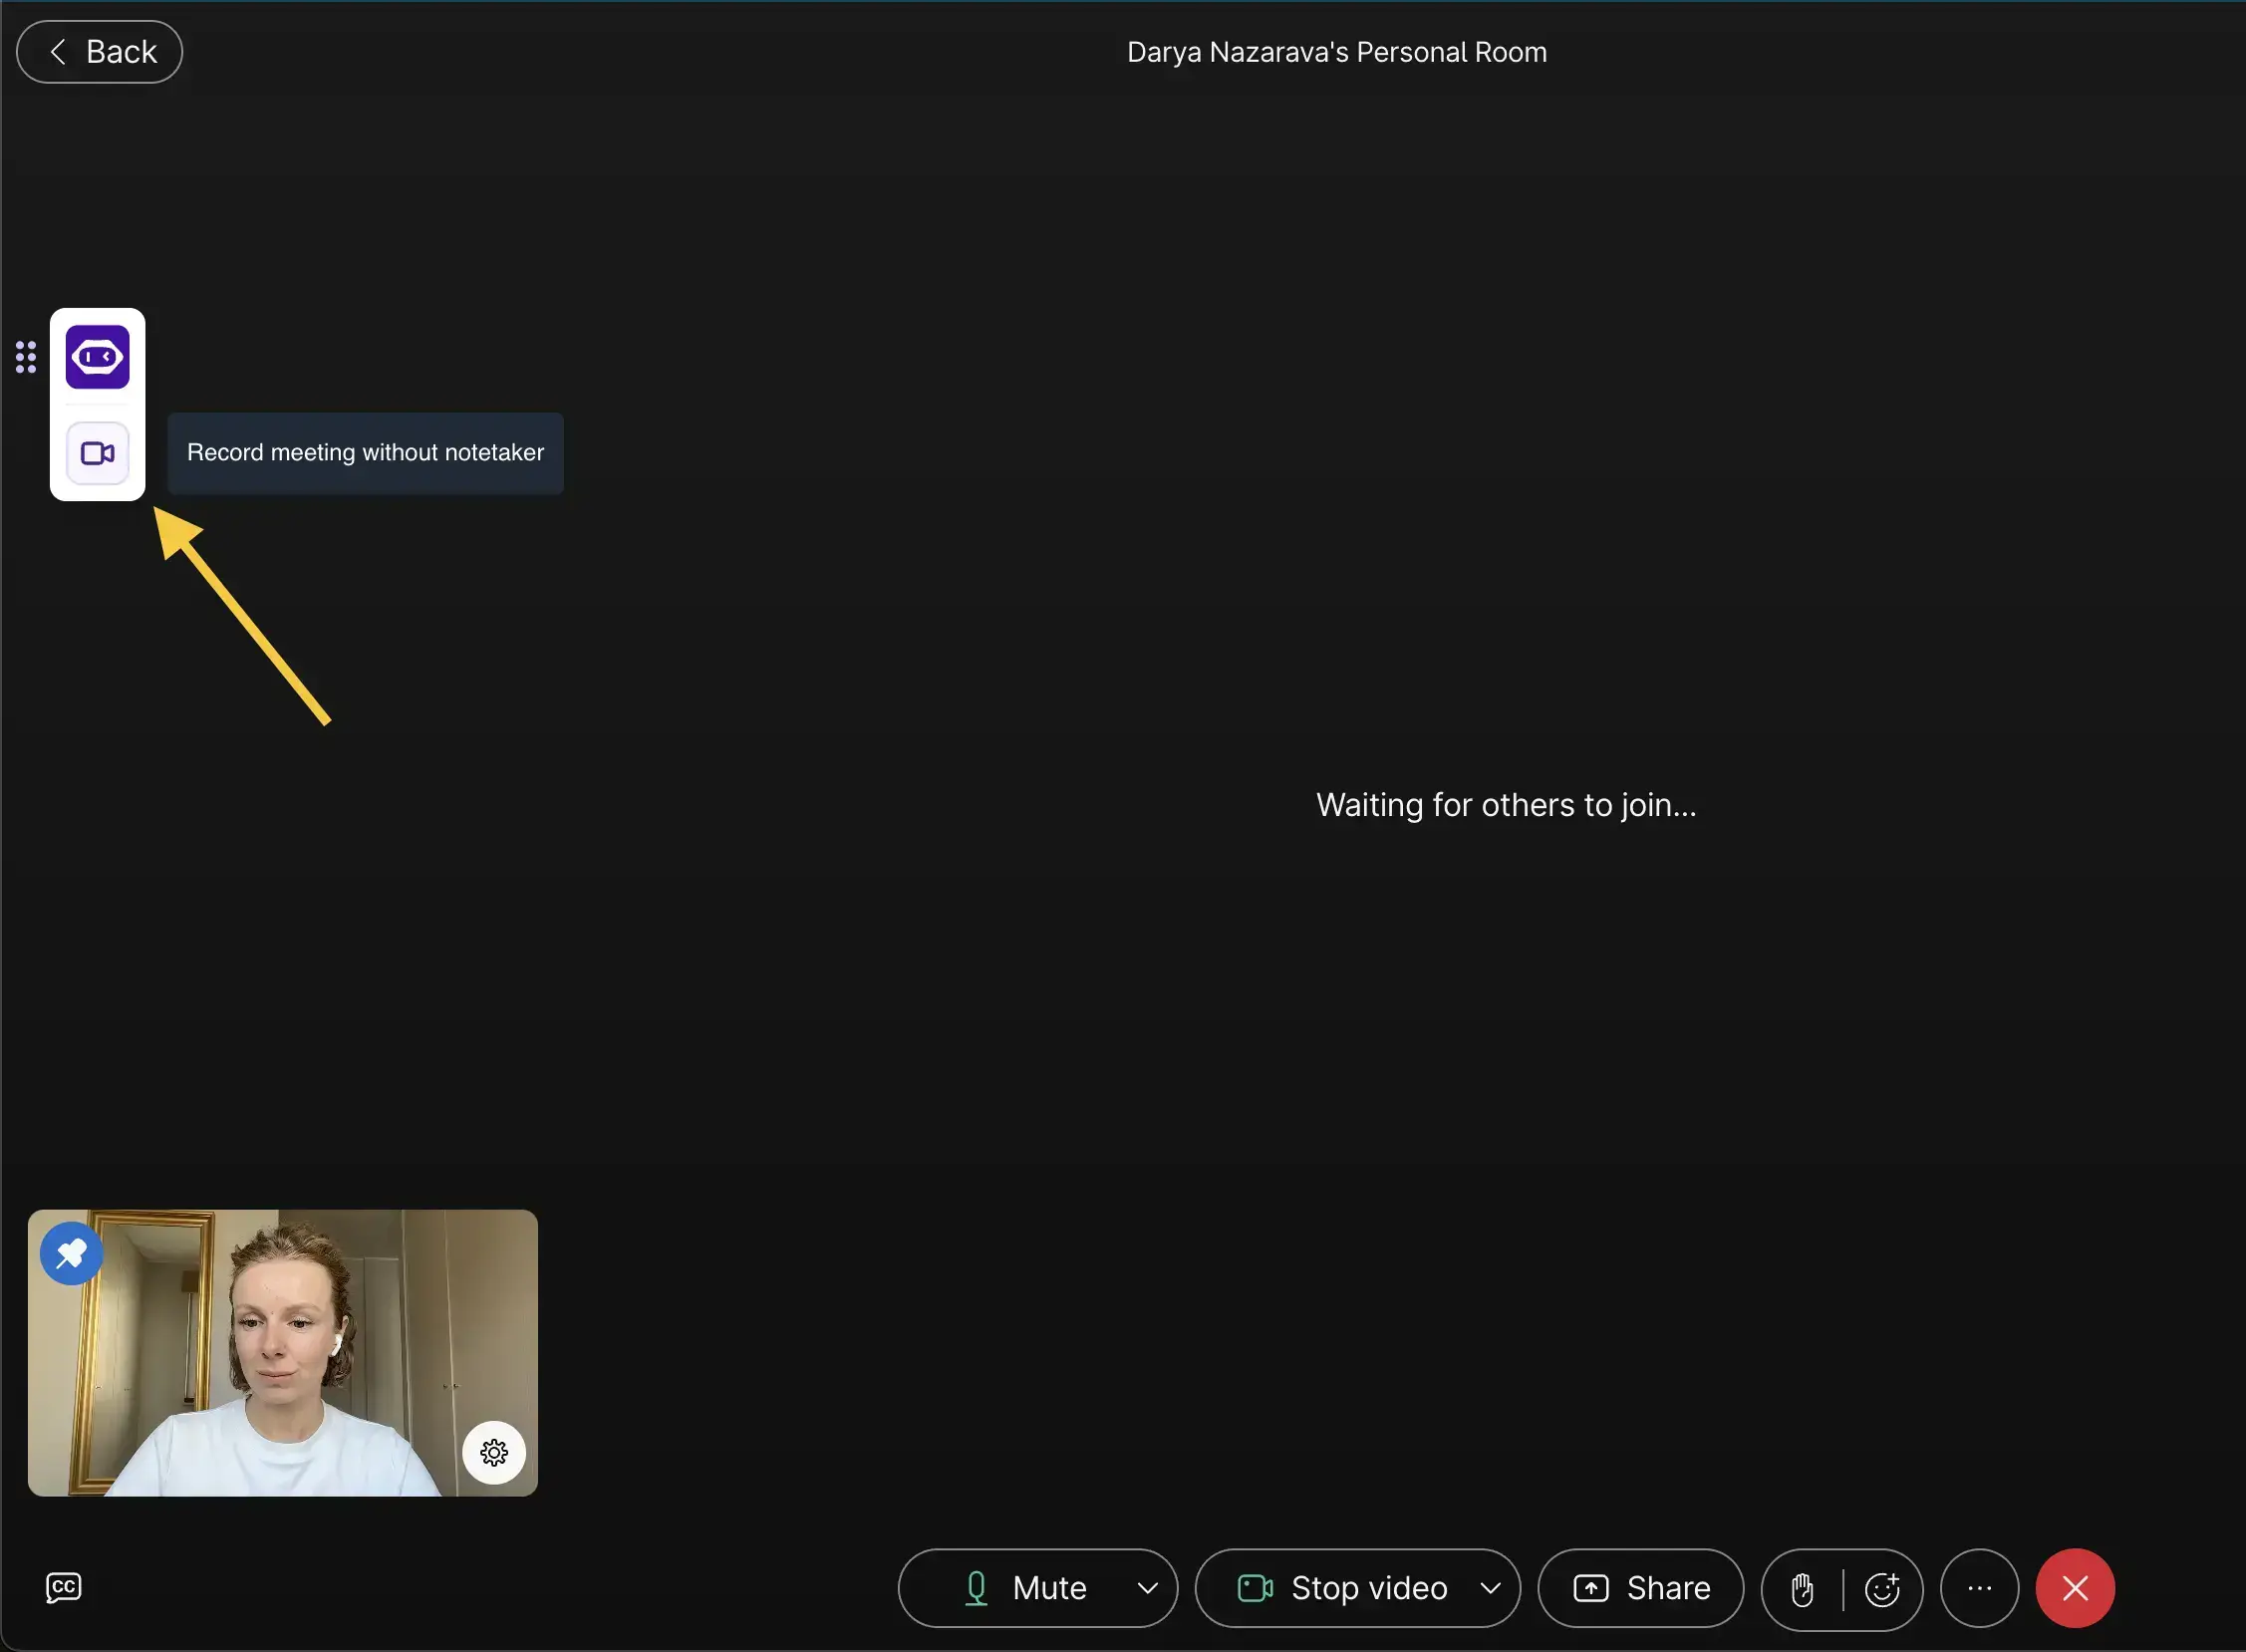
You can record a Webex meeting using the MeetGeek Chrome extension:
- Install the MeetGeek Chrome extension and sign in.
- Join your Webex meeting in Chrome.
- Open the extension widget and tap record.
- Select the Webex tab so it captures computer audio and meeting audio.
- Confirm to begin capturing. This takes just a few clicks.
- Continue your meeting. MeetGeek records in the background.
- After the meeting ends, you will see the processed result after the finished recording stage.
- Open your dashboard for easy access to the recording, transcript, and summary.
This workflow avoids the host-permission bottleneck for many teams.
If you’d rather follow a visual guide, check out our YouTube video:
Where do Webex recordings go after you stop recording?
You can store your Webex recording based on your location choice and type of plan.
How to find cloud recordings in your Webex account
- Sign in to your Webex account on the Webex site.
- Go to the recordings area and select recordings.
- Look for your Webex cloud recording from the meeting date.
- From there, you can play, download, or share the recording link.
Webex cloud recording is the easiest path for distributed teams.
How to find local recording files on your computer
- Open your computer’s Videos folder first.
- If you do not see it, check Webex settings for the save location.
- Search your device for “Webex recordings” or the meeting title.
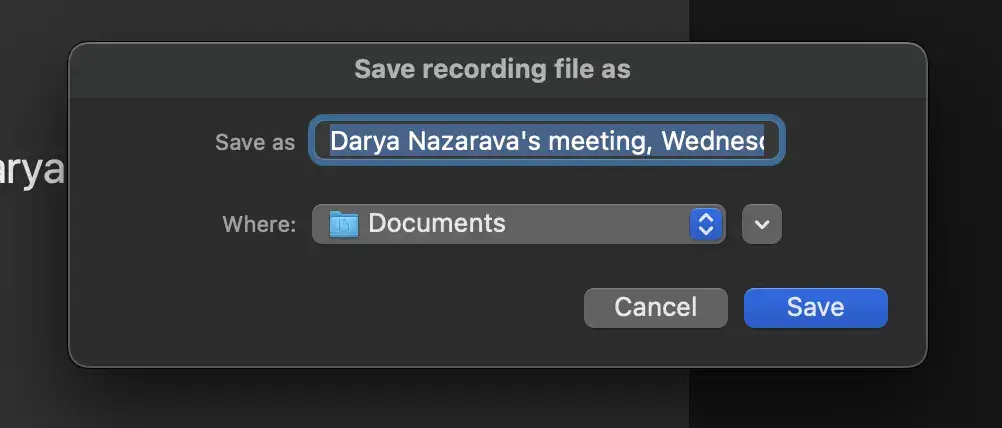
Local recording is simple, but file management is on you.
How to find your MeetGeek recordings
All your recordings are stored securely in your MeetGeek account.
- Log in to your MeetGeek dashboard.
- You will see a list of your past meetings.
- Click on any meeting to access the full video, the MeetGeek AI transcription and meeting summaries, and a list of automatically generated highlights and action items.
How do you record Webex on a mobile device?
Mobile recording is more limited than desktop. If you need reliable recording, use the desktop app.
Step-by-step: recording on a mobile phone
- Join the meeting from the Webex app on your iOS or Android device.
- Tap the control center options and look for “Record”.
- If you do not see it, you likely lack host privileges.
In many org setups, recording is restricted on mobile for policy reasons.
Can you record a Webex meeting if you are not the meeting host?
Sometimes, but not by default.
Webex typically limits recording Webex meetings to:
- The meeting host
- An alternate host
- A meeting participant the host explicitly grants recording privileges to
If you are not permitted, you must use another recording method.
Webex built-in recorder vs MeetGeek: which should you choose?
If you only need a file, Webex is fine. If you need outcomes, MeetGeek is stronger.
Pick the recording method that matches your situation
If you host the meeting, the Webex app gives you a direct way to record a meeting with cloud recordings or local recordings. You click record, choose a save location, and Webex stores the file.
If you are not the host, or if you want transcripts, summaries, and action items, you need a different recording method. MeetGeek turns a Webex meeting recording into something searchable and usable, and it helps teams save time after every call.
Try MeetGeek for free if you want a recording plus notes that actually move work forward.
Frequently asked questions
Does Webex notify participants when you start recording?
Yes, Webex notifies all participants when a recording starts. It shows a clear visual recording indicator on the screen and may also play an audio announcement, ensuring transparency and consent. MeetGeek recordings follow the same principle by making recording status visible to participants.
Can I record Webex Events or webinars?
Yes, Webex supports recording for meetings, webinars, and virtual events, but permissions apply. Recording is usually limited to the meeting host or an alternate host, and Webex Events can have stricter controls. If you are not the host, tools like MeetGeek can be used to record meetings without relying on host permissions.
Why can’t I see the record button?
If the record button is missing, you likely do not have recording privileges. Only the meeting host or an alternate host can start recording, and some mobile sessions restrict recording. In these cases, MeetGeek provides an alternative way to record Webex meetings directly from the browser.
How do I download a Webex recording?
To download a Webex recording, sign in to your Webex account, open the Recordings section on the Webex site, select the recording, and choose download. If you recorded the meeting with MeetGeek, recordings and transcripts are available for download directly from your MeetGeek dashboard.
What is the best way to download Webex recordings on different browsers?
The most reliable way to download Webex recordings is to use a modern desktop browser such as Chrome, Edge, or Firefox while logged into your Webex account. For users who experience download issues or need transcripts and summaries alongside the video, MeetGeek offers browser-based access without compatibility limitations.
How do I choose the recording layout in Webex?
Webex lets hosts choose recording layouts either in advance or during a meeting. You can set default layouts in your Webex account under User Hub or Preferences > Recording, or change them live using the Change Layout option during a session. Available layouts include Grid, Stack, Stage, and Focused Content, with controls for showing the active speaker, all participants, or only shared content.

Best AI Note Taker for Zoom: 8 Tools Tested (2026)
How 8 AI note takers actually connect to Zoom, and what each one does when you are not the meeting host.
7 Best Free AI Meeting Note Takers in 2026 (Tested)
A hands-on look at seven free plans, including how many meeting hours you actually get before the paywall starts.
How to Schedule a Meeting in Google Meet: 2026 Step-by-Step Guide
Three desktop methods, two mobile flows, and one trick to make every scheduled call more productive.

Funny Zoom Backgrounds for Every Kind of Meeting
Discover the best funny Zoom backgrounds for work calls and virtual meetings, including memes, TV scenes, fake offices, and AI-generated ideas.
The Agile Retrospective Meeting Template: 5 Formats That Work
Five retro formats (Start/Stop/Continue, 4Ls, Mad/Sad/Glad, Sailboat, DAKI), when to use each, and the commitment step that turns talk into change.
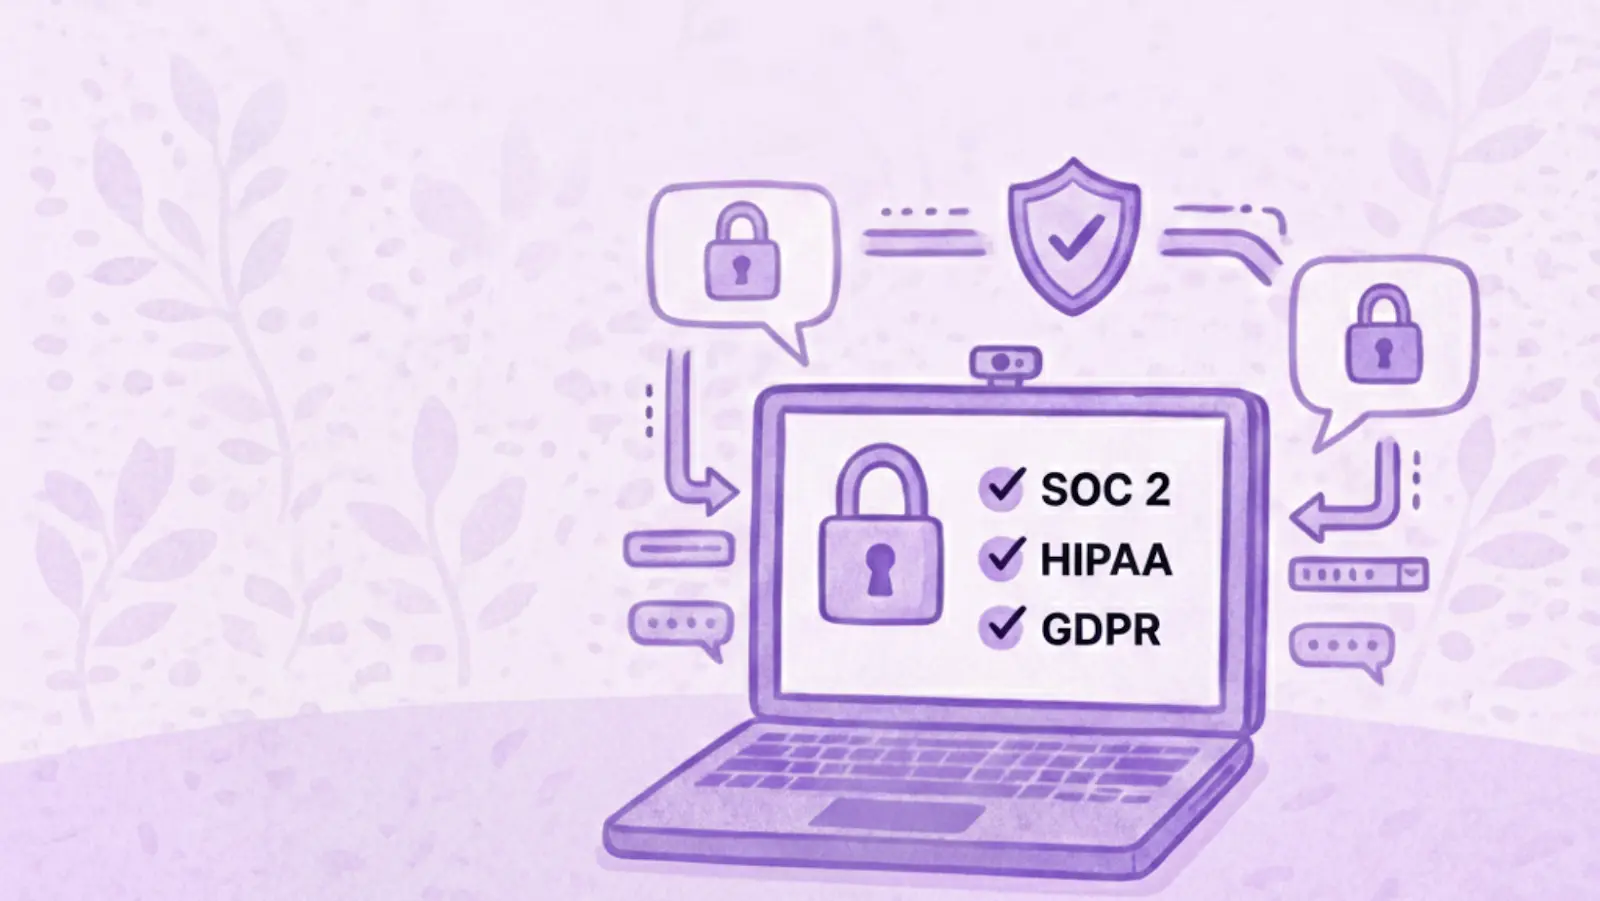
HIPAA-Compliant Meeting Transcription Tools: A Vetting Guide
What HIPAA actually requires of transcription tools, why most AI notetakers don't qualify, and a 10-item checklist for clinical operations teams.

Zoom Test Meeting: Step-by-Step Guide to Test Your Setup Before Any Call
Learn how to run a Zoom test meeting, fix mic and camera issues, and ensure your setup is ready before any important call.
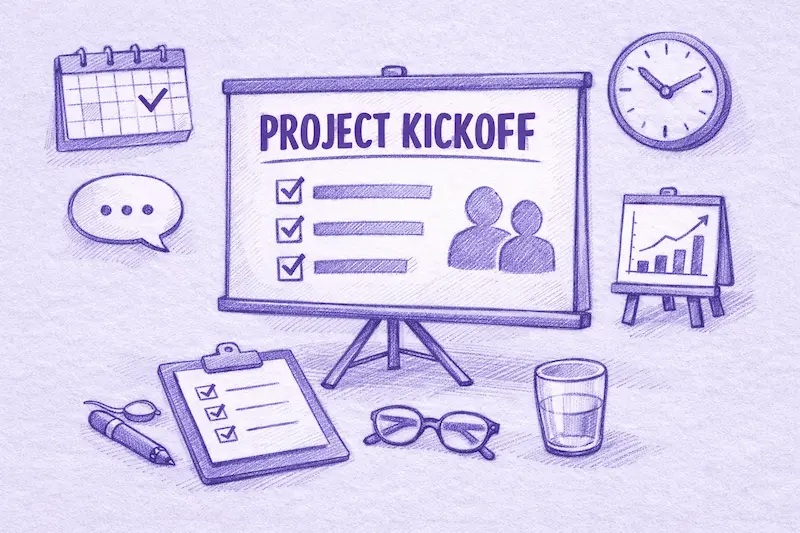
The Project Kickoff Meeting Playbook (+ Template)
A 7-part project kickoff meeting agenda, copy-paste template, and 24-hour follow-up checklist. Everything you need to align scope, roles, and timelines in 60 minutes.

What Is an Annual General Meeting (AGM)? A Complete Guide
Understand annual general meetings, what to include in an AGM agenda, and how to run structured, compliant meetings that drive decisions.

Is It Illegal to Record Someone Without Their Permission?
Recording a conversation can be legal in some situations and illegal in others. This guide explains when recording someone without permission is allowed in the U.S. and EU, how consent laws work, and how to avoid legal trouble.
Games to Play On Zoom: 20 Ideas for Team Building (And Actual Laughs)
A practical list of Zoom games that help remote teams connect, boost energy, and make virtual meetings more engaging and interactive.
How to Automate Meetings Securely in Regulated and High-Risk Environments
Learn how to automate meetings in regulated environments without compromising security, privacy, or compliance.
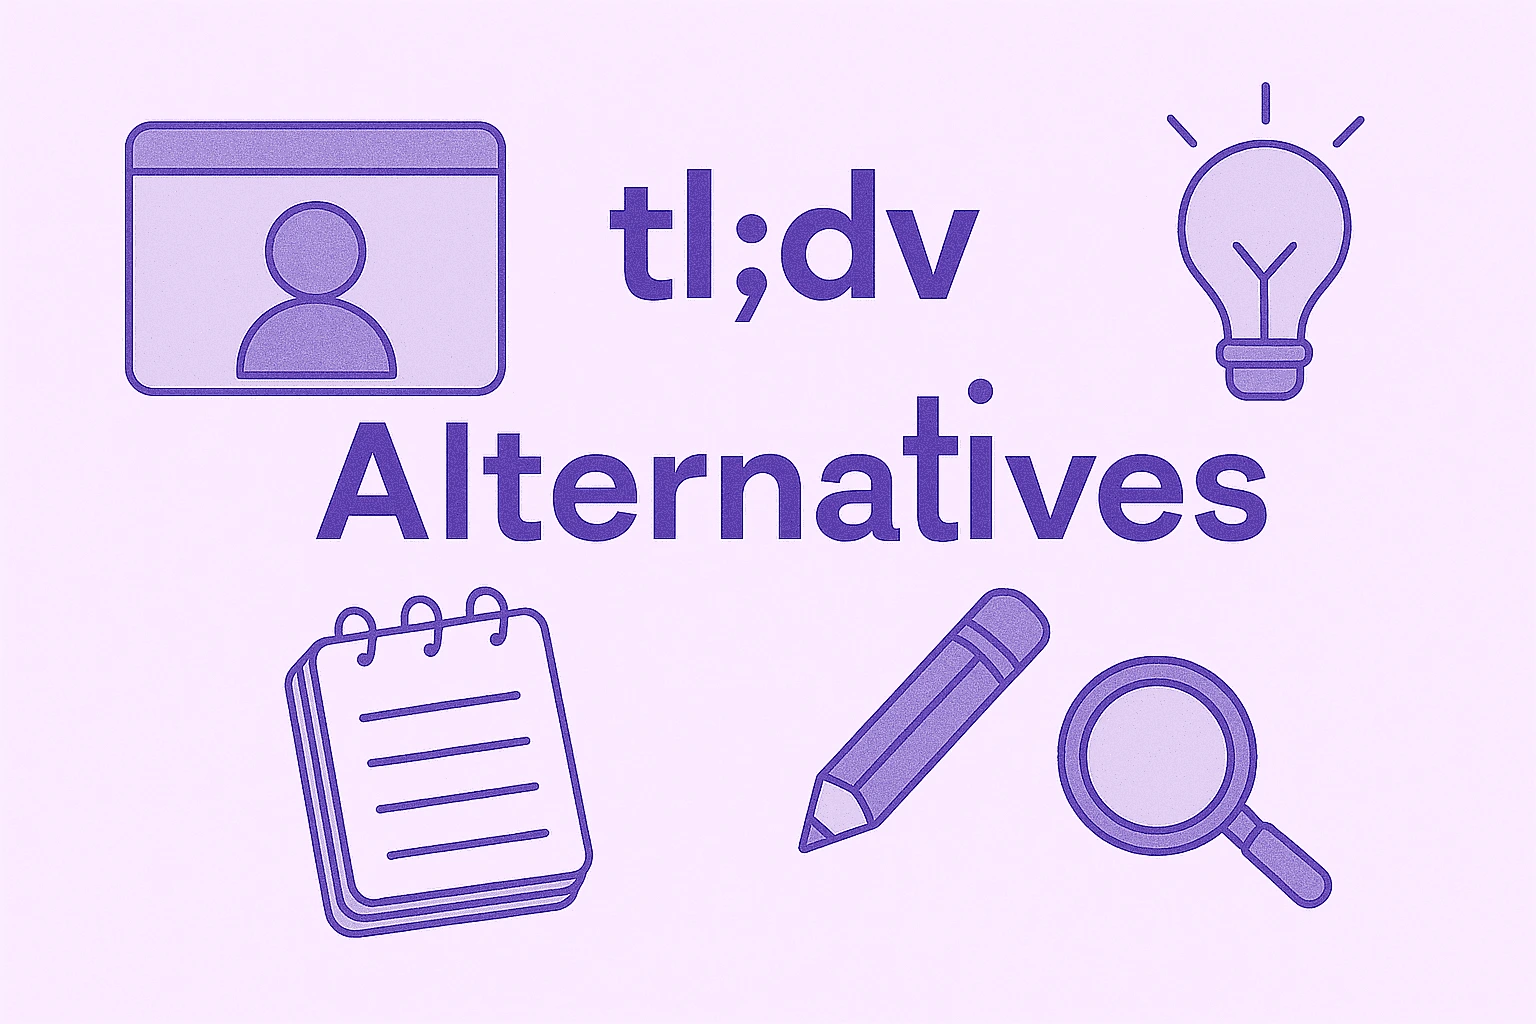
Top tl;dv Alternatives to Streamline Your Meetings
Discover the top tl;dv alternatives and explore and compare their features to choose the right AI meeting tool for your organization.
AI Meeting Agents: How Autonomous AI Is Transforming the Future of Work
Discover how AI meeting agents are redefining the future of work—handling scheduling, follow-ups, and even speaking on your behalf to save time and turn every meeting into real action.
Granola AI Notes Alternatives: The Best Options to Try in 2026
Explore the best Granola AI Notes alternatives for 2025 with smarter tools that go beyond transcription, offering automation, insights, and collaboration.
Follow-Up Email After Interview: How to Write It, When to Send It, and What to Say
Discover how to write an effective follow-up email after an interview. From timing and templates to tone and structure, this guide covers everything you need to stand out and stay memorable.
Tactiq Pricing 2026: Is It Worth It? Plans & Costs
A clear look at every Tactiq plan, what AI credits really limit, and how the costs add up for solo users and teams.

Ad Hoc Meeting Meaning and How to Run One
Discover the true ad hoc meeting meaning and learn how to make spontaneous discussions more focused and effective. Find out when to hold and manage them.

Virtual Meeting Etiquette: 15 Essential Rules for Professional Video Calls
Discover 15 essential virtual meeting etiquette rules and tips that keep conversations focused, professional, and engaging.
How to See Your Google Meet History and Find Recordings (4 Easy Methods)
This article explores various ways to see your Google Meet history, recover and share recordings, and outlines the requirements for accessing this data.
Fireflies AI Pricing | Review & Things I Wish I Knew Before Buying (2026)
Explore Fireflies 2026 pricing and features. Learn why users switch from this platform and choose alternatives for AI meeting summaries and insights.
How to Choose the Right Meeting Minutes Templates for Different Types of Meetings
Understanding the different meeting types and their documentation needs is the first step in choosing the right template. In this article, we will learn how to do that.
How to Access and Review Your Zoom Meeting History: A Complete Guide
In this article, we’ll walk you through how to access and review your Zoom meeting history: both using Zoom’s built-in tools and with the help of an AI meeting assistant.
Best AI Note Takers for In-Person Meetings in 2026
We tested mobile apps, bot-free notepads, and hardware recorders to find what actually captures a conversation in the room.

How to Record a Discord Call: A Step-by-Step Guide (2026)
This step-by-step guide will show you how to record a Discord call using both simple, built-in device features and powerful third-party tools.
How to Use Zoom Chrome Extension & 9 Best Extensions for Meetings
This guide will show you exactly how to use the Zoom Chrome extension and some other tools to simplify your meeting process.
How to Record a Webex Meeting: Step-By-Step for Desktop, Mobile, and Cloud
Record on Webex by using the built-in recording feature or enhance recording with third-party tools like the MeetGeek AI Chrome extension.

Meeting Overload Isn’t the Real Problem - Bad Meeting Design Is
When meeting overload becomes obvious, there are soma small changes that can transform your entire meeting culture.

How to Record Video Conferences: A Guide to Built-in Features and AI Tools
Record video conferences using built-in platform tools or AI transcription services to create lasting assets. Use tools like MeetGeek to automate collaboration and improve productivity.
AI Meeting Notes: Your Guide to Automated Meeting Documentation in 2026
Let's take a closer look at everything you need to know about free AI meeting notes options.
4 Best Free Transcription Software For 2026 | Personally Tested
In this article, we share the 4 best transcription software we found based on personal testing for 2026.

Read AI Review: Why are so many people leaving it? (2026)
We will guide you through the key features, pricing, pros and cons, and give some insights into why users are switching from this AI meeting assistant.

Otter AI Pricing | 4 Things I Wish I Knew Before Buying (2026)
"Is Otter AI worth it?" It is a good question, and many of you asked. Learn what we found about Otter AI's pricing and features and what other options you have.

Gong Pricing In 2026 | This will save you +$30,000
If you considered Gong, you probably asked the question, "How much does Gong cost?". Discover how much Gong customers pay and what other options you have.
How to Join Zoom with Meeting ID + Alternatives
Discover how to join a Zoom meeting using a Meeting ID and explore alternative methods to connect seamlessly.

6 Best Meeting Notes Apps in 2026 (Tested & Ranked)
We not only collected the top AI meeting assistants in this article but also the best apps for manual note-taking when it comes to meeting notes.

We Tested And Found The 5 Best Fathom Alternatives for 2026
After a deep dive into users' experience with this AI meeting assistant, we found what the best Fathom alternatives are for you.
6 Best Gong Alternatives After +2 Years Testing (2026)
We invested over 300 hours in this project to discover the best Gong alternatives. Let's delve into the best ones.

When & How to Organize an In-Person Meeting in 2026
Plan smarter in-person meetings! Learn when to meet, how to organize effectively, and make every gathering productive and engaging.
.png)
Best 7 AI Note-Takers In 2026 | 15+ Tested Tools
I tried +15 AI note-takers to find the best ones. This article reveals the best AI note-taker based on features and pricing.
How to Have an Effective Touchpoint Meeting: Strategies for Managers
Want to conduct successful touchpoint meetings? Learn actionable tips and strategies to foster collaboration, track progress, and inspire your team to achieve more.

How to Plan and Run Productive Sales Meetings [+Free Sales Meeting Agenda]
Learn effective strategies to make your sales meetings more impactful and productive. Discover tips to boost engagement and results!

How to Run an Effective Discovery Meeting
Learn how to run an effective discovery meeting with practical tips and strategies that ensure success.

How to Master Scrum Meetings: Best Practices & Templates
Learn how to run effective Scrum meetings with practical tips and templates. Streamline your workflow, boost team collaboration, and get the most out of every meeting!
Google Meet vs. Zoom: Which One to Choose in 2026
Discover the ultimate showdown between Google Meet and Zoom in 2026! Find out which video conferencing tool wins in features and value.

20 Outside-the-Box Ideas for Team Meetings
Energize and engage your team with one of these 20 innovative team meeting ideas.

How to ‘Share Screen’ on Zoom [PC/Mobile] + Pro Tips
Learn how to share your screen during Zoom meetings on both PC and mobile devices with our expert tips!

The 10 Secrets to Effective Meeting Management
Unlock the secrets to effective meeting management! Discover 10 game-changing strategies for productive meetings.
How to Set Up a Zoom Meeting & Stellar Tips for Boosted Engagement
Master the Zoom setup with our easy step-by-step guide. From scheduling to hosting, learn how to connect & engage in the digital world.
How to Set Up a Teams Meeting: A Step-by-Step Guide for Beginners
Learn to set up a Teams meeting effortlessly with our beginner-friendly guide. From scheduling to inviting, we cover every step!

How to Have a Successful Business Meeting in 2026
Master the art of successful business meetings this year with our top tips for planning, engaging, and achieving results in the modern workplace.

How to Join a Zoom Meeting from Any Device in 2026
Step into 2026 with ease: Learn to join Zoom meetings from any device with this simple, user-friendly guide for seamless virtual connections.

How to Change the Zoom Host + How to Add a Zoom Alternative Host
Learn the quick and easy steps to change hosts in Zoom meetings with this comprehensive and beginner-friendly guide.

How to Choose the Right Meeting Cadence: The Manager’s Playbook
Unlock the secrets to setting the perfect meeting cadence for optimal team productivity with this guide for managers.

What is Virtual Meeting & What to Expect in 2026: A Look Ahead
Discover the future of virtual meetings in 2026 and some out-of-time tips with this insightful article.

How to Transcribe Zoom Meetings into Google Docs without Additional Permissions
Learn how to efficiently transcribe your Zoom meetings into Google Docs with these simple steps. Increase productivity and easily reference past discussions.

The Ultimate End-of-Year Review: A Guide for Managers
Master the art of end-of-year reviews with our comprehensive guide for managers. Learn proven strategies to evaluate performance and set goals for success in the coming year.

How to Run an Effective Brainstorming Session
Get ready to unlock your team's creativity. Don't miss this guide to running an effective brainstorming session that will bring innovative ideas to life.

How to Host the Ultimate One-on-One Meeting
Discover how to organize one-on-one meetings that improve communication, foster engagement, and build stronger relationships in your team by reading this article!

Effective Data Visualization for Meeting Insights
Visualization makes conveying complex data more understandable. Let's discover how to level up your next meeting with visual assets.

How to Facilitate Inclusive and Collaborative Meetings
Good meeting planning and facilitation are what makes team meetings inclusive, collaborative, and effective leading to problem resolution and new idea generation.

Innovative Meeting Formats: Exploring Alternatives to Traditional Business Meetings for Enhanced Creativity
Explore some alternative meeting formats that can revolutionize how your team collaborates and generates ideas.

Top 8 Online Virtual Meeting Platforms for Growing Organizations
With more and more virtual meeting platforms being available in the market, choosing the right one for your business can be quite confusing and challenging.

How to Record Google Meet on Any Device in 2026
Discover how to easily record a Google Meet in our comprehensive guide. Read this article to never worry about missing important information again!

The Power of a Blog: How Meetings Can Be Transformed into Engaging Content
In this article, we'll unpack six inventive strategies for leveraging meeting transcripts to enhance your marketing efforts.
The 10 Best Vowel.ai Alternatives for Your Meetings
Click through for a look at 7 of the top alternatives to Vowel for your next meeting.

The 10 Best Meeting Scheduling Software for 2026
The best meeting scheduling tools offer a frictionless experience for all participants. Here are 10 options that will save hours of your time!

10 Ways an AI Meeting Assistant Can Help With Your Meetings & Interviews
Without the right tools in place, meetings can be a painful process. Read this article to explore the 10 best use cases of having an AI meeting assistant!

Find Your Perfect Meeting Notes Template
Are meetings a part of your work life, but you have no idea what they should contain or even look like? Read this article to get your meeting notes template!

How To Record a Zoom Meeting If You’re Not a Host
Discover how to record Zoom meetings without hosting privileges from any device for a streamlined meeting experience!
15 Free Meeting Agenda Examples
Are you still trying to find the perfect meeting agenda examples to use as inspiration before your next meeting? Check out our free 15 templates!

Why You Need to Set Meeting Goals and How to Do That
The first step to a successful meeting is defining your meeting goals. Read this article to learn how high-performing teams do this!

6 Tips to Write a Successful Meeting Agenda with Examples
Want to write the ultimate meeting agenda and achieve all-time productivity in your team meetings? Follow these 6 pro tips to learn how and check out our free templates to get started.

The 5 Best Types of Check-In Questions for Meetings
Are you a manager trying to find the best check-in questions for meetings? Read this before your next meeting!

How to Write an Effective Meeting Invitation Email
Ever wondered what the recipe for a successful meeting invitation email is? Read this article to learn all of our tips and insights!
How to Write an Effective Meeting Recap: Tips & Templates
Discover 10 practical tips to write clear and effective meeting recaps that keep your team informed and on track. Enhance communication and productivity with these easy steps.

15 Types Of Meetings: What Makes Them Different & Tips
Are you a manager who wants to master the art of hosting meetings? Learn how to approach these 15 types of meetings effectively with our exclusive tips!

10 Types of HR Screening Questions to Ask If You're a Hiring Manager
Are you trying to find the best candidate for a job posting in your company? Read this article to discover the best types of HR screening questions!