.avif)

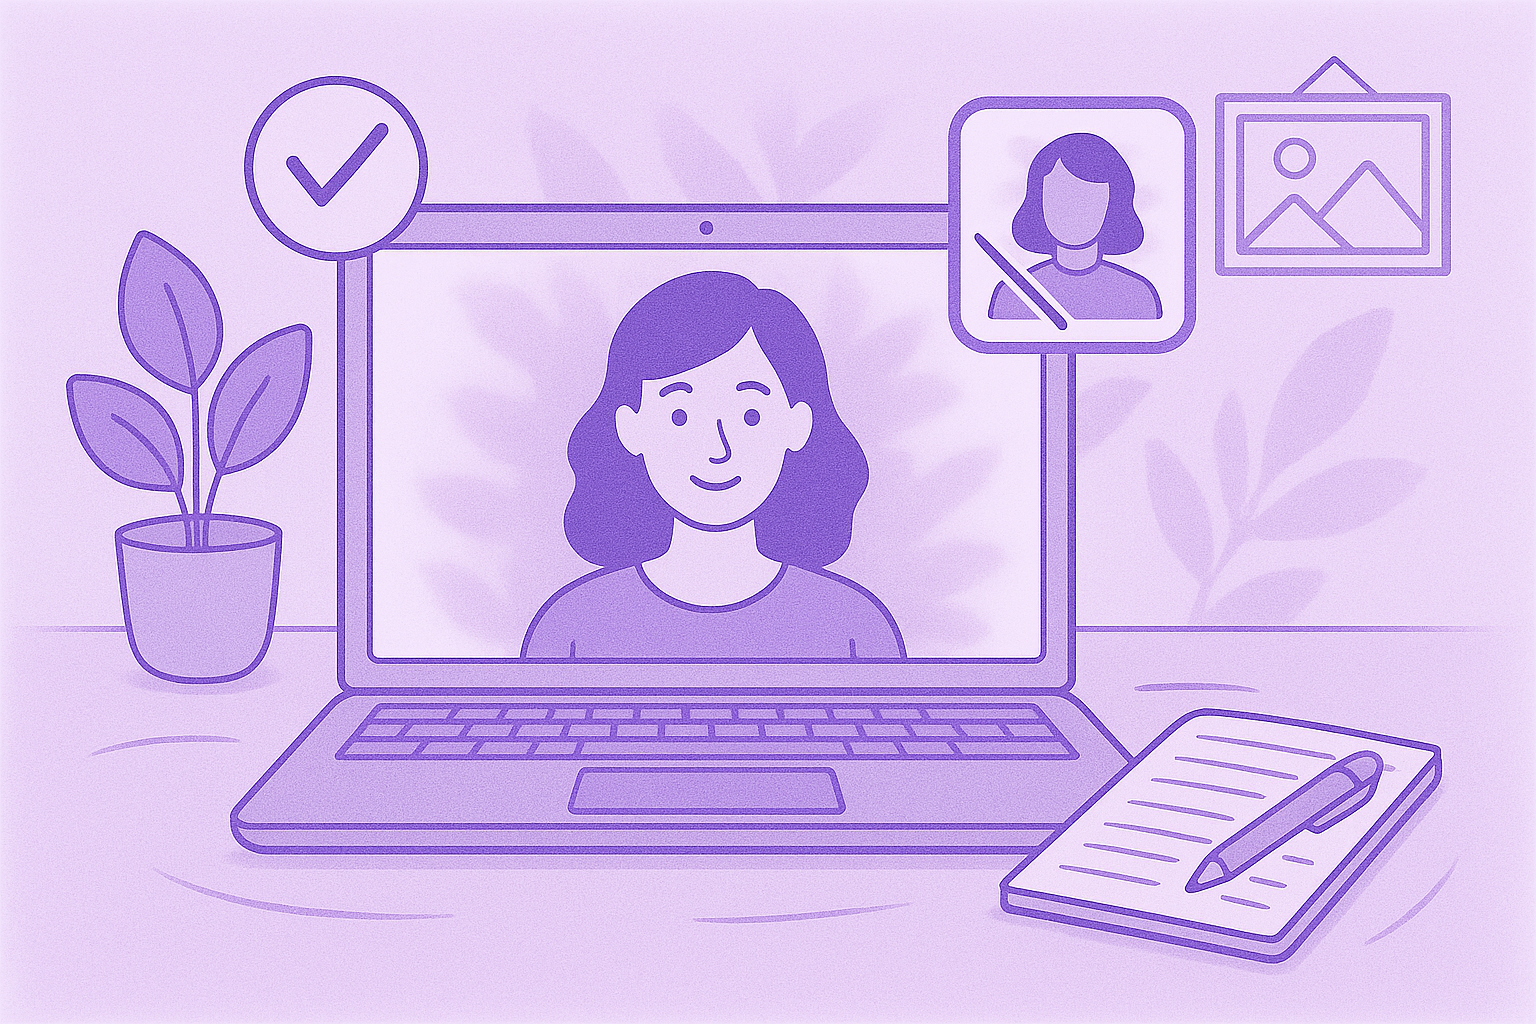
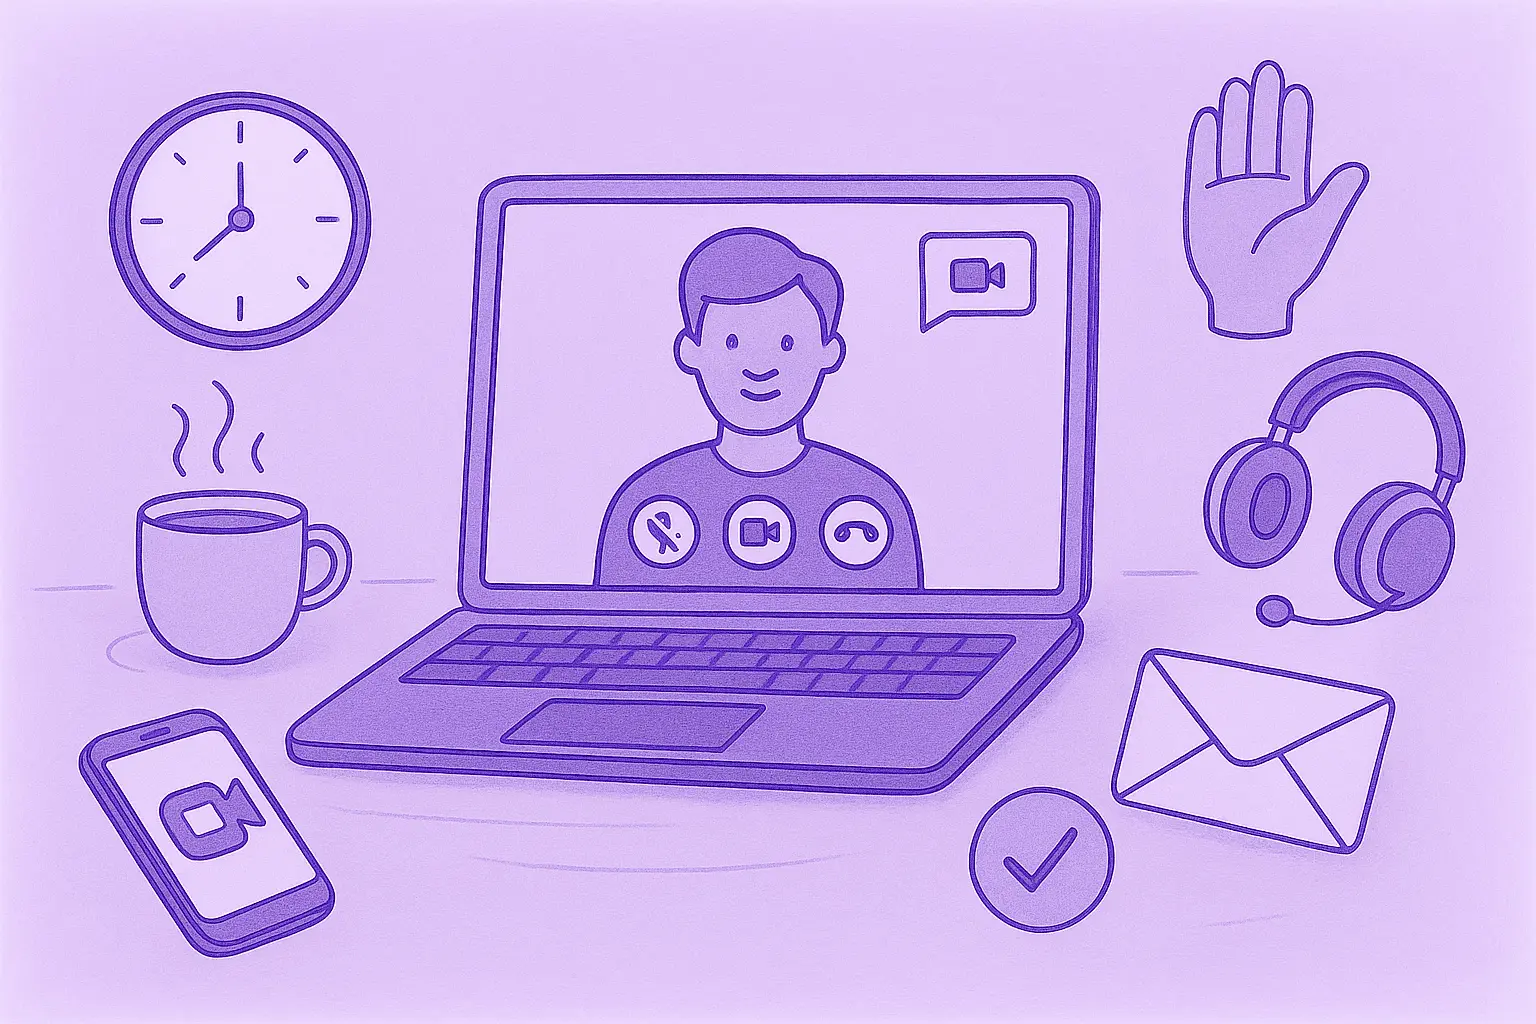
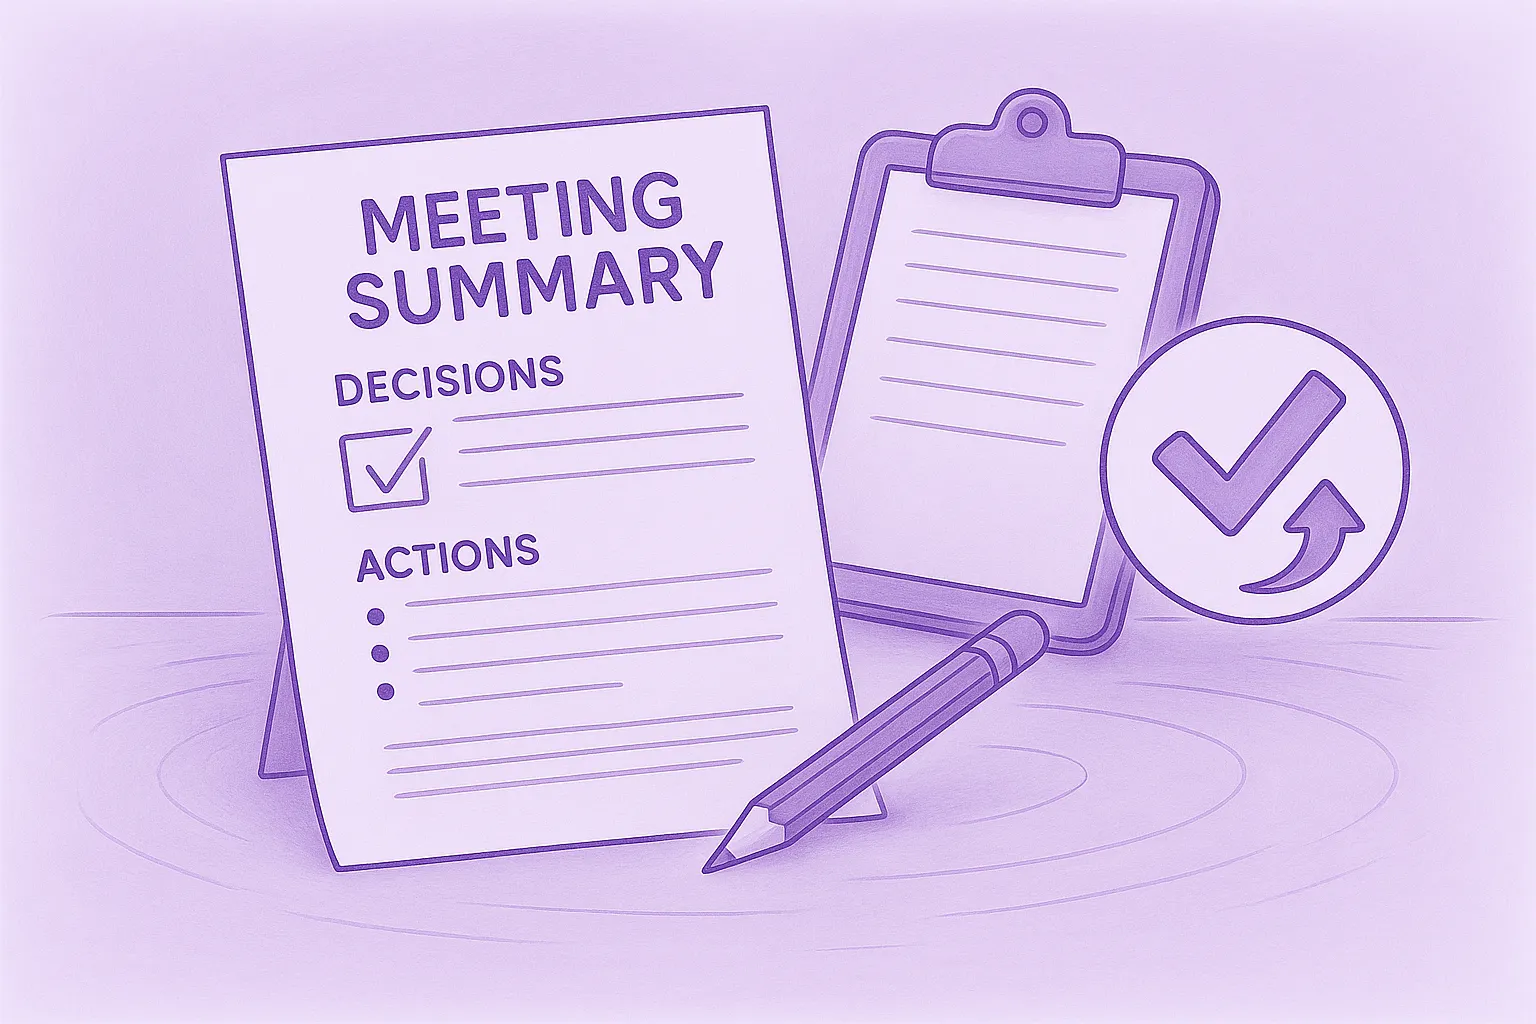
¿Dónde se almacenan las grabaciones de Teams? Explicación de todas las ubicaciones
¿Te preguntas dónde terminan tus grabaciones de Microsoft Teams? Aquí tienes todas las opciones de almacenamiento explicadas con claridad.

✅ Free meeting recording & transcription
💬 Automated sharing of insights to other tools.
Grabar una reunión en Microsoft Teams es bastante sencillo. Pero, ¿encontrar las reuniones de Teams grabadas después? No siempre es fácil. Con las diferentes opciones de almacenamiento y las actualizaciones constantes de Microsoft, las cosas pueden resultar confusas.
En esta guía, te explicaremos exactamente dónde se guardan las grabaciones de Teams, cómo encontrarlas y qué cambios hay en función del tipo de reunión.
Ya sea que intentes volver a ver una llamada del equipo, compartir una sesión con alguien que no pudo verla o evitar preguntar al departamento de TI nuevamente, esta guía aclarará las cosas. Vamos a desglosarlo todo.
¿Dónde se almacenan las grabaciones de Microsoft Teams?
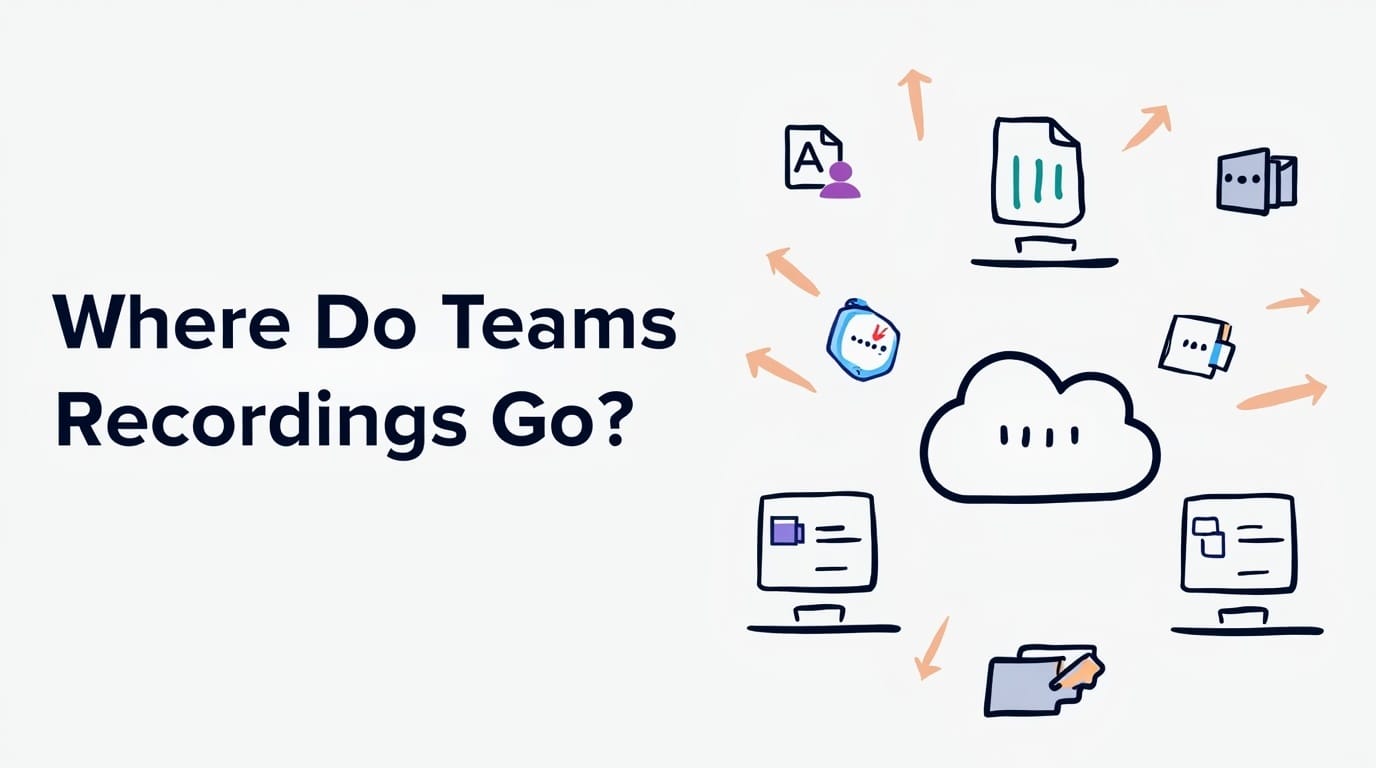
Microsoft Teams almacena las grabaciones de las reuniones en dos lugares: OneDrive o SharePoint, dependiendo de si la reunión tuvo lugar en un canal o no.
Este sistema reemplazó la antigua configuración de Microsoft Stream a principios de 2021 y, sinceramente, facilita mucho las cosas a la hora de buscar, compartir y colaborar en las grabaciones.
1. ¿Dónde almacena Microsoft Teams las grabaciones de las reuniones privadas?
Si tu reunión no estaba vinculada a un canal de Teams específico (como un 1 a 1 con un compañero de trabajo, una llamada grupal o una reunión con alguien ajeno a la empresa) y, a continuación, la grabación se guarda en OneDrive. Más específicamente, va a la carpeta de grabaciones de OneDrive del usuario que grabó la reunión.
Esta configuración es buena porque es fácil acceder al archivo y compartirlo, especialmente si necesita enviárselo a alguien que no estuvo en la reunión. Solo recuerda que solo la persona que lo grabó puede editar el archivo.
2. ¿Dónde almacena Microsoft Teams las grabaciones para las reuniones de canal?
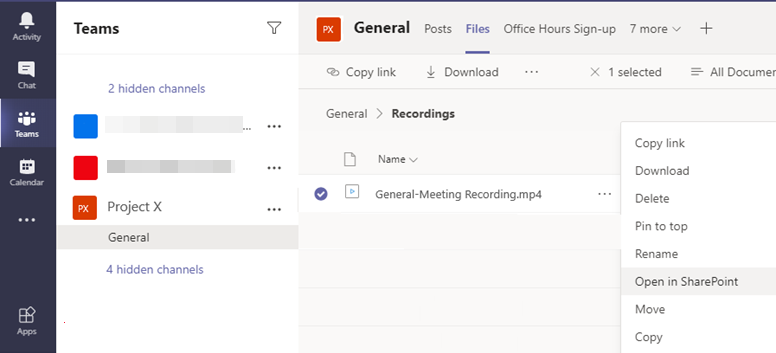
Si la sesión tuvo lugar dentro de un canal de Teams (como #marketing, #project -x o cualquier otro canal que use tu equipo), la ubicación de grabación de Microsoft Teams es el sitio de SharePoint de ese canal. La encontrarás en la pestaña Archivos, en una carpeta llamada Grabaciones.
Esta configuración es excelente porque todos los miembros del canal pueden acceder a la grabación, por lo que no es necesario enviar enlaces ni preocuparse por los permisos. Ya forma parte de tu espacio de trabajo compartido.
Cómo encontrar las grabaciones de las reuniones de los equipos
A. Cómo encontrar la ubicación de grabación de los equipos para las reuniones del canal:
- Abra Microsoft Teams y dirígete al canal en el que tuvo lugar la reunión.
- Haga clic en el Expedientes pestaña en la parte superior.
- Dentro de la sección Archivos, verás una carpeta llamada Grabaciones. Ahí es donde se almacenan los archivos de la reunión.
- Haga clic en esa carpeta y busque la grabación por fecha o título de la reunión. Puede ver, descargar o compartir desde allí.
NOTA: La ruta de la carpeta sigue una estructura como la siguiente:
[Nombre del equipo] — [Nombre del canal] /Documentos/Grabaciones
2. Cómo encontrar la ubicación de grabación del equipo para las reuniones privadas:
- Ir a OneDrive (ya sea en el navegador o en la aplicación de escritorio).
- Abra el Grabaciones carpeta. Si es la primera reunión grabada, esta carpeta se crea automáticamente.
- En su interior, encontrará los archivos de la reunión ordenados por fecha o nombre de la reunión.
- Puedes ver, descargar o compartir la grabación desde allí mismo.
Cómo simplificar las grabaciones de los equipos con IA
Administrar las grabaciones de Teams de forma manual puede resultar abrumador, especialmente si pasas de una reunión a otra.
Debe recordar pulsar «grabar», averiguar dónde está almacenado el archivo, transcribirlo si es necesario y, después, hacer un seguimiento con todos los demás. Si te pierdes una reunión por completo, ponerte al día lleva aún más tiempo.
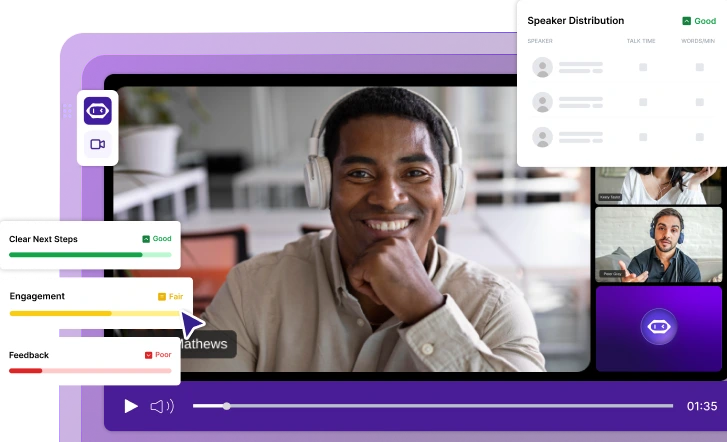
Ahí es donde MeetGeek marca una enorme diferencia.
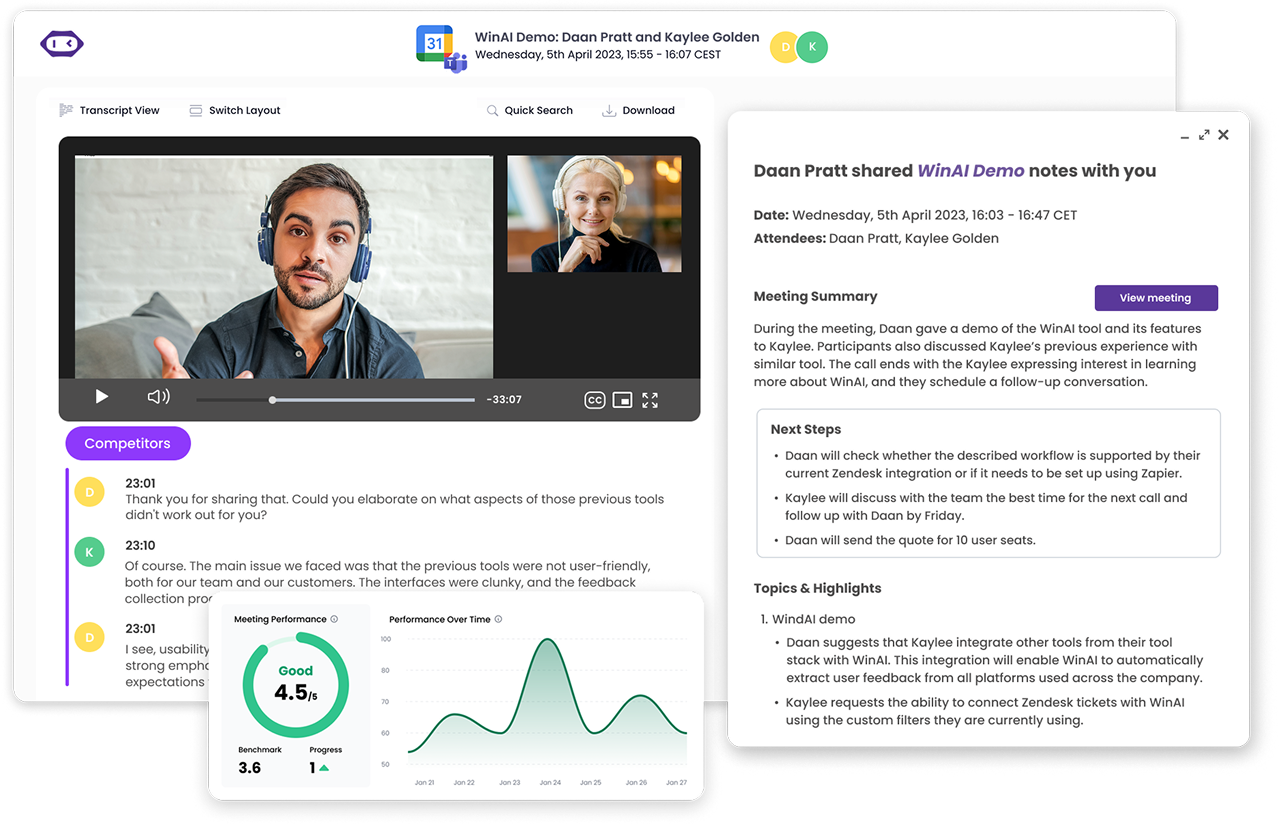
MeetGeek es una plataforma de colaboración y automatización de reuniones basada en inteligencia artificial que se une automáticamente a tus reuniones de Microsoft Teams, Google Meet o Zoom, las graba, transcribe la conversación y envía resúmenes y seguimientos a todos los participantes de la reunión, sin que tengas que mover un dedo.
Todo lo que necesitas hacer es sincronizar tu calendario una vez y MeetGeek se encarga del resto. También funciona con Zoom y Google Meet, por lo que si tu equipo usa diferentes plataformas, seguirás teniendo las mismas funciones inteligentes en un solo lugar.
Para cada reunión, recibirá una grabación de vídeo, una transcripción completa y un resumen Actas de reuniones de IA que destacan los puntos clave y los elementos de acción. Una vez finalizada la reunión, MeetGeek envía automáticamente correos electrónicos de seguimiento con todos los detalles importantes, para que tú y tu equipo estén siempre informados.
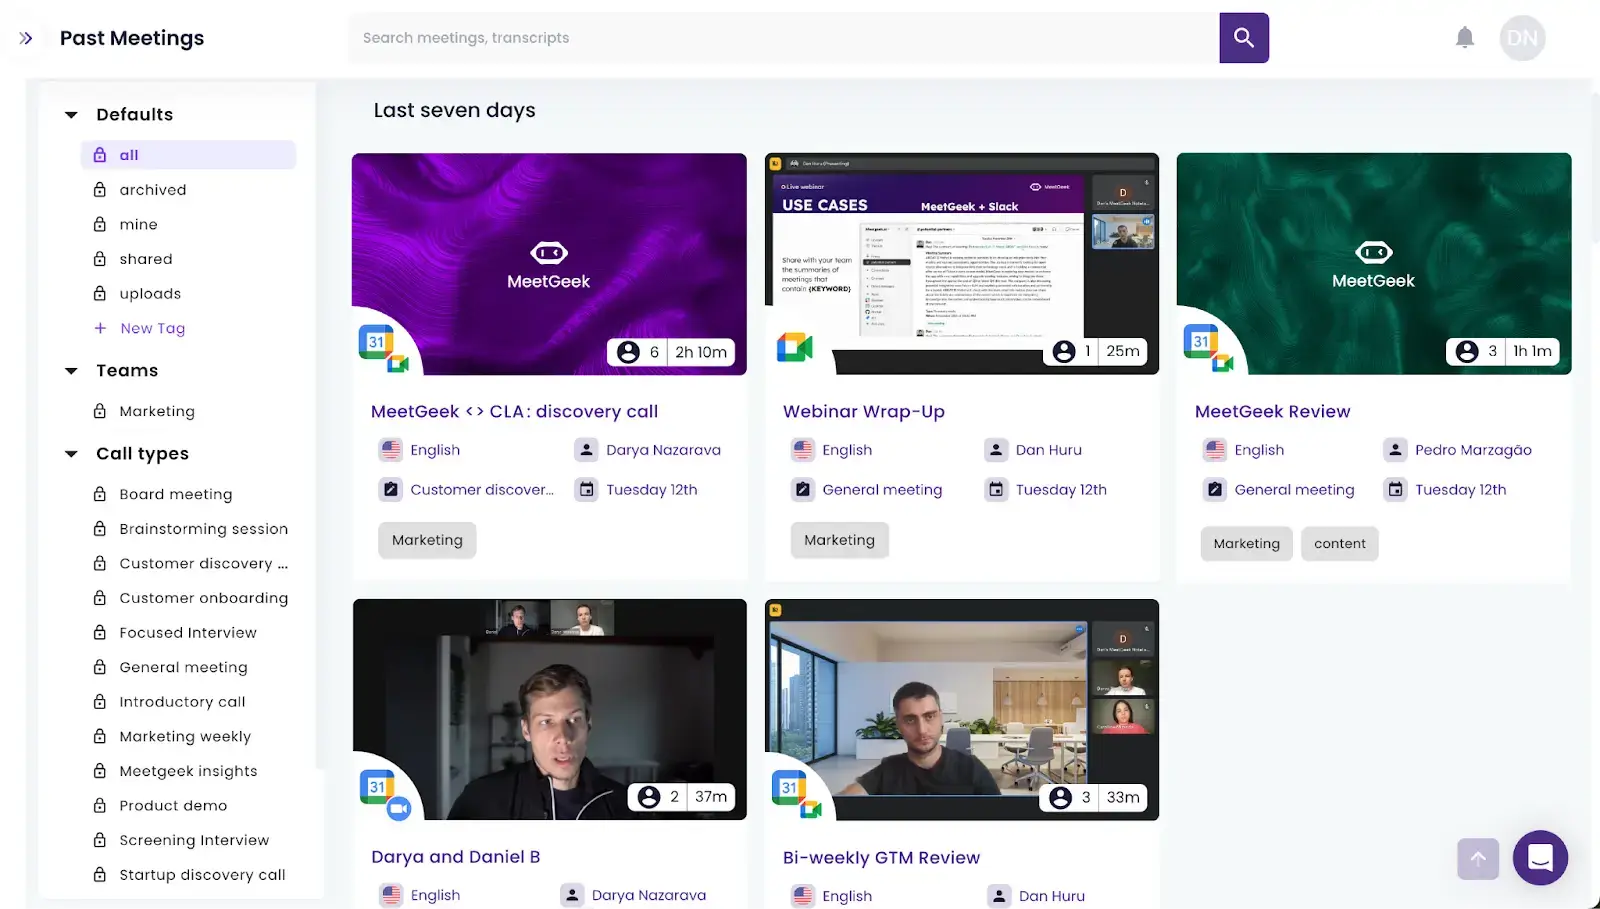
También obtiene un informe de asistencia y la información de la reunión, todo ello almacenado de forma ordenada en una biblioteca central de reuniones que es fácil de buscar y compartir.
MeetGeek también facilita la colaboración al integrarse con las herramientas que ya utilizas, como Slack, Notion, Trello, Zapier o Make and over 7000 personas más. Esto significa que puedes incluir automáticamente las notas, las tareas y los resúmenes de las reuniones en el flujo de trabajo de tu equipo sin ningún esfuerzo adicional.
Y si estás en movimiento, el aplicación móvil le brinda acceso completo a sus reuniones desde cualquier lugar. Incluso puede grabar y transcribir reuniones presenciales directamente desde su teléfono.
Si quieres simplificar la forma en que gestionas las grabaciones de Teams (y quieres las mismas funciones inteligentes en todas tus reuniones), MeetGeek cambia las reglas del juego. Te ahorra tiempo, mantiene todo organizado y garantiza que nada importante pase desapercibido.
Permisos y acceso a la grabación de reuniones de equipos
Microsoft te da un control decente sobre quién puede ver, editar o compartir las grabaciones de tus reuniones. Si fuiste tú quien organizó la reunión (o te agregaron como coorganizador), eres el responsable de la grabación. Esto significa que puedes cambiarle el nombre, moverla, compartirla o incluso eliminarla si es necesario.
Si eres administrador, puedes controlar muchas cosas, como:
- Quién puede grabar reuniones
- Si las grabaciones se inician automáticamente
- Si los miembros del equipo pueden descargar grabaciones o simplemente verlas
- Cuánto tiempo permanecen las grabaciones antes de que caduquen (de forma predeterminada, son 120 días)
Por otro lado, los participantes habituales (aquellos que fueron invitados a la reunión) tienen ver acceso a la grabación de forma predeterminada.
CONSEJO PROFESIONAL: Con MeetGeek, puede iniciar la grabación de la reunión aunque no sea el anfitrión.
En el caso de las reuniones del canal, cualquier persona del canal puede acceder a ellas, pero solo el organizador puede editar o eliminar cualquier cosa, a menos que cambie los permisos y dé acceso a otras personas.
En el caso de las reuniones sin canal, la persona que lo grabó puede compartirlo con quien lo necesite (y los invitados o los asistentes externos solo pueden verlo si se comparte con ellos directamente).
La grabación también aparecerá automáticamente en algunos lugares:
- En el conversación de canal o chat de reunión
- En el Grabaciones y transcripciones pestaña en tu calendario de Teams
- En Microsoft 365, en lugares como «Compartido conmigo» o «Reciente»
Dónde puede gestionar las reuniones de los equipos:
- Para reuniones sin canal, la persona que pulse «Grabar» puede gestionar la grabación de la reunión en OneDrive.
- Para reuniones de canal, solo el organizador de la reunión puede administrar los permisos desde la carpeta SharePoint del canal.
Cómo gestionar las grabaciones de los equipos
A. Cómo reproducir una grabación de equipos:
- Si se trata de una reunión programada, abre el Calendario de equipos y busca la reunión.
- Haga clic en la miniatura de la grabación y vaya a Detalles pestaña.
- Ahí verás la grabación. Puedes hacer clic en ella para reproducirla directamente en tu navegador.
O
- Para ver las reuniones de canal, vaya a canal donde tuvo lugar la reunión.
- En el hilo de conversación, verás un enlace a la grabación.
- Haga clic en él para reproducir el vídeo, sin necesidad de descargarlo.
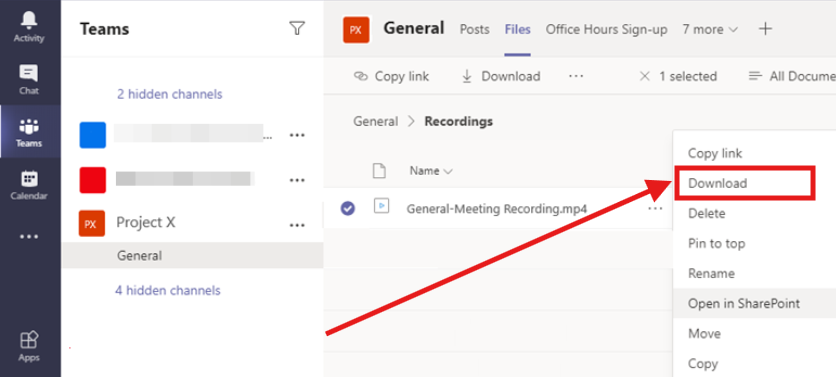
B. Cómo descargar la grabación de una reunión de equipo:
- Acceso OneDrive o SharePoint, en función de dónde esté guardada la grabación. Recuerde que solo el organizador de la reunión o la persona que inició la grabación pueden descargarla.
- Busque el archivo que necesita en el Grabaciones carpeta y haga clic en la casilla de verificación situada junto a ella.
- En el menú superior, haz clic Descargar.
- Es posible que su navegador le pregunte dónde desea guardar el archivo. Elige una ubicación y listo.
C. Cómo compartir la grabación de una reunión de equipo:
- Ir a OneDrive o SharePoint y localice el archivo de grabación.
- Haga clic en el archivo para seleccionarlo y, a continuación, haga clic Compartir en la cima.
- Tendrás varias opciones:
- Copia el enlace de grabación para enviarlo como quieras.
- Escriba las direcciones de correo electrónico para enviarlo directamente desde allí.
- Haga clic Enviar o pega el enlace donde debe ir.

NOTA: Si quieres tener un poco más de control sobre tu grabación, también puedes establecer fechas de caducidad o ajustar los permisos de edición en la configuración de uso compartido.
D. Cómo eliminar la grabación de una reunión de equipo
Cómo eliminar la grabación de una reunión de equipo en OneDrive:
- Ir a la OneDrive sitio y acceda a la carpeta Grabaciones.
- Haz clic en la casilla de verificación situada junto al archivo que deseas eliminar.
- Elige el Borrar opción en la parte superior de la página. ¡Hecho!
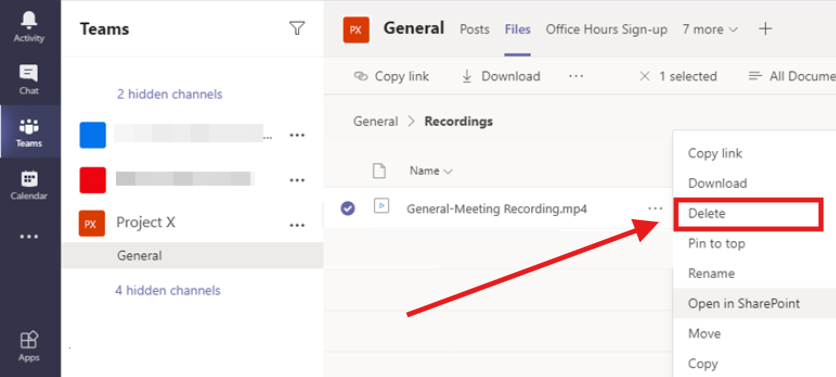
Cómo eliminar la grabación de una reunión de equipo en SharePoint:
- Ir a la SharePoint sitio vinculado a tu canal de Teams.
- Navegue hasta el Documentos > Grabaciones carpeta.
- Haga clic con el botón derecho en el archivo que desea eliminar y seleccione Borrar.
- Confirme cuando se le pida haciendo clic Sí.
BONIFICACIÓN: Cómo descargar las transcripciones de las reuniones de los equipos:
- En la pantalla de la reunión, vaya a los controles de la reunión, haga clic en tres puntos (Más acciones) en la parte superior y selecciona Iniciar la transcripción. Todos los asistentes a la reunión recibirán una notificación de que la transcripción ha comenzado.
- Una vez finalizada la reunión, vaya a su Calendario de equipos. Busque el evento de la reunión y haga clic en él.
- Haga clic en el Grabaciones y transcripciones pestaña. Al lado de tu transcripción de la reunión, haga clic en el flecha hacia abajo, luego elige Descargar.
- Elige el formato de archivo que quieras: .docx si solo quieres leer o compartir la transcripción, o .vtt si planeas usarlo como subtítulos o editarlo para un vídeo.

CONSEJO PROFESIONAL: ¿Quieres descargar las transcripciones de tus reuniones de Teams sin tener que buscar en OneDrive o SharePoint? Simplemente deja MeetGeek hazlo por ti. Una vez finalizada la reunión, MeetGeek genera automáticamente una transcripción completa y la guarda en la biblioteca de la reunión, que puede descargar con un solo clic.
Además, dado que MeetGeek funciona con Teams, Zoom y Google Meet, sus transcripciones están en un solo lugar, sin importar dónde haya tenido lugar la reunión.
Solución de problemas comunes con las grabaciones de MS Teams
Si bien Teams hace que la grabación de las reuniones sea bastante sencilla, las cosas no siempre salen bien.
Estos son algunos de los problemas más comunes con los que se encuentran las personas, junto con consejos sencillos sobre cómo solucionarlos.
1. Qué hacer si la grabación de su equipo no está disponible de inmediato
Las grabaciones de los equipos tardan un tiempo en procesarse, especialmente si la reunión fue larga o incluyó muchos vídeos o pantallas compartidas. Por lo general, la grabación aparecerá en el chat o en la pestaña «Grabaciones y transcripciones» en unos minutos.
Si ha pasado un tiempo (por ejemplo, más de una hora) y aún no está allí, comprueba si la reunión se grabó realmente y si la persona que inició la grabación tenía los permisos correctos.
¿Aún no se presenta? Prueba a revisar OneDrive (para reuniones sin canal) o SharePoint (para reuniones con canales) directamente; a veces aparece ahí antes de que aparezca en Teams.
2. Qué hacer si los participantes no pueden ver la grabación de la reunión del equipo
Si la grabación aparece, pero las personas dicen que no pueden acceder a ella, normalmente se trata de permisos:
- En el caso de las reuniones sin canal, la grabación se almacena en el OneDrive de la persona que ha pulsado «Grabar». Esa persona debe comprobar los permisos para compartir el archivo y asegurarse de que está configurado para que los demás participantes de la reunión puedan verlo.
- Para las reuniones de canal, el archivo está en SharePoint y sigue la configuración de uso compartido del canal. Si alguien ha sido invitado a la reunión pero no forma parte del canal, es posible que no tenga acceso de forma predeterminada.
Solución rápida: Vaya al archivo en OneDrive o SharePoint y haga clic en Compartiry copie el enlace o escriba las direcciones de correo electrónico de las personas que necesitan acceder.
3. Qué hacer si tiene limitaciones de almacenamiento de grabaciones en Teams
¿Se está acabando el espacio? Sucede, especialmente si grabas muchas reuniones o trabajas con contenido con muchos vídeos. Descarga las grabaciones importantes y muévelas a un almacenamiento externo o a otro servicio en la nube como Google Drive o Dropbox. Luego, limpia tu almacenamiento borrando las grabaciones antiguas o innecesarias para liberar espacio.
Como alternativa, puedes preguntar a tu equipo de TI si se puede aumentar tu cuota de almacenamiento.
4. Qué hacer con el vencimiento de las grabaciones de Teams
De forma predeterminada, las grabaciones de Teams no se conservan para siempre. Microsoft establece automáticamente un período de caducidad para las grabaciones de las reuniones (normalmente 120 días, pero esto puede variar según la política de la organización).
Por lo general, recibirás un correo electrónico antes de que caduque la grabación de una reunión de MS Teams, lo que te dará la oportunidad de descargarla o extender su vida útil. También puedes ajustar la fecha de caducidad abriendo la grabación en OneDrive o SharePoint y ajustando la configuración en los detalles del archivo.
¡Aproveche al máximo su experiencia en MS Teams con MeetGeek!
Microsoft Teams facilita la grabación y el intercambio de reuniones, pero mantener todo organizado puede llevar mucho tiempo y esfuerzo. Desde averiguar dónde se almacenan las grabaciones hasta administrar los permisos, las descargas y las transcripciones, hay muchas cosas de las que estar al tanto.
Si quieres eliminar el estrés que supone gestionar tus reuniones de Teams, ahí es donde MeetGeek realmente brilla. Graba, transcribe, resume y organiza todas tus reuniones automáticamente, para que puedas concentrarte en la conversación en lugar de tomar notas o buscar archivos más adelante.
¿Estás listo para sacar más provecho de tu experiencia con MS Teams?

IA para Reuniones en Zoom: 8 Herramientas Probadas (2026)
Cómo se conectan realmente a Zoom 8 herramientas de IA para reuniones y qué hace cada una cuando no eres el anfitrión.
Mejor Software de Reclutamiento (ATS) en 2026
Comparamos los mejores software de reclutamiento y selección: para quién es cada ATS, cuánto cuesta y cómo elegir el adecuado.
Equipo Directivo: Funciones, Estructura y Buenas Prácticas
Descubre las funciones, las responsabilidades y los rasgos de los equipos directivos de éxito, además de estrategias prácticas para un liderazgo más fuerte.
Cómo Grabar en el Móvil: Llamadas, Pantalla y Audio
Descubre cómo grabar llamadas, la pantalla y el audio en el móvil Android e iPhone, con apps, consejos de calidad y qué dice la ley.
Cómo Hacer un Informe: Tipos, Estructura y Ejemplo
Un informe convierte información compleja en conclusiones claras. Descubre los tipos, las secciones esenciales, un ejemplo y buenas prácticas para crear informes que ahorran tiempo.
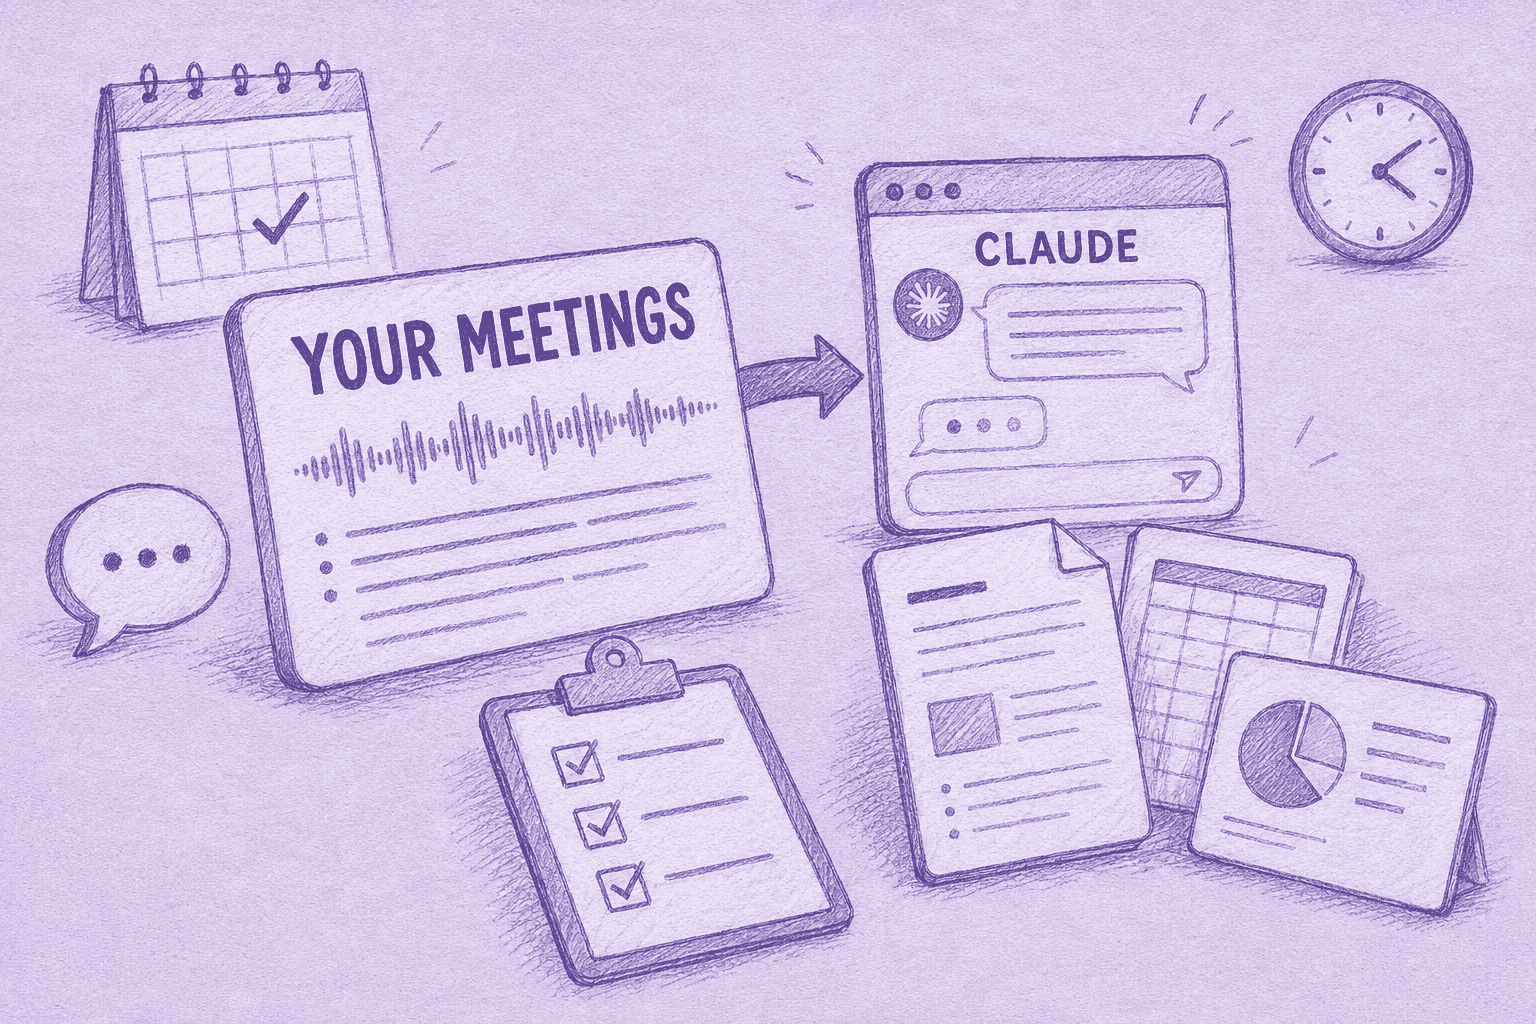
Notas de Reunión en Claude: Qué Puedes Crear y Cómo Conectarlo
Conecta tus notas de reunión a Claude y convierte las llamadas pasadas en respuestas, documentos terminados y trabajo de varios pasos.
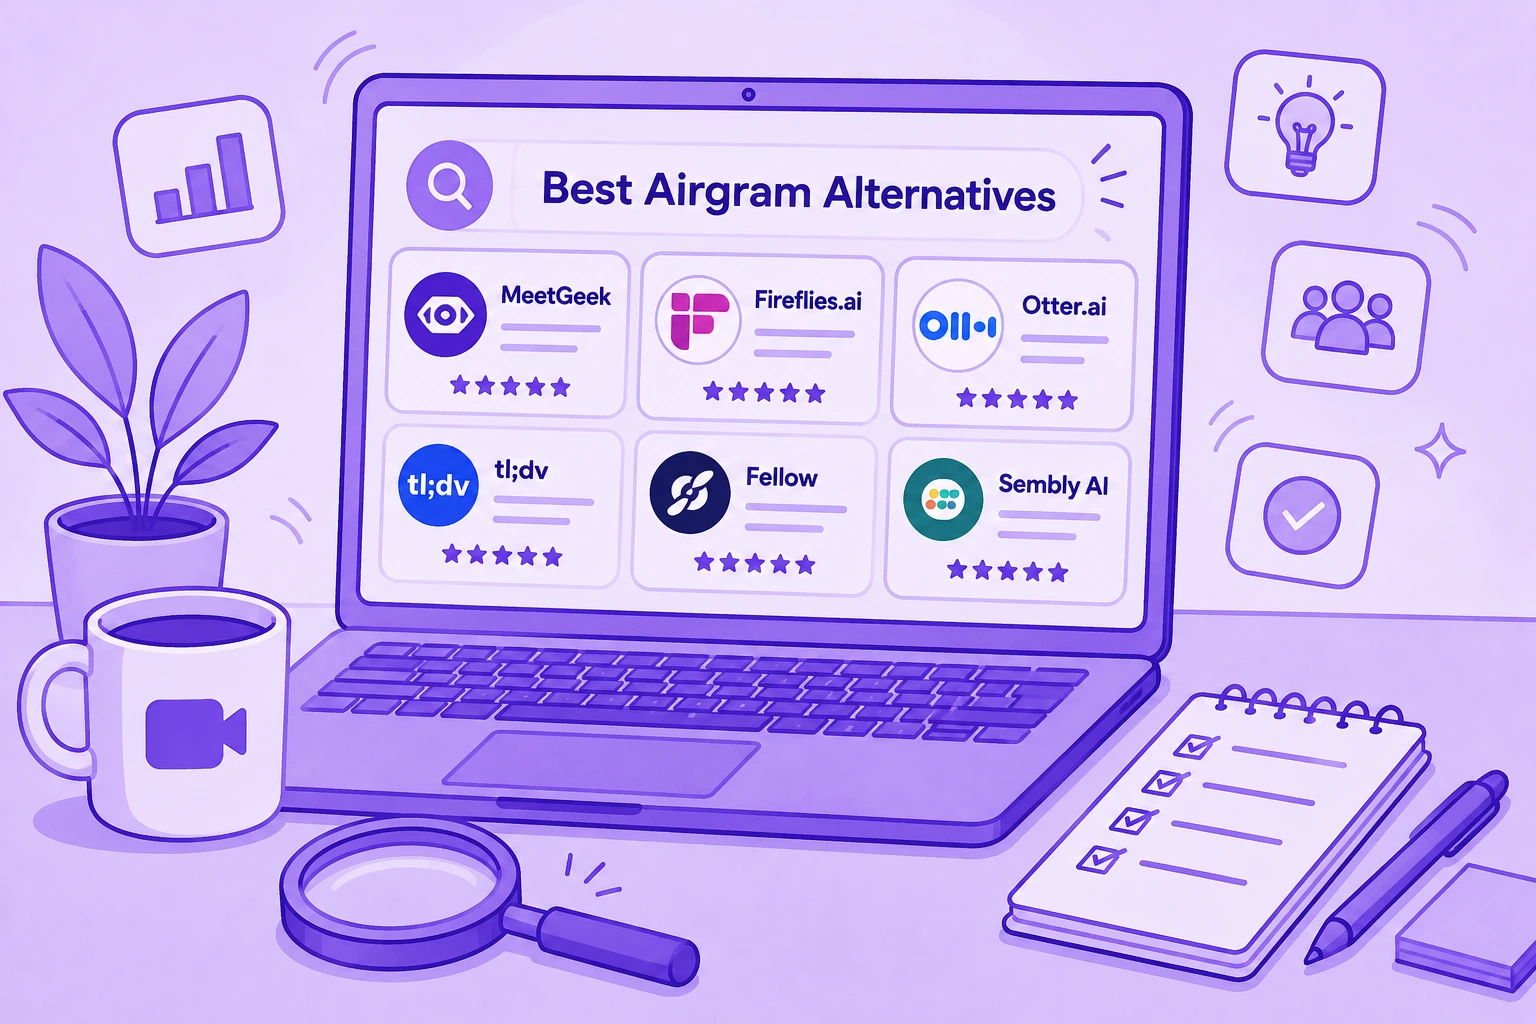
Las 6 Mejores Alternativas a Airgram en 2026
Compara las mejores alternativas a Airgram para 2026, incluyendo MeetGeek, Fireflies, Otter, tl;dv, Fellow y Sembly AI.
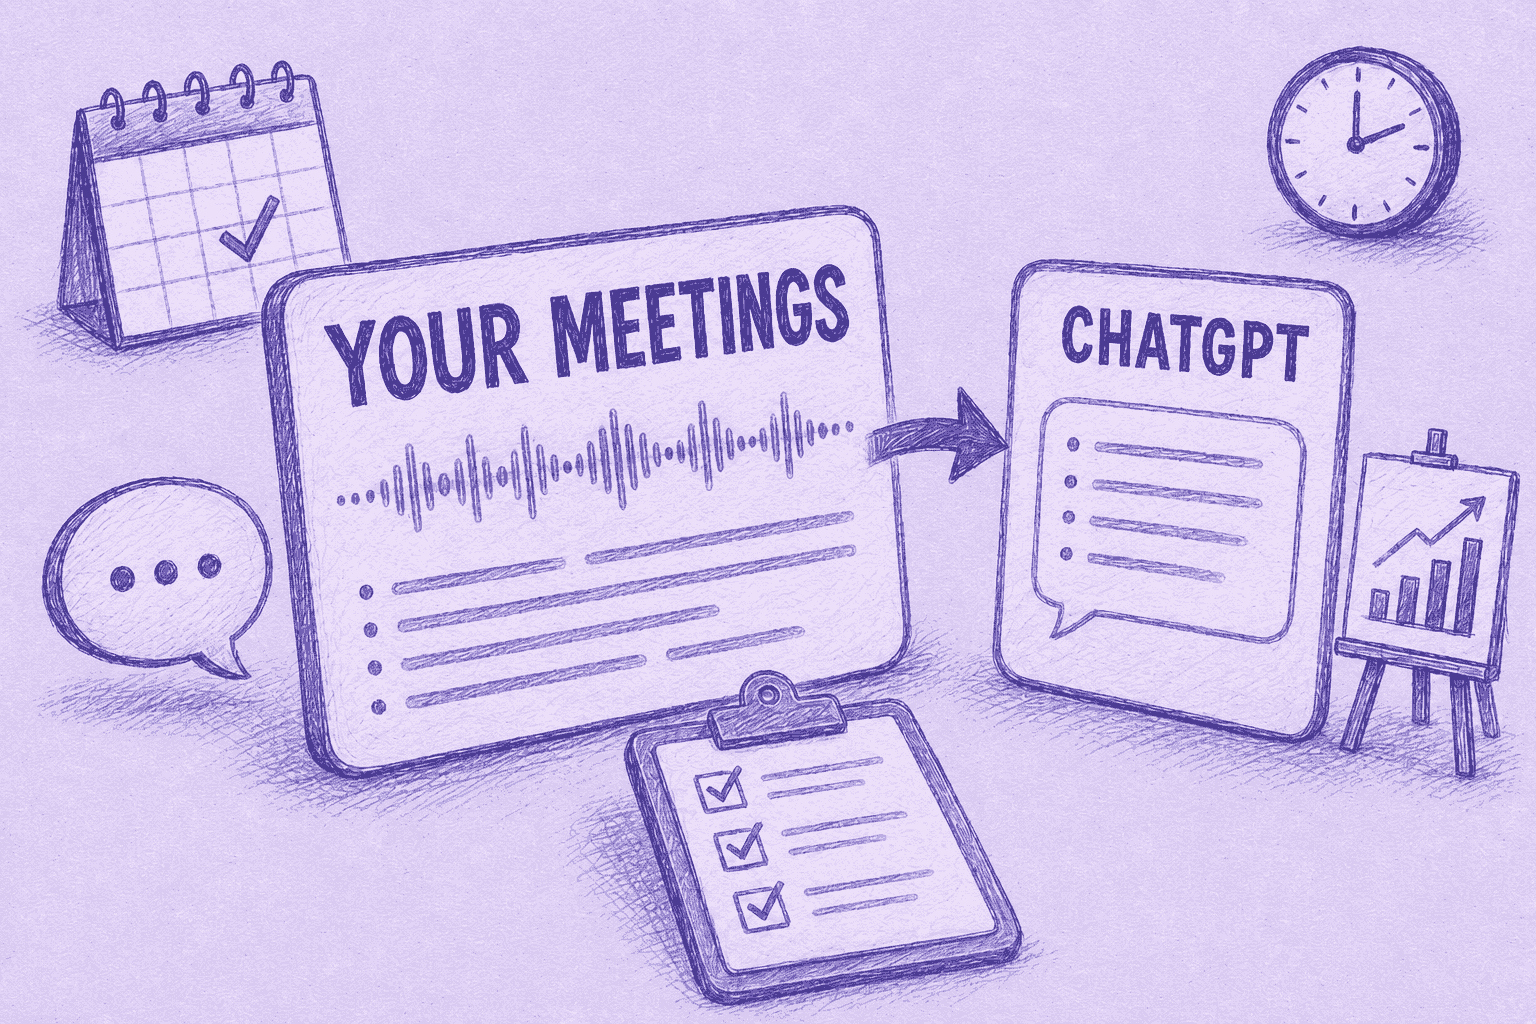
Notas de Reunión en ChatGPT: Beneficios y Configuración
Conecta tus notas de reunión a ChatGPT y convierte llamadas pasadas en respuestas, borradores y automatizaciones instantáneas, en lenguaje natural.
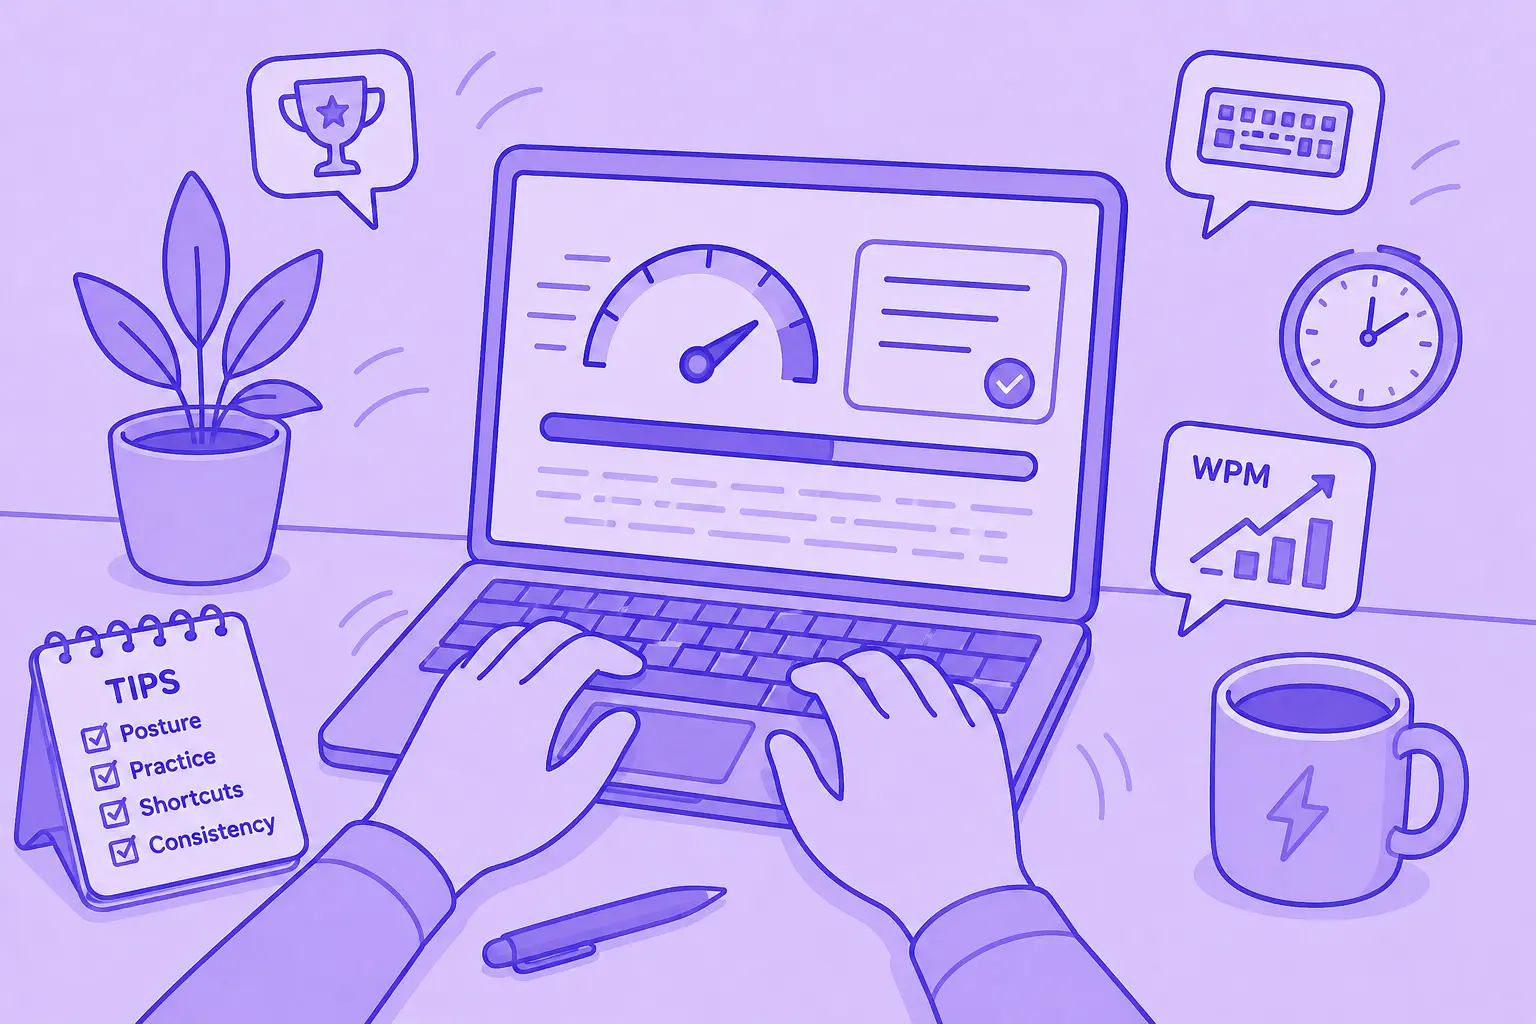
Cómo escribir más rápido: 15 trucos de mecanografía que funcionan
¿Quieres escribir más rápido y cometer menos errores? Descubre trucos prácticos de escritura, atajos de teclado y herramientas que te ayudarán a trabajar de forma más inteligente.
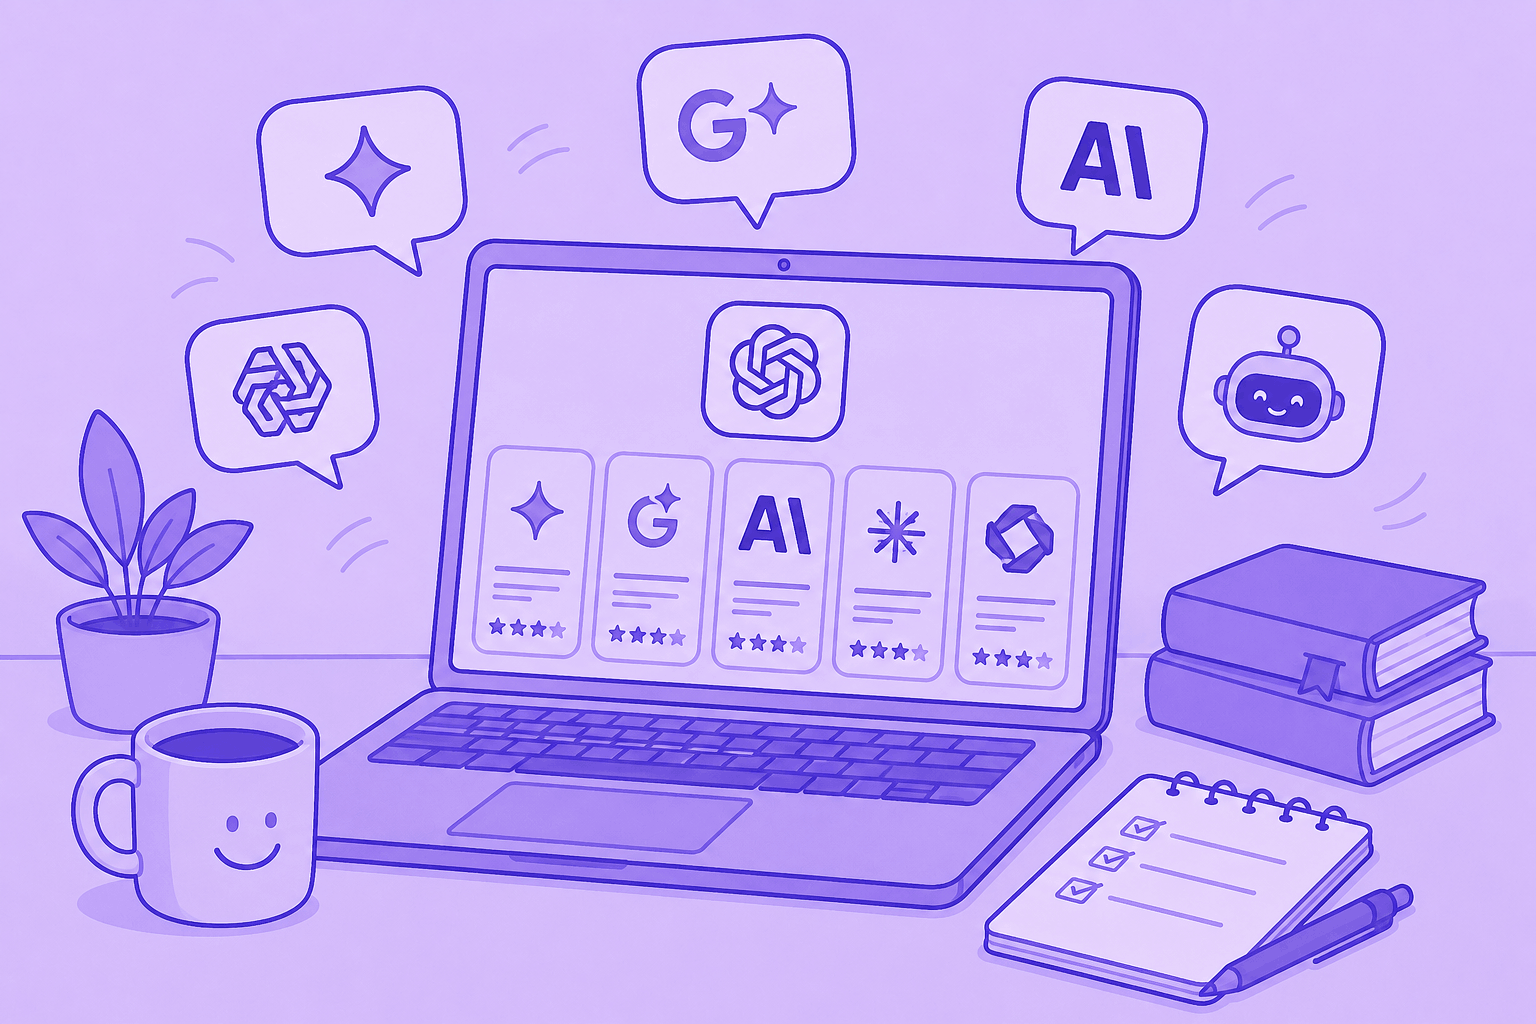
Las 10 mejores alternativas a ChatGPT para el trabajo en 2026
¿Buscas una alternativa a ChatGPT? Compara las mejores herramientas de IA para investigación, reuniones, escritura, codificación, búsqueda y productividad en 2026.
Las 9 Mejores Alternativas a Calendly en 2026 (Probadas y Comparadas)
Cal.com, Acuity, Chili Piper y más: las mejores alternativas a Calendly en 2026, probadas y clasificadas por caso de uso.
Las 8 Mejores Extensiones de Google Meet en 2026 (Probadas para la Productividad)
Desde notas con IA hasta cancelación de ruido, aquí tienes 8 extensiones de Chrome que solucionan lo que Google Meet no hace de forma nativa.

Herramientas de Productividad con IA Que Usamos en Ventas y Marketing
Una mirada práctica a las herramientas de productividad con IA que usamos a diario para reuniones, contenido, automatización, flujos de trabajo de ventas y trabajo en equipo.

Gemini vs. Google Assistant: Guía de comparación completa
¿Confundido con Gemini vs Google Assistant? Descubre las diferencias clave, qué está cambiando Google y qué asistente se adapta mejor a ti.
Gestión de Equipos Híbridos en 2026: Desafíos Comunes y Cómo Superarlos
Brechas de comunicación, fricción por zonas horarias, deriva cultural: los cuatro desafíos que enfrenta todo gerente híbrido y cómo resolverlos.

MeetGeek vs tl;dv: ¿Qué herramienta de reuniones con IA es la adecuada para su equipo en 2026?
Las características, los precios, la precisión y las integraciones se comparan en paralelo con un veredicto claro para los equipos de ventas, CS y operaciones.
Cómo Convertir MP4 a Transcripción (Rápido y Preciso)
Aprenda a convertir archivos MP4 en transcripciones, subtítulos y subtítulos precisos con herramientas de inteligencia artificial para reuniones, seminarios web y entrevistas.
Servicio de Transcripción de Google en 2026: Análisis Honesto y la Mejor Alternativa
Google Meet, Cloud Speech-to-Text, Docs, Recorder — qué hace cada uno, dónde se queda corto y la mejor alternativa.

Coaching de Ventas con IA: Cómo los Equipos de Ventas Modernos Utilizan la IA para Cerrar Más Negocios
Cómo el coaching de ventas de IA analiza cada llamada (no solo el 3% que toma como muestra un gerente) y muestra los momentos en los que se puede entrenar por representante, etapa y tipo de objeción.
¿Puede ChatGPT transcribir audio? Qué puede y qué no puede hacer
¿Puede ChatGPT transcribir audio? Descubra cómo funciona, sus limitaciones y cuándo usar MeetGeek para obtener mejores resultados.
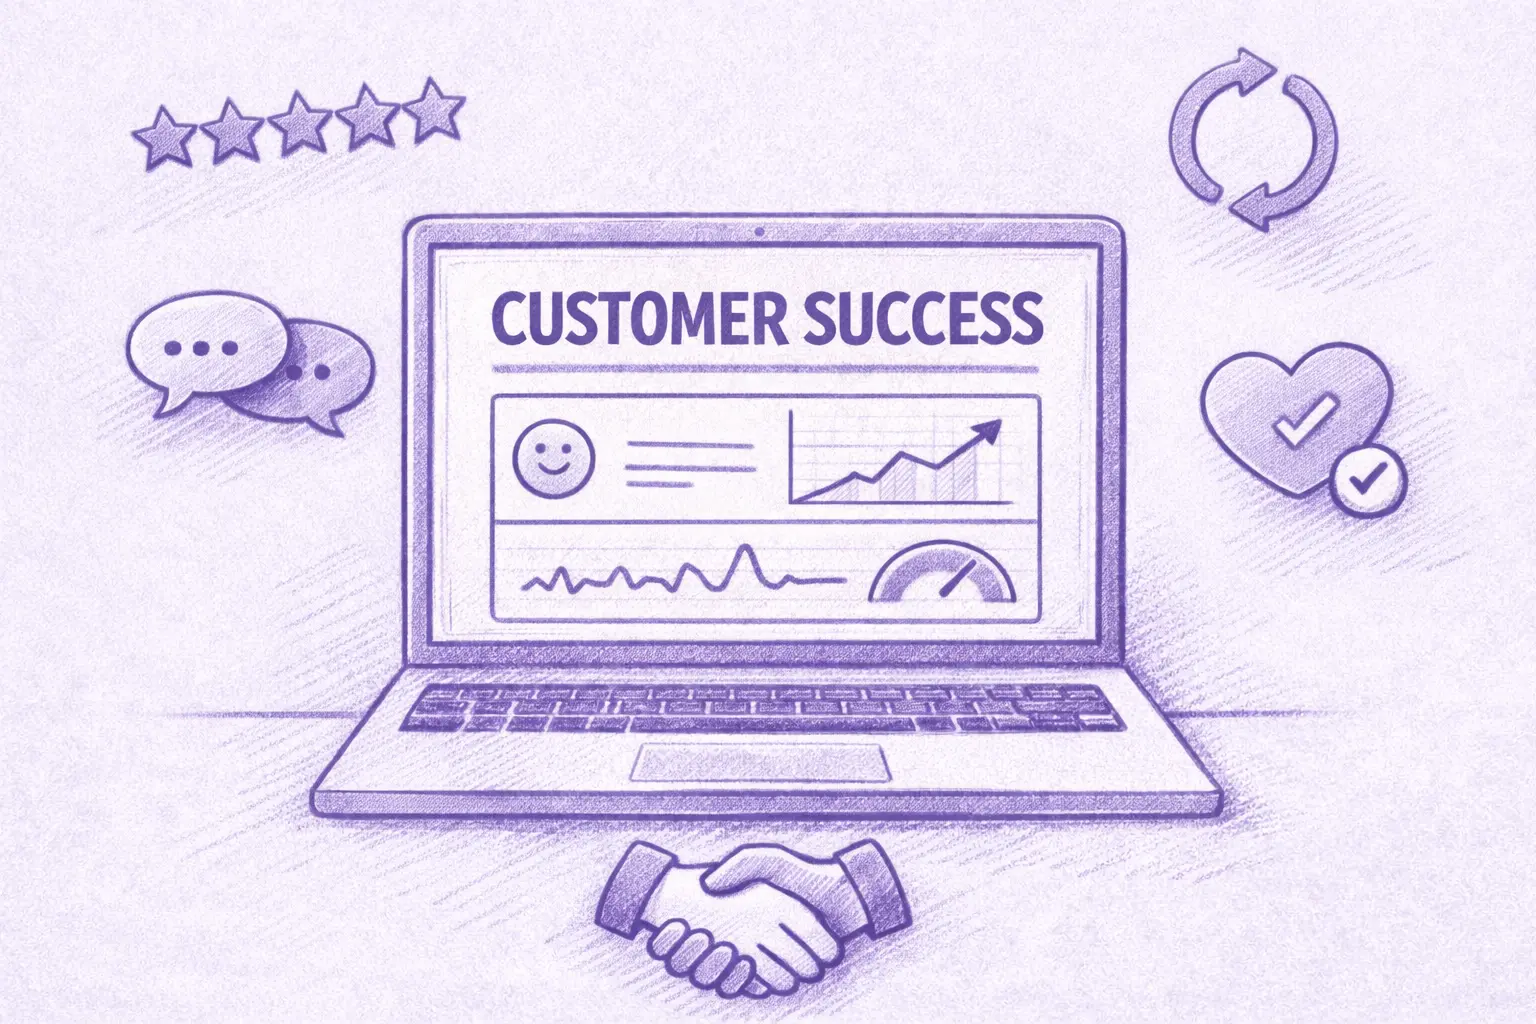
IA para el éxito de los clientes: El manual de estrategias para 2026
Donde la IA se incorpora al día del CSM (renovaciones, riesgos, referencias, revisiones), además de un modelo de madurez y una lista de verificación de 10 elementos para elegir las herramientas.
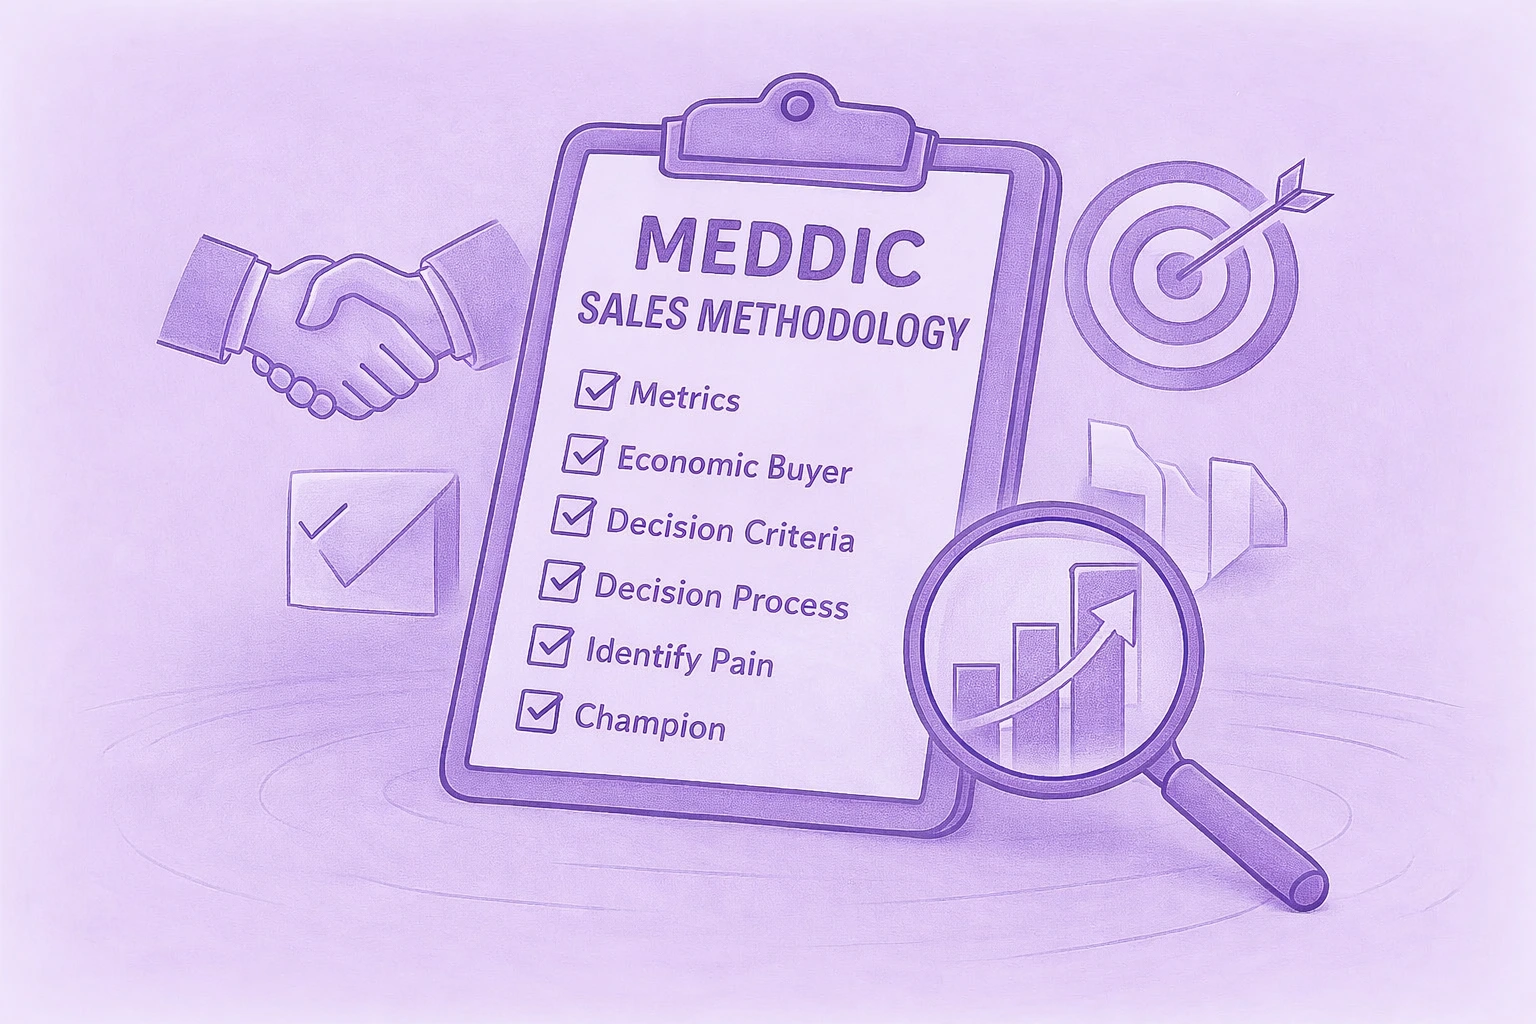
Una guía completa de la metodología de ventas de MEDDIC
Descubra las ventas de MEDDIC y cómo ayuda a calificar a los clientes potenciales, comprender los procesos de decisión y mejorar las tasas de ganancias en ciclos de ventas B2B complejos.
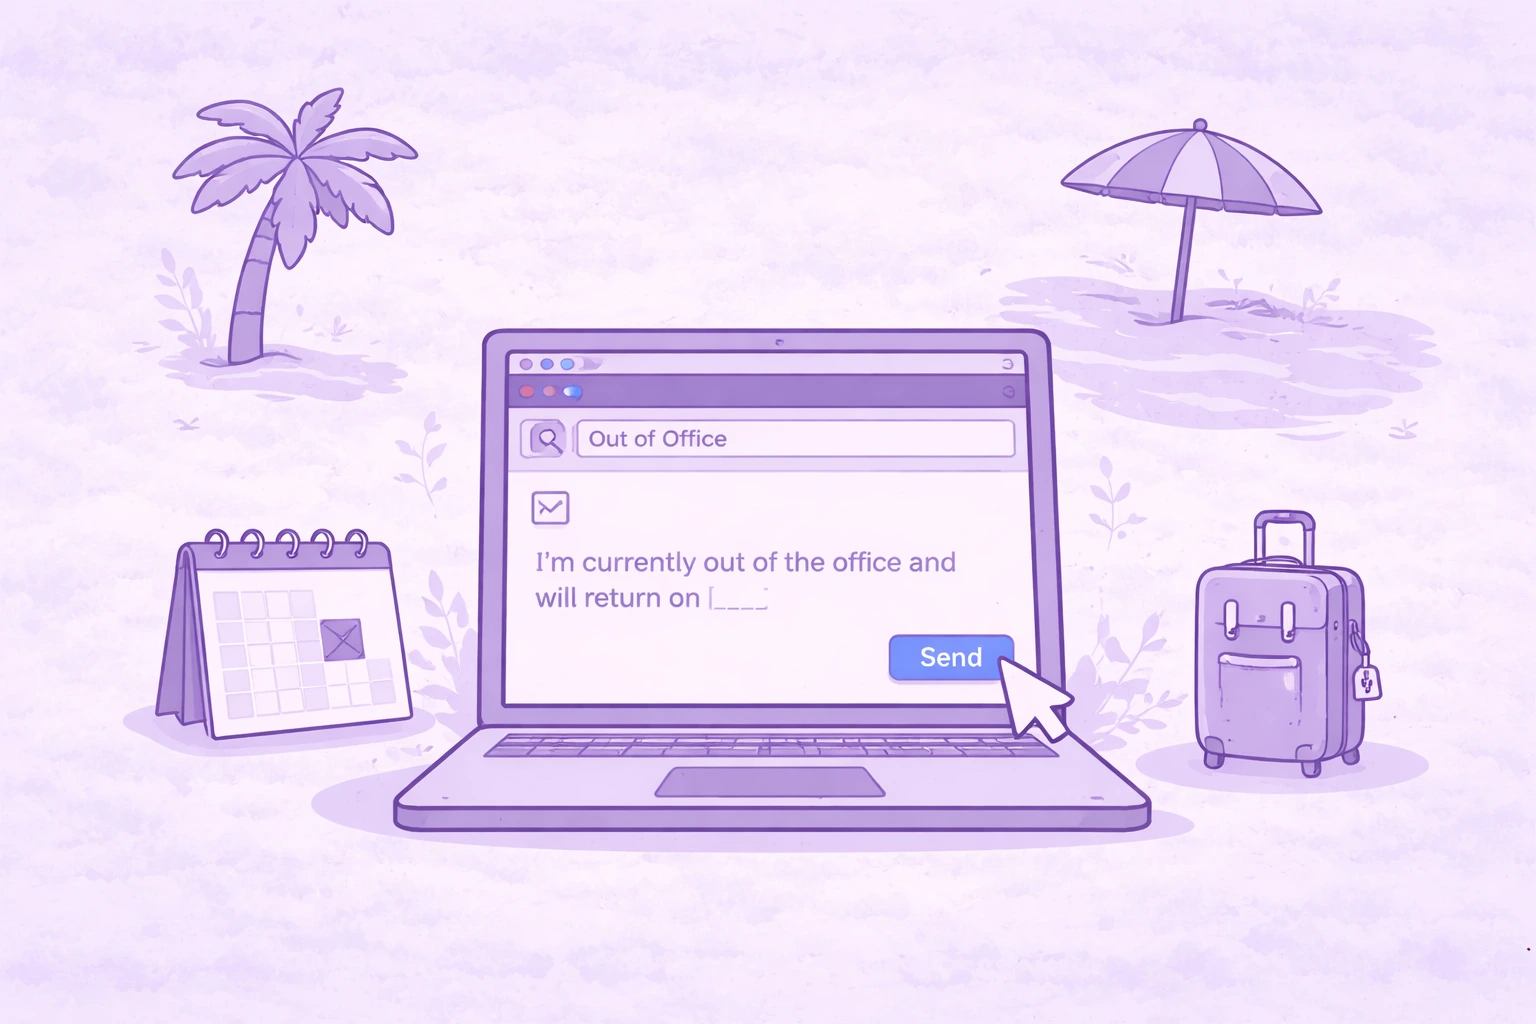
Cómo escribir un mensaje fuera de la oficina
Aprenda a escribir un mensaje claro para salir de la oficina, qué incluir y utilice ejemplos listos para copiar en cualquier situación.
.webp)
Cómo cancelar su suscripción a Zoom en 2026
¿Necesitas cancelar tu suscripción a Zoom? Esta guía explica exactamente cómo hacerlo en el sitio web de Zoom, Apple App Store o Google Play, qué ocurre después de la cancelación y cómo evitar cargos de facturación adicionales.
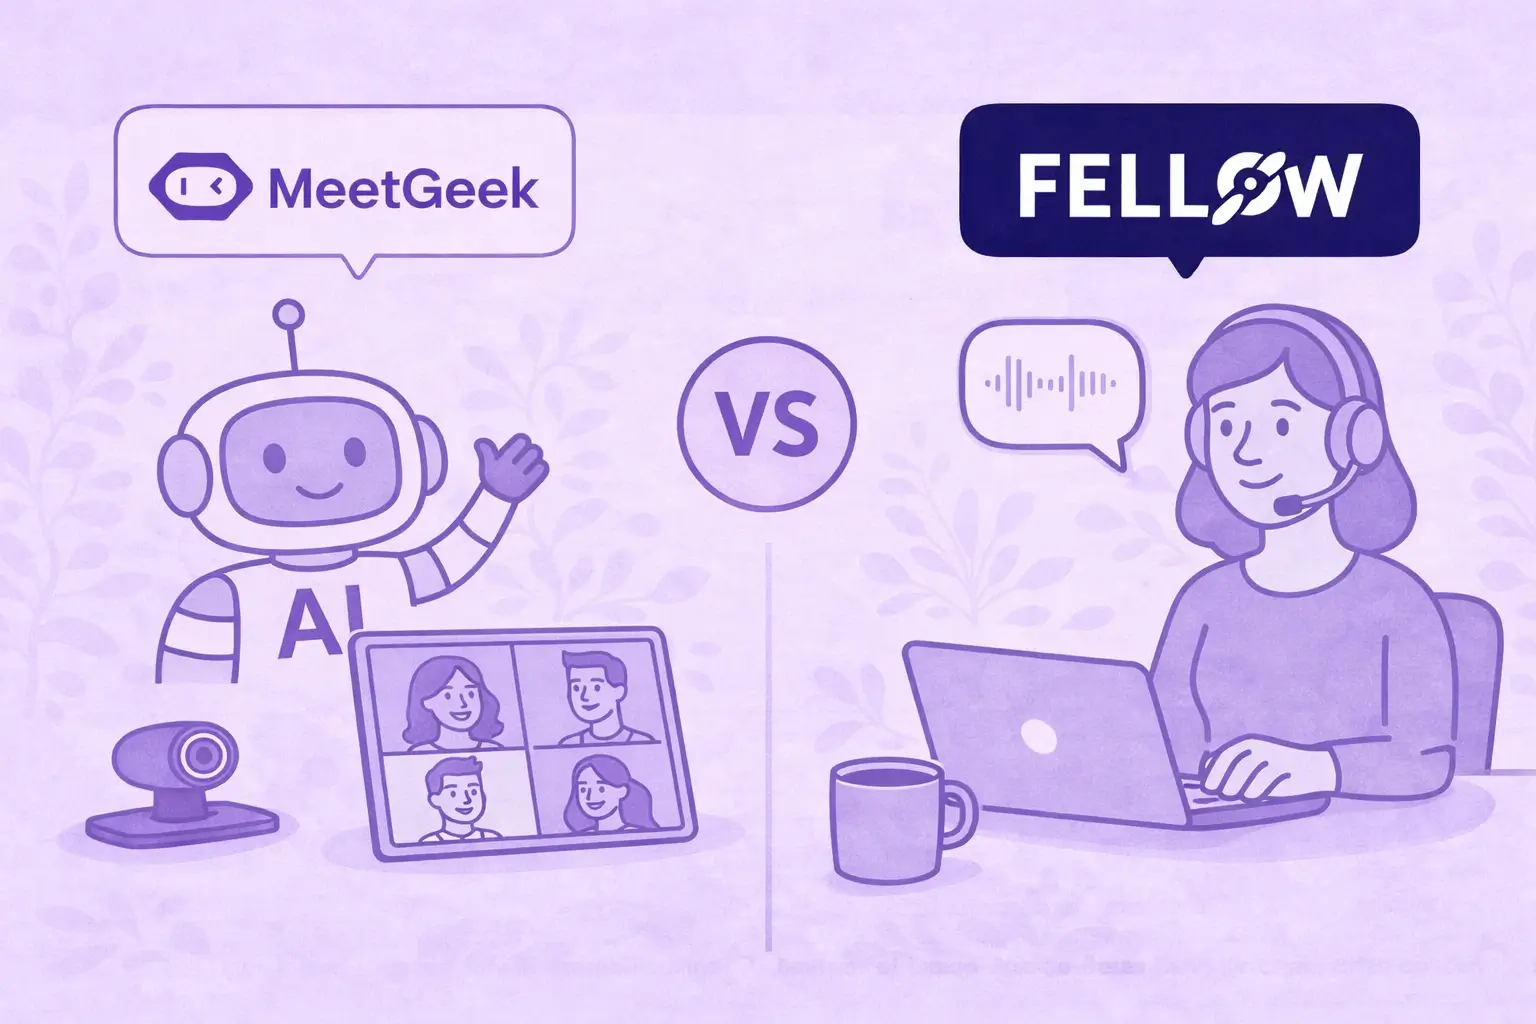
MeetGeek vs. Fellow: comparación de las notas de las reuniones, las agendas y la automatización
¿Comparando MeetGeek con Fellow? Descubre en qué se diferencian sus notas de reuniones, agendas, grabaciones y funciones de automatización basadas en la IA para encontrar la que mejor se adapte a tu equipo.
Cómo grabar la pantalla en Mac (con audio, sonido del sistema y consejos profesionales)
Aprenda a grabar la pantalla en Mac con las herramientas integradas, a capturar el audio correctamente y a ver cuándo MeetGeek es la opción más inteligente.
MeetGeek vs Krisp: ¿Qué asistente de reuniones con IA es el adecuado para su equipo?
Comparación entre MeetGeek y Krisp: las notas de IA, la cancelación de ruido, los precios, las integraciones y las funciones de grabación se explican con claridad.
Consejos de videoconferencia para llevar a cabo reuniones virtuales exitosas
Obtenga consejos prácticos sobre videoconferencias que mejoran la calidad del audio, la participación y el seguimiento, y ayudan a los equipos a mantenerse alineados después de las reuniones virtuales.
Webex vs Zoom: ¿Qué plataforma de videoconferencia se adapta mejor a sus reuniones?
Una comparación clara entre Webex y Zoom, desde las funciones y los precios hasta la seguridad y las integraciones.
Cómo levantar la mano en Zoom y hacerse oír
Aprenda a levantar la mano en Zoom en cualquier dispositivo, evitar interrupciones y mantener las reuniones organizadas de principio a fin.
Las Mejores Preguntas para Hacer en una Entrevista
Aprenda qué preguntas hacer, cuándo hacerlas y cómo utilizar las entrevistas para decidir si un puesto, un equipo y una empresa son realmente adecuados para usted.
¿Qué es el modo Companion en Google Meet? Todo lo que necesitas saber
Sigue leyendo para obtener una guía práctica sobre cómo usar el modo Companion en Google Meet para que las reuniones híbridas sean más claras y equilibradas.
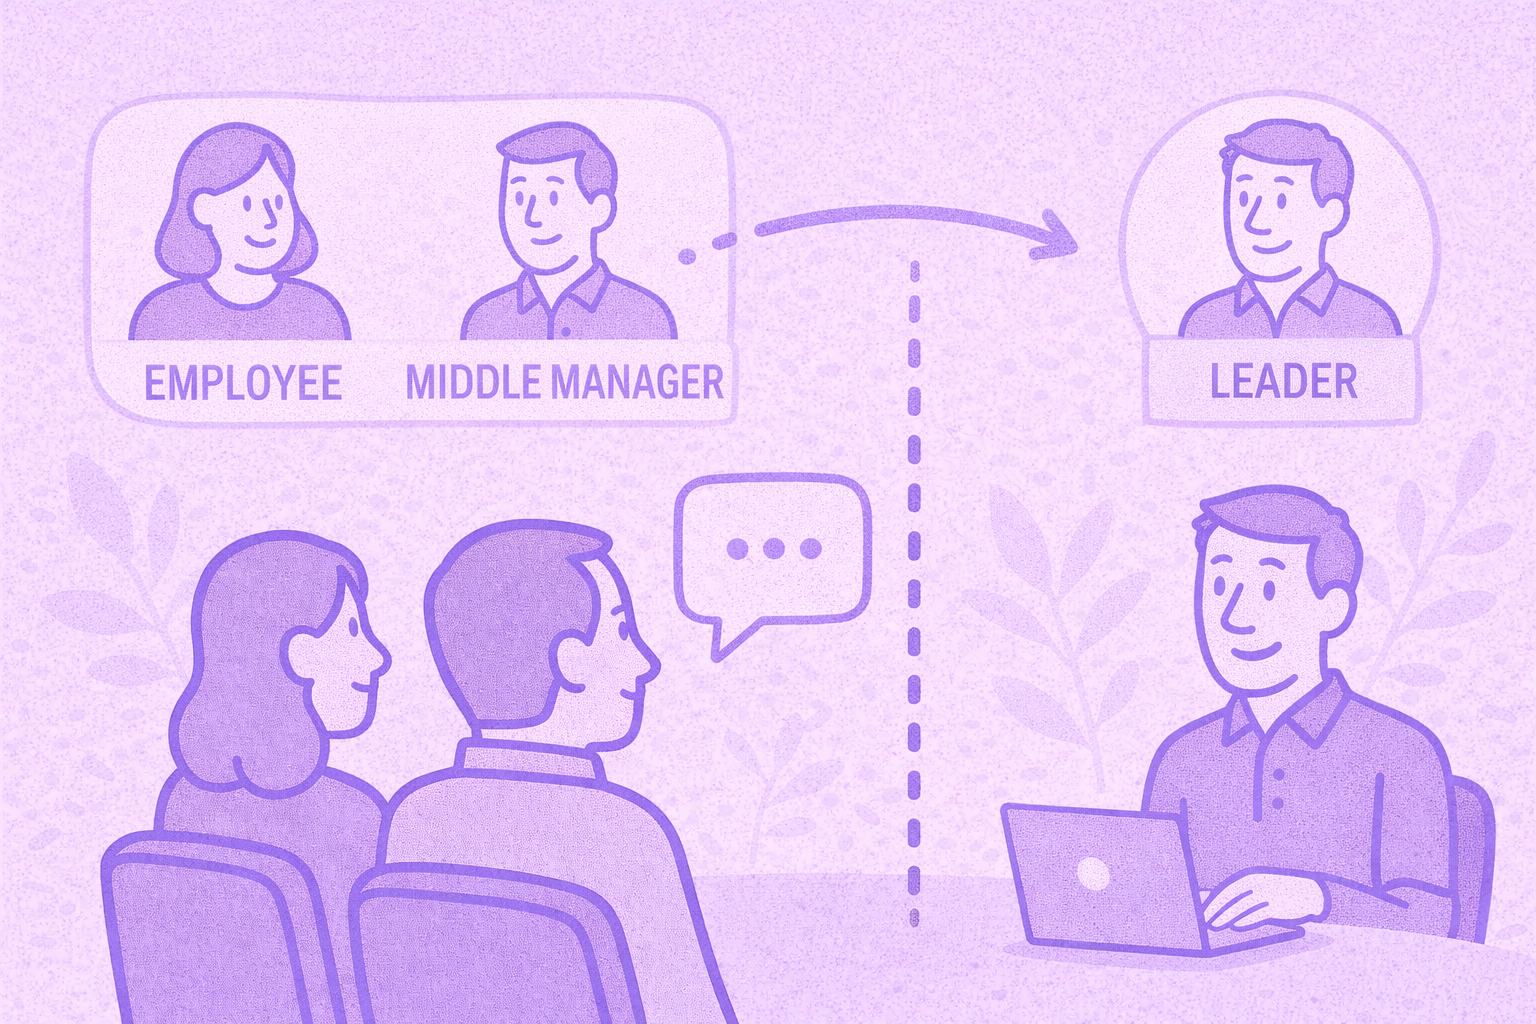
¿Qué es una reunión skip level? ¿Cómo utilizan los líderes los niveles de salto para mejorar la comunicación
Un análisis detallado de las reuniones skip level y de cómo ayudan a los líderes a conectarse con los equipos y obtener información real.
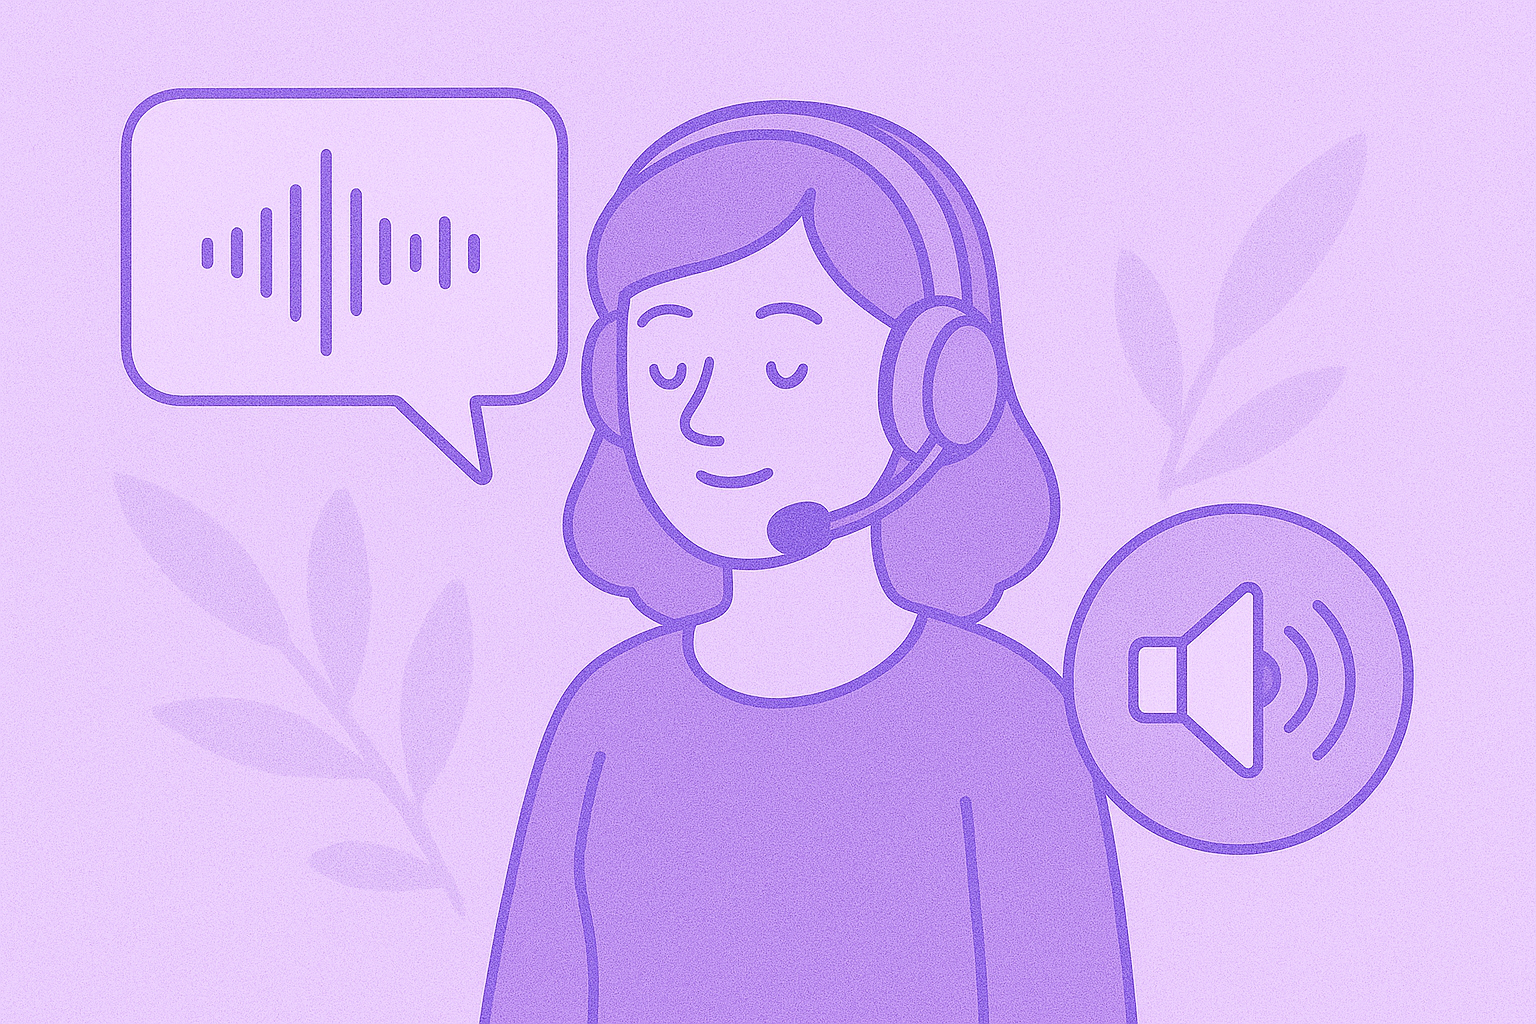
¿Qué es un Agente de Voz de IA? Una Guía Práctica Sobre Cómo Funciona Realmente la IA de Voz
Esta guía explica qué es un agente de voz de IA, cómo funciona, los beneficios que ofrece y dónde encaja mejor con los equipos humanos.

Guía para reuniones de stand-up: qué son y cómo llevarlas a cabo
Descubra qué hace que una reunión presencial sea realmente útil. En esta guía se explica cómo organizar reuniones de pie a diario que son breves, sacan a la luz los obstáculos y mantienen a los equipos alineados.
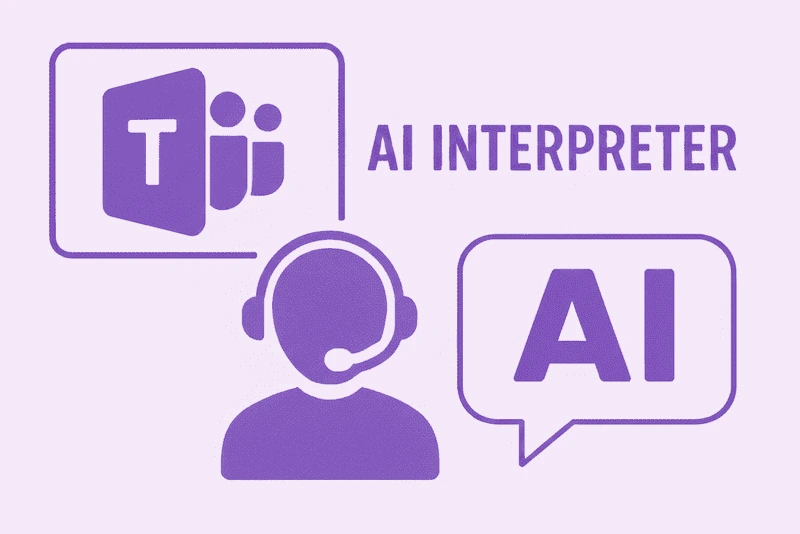
Todo sobre Microsoft Teams AI Interpreter + Cómo ir más allá de la traducción
Descubra cómo funciona Microsoft Teams AI Interpreter, dónde se queda corto y cómo ir más allá de la traducción.
La mejor aplicación de grabación de conferencias en 2026:5 herramientas que los estudiantes realmente usan
Analicemos en profundidad lo que los estudiantes utilizan hoy en día para grabar y organizar sus clases, tanto en línea como fuera de línea.
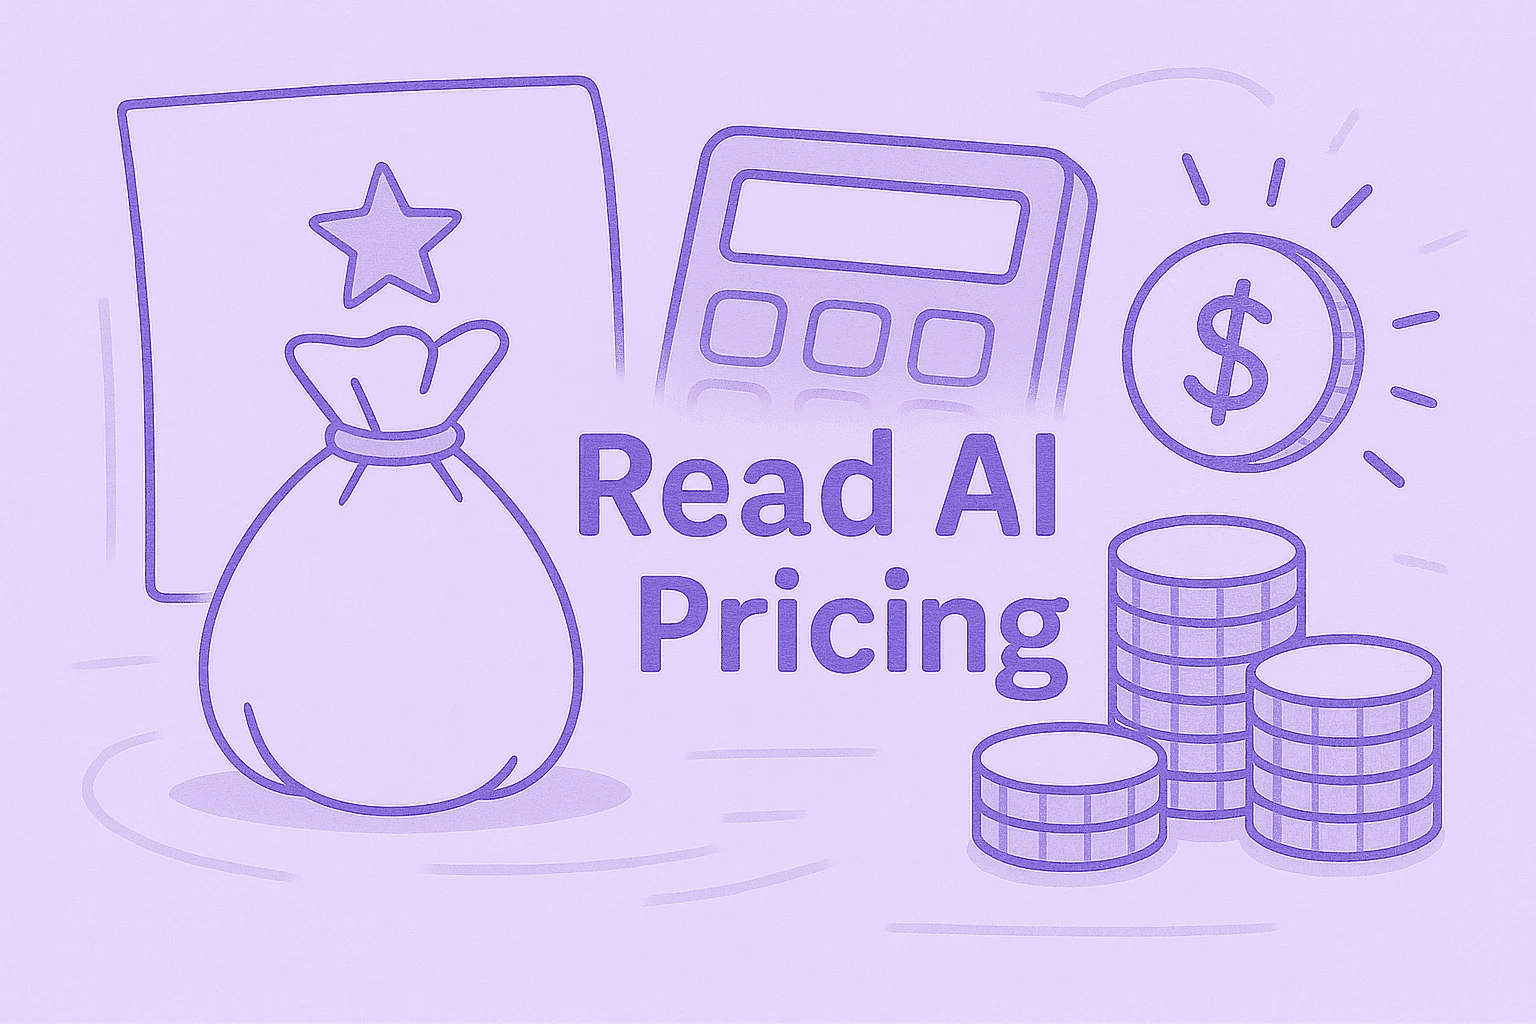
Precios de Read AI explicados para 2026: ¿Vale la pena para notas de reuniones?
Explore los precios de Read AI para 2026, sus funciones principales y cómo gestiona las notas de las reuniones, la transcripción y la información para apoyar a los equipos modernos.

¿Qué es una base de conocimientos con capacidad de búsqueda y cómo funciona?
Explore cómo las bases de conocimiento con capacidad de búsqueda mejoran el acceso a la información y vea cómo MeetGeek convierte sus reuniones en un centro de conocimiento rápido y confiable.
Cómo difuminar el fondo en Google Meet (guía sencilla para todos los dispositivos)
Descubre cómo difuminar el fondo en Google Meet para ordenadores y dispositivos móviles, utilizar efectos visuales y conseguir un aspecto más nítido y centrado en cada llamada.
Cómo unirse a una reunión de Teams con código: una guía completa paso a paso
Descubra cómo unirse a las reuniones de Microsoft Teams mediante un código de reunión y otras opciones, como un enlace o una invitación. En esta guía, se explican todos los métodos de forma clara y paso a paso.

Las 5 mejores alternativas de NoteGPT en 2026
Explore las 5 principales alternativas de NoteGPT que lo ayudan a capturar información clave, transcribir contenido y aumentar la productividad en los flujos de trabajo profesionales y de aprendizaje.
¿Qué es Perplexity AI? Una guía sobre el motor de búsqueda impulsado por la inteligencia artificial que transforma la forma en que encontramos información
En este artículo analizaremos de cerca Perplexity AI, lo que puede hacer por ti en comparación con los motores de búsqueda tradicionales y algunas de sus ventajas y desventajas.
Las mejores alternativas a tl;dv para agilizar sus reuniones
Descubra las mejores alternativas de tl; dv y explore y compare sus funciones para elegir la herramienta de reuniones basada en IA adecuada para su organización.
Modo de grabación de ChatGPT vs MeetGeek: aquí tienes todo lo que necesitas saber
¿Quieres saber cómo se compara la grabadora ChatGPT con MeetGeek? Analizamos las funciones, la integración y la seguridad de los datos para grabar reuniones.
Precios de Fathom AI para 2026: ¿sigue valiendo la pena para los equipos modernos?
Explore los precios de Fathom AI para 2026, incluidas las funciones, los límites y las comparaciones de planes, además de cómo MeetGeek ofrece más flexibilidad a los equipos.
Agentes de reuniones con IA: cómo la IA autónoma está transformando el futuro del trabajo
Descubra cómo los agentes de reuniones con IA están redefiniendo el futuro del trabajo: gestionan la programación, los seguimientos e incluso hablan en su nombre para ahorrar tiempo y convertir cada reunión en una acción real.
Revisión de Notta AI: ¿Vale la pena esta herramienta de transcripción de IA en 2026?
Lea esta revisión exhaustiva de Notta AI para ver qué tan bien transcribe las reuniones, maneja varios idiomas y ofrece resúmenes de inteligencia artificial, además de dónde se queda corta en comparación con los asistentes de reuniones más inteligentes.
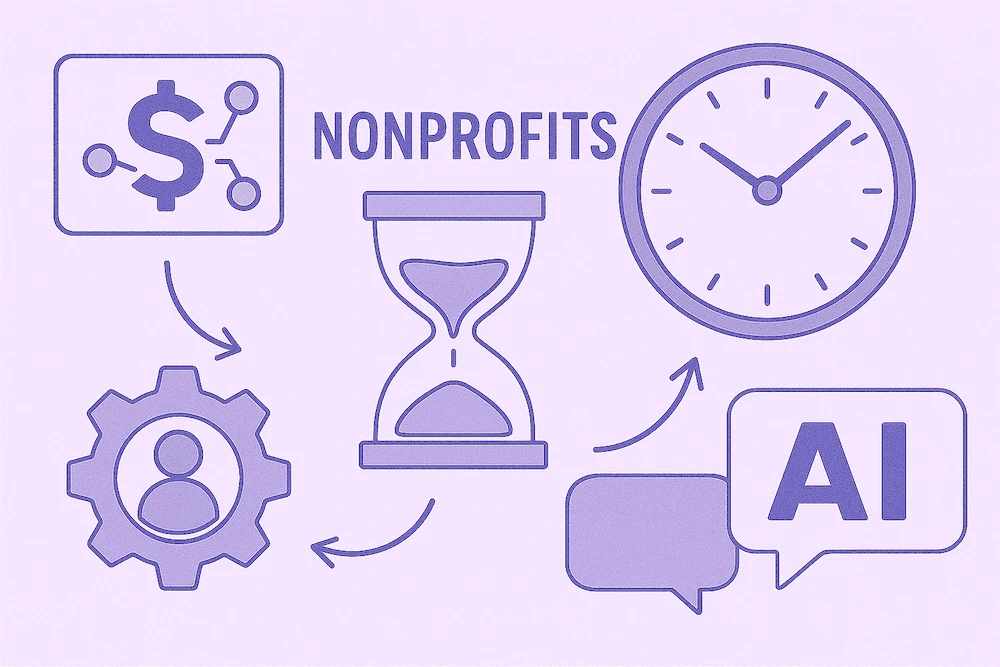
Estas 4 herramientas de inteligencia artificial para organizaciones sin fines de lucro harán que cada hora cuente
Haga que su organización sin fines de lucro sea más eficiente con herramientas de inteligencia artificial que reducen el tiempo de administración, mejoran la colaboración y maximizan cada hora de impacto.
Alternativas a Granola AI Notes: las mejores opciones para probar en 2026
Explore las mejores alternativas de Granola AI Notes para 2026 con herramientas más inteligentes que van más allá de la transcripción y ofrecen automatización, información y colaboración.
Email de seguimiento después de la entrevista: cómo escribirlo, cuándo enviarlo y qué decir
Descubre cómo escribir un correo electrónico de seguimiento eficaz después de una entrevista. Desde el calendario y las plantillas hasta el tono y la estructura, esta guía cubre todo lo que necesitas para destacar y ser memorable.
Precios de Tactiq 2026: ¿Merece la Pena? Planes y Costes
Una mirada clara a cada plan de Tactiq, qué limitan de verdad los créditos de IA y cómo se acumulan los costes para usuarios individuales y equipos.

Significado de las reuniones ad hoc y cómo organizarlas
Descubra el verdadero significado de las reuniones ad hoc y aprenda a hacer que las discusiones espontáneas sean más enfocadas y efectivas. Descubra cuándo celebrarlas y gestionarlas.
Etiqueta de reunión virtual: 15 reglas esenciales para videollamadas profesionales
Descubra 15 reglas y consejos esenciales de etiqueta en las reuniones virtuales que mantienen las conversaciones enfocadas, profesionales y atractivas.
Cómo desenfocar el fondo en Zoom: guía paso a paso
Descubra cómo usar la función de fondo borroso de Zoom para mantener la privacidad y el enfoque, además de consejos, soluciones y cuándo cambiar a fondos virtuales.
Cómo compartir la pantalla en Google Meet: una sencilla guía paso a paso
Descubre cómo compartir tu pantalla en Google Meet con pasos claros para ordenador, iPhone, iPad y Android.
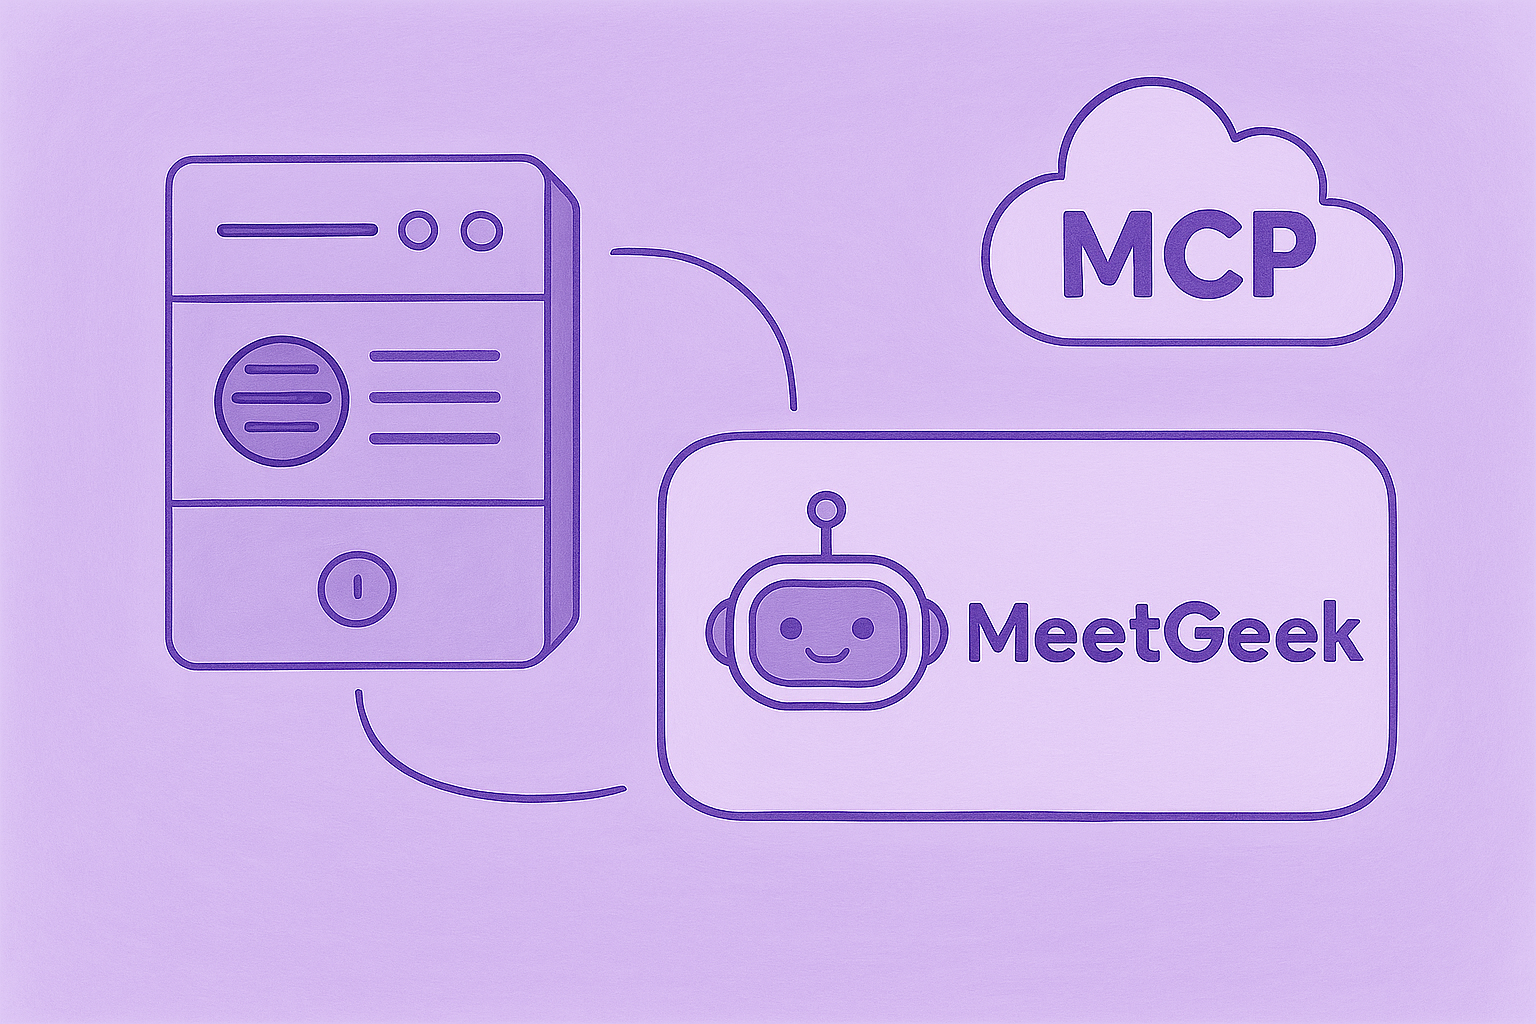
Explicación del servidor MCP de MeetGeek: cómo permite a los asistentes de IA transformar las reuniones
Descubra cómo el servidor MCP de MeetGeek ayuda a los asistentes de inteligencia artificial a convertir sus reuniones en información útil e inteligente, todo ello desde su máquina local.

Cómo cambiar el nombre en Zoom (antes y después de unirse a una reunión)
Obtén información sobre cómo cambiar tu nombre de Zoom paso a paso en cualquier dispositivo, además de consejos para los anfitriones, las salas de espera y la solución de problemas.
IA para tomar notas para estudiantes: las mejores herramientas para estudiar de forma más inteligente en 2026
Una guía sobre las mejores herramientas de inteligencia artificial para tomar notas para estudiantes en 2026, con funciones, ventajas y desventajas que le ayudarán a elegir la aplicación adecuada para el aprendizaje.
Descript Pricing Review 2026: qué ofrece, dónde se queda corto y una mejor alternativa
Un análisis más detallado de los niveles de precios de Descript, sus ventajas y desventajas y por qué MeetGeek se destaca como una opción más inteligente para los creadores.
Límite de tiempo de Google Meet: todo lo que necesita saber
En este artículo, aprenderás todo lo que necesitas saber sobre los límites de tiempo de Google Meet y cómo superarlos.

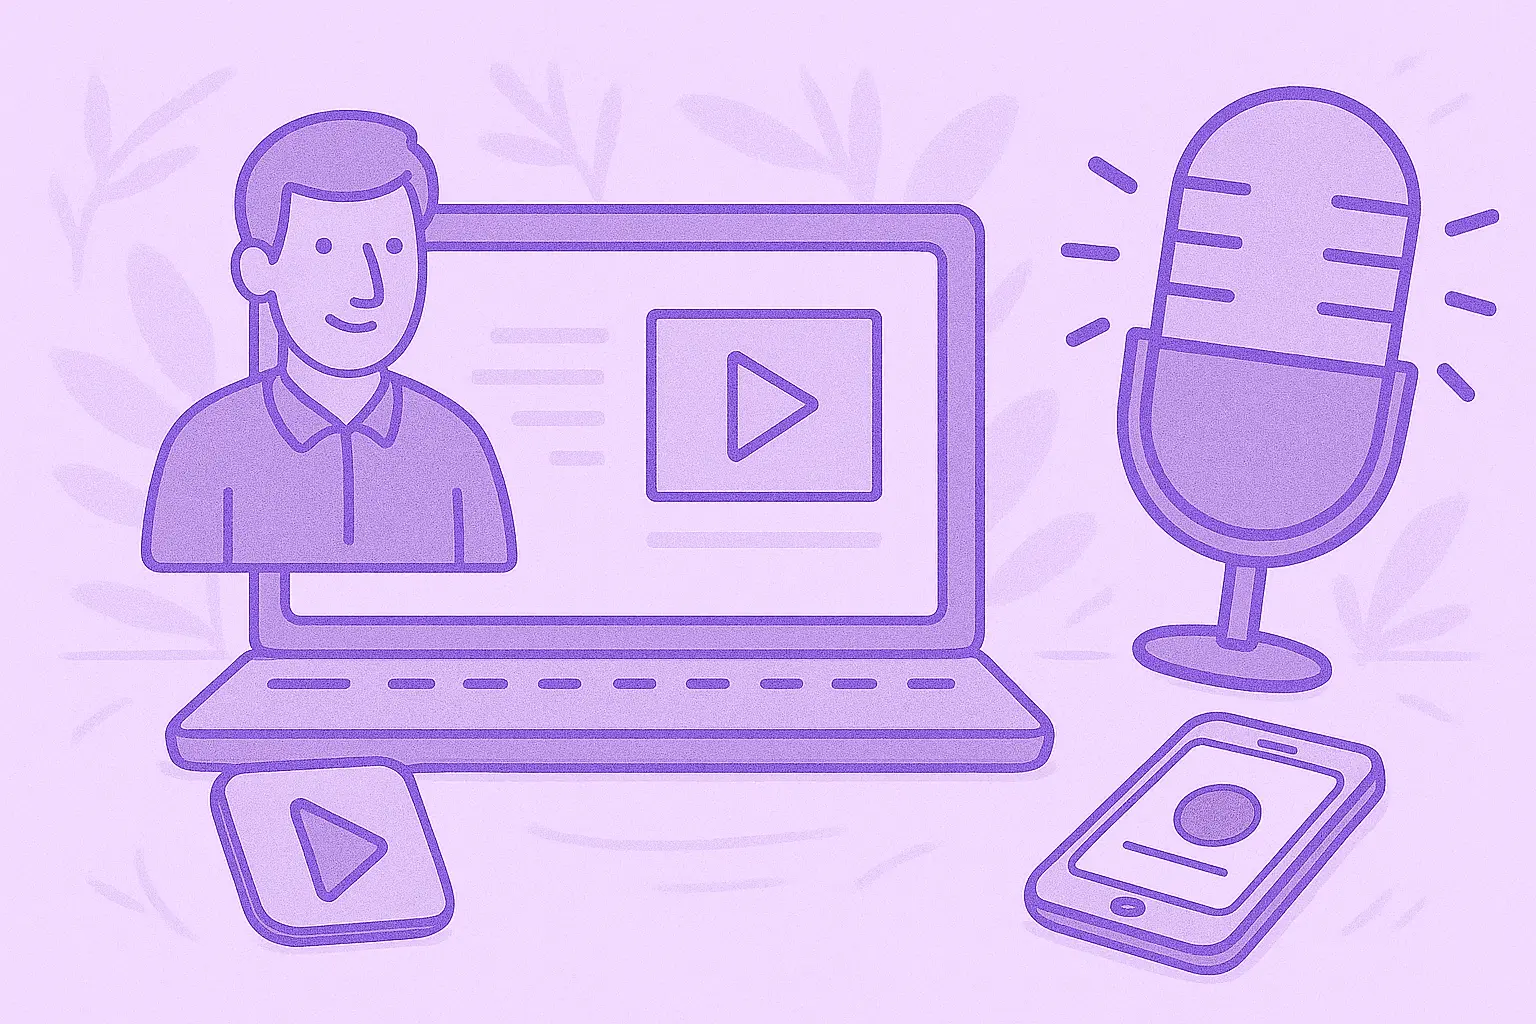
Cómo transcribir notas de voz a texto (3 formas diferentes)
En este artículo, aprenderás a transcribir notas de voz de tres maneras diferentes, sopesando las ventajas y desventajas de cada opción.
Las mejores alternativas de ClickUp para la toma de notas con IA
Conozca las 5 mejores alternativas de ClickUp si quiere ir más allá de la simple toma de notas con IA y encontrar un asistente de reuniones integral.
Qué es un resumen objetivo y cómo escribir uno para sus reuniones
Los resúmenes objetivos son imprescindibles cuando se necesita información clave de reuniones prolongadas. ¡Discutiremos todo sobre ellos en este artículo!

Cómo grabar un Google Meet: explicación de todas las opciones
En este artículo, explicamos cómo grabar un Google Meet de forma nativa y con la ayuda de herramientas de terceros como MeetGeek
Las 7 mejores apps para tomar notas de reuniones en 2026
¿Buscas la mejor app para tomar notas de reuniones para tu equipo? Analizamos las funciones, pros y contras de las 7 mejores del momento.
Cómo grabar un seminario web de Zoom como anfitrión o participante (2 métodos)
En este artículo, analizaremos cómo grabar un seminario web de Zoom como anfitrión o participante utilizando la herramienta de grabación integrada y de terceros de Zoom con transcripción mediante IA.
Las 7 mejores extensiones de Chrome para vendedores
En este artículo, analizaremos las mejores extensiones de Chrome para representantes de ventas y nos centraremos en las herramientas que mejoran la inteligencia de las reuniones, se integran con los CRM y optimizan la productividad.

Las mejores extensiones y herramientas de captura de audio de Chrome en 2026 [Comparación]
Analizaremos una variedad de opciones, desde grabadoras básicas hasta plataformas avanzadas que ofrecen transcripciones, resúmenes e integraciones perfectas.

Las 7 mejores extensiones de voz a texto para Chrome: comparación y características
En esta guía se desglosan las 8 principales extensiones de voz a texto de Chrome para 2025 y se analizan sus funciones principales, sus precios y los casos de uso ideales para ayudarte a tomar una decisión informada.

La sobrecarga de las reuniones no es el verdadero problema, el mal diseño de las reuniones sí
Cuando la sobrecarga de reuniones se hace evidente, hay algunos pequeños cambios que pueden transformar toda la cultura de las reuniones.

El mejor software de inteligencia conversacional en 2026
Al aprovechar la IA, estas plataformas de inteligencia conversacional proporcionan el análisis necesario para refinar las propuestas de venta o de inversión, mejorar la capacitación e influir en los ingresos.

Cómo añadir notas de reuniones a Google Docs [3 formas sencillas]
Exploremos tres formas de añadir las notas de una reunión a Google Docs: manual o automáticamente.

Encuentre la mejor alternativa a Zoom en 2026
¿Busca una alternativa a Zoom? ¡Eche un vistazo a las mejores opciones para 2026 y encuentre la opción perfecta para sus reuniones!

Cómo extender el límite de tiempo del Zoom: soluciones gratuitas y de pago
¿Necesita más tiempo para su reunión de Zoom? Aprenda a ampliar fácilmente su sesión con esta sencilla guía.

Cómo instalar Microsoft Teams para Mac (Guía fácil de usar para principiantes)
¡Configurar Microsoft Teams en Mac es fácil! Sigue nuestra guía rápida para empezar a colaborar sin problemas.
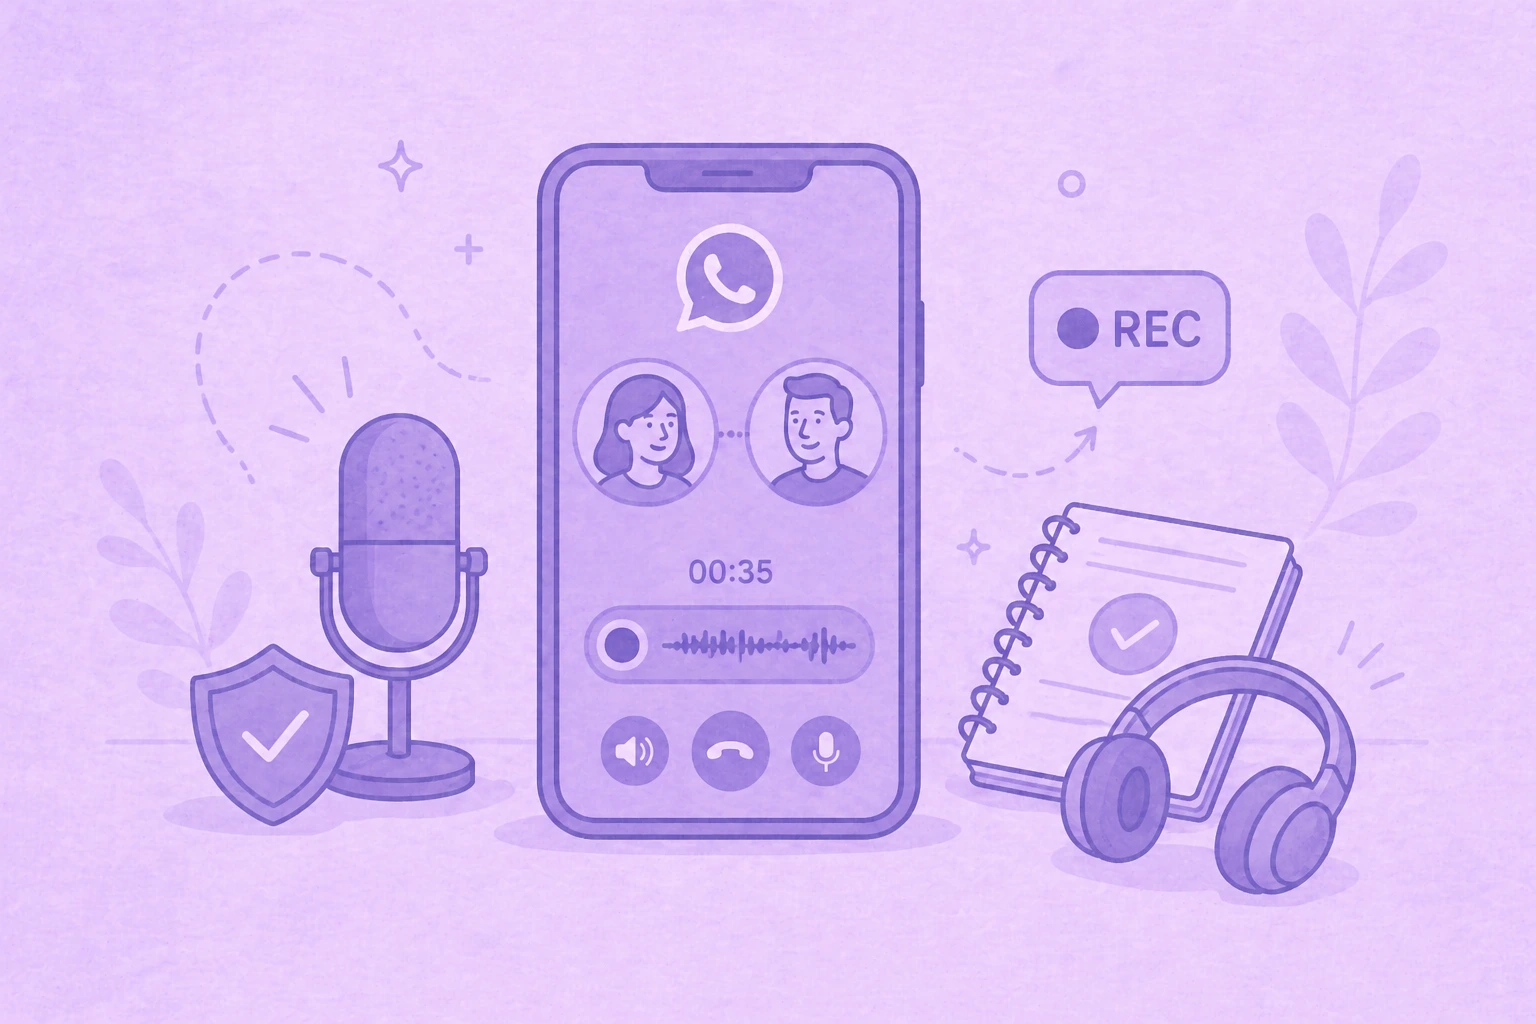
Cómo Grabar Llamadas de WhatsApp: 5 Métodos para Cualquier Dispositivo (2026)
Descubre la forma más fácil de grabar llamadas de WhatsApp con nuestras instrucciones claras paso a paso.

Las 5 mejores integraciones para asistentes de reuniones con IA en 2026
¿Quiere aumentar la productividad de sus reuniones? Descubra las principales integraciones de asistentes de reuniones con inteligencia artificial de 2026, que se conectan sin problemas con sus herramientas y aplicaciones favoritas.

7 maneras en las que los asistentes de reuniones con IA ahorran tiempo a los equipos de ventas en 2026
Descubra cómo los asistentes de reuniones con inteligencia artificial transformarán la productividad de las ventas en 2026 al eliminar las tareas manuales, agilizar los flujos de trabajo y permitir que los representantes se centren en las ventas.

Explicación y alternativas de todos los planes de precios de Zoom
Obtenga un desglose claro de todos los planes de precios de Zoom, además de consejos inteligentes para ahorrar o usar las funciones de forma gratuita.
¿Puedo hacer una captura de pantalla en Teams? Sus preguntas, respondidas
¿Quieres saber cómo hacer una captura de pantalla en Teams? Desglosamos lo que funciona, lo que no y lo que hay que tener en cuenta.

Precios de Google Meet en 2026: Gratis vs. de Pago
Encuentra el plan de Google Meet adecuado para tu equipo con nuestros desgloses claros y consejos inteligentes para ahorrar costes.
¿Dónde se almacenan las grabaciones de Teams? Explicación de todas las ubicaciones
¿Te preguntas dónde terminan tus grabaciones de Microsoft Teams? Aquí tienes todas las opciones de almacenamiento explicadas con claridad.

La semana Laboral de 4 Días: Cómo las Empresas están Ganando la Guerra del Talento
Por qué trabajar menos puede ser la decisión más inteligente para las empresas que buscan la productividad, la innovación y la retención del talento.
Encuentre la mejor aplicación de voz a texto para el trabajo en 2026 (gratuita y de pago)
¿Buscas una aplicación de voz a texto en 2026? Hemos reunido las mejores opciones para aumentar la productividad y ahorrar tiempo en el trabajo.

Gestión de los riesgos de seguridad y cumplimiento relacionados con las personas que toman notas con IA
¡Mantenga sus reuniones impulsadas por IA de forma segura y compatible! Aprenda a gestionar los riesgos de seguridad y cumplimiento, proteger los datos confidenciales y garantizar la privacidad en sus reuniones virtuales.

Cómo escribir un correo electrónico de seguimiento de una reunión de negocios, plantillas y mensajes de ChatGPT
Aprenda a escribir un seguimiento claro y profesional de las reuniones de negocios con plantillas e instrucciones de ChatGPT para ahorrar tiempo y aumentar las respuestas.

Cómo usar la IA de Microsoft Teams para reuniones
Aprenda a automatizar las notas, mejorar la colaboración y hacer que las reuniones de Teams sean más productivas con funciones impulsadas por IA.

Cómo tomar actas para una reunión como un profesional [+ Plantilla personalizable gratuita]
¡Tome actas de reuniones impecables en todo momento! Aprenda los consejos de los expertos para captar los puntos clave, hacer un seguimiento de las acciones e impresionar a su equipo con habilidades profesionales para tomar notas.
Las 5 A de la comunicación eficaz: una guía para empresas emergentes para mejorar la colaboración en equipo
El éxito de una startup no se basa solo en las grandes ideas, sino en la forma en que su equipo se comunica bien. Descubre el marco de las 5 A para mejorar la colaboración, reducir la fricción y convertir las conversaciones en acciones.
Informe de asistencia de Microsoft Teams: qué es y cómo usarlo
¡Desmitifique el informe de asistencia de Microsoft Teams! Aprenda a acceder a él, interpretarlo y aprovecharlo para hacer un seguimiento de la participación y mejorar sus reuniones virtuales sin esfuerzo.

Cómo crear y usar las salas para grupos pequeños de Google Meet
¡Domina las salas para grupos pequeños de Google Meet! Aprenda a crearlas, administrarlas y usarlas para fomentar la colaboración y la participación en sus reuniones virtuales.

Cómo grabarte a ti mismo en Zoom, paso a paso
Domina el arte de grabar en Zoom con nuestra sencilla guía. Aprenda a capturar sus reuniones o notas personales sin esfuerzo.

Más de 30 KPI de ventas de los que hacer un seguimiento en 2026
Descubra los secretos del éxito de ventas en 2026 con esta guía de más de 30 KPI de ventas esenciales. Descubre qué debes controlar para impulsar el rendimiento y el crecimiento de los ingresos de tu equipo.
Cómo crear una transcripción de Zoom: 2 formas
Descubra cómo crear transcripciones de Zoom sin esfuerzo con nuestra guía sobre dos métodos sencillos, perfectos para capturar todos los puntos clave de la discusión.

Encuentre la plantilla perfecta para la evaluación del desempeño de los empleados
Descubra las mejores plantillas de evaluación del desempeño de los empleados para agilizar su proceso de evaluación y aumentar la productividad en el lugar de trabajo.

Las mejores 60 citas motivacionales de ventas para su equipo de ventas en 2026
¿Buscas motivación para vender? Encuentra las mejores cotizaciones de ventas para 2026 para empoderar a tu equipo, fomentar una mentalidad positiva y mantener a todos enfocados en alcanzar los objetivos.
Cómo manejar profesionalmente cualquier conflicto de horario
Aprenda a manejar los conflictos de horarios de manera profesional. Esta guía ofrece consejos prácticos para gestionar las superposiciones, reprogramar las reuniones y mantener relaciones sólidas.
Cómo cambiar a y desde el horario de verano con un planificador de reuniones de zona horaria
¡Desbloquee transiciones horarias sin interrupciones con un planificador de reuniones por zonas horarias! Cambie sin esfuerzo entre el horario de verano y la hora estándar. ¡Planifica mejor, estresate menos!

12 estrategias eficaces de gestión de equipos de ventas
Descubra 12 poderosas estrategias para gestionar su equipo de ventas de forma más eficaz. ¡Aumente la productividad, mejore el trabajo en equipo e impulse el éxito de las ventas!