How To Record a Zoom Meeting If You’re Not a Host
Discover how to record Zoom meetings without hosting privileges from any device for a streamlined meeting experience!

✅ Free meeting recording & transcription
💬 Automated sharing of insights to other tools.

Image Source: rawpixel.com on Freepik
It’s official: knowing how to record a Zoom meeting can significantly boost your workday efficiency, especially given that 89% of Zoom users use it for business meetings.
Why? Because when you’re in meetings that are all about knowledge-sharing or decision-making, documenting every step of the process is essential for taking further action.
In other cases, you may need to share meeting contents with others and don’t have the time to write a 10-page summary explaining the how’s and the why’s of everything that was discussed.
If you want to learn how to record, save, share, and access your Zoom meetings without hosting and recording privileges, you’re in the right spot. Keep reading to learn how to take your meetings to the next level!
Can You Record a Zoom Meeting?
Yes, you can record a Zoom meeting. If you’re a host, you can use the integrated recording features to capture your session. If you’re not a host, you need the host to grant you permission to record the meeting or use third-party solutions.
Whatever the scenario may be, when it comes to recording Zoom meetings, the appropriate steps you’ll need to take can vary depending on certain factors.
For instance, although free users can record Zoom meetings using the video conferencing tool with permission from the host, the recorded files can take up precious space, and it is not possible to record meetings directly from a phone.
Having a paid account doesn’t help much in terms of the permissions required to record your meetings. This option, however, provides you with Cloud storage where you can access your Zoom recording, and the possibility to record straight from your mobile device.
What is there to be done? You can always record a Zoom meeting with a third-party screen recorder like MeetGeek. Here’s a quick explainer video of how to record Zoom calls whether you're the host or a participant. Alternatively, you can read the detailed steps below.
How Can I Record a Zoom Meeting if I Am Not the Host?
There are two ways to record a Zoom meeting if you’re not the host:
- Manually, with permission from the meeting host
- Automatically, with screen recording software
However, before recording your meeting, you must understand the difference between local or cloud recording:
- The Local Recording option allows you to record and access local recordings directly on your device. To share recorded Zoom meetings with other team members, you can upload the files to services like Google Drive, Dropbox, iCloud, etc.
- The Cloud Recording option records the meeting on the Zoom Cloud, with the option to download the Zoom meeting recording after the meeting has ended. Cloud recordings, however, are only available to hosts and co-hosts who are also paid subscribers. If you have cloud recording enabled, a pop-up will appear asking where you want to save your recording .
NOTE: Certain features like record active speaker, gallery view, and shared screen separately are only available for Cloud recordings.
Method #1: Recording a Zoom Meeting Manually
As a participant recording a Zoom meeting manually, you need to take advantage of Zoom's recording built-in feature.
Here’s the catch: Zoom meeting hosts are the only ones who can give meeting participants permission to record meetings, so check in with the organizer to ensure a seamless experience. Additionally, you’ll only be able to download and access the recordings locally.
Here’s how to record a Zoom meeting as a participant with Zoom’s built-in feature:
- Once the host has permitted you to screen record the meeting, click on the ‘Recording’ tab. Select record.
- Once you stop recording or after the meeting concludes, Zoom begins the conversion process that will enable you to access the recording files. Don’t shut down or restart your computer, as this interrupts the conversion process and can make your files become corrupted or non-recoverable.
- As soon as the recording is converted, the folder containing the file will open. Your Zoom screen recording will be stored as an MP4 video file or as an audio-only M4A.
NOTE: When recording locally, you’ll be able to record multiple audio files. Afterward, you can share only the relevant audio files from your Zoom recordings with other participants.
Method #2: Recording a Zoom Meeting Automatically
If you’re looking for an easier way to automatically record any Zoom call for free, even when you’re joining from your iPhone or Android mobile device, a meeting automation platform like MeetGeek is exactly what you need.
MeetGeek is a cloud-based meeting assistant that helps you successfully manage and record Zoom meetings with very little to do on your part.
How so? Not only does MeetGeek capture your Zoom meetings automatically, but it also offers features like transcribing, summarizing, analyzing, and sharing meeting highlights with others.
Here's what the process of recording a Zoom meeting whether you’re a host or not looks like with MeetGeek, the virtual meeting assistant that seamlessly integrates into your meetings in just a few clicks!
Step 1: Create an Account
To record a Zoom meeting with MeetGeek, you’ll first need to create a MeetGeek account. This is a free and simple process that only takes seconds. Choose whether to connect with your Google account or with your Microsoft account, and you’re good to go.
Creating a MeetGeek Account
Step 2: Sync Your Calendar
Once you connect your calendar with MeetGeek, all scheduled and upcoming events from your calendar will appear in the app. You can always select which meetings you want to be recorded. This way, your MeetGeek Assistant will know which meetings to join and which ones to skip.
NOTE: If your meeting is spontaneous, or if you can only join the meeting via a conference link, paste the link into the Add to live ad-hoc meeting' bar, and you're set.
Syncing your calendar with MeetGeek
Step 3: Join Your Zoom Meeting
Once your meeting begins, your MeetGeek Assistant will automatically join and start recording, but only after the meeting host is notified and accepts the request. The advantage is that the meeting host can do this in one click, without needing to revisit the account settings.
While you focus on meaningful conversations with your team, your MeetGeek Assistant will automatically join the call as a participant, with the sole role of recording and transcribing your Zoom meetings.
Engage in your meetings like you normally would, without the responsibility of manually screen-recording your conversations or taking notes!
NOTE: MeetGeek gets the job done, regardless of the device or platform you’re using — be it the Zoom web portal, via the Zoom desktop app, or your mobile device (works for both iOS and Android devices).
Step 4: Share Your Zoom Meetings
Shortly after the meeting ends (5-10 minutes), participants will receive an email with the meeting summary, automatically captured by MeetGeek’s AI algorithms. The video recording of your meeting will be automatically saved to your MeetGeek account and can be accessed as needed.
MeetGeek will also summarize the contents of your meeting, so you can skip certain parts and go back only to the important ones.
PRO TIP: If you’ve already recorded your meeting using Zoom’s built-in functionality, but still want to leverage MeetGeek’s conversation intelligence features, upload the recording to your account and let our assistant work its magic.
Here are the benefits of using MeetGeek to transcribe your already-recorded Zoom meetings:
- Transcription in 70 languages
- Search functionality by keyword to locate specific moments
- AI summary of your meetings
- The option to share the entire recording or parts of it with your team
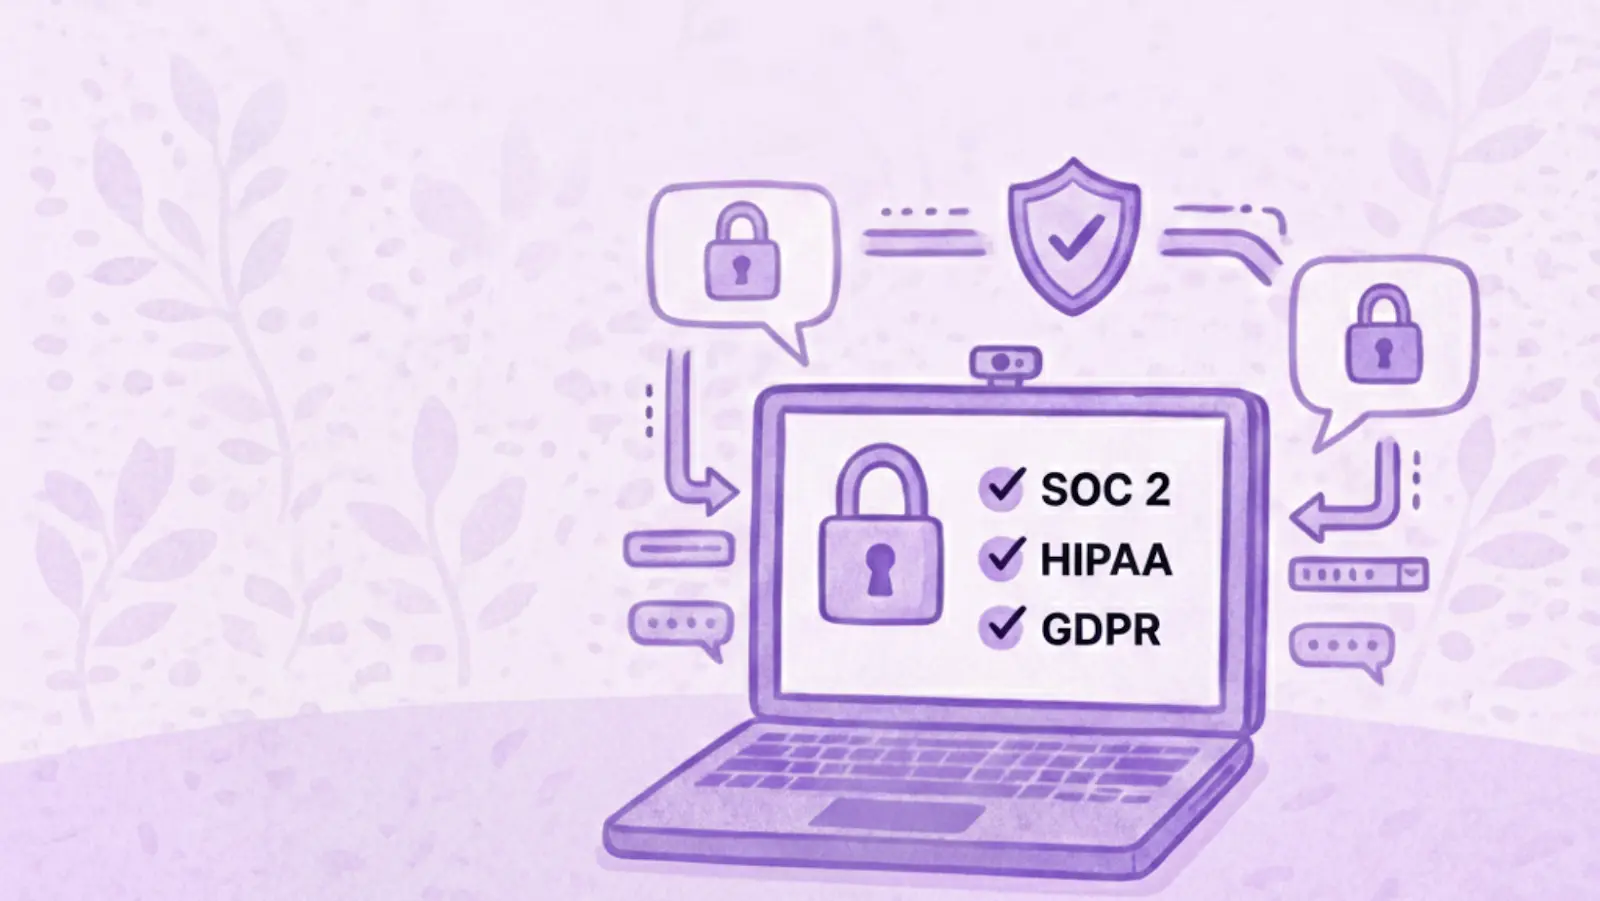
NOTE: MeetGeek takes data security seriously, complying with the standards imposed by SOC and HIPAA to guarantee encryption and privacy protection.
Can You Record a Zoom Meeting Without Permission?
While there are ways to record Zoom meetings secretly, that may have serious legal consequences in certain parts of the world, as it can result in civil damages or, in some cases, criminal penalties.
In the US, several states require ‘all-party consent’, while EU states rely on GDPR to enforce personal data protection.
Before recording a Zoom meeting, it is mandatory to ensure that you have the right permissions and that all participants know the meeting will be recorded.
The easiest way to do so is to notify the other participants in the meeting invitation email that you’re planning to record the session and how you intend to use the Zoom recording.
It may be a good idea to explain once again, at the very start of the Zoom meeting, how recording the conversation and having it automatically transcribed will be beneficial to the entire team. If you’re not sure how to do this, we prepared these 15 ready-to-use disclaimers to help you introduce your MeetGeek note-taker.
Once they understand the benefits of Zoom recordings, and how they can leverage the information captured to promote transparency and knowledge-sharing, they are likely to quickly get on board with the idea.
In fact, 45% of employees feel overwhelmed by the number of meetings they have to attend, so preventing unnecessary meetings where you have to discuss a topic all over again just because there is no record of it anywhere is highly desirable.
Do More With MeetGeek
Now that you know how to record a Zoom meeting even if you’re not the host, it’s time to explore the added benefits of using MeetGeek, the virtual AI meeting assistant that seamlessly integrates into your daily workflow!
A. Meeting Templates & Meeting Agenda
The Meeting Templates feature automatically identifies and categorizes every segment of your Zoom meeting, based on any keywords you provide MeetGeek with.
This way, you won't have to spend time after the meeting rewatching the entire Zoom recording, because you can go straight to the parts that you need — hassle-free!
Try MeetGeek for free to see how Meeting Templates can completely transform your meetings!
Additionally, you can use this feature to add your meeting agenda to the mix, so all the information you need is available in one place!
Explore our Meeting Agenda feature for free!
B. Repository Of Conversations
MeetGeek allows you to search through your meeting archives to find any information that you may have missed, or just to refresh your memory before your next meeting to ensure you are fully prepared.
MeetGeek stores all of your previous meetings in the same place
You also have the option to share the recording of any meeting with other team members automatically, whether they were a part of the meeting or not.
Being able to revisit your previous conversations can help to prevent any friction between you and your team. Furthermore, it eliminates the need for countless knowledge-transfer sessions just to share information or get a point across.
C. AI Meeting Notes
MeetGeek provides AI Meeting Minutes with several features, such as:
- A summary of key topics sent to your inbox after every conversation
MeetGeek automatically generates summaries of your meetings
- Transcripts of the call with timestamps to easily identify speakers
MeetGeek automatically generates meeting transcripts
- Integration with other tools (Notion, Slack, HubSpot, etc.)
MeetGeek seamlessly integrates with other tools
D. Meeting Insights
Feeling in control during meetings is essential, so you need to know how to prepare for future meetings by assessing your current meeting performance. That’s not an easy task to complete, and that’s why we provide Meeting Insights after each Zoom meeting.
MeetGeek provides meeting insights for every meeting
This feature allows you to objectively know how well you and your team are performing in meetings.
FAQs About Recording Zoom Meetings
1. How Do I Share a Zoom Recording?
If you have made a local recording, you can share it by sending it via email or using a cloud-sharing service like Dropbox.
Paid Zoom account users can choose to share their Zoom meeting with a link to the Cloud recording they will receive via email. If you missed the email, simply log into Zoom and go to the 'My Recordings' section.
From there, you can click on the 'Share' button next to the recording you would like to access and obtain a link from the pop-up window.
With MeetGeek, recording meetings is easier. Go to your Past Meetings, select the meeting you want to share, and press the Share Meeting button to decide who gains access to the meeting recording and its transcription.
MeetGeek makes meetings easy to share with others
NOTE: Recording with MeetGeek works regardless of how you're joining the meeting: the Zoom desktop app, your mobile device, or from the Zoom Web portal.
2. Where Can I Access My Previous Zoom Meetings?
To see all of your previous Zoom meetings, you have to be logged into your Zoom app. You will be directed to the ‘Meetings’ tab, which you can find at the top of the page.
If you have plenty of meetings, and finding the Zoom meeting recording you need seems impossible, you can simply search for the meeting in the search bar.
With MeetGeek, things are just as easy. You can go to the Past Meeting section, where you’ll have the records of your Zoom meetings stored in chronological order.
3. Will Other Participants Know I’m Recording the Meeting?
Regardless of how you choose to record your Zoom meetings, and whether it involves a record button or not, your teammates will — and should — know that you’re recording the meeting.
Both the Zoom built-in recording feature and your MeetGeek assistant automatically send a recording disclaimer in the Zoom chat, so you don’t have to worry about that on top of your other meeting responsibilities!
4. How Can I Record Multiple Audio Files in Zoom?
Here’s how to record multiple audio files in Zoom:
- Launch Zoom client and go to Settings.
- Select the Recording tab.
- Enable the Record a separate audio file for each participant option.
- Record your Zoom meeting and save it to your computer.
- Once your meeting concludes and the recording is ready, open the recording folder.
- In the folder, you’ll find an Audio Record folder. Here, you’ll find every participant's separate audio file, each audio-only tack beginning with the unique participant's name.
5. How Do I Allow Participants to Record Locally in Zoom?
Here are the steps for enabling and starting local Zoom recordings for all the users in the account:
- Log into the Zoom web portal as an administrator. Ensure you have the permission to edit account settings.
- In the Account Management section from the navigation menu, click on the Account Settings.
- Navigate to the Recording tab.
- In the Recording section, use the Local Recording toggle to enable or disable this feature.
- If prompted, click Enable or Disable to confirm your choice.
- To activate additional features, select the desired checkboxes and then click Save:some text
- Save chat messages: This option allows hosts to include in-meeting chat messages in the local recording files.
- Save closed captions as a VTT file: This enables hosts to save closed captions in the local recordings.
- Hosts can allow meeting participants to record locally: This setting permits hosts to grant participants the ability to record locally.
- To apply this setting for all users in your account, click the lock icon, then select Lock to apply the setting universally.
Start Using MeetGeek Today for Seamless Meetings!
Zoom's video and audio quality make it an indispensable tool for collaboration. However, what makes your meetings truly effective is recording them.
If you want to streamline the process, the MeetGeek AI assistant handles all your meeting recording and note-taking responsibilities automatically, allowing you to concentrate on being fully present and engaged in your meetings.
Try MeetGeek for free to experience first-hand all the benefits of having your own virtual AI meeting assistant!
.avif)













.png)
