How to Record Video Conferences: A Guide to Built-in Features and AI Tools
Record video conferences using built-in platform tools or AI transcription services to create lasting assets. Use tools like MeetGeek to automate collaboration and improve productivity.

✅ Free meeting recording & transcription
💬 Automated sharing of insights to other tools.

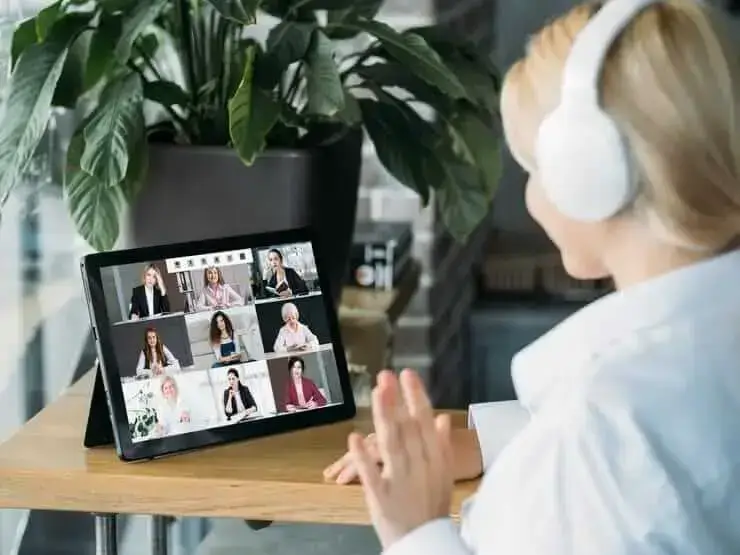
In today's professional hybrid landscape, video conferences are the backbone of collaboration. Whether for team syncs, client calls, or company-wide all-hands, these virtual meetings are where critical decisions are made and ideas are born.
But what happens after the call ends? Recording your video conferences ensures that valuable information isn’t lost, allows absent team members to catch up, and provides a reliable record for future reference.
Knowing how to record video conferences effectively can transform them from fleeting conversations into lasting assets. Record video conferences using built-in platform tools or AI transcription services to create lasting assets. Use tools like MeetGeek to automate collaboration and improve productivity.
This guide will walk you through the best methods for recording your meetings, from the native features in your favorite apps to the advanced capabilities of third-party software.
How to Record Video Conferences with Built-in Features?
The most straightforward way to record a meeting is by using the native function within your video conferencing platform. These tools are convenient and require no extra software.
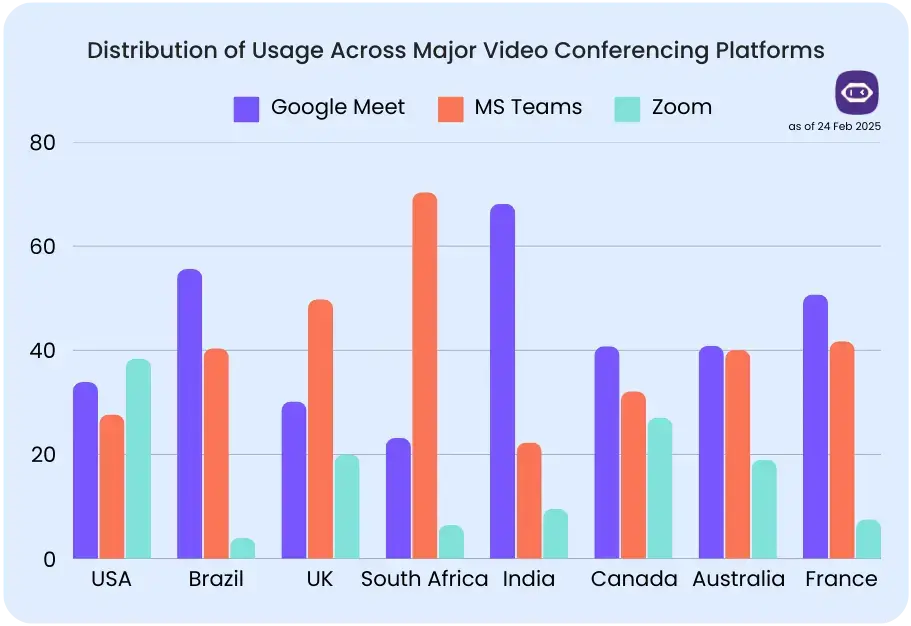
Here’s how the most popular platforms handle it.
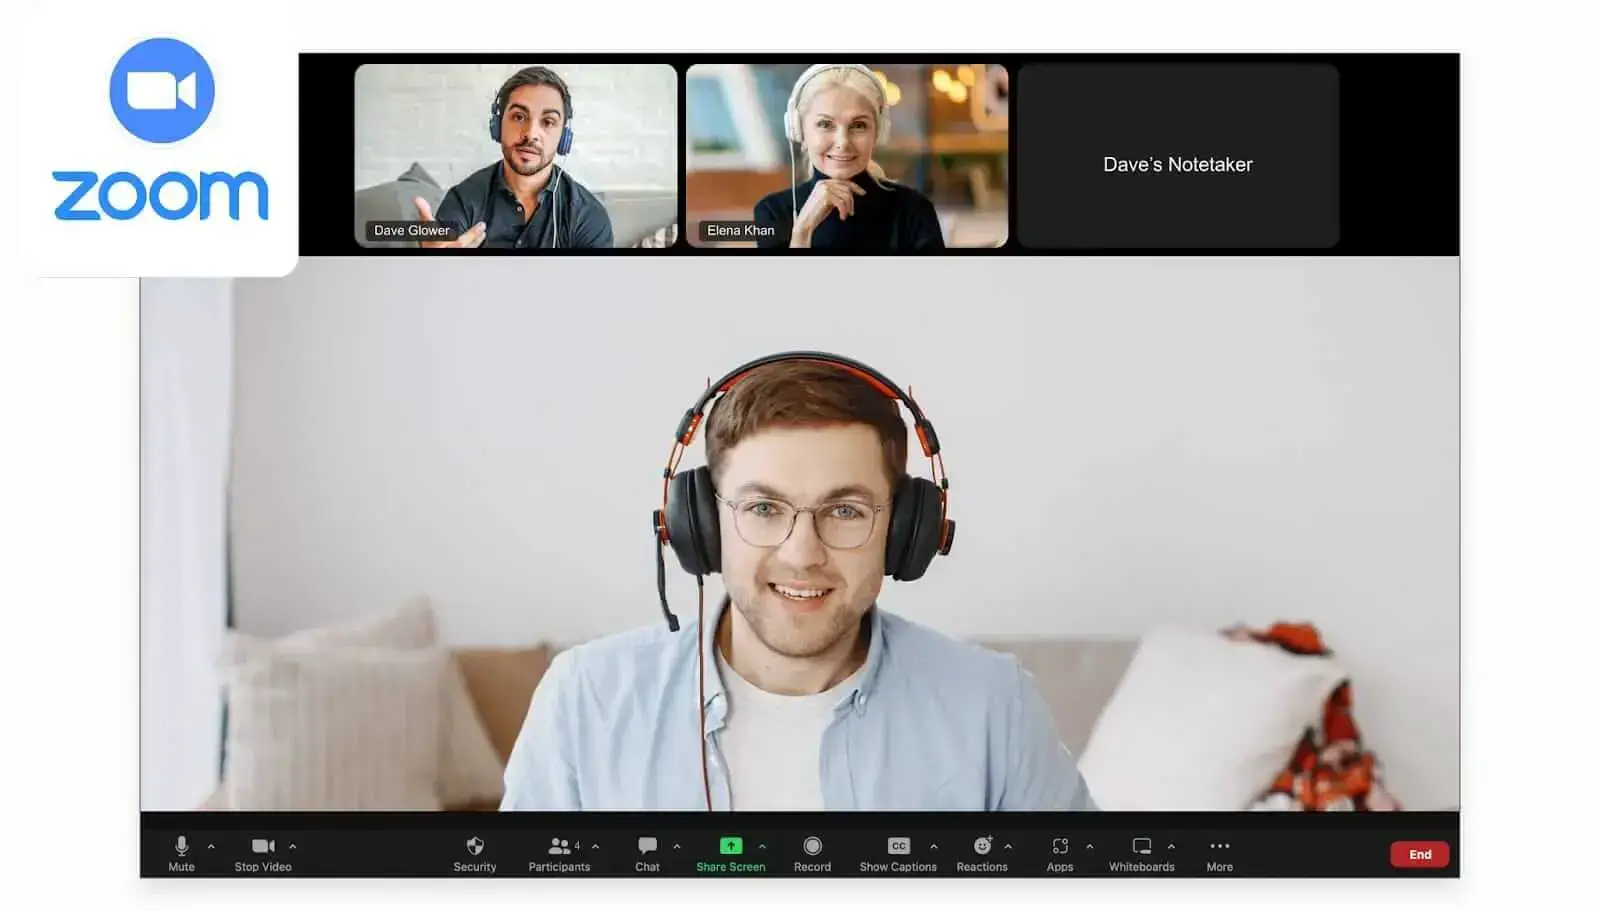
Zoom
Zoom offers two primary recording methods to suit different needs and subscription levels:
- Local Recording: Available to both free and paid users, this option saves the meeting video and audio file directly to your computer. The host must grant permission for a participant to record locally.
- Cloud Recording: Exclusive to paid subscribers, this feature automatically saves your recording to the Zoom cloud. It captures video, audio, and chat transcripts, which can be easily shared with a link. This is ideal for accessibility and sharing with larger teams.
Step-by-Step Recording Process on Zoom

For meeting participants:
- Ask the meeting host to enable recording permissions for your account before the session begins.
Learn more: How To Record a Zoom Meeting If You’re Not a Host
- Once the host grants permission, locate the recording controls in your Zoom interface. Click the "Record" button in the meeting toolbar.
- Select either "Record on this Computer" for local storage or "Record to the Cloud" if you have a paid subscription.
- A red recording indicator will appear, confirming that your session is being captured.
- Click "Stop Recording" when finished, or the recording will automatically end when the meeting concludes.
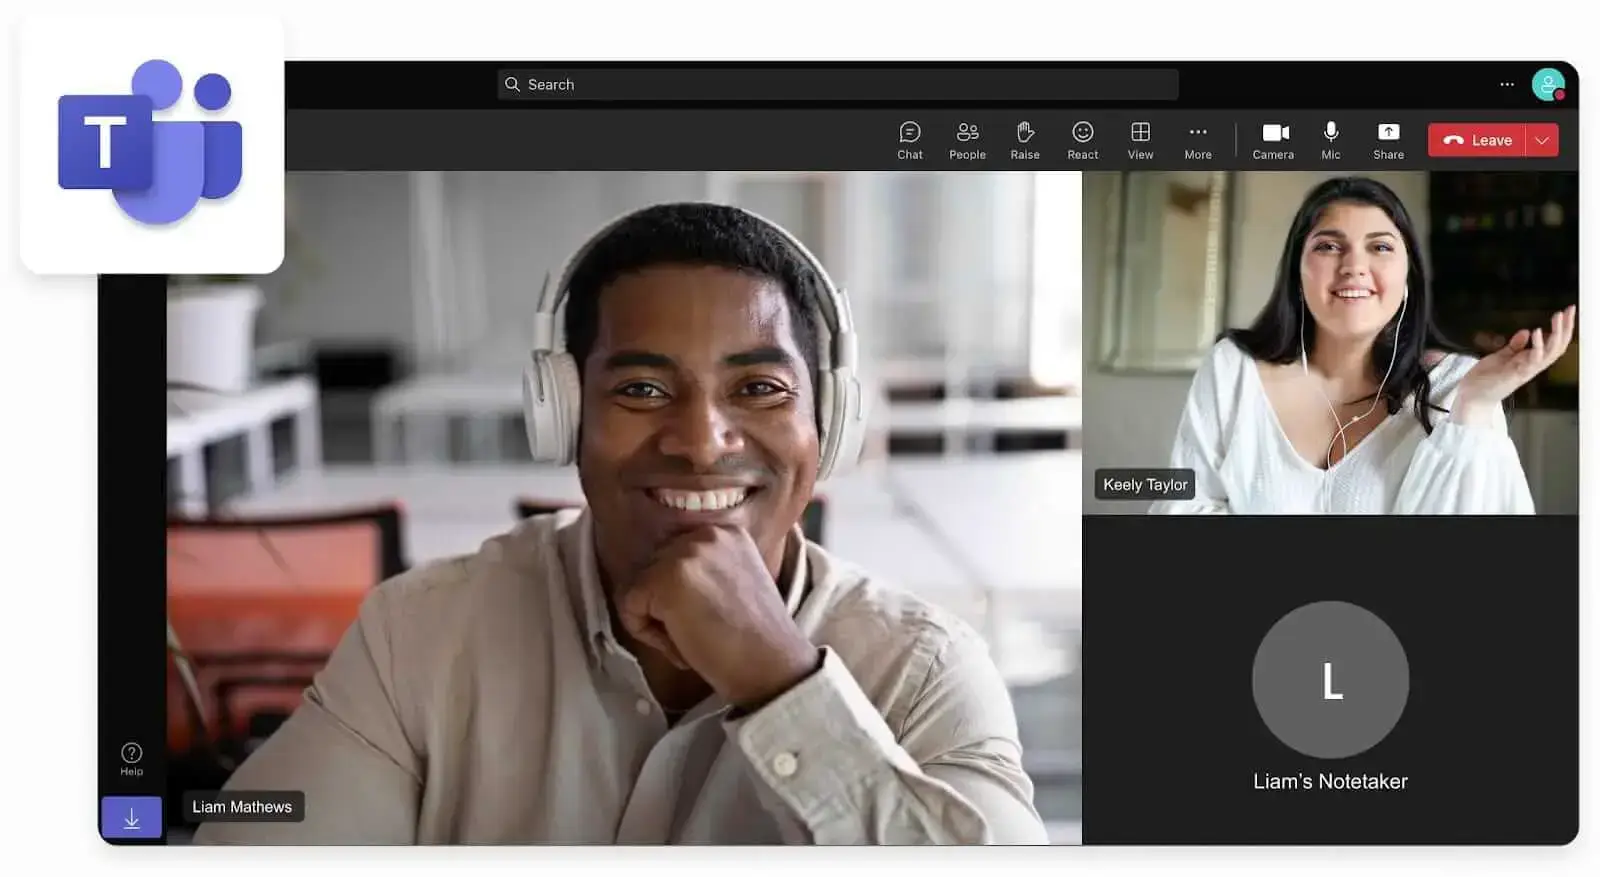
Microsoft Teams
Microsoft Teams seamlessly integrates recording into its workflow. When you record a meeting, the file is automatically saved to either SharePoint (for channel meetings) or OneDrive (for all other meetings). The recording captures audio, video, and screen-sharing activities. Once the meeting ends, a link to the recording is posted in the meeting chat, making it immediately available to all participants.
Step-by-Step Teams Recording Process:
- Open Microsoft Teams and start or join your scheduled meeting.
- Locate the meeting controls bar at the top of your screen. Click on the “More Actions” button (represented by three horizontal dots on the right side of your interface).
- Select the “Start recording" option from the dropdown menu.
Learn more: How to Record a Teams Meeting with any Microsoft 365 Subscription - As soon as you initiate recording, an automatic notification appears for all meeting participants, transparently informing them that the session is being recorded for compliance and courtesy purposes.
Important note: Teams allows only one recording per meeting session. Once someone starts recording, that single recording is saved in the cloud and becomes accessible to all meeting participants, ensuring everyone has equal access to the content.
- To end the recording, repeat Step 2 by clicking the “More Actions” button and select “Stop recording”.
Google Meet
For users with eligible Google Workspace editions (such as Business Standard, Business Plus, or Enterprise), Google Meet offers a robust recording feature. Recordings capture the active speaker, any presented content, and the chat log. The files are automatically saved to a dedicated "Meet Recordings" folder in the host's Google Drive, and a link is sent to the meeting organizer and calendar event guests.
Step-by-Step Google Meet Recording Process:
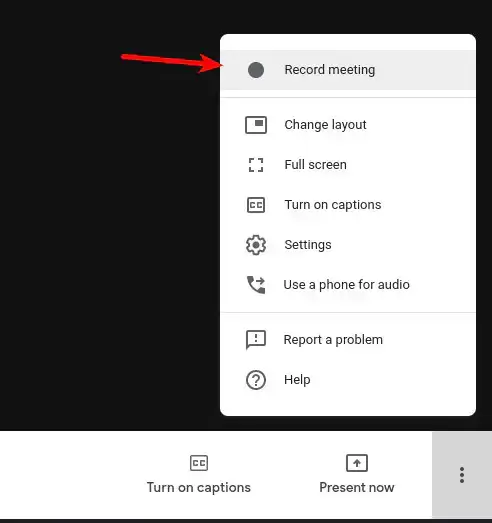
- Open the Google Meet application or click on your meeting link to join the session. Click the “Join Now” button.
- Navigate to the bottom right corner of your Google Meet interface and select the “Activities” icon (represented by three dots). From the dropdown menu, click the “Record Meeting” option.
Learn more: How to Record Google Meet Sessions without Special Permissions - A confirmation dialog will appear in a separate window. Click the “Start Recording” button to confirm your selection and begin capturing the meeting.
Important note: Once recording begins, all meeting participants receive an automatic notification, and a small recording indicator icon appears in the top left corner of everyone's screen, ensuring full transparency.
- To stop the recording, click on the “REC” button (the recording indicator) and select “Stop Recording” from the options.
While convenient, built-in video conference recorder features have limitations. They often come with storage caps, may be restricted to higher-tier paid plans, and typically lack advanced features like automated transcription or summarization.
Upgrading Your Recordings with Third-Party Tools
For those who need more than just a simple video file, third-party video conference recording apps offer enhanced functionality, flexibility, and intelligence. These tools work across different platforms and are designed to maximize the value of your meeting content.
AI Meeting Assistants: Automated Conference Recording
The most significant evolution in meeting recording is the rise of AI meeting assistants. These tools don't just record the call – they analyze it.
.gif)
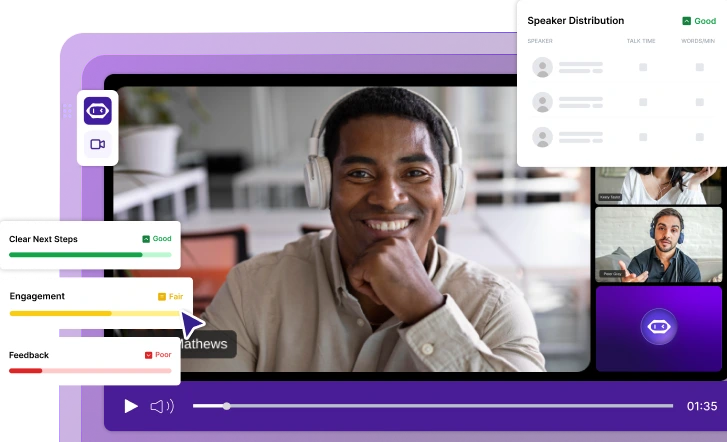
MeetGeek is a prime example of an AI-powered assistant that transforms your video conferences. It joins your meetings on platforms like Zoom, Google Meet, and Microsoft Teams to automatically:
- Record the entire meeting: Capture high-quality video and audio without needing to be the host.
- Provide AI transcription: Generate a complete, time-stamped transcript of the conversation in 50+ languages, making it easy to search for key topics.
- Create automated meeting summaries: Deliver a concise summary of the meeting, complete with key highlights and action items based on your call type, directly to your inbox.
- Integrate meeting insights into other tools: MeetGeek connects with 7,000+ apps, so your AI meeting notes are delivered to the platforms you use – like CRMs, task management tools, messengers, and more – in no time.
- Analyze your meetings: Leverage powerful conversational intelligence to uncover insights such as speaker sentiment, talk-to-listen ratios, engagement levels, and key topics discussed, helping you identify trends, coach your team, and continuously improve meeting effectiveness.
Using AI transcription tools for video meetings saves hours of manual note-taking and ensures you never miss a critical detail. Instead of re-watching an hour-long video, you can read a five-minute summary or search the transcript for specific information.
Cloud vs. Local Video Conference Recording: Which is Right for You?
When choosing a recording method, one of the key decisions is where to store the file.
- Cloud Recording: This is the standard for most built-in recorders (on paid plans) and all AI meeting assistants like MeetGeek. Files are stored on a secure server, making them accessible from any device and easy to share via a link. This method avoids filling up your hard drive and protects against data loss from computer crashes.
- Local Recording: This saves the file directly to your computer’s hard drive. It’s a good option if you have privacy concerns about cloud storage or need to work with the file offline. However, it consumes significant disk space and makes sharing large files cumbersome.
For most business use cases, the accessibility and ease of sharing offered by cloud recording make it the superior choice.
Video Conference Recording Comparison: Built-in vs. AI Tools
Choose a built-in recording feature for simple, direct video storage and quick access within the meeting platform. Delegate recording to an AI assistant like MeetGeek for automated transcription, searchable meeting summaries, and collaboration tools. Compare both options to match your needs for convenience, automation, and post-meeting value.
| Feature | Built-in Recording (e.g., Zoom, Teams) | AI-Powered Tool (e.g., MeetGeek) |
|---|---|---|
| Core Function | Captures video, audio, and screen share. | Automates recording and transcription, summarizes, and analyzes. |
| Output | A video file and a basic transcript (sometimes). | A rich report with a summary, full transcript, action items, and highlights. |
| Ease of Use | Simple one-click operation. | Fully automated: joins, records, and sends summary without manual input. |
| Storage | Platform-specific (OneDrive, Google Drive) or local. | Centralized, cross-platform cloud repository. |
| Searchability | Limited to file names or basic transcript search. | Deep search across all transcripts for keywords, topics, and speakers. |
| Integrations | Generally limited to the parent ecosystem. | Extensive integrations with CRMs, project management, and collaboration tools. |
| Cost | Included in the platform subscription. | Often subscription-based, with robust free tiers available. |
How to Choose the Right Tool for Your Team
The decision between built-in vs. third-party video recording tools ultimately depends on what you want to achieve with your recordings.
Stick with Built-in recording if:
- You only need to record meetings occasionally for archival purposes.
- Your primary need is to have a video record for someone who was absent.
- You have no budget for additional software tools.
- You don't need to search, analyze, or extract information from your meetings.
Upgrade to an AI-powered tool like MeetGeek if:
- You want to know how to record meetings with transcription that is accurate and actionable.
- Your team relies on meetings to make important decisions and assign tasks.
- You want to save time by reading AI-generated summaries instead of re-watching entire meetings.
- You need a centralized system to manage knowledge from all your video calls, no matter the conference platform.
- You want to integrate meeting outcomes directly into your project management or CRM software.
Video Conference Recording Best Practices 2025
To ensure your recordings are professional, ethical, and useful, follow these best practices:
- Always get consent: The most important rule is to inform all participants that the meeting is being recorded. Most platforms do this automatically, but it’s good practice to announce it verbally at the start of the call.
- Test your audio and video: A poor-quality recording is hard to watch and can lead to inaccurate transcriptions. Before the meeting, test your microphone and camera to ensure they are working correctly.
- Use a clear naming convention: Organize your recordings with a consistent naming system (e.g., "Project-Name_Meeting-Topic_Date"). This will make it much easier to find what you're looking for later.
- Leverage automation for efficiency: Don't let recordings pile up as unwatched videos. Use automated meeting summarization tools to extract key insights and action items. This turns your recordings from a passive archive into an active productivity tool.
A Note on Privacy and Security
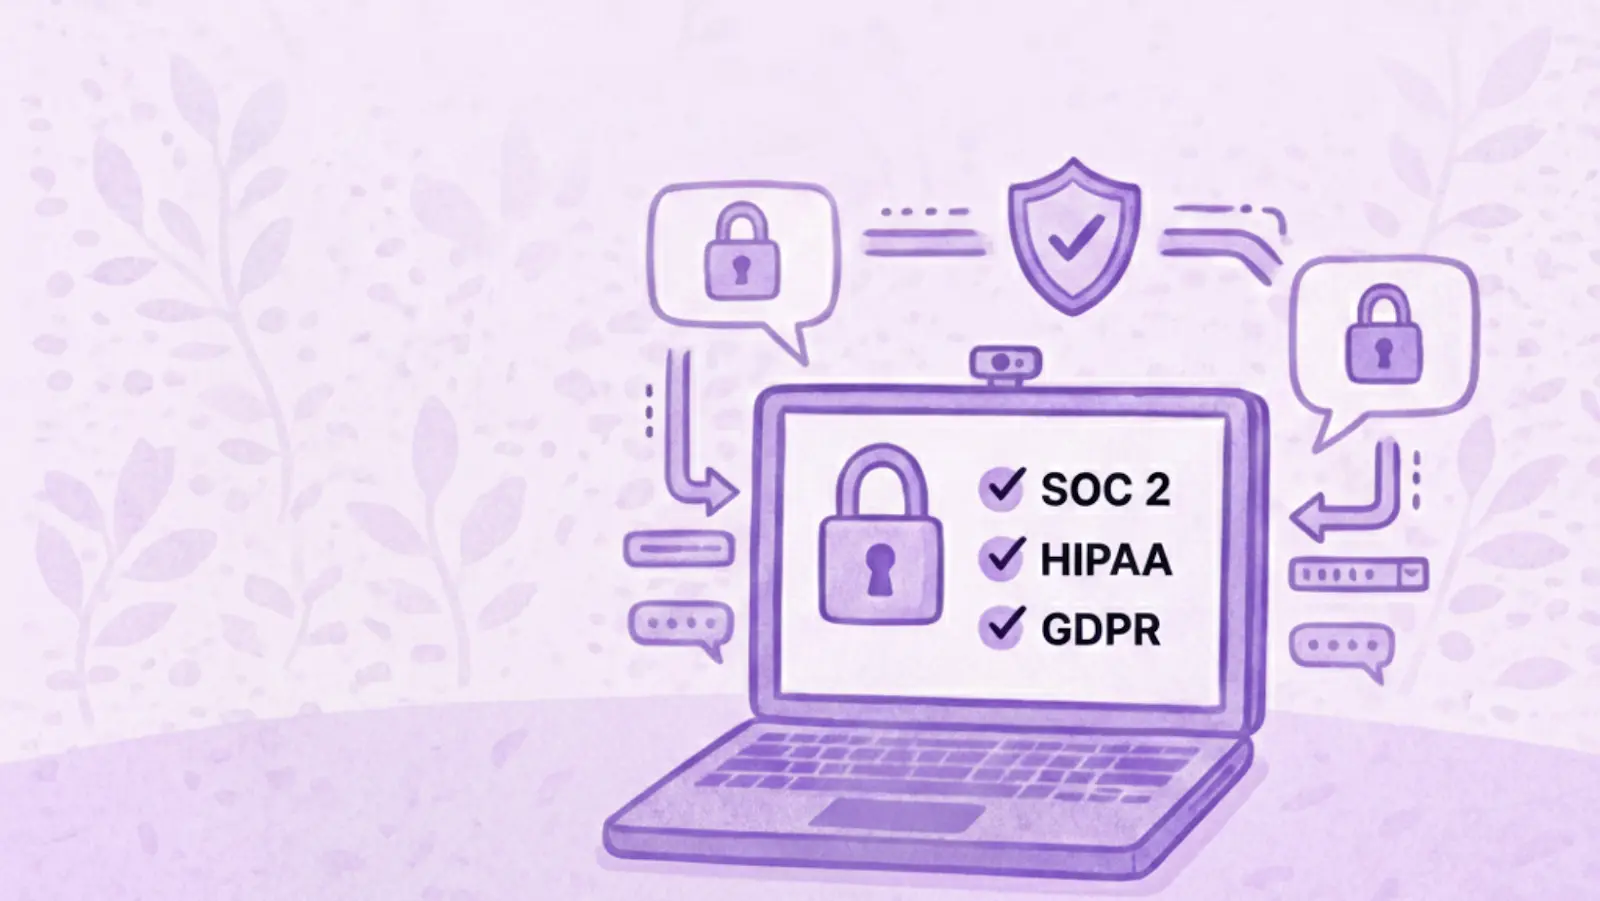
Handing over meeting data to a third party is a valid concern. Reputable AI meeting transcription software is built with security in mind. When considering a tool, look for clear policies on data encryption, user privacy, and compliance with standards like GDPR and SOC 2. Both built-in and third-party tools require you to obtain consent from participants before recording, so always ensure you are following local regulations and company policies.
Frequently Asked Questions
What free tools exist for recording and summarizing video meetings?
Free tool like MeetGeek (Basic plan) offers video meeting recording and summarization. It integrates with Zoom, Teams, and Google Meet, provide transcription in 60+ languages, and generate summaries with timestamps and action items.
What are the top solutions for meeting recordings?
Top solutions for meeting recordings include Zoom, Microsoft Teams, Google Meet, and AI notetakers like MeetGeek. These platforms offer built-in or automated recording features, cloud storage, transcription, and easy sharing options for teams and clients.
What software integrates with Zoom for meeting transcriptions?
MeetGeek and Zoom AI Companion provide Zoom meeting transcriptions by joining calls or recording them in the background, transcribing audio, and generating searchable transcripts with speaker labels and timestamps.
What tools help with compliance in virtual meeting documentation?
Tools like MeetGeek help with compliance in virtual meeting documentation by offering encrypted storage, access controls, audit trails, and GDPR/HIPAA-compliant transcriptions. These features ensure secure, accurate, and legally sound meeting records.
What options allow scheduled meeting recording without user intervention?
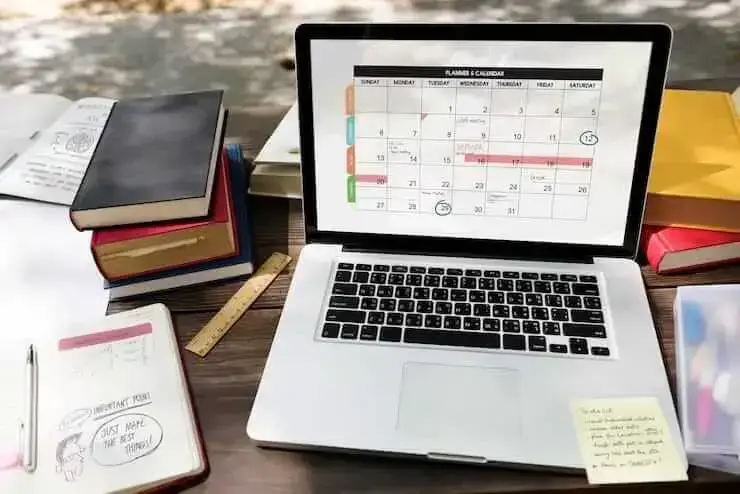
MeetGeek and Zoom’s cloud recording with auto-start enable scheduled meeting recording without user intervention. These tools integrate with your calendar, automatically join meetings based on scheduled events and start recording without requiring manual input. MeetGeek also offers automated recording for meetings where you're not the host or unable to join.
What platforms offer browser-based meeting recording and analysis?
Several platforms offer browser-based meeting recording and analysis, including MeetGeek and Granola. These tools allow users to record, transcribe, and analyze meetings directly in the browser without bots joining the meeting as another participant. Many integrate with Zoom, Google Meet, or Microsoft Teams for seamless functionality.
Conclusion: From Simple Recording to Meeting Intelligence
Choosing how to record your video conferences is about defining your goal. If all you need is a digital copy of a conversation, the built-in recorder on your platform is a perfectly adequate tool. It’s simple, free, and gets the basic job done.
However, if you view meetings as a valuable source of information, decisions, and tasks, then you need more than just a recording. You need intelligence. AI-powered tools like MeetGeek transform your conversations from passive video files into active, searchable, and actionable assets. They provide the summaries, transcripts, and integrations needed to boost productivity and ensure nothing important gets lost.
Ready to see what an AI meeting assistant can do for you? Try MeetGeek for free and turn your next meeting into structured, actionable insights.
.avif)
















.png)
