How to Record Google Meet Sessions without Special Permissions in 2026
Discover how to easily record a Google Meet in our comprehensive guide. Read this article to never worry about missing important information again!

✅ Free meeting recording & transcription
💬 Automated sharing of insights to other tools.

Image Source: Drazen Zigic on Freepik
Let’s face it: the ability to record Google Meet sessions has become an invaluable tool for professionals, educators, and anyone looking to capture the essence of virtual meetings.
Whether you need to review the details of a brainstorming session, document a lecture for future reference, or ensure that key discussions are accessible for those unable to attend, mastering the art of recording meetings is essential.
This comprehensive guide is designed to walk you through the process of recording Google Meet sessions across any device, ensuring you're equipped with the knowledge to capture these important moments with ease and efficiency. Shall we begin?
Can You Record Google Meet Calls?
Yes, and there is more than one way to accomplish this: manually, with Google Meet’s built-in screen recorder, and automatically, with the help of a 3rd party screen recording software.
If you choose to go for the built-in Google Meet recording feature, you need to know that it is only available to certain accounts and roles. Please see the limitations below.
Which Account Is Allowed to Record a Google Meet Call?
The screen recording feature in Google Meet is restricted to specific Google Workspace editions.
Here are the Google Workspace plans that allow you to record a Google Meet:
- Essentials
- Business Standard
- Business Plus
- Enterprise Starter
- Enterprise Essentials
- Enterprise Standard
- Enterprise Plus
- Education Plus ("staff" or "student" license required)
- Teaching and Learning Upgrade
- Workspace Individual Subscriber
- Google One users with 2 TB or more storage space
Who Can Record Google Meet Calls?
On top of having a Google Workspace membership, you must also have the correct role to record Google Meet events.
Here’s who can access the built-in screen recording feature of Google Meet:
- The host of the meeting
- Co-hosts from outside the host's organization
- Teachers or co-teachers for meetings conducted in Google Classroom.
NOTE: Ensure that your organization’s Google Workspace administrator has enabled Host Management to allow meeting recording.
What Does and Doesn’t Google Meet Record?
To ensure you have all the important information in your online meetings, here are some things to keep in mind.
This is what the recording feature in Google Meet captures:
- Video and audio of everyone in the Google Meet meeting
- Presentations or the screens shared by meeting participants
- Any chat messages sent (don’t forget to turn the chat on).
However, there are a few things that Google Meet won't record, including:
- Private messages in the chat
- Annotations made on shared documents or presentations
- Live captions
- Other open windows or applications
- Any notifications that may pop up.
A. How to Record Google Meet Sessions, Step-by-Step
If you meet all the previous requirements, just sign in to your Google Workspace account and follow the steps mentioned below to record a Google Meet as either the meeting host or as a participant through a meeting link.
NOTE: Recording a Google Meet session is only possible on a computer or PC. If you want to record Google Meet videos on a mobile device, you can skip to the next part of this guide.
Step 1: Open the Google Meet app or click on the meeting link (if you have it) and click the Join Now button. If necessary, turn on your microphone and webcam.
Step 2: At the bottom right of the Google Meet screen, select the Activities icon (three dots), then press the Record Meeting option. The confirmation message will appear in a separate window. Click on the Start Recording button to confirm and begin recording.

NOTE: Once the recording starts, everyone in the meeting will be informed and a small icon indicating the recording will appear in the top left corner of your screen.
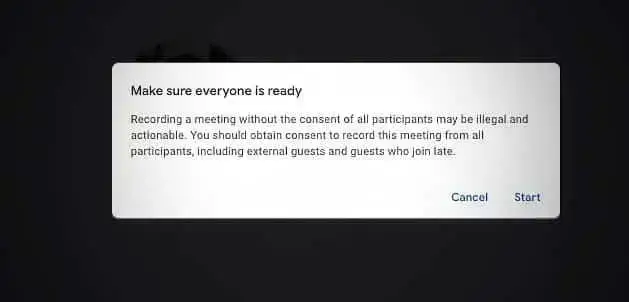
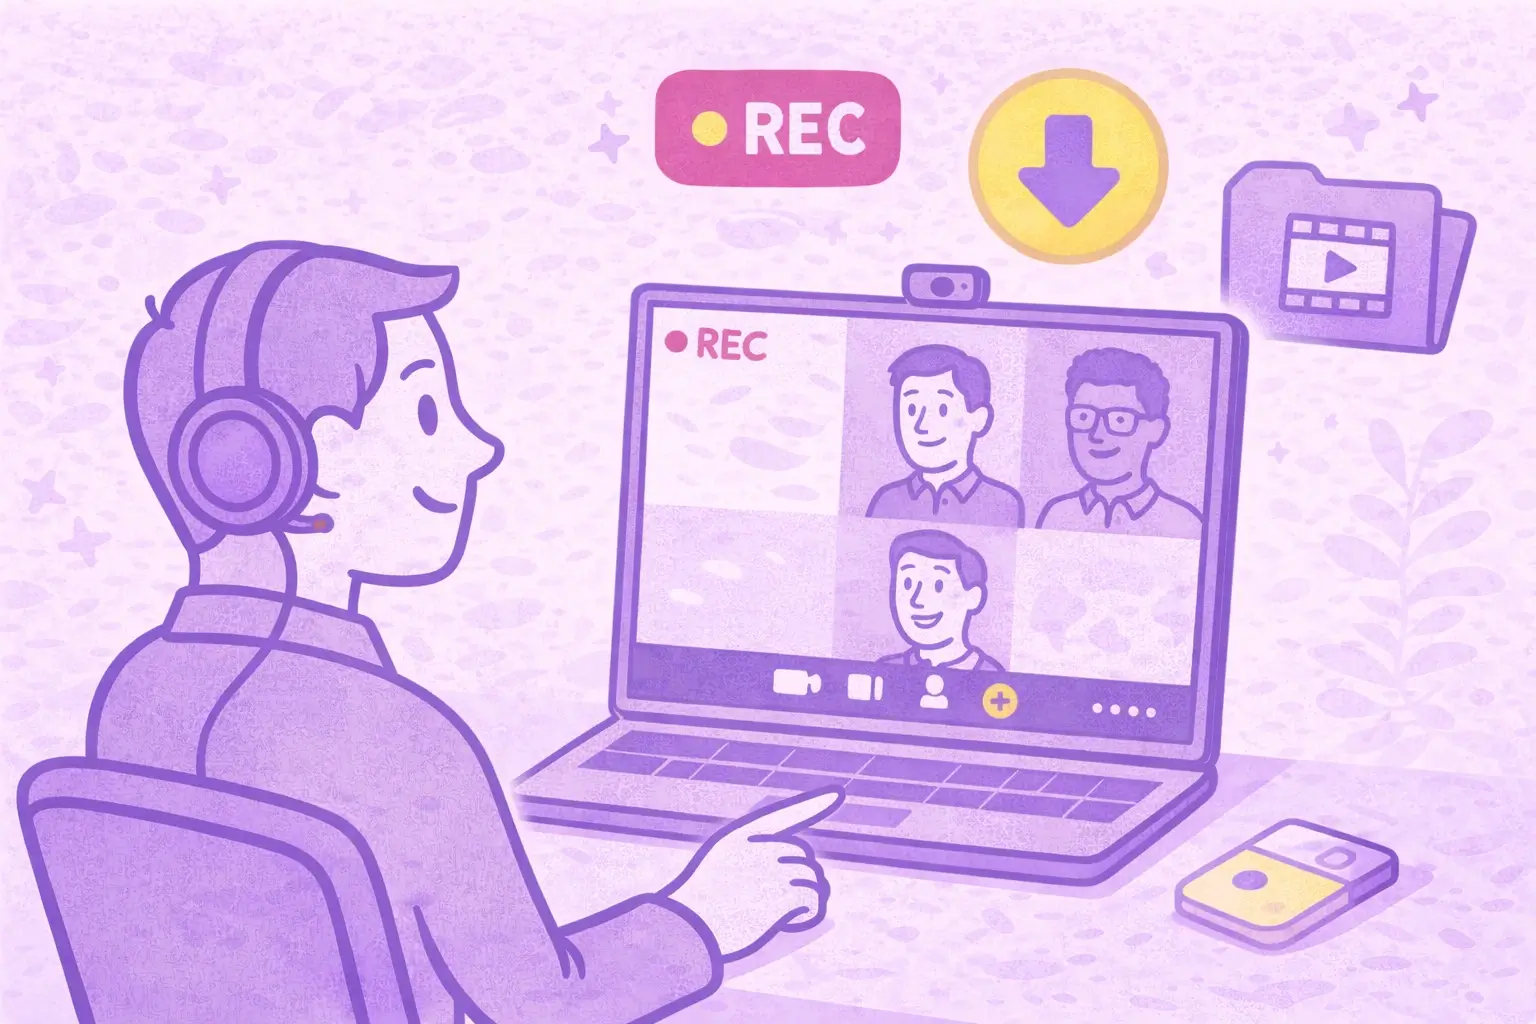
Step 3: To stop recording the Google Meet call, click on the REC button and then select Stop recording.

NOTE: If all participants in the meeting leave, the recording will automatically stop as well.
Where to Find Google Meet Recordings
As the host, co-host, or meeting organizer, you can access the recorded meeting in your Google Drive with just a few clicks.
Simply look for the Meet Recordings folder to find all your Google Meet recordings, which will be saved in MP4 format.
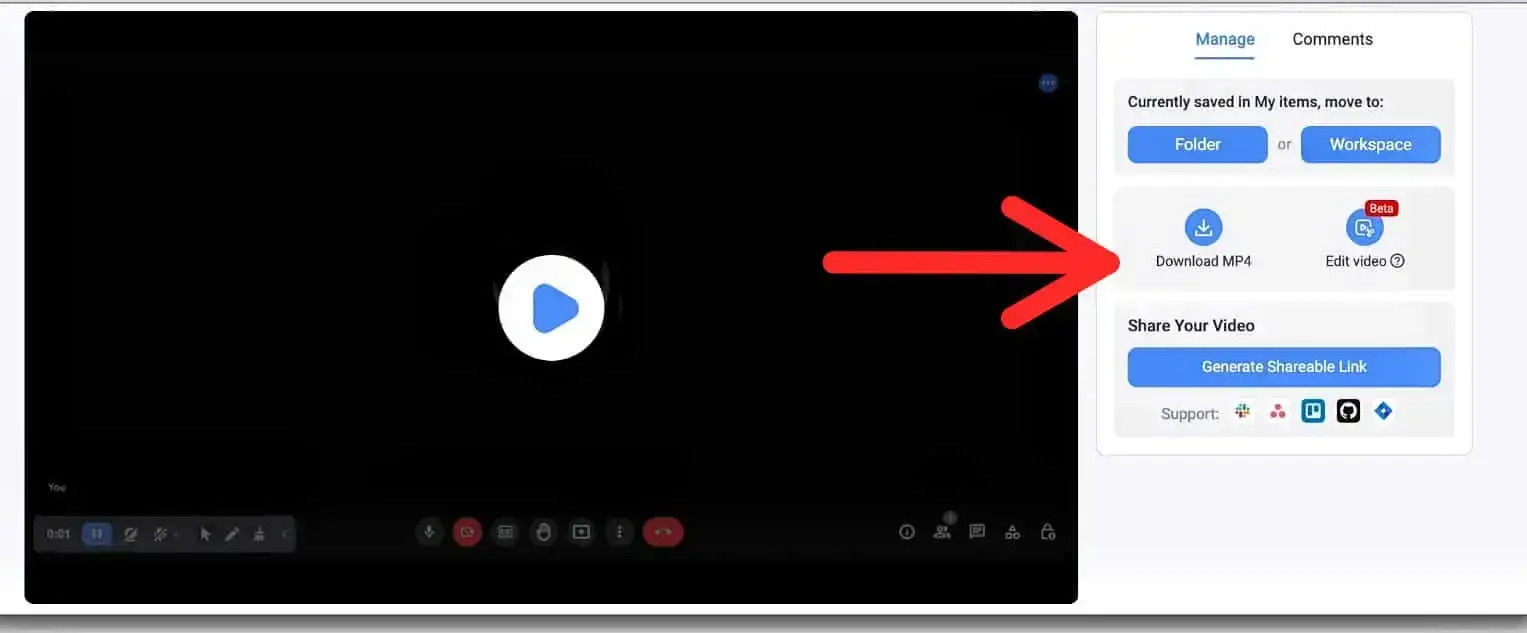
Once you identify the Google Meet recording you’re searching for, you can either rewatch it or download it to your device.
How Do I Share My Google Meet Recordings?
Anyone who starts and stops the recording will receive a recording link to share with others. This way, every meeting participant can rewatch the meeting recordings at their convenience.
Why Can’t I Record My Google Meet Video Calls?
There are several reasons why you may not be able to record a Google Meet session. Here are the most common ones:
- 8-hour limitation: Google sets a maximum recording time of 8 hours. Once you reach that limit, the recording will stop.
- Storage space: Make sure there is enough space available on the meeting organizer's Google Drive before attempting to record.
- Mobile device limitations: Google doesn't support recording Google Meet sessions on phones, tablets, or other hand-held devices. You'll need to use a laptop or PC instead. To record on mobile devices, you can always use a virtual meeting assistant like MeetGeek or other third-party screen recording apps.
- Free account: The free version of Google doesn't include a recording feature, so you'll need to upgrade to the Workspace Individual or Enterprise plans.
B. How to Automatically Record a Google Meet with Transcript
Manually recording Google Meet calls may seem like the obvious thing to do, especially if it’s a one-time thing. However, if you rely on video meetings to do your job effectively, you’ll need more than a basic screen recorder feature.
Here’s where we narrow down your search and introduce to you MeetGeek. This all-in-one AI meeting automation platform automatically joins, records, transcribes, summarizes, and stores your meeting information — all while saving hours of your time.
Whether you're the host or just a participant, and regardless of your Google Workspace plan, MeetGeek makes the process of recording a meeting simple and easy.
Join us as we show you how to record a Google Meet session with MeetGeek!
Step 1: Create a MeetGeek Account
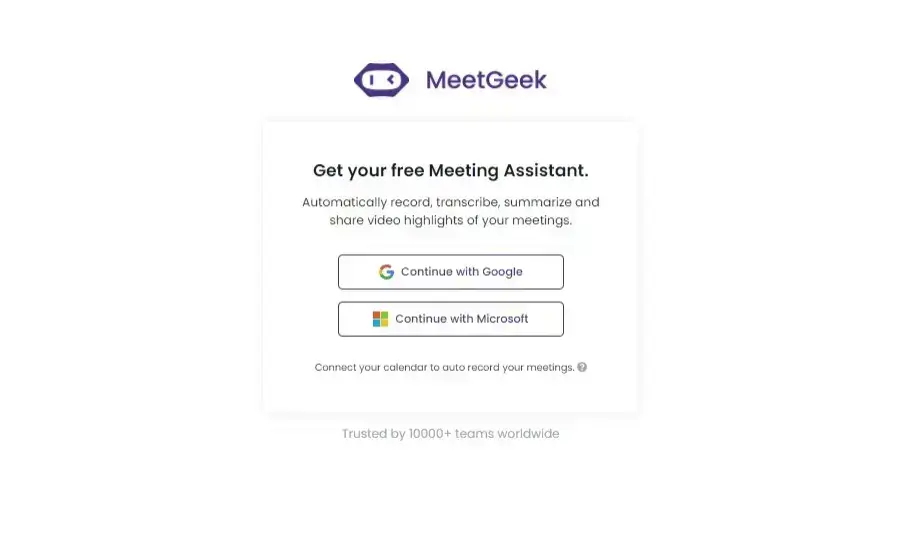
You will first need to create a MeetGeek account. It's a quick and easy process that is completely free. Just sign in with your Google or Microsoft account, and you're good to go.
Step 2: Sync Your Calendar
When you integrate your Google Calendar with MeetGeek, all your scheduled meetings from the calendar will be visible in the app.
You can easilly control whether MeetGeek records all your meetings, or only specific ones. This helps your MeetGeek Assistant understand which ones to attend and which ones to skip.
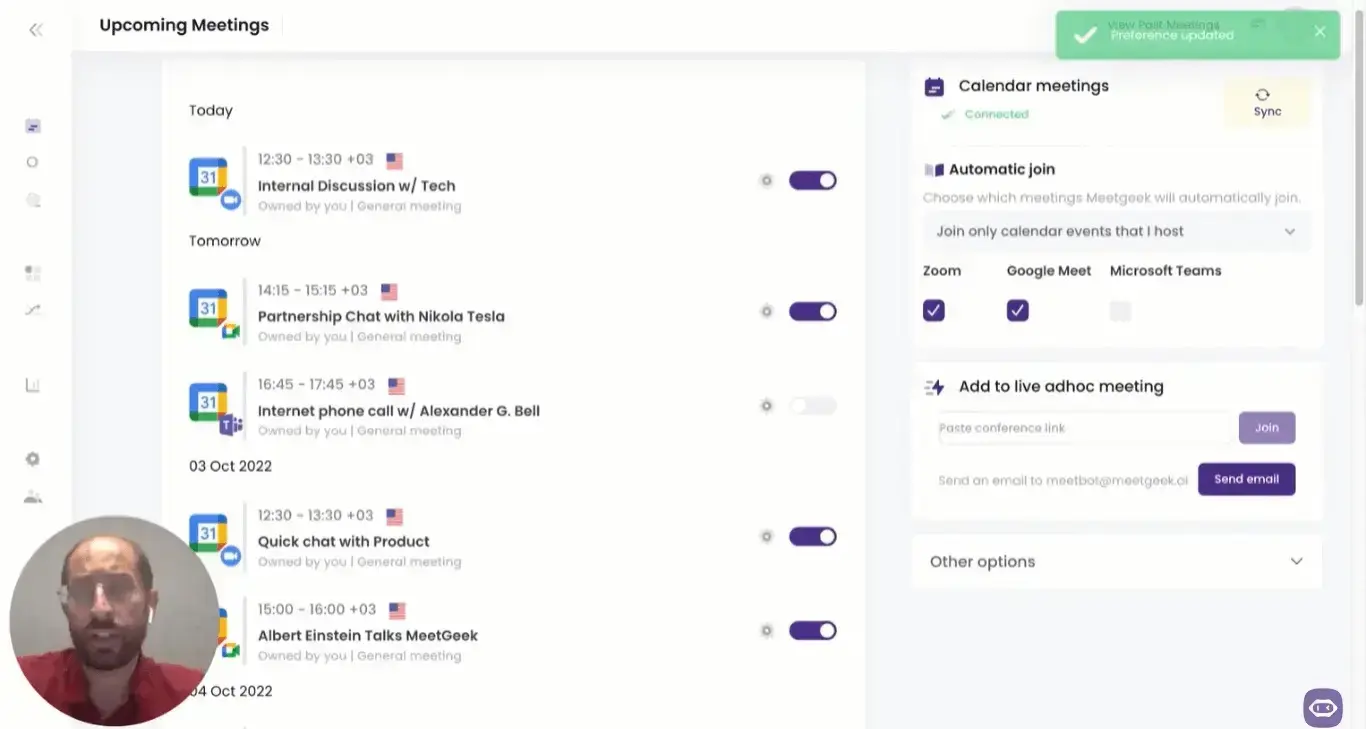
Should you have a spontaneous Google Meet video call that you only join through a conference link, simply paste the link into the Add to live ad-hoc meeting bar from the Upcoming Meetings menu.
Step 3: Join Your Meeting
As soon as your Google Meet starts, the MeetGeek Assistant will join and start recording. This will happen after the meeting host receives a notification and gives their approval.
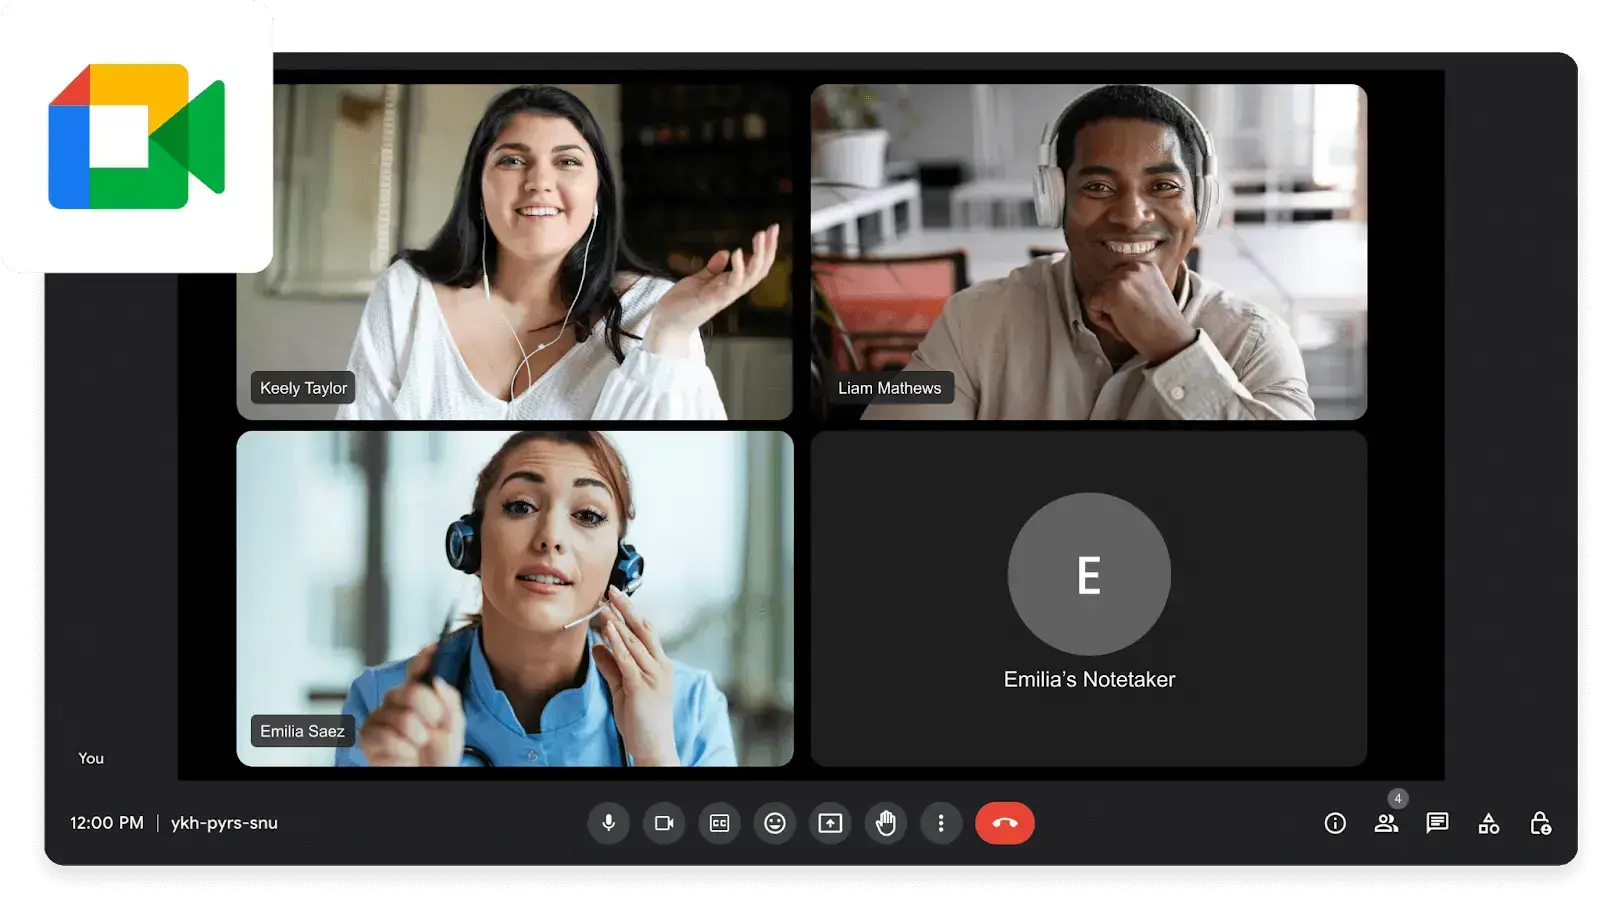
Afterwards, you can go about your meeting normally, while the MeetGeek assistant quietly takes notes and records your meeting in the background.
Step 4: Watch the Magic Happen
Within 2–3 minutes after your Google Meet call concludes, participants will receive a follow-up email containing a summary of the meeting with action items, captured by MeetGeek's AI algorithms. The meeting's video recording will also appear in your MeetGeek account and can be rewatched any time you need.
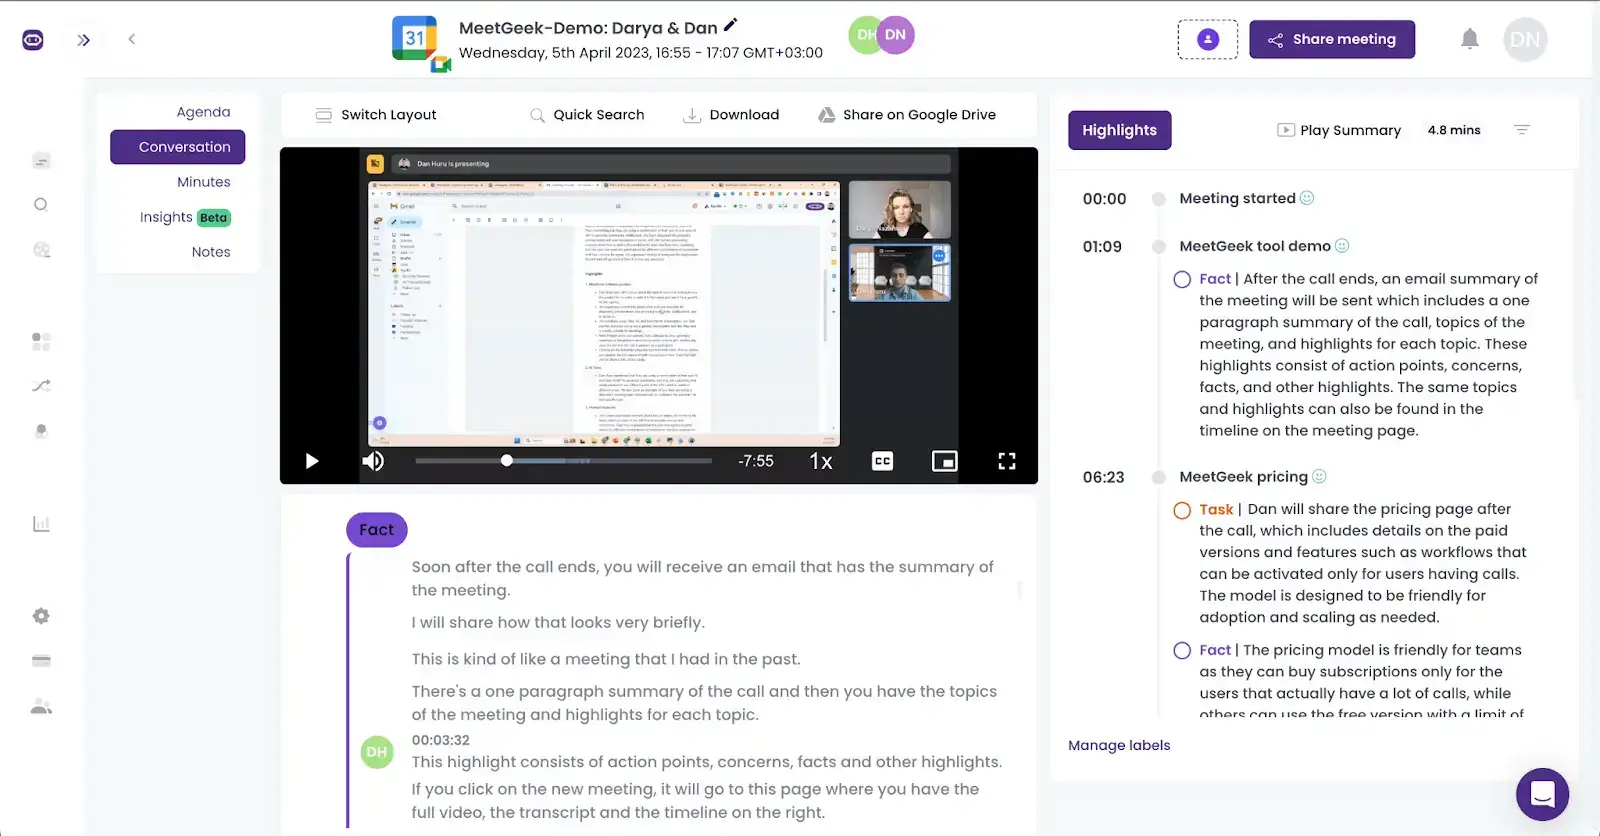
Furthermore, MeetGeek will generate an AI summary of your Google Meet session, so you can only revisit the parts that truly matter.
You can share the recording with whomever you wish, whether they were in the meeting or not. This gives you total control over who can access your meeting data.
Does MeetGeek Record on Mobile Devices?
Since the MeetGeek assistant joins your Google Meet meeting as a participant of its own, it doesn’t matter what device you use to join your meeting. This way, you reap the full benefits of having your Google meeting recorded while still maintaining full flexibility.
Will Other Meeting Participants See That I Am Recording?
Whether you're automatically or manually recording your Google Meet video calls, all meeting participants will be able to see that you're documenting the session.
The main reason for this is that in the United States, several states require 'all-party consent', while European Union states rely on the General Data Protection Regulation to safeguard personal data.
Remember, recording a Google Meet call secretly can have severe legal repercussions in certain jurisdictions, potentially leading to civil liabilities or even criminal penalties.
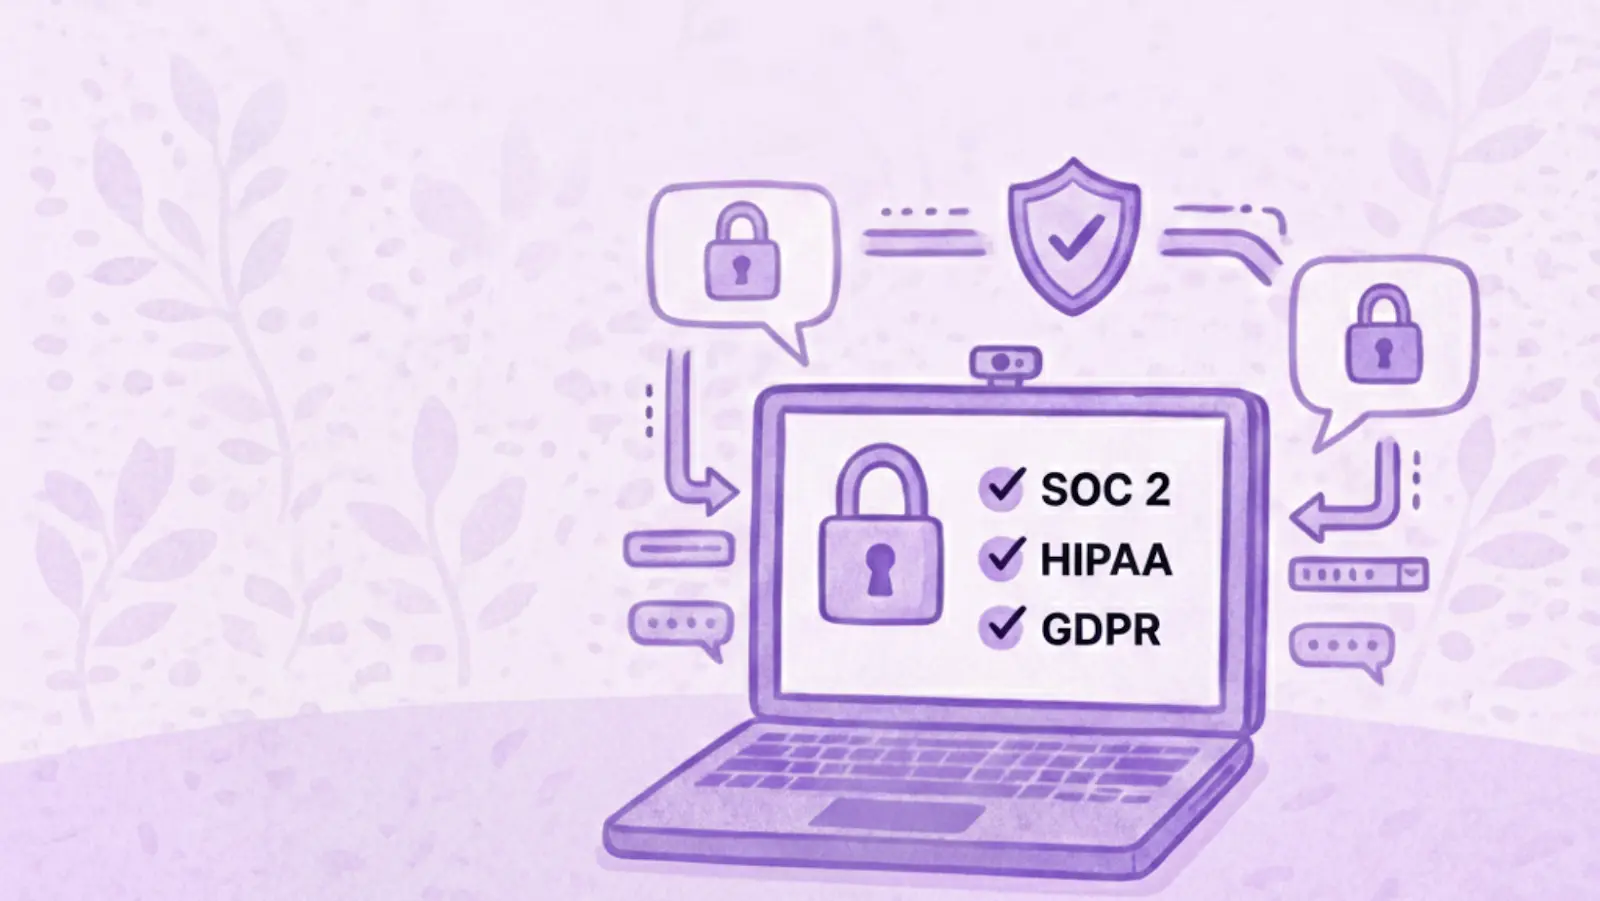
Before proceeding to record a Google Meet session, ensure that the tool you use is compliant with all relevant security, confidentiality, and privacy regulations. For instance, MeetGeek’s SOC 2 attestation ensures that its security practices align with the rigorous standards set by this security framework.
Afterward, make sure that you have proper consent from all participants and that they are aware of the recording taking place.
The most straightforward approach is to inform other participants in advance of your intention to record the meeting and to specify how the recording will be utilized. The meeting invitation email is a perfect opportunity to do this.
As the meeting begins, reiterate the benefits of recording the conversation and having it automatically transcribed for the entire team.
PRO TIP: If you're unsure of how to approach this, check out these 15 disclaimers that you can use to introduce your MeetGeek recorder.
Once team members understand the advantages of Google Meet recordings and how they can utilize the captured information to promote transparency and knowledge-sharing, they are likely to quickly embrace the idea.
Do More with Your MeetGeek Virtual Assistant
MeetGeek is more than your ordinary screen recorder. Its extensive suite of features makes it a no-brainer for a lot of individuals and companies who are looking to take their work to the next level.
Check out these features to know what you can expect once you start using MeetGeek!
Meeting Agenda
You’re probably already familiar with the importance of having a good meeting agenda. With this in mind, the constant struggle of switching between your notepad, the Google document containing your meeting agenda, and the Google Meet recording itself can create chaos.
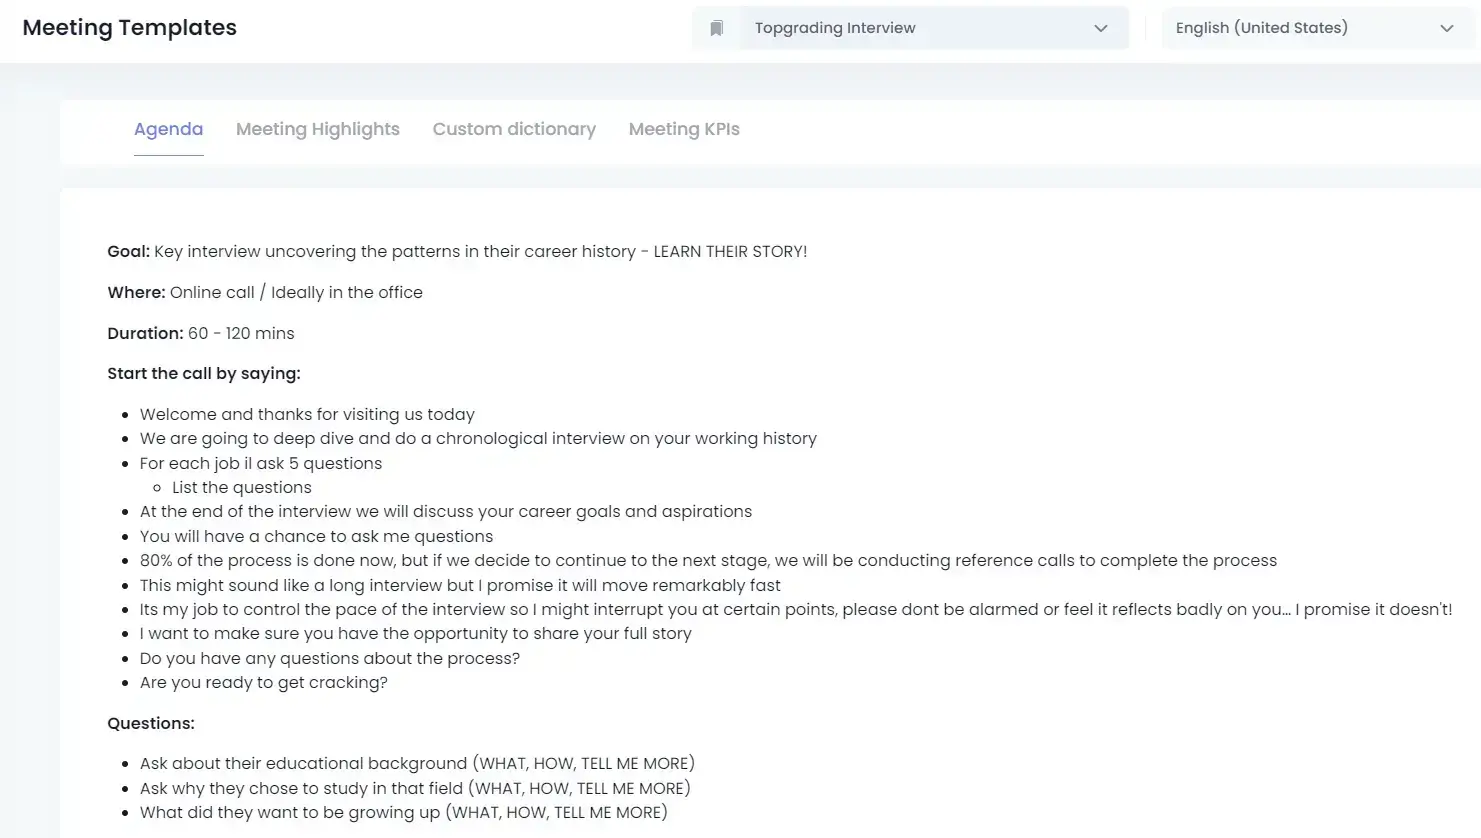
Creating an agenda in MeetGeek makes it significantly easier to establish a clear and organized structure for different types of meetings. Both generic and pre-set agenda templates are available, allowing for further customization to suit your specific meeting requirements.
Meeting Templates & Highlights
A standout feature of MeetGeek is the Meeting Templates feature. This function allows you and your team to easily follow and adapt the course of your discussions in a way that provides a high level of personalization to the meeting transcript and summary. The templates are fully customizable, giving you the freedom to include anything you want.

Furthermore, MeetGeek has a Highlights feature. Using the keywords you provide through Meeting Templates, MeetGeek identifies and extracts the most important aspects of your Google Meets, so you can skip anything that may not be of interest later on.
Automated Meeting Minutes
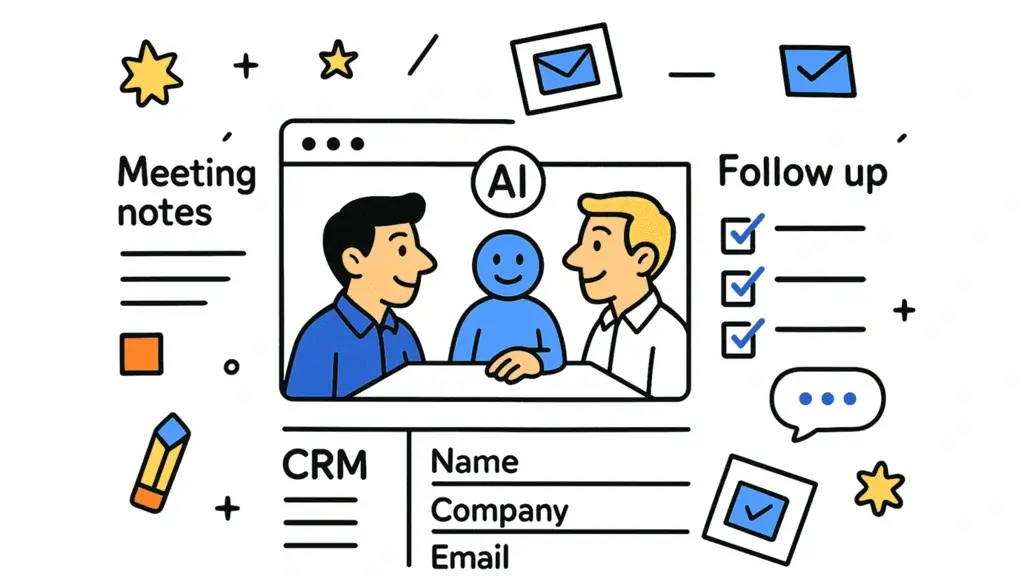
Meeting notes have multiple functions, such as providing to-do lists for all participants and updating them on key decisions. They also help ensure that everyone is on the same page, fostering productive conversations and outcomes.
Note-taking can put plenty of unnecessary pressure on meeting participants. Whether we're talking about individual or collaborative note-taking, they can end up being ineffective, time-consuming, and, above all, inaccurate.
That being said, one thing is for sure: well-organized and detailed notes are crucial for tracking progress, holding team members accountable for tasks, and creating a sense of urgency. MeetGeek can easily streamline this process, saving you hours.
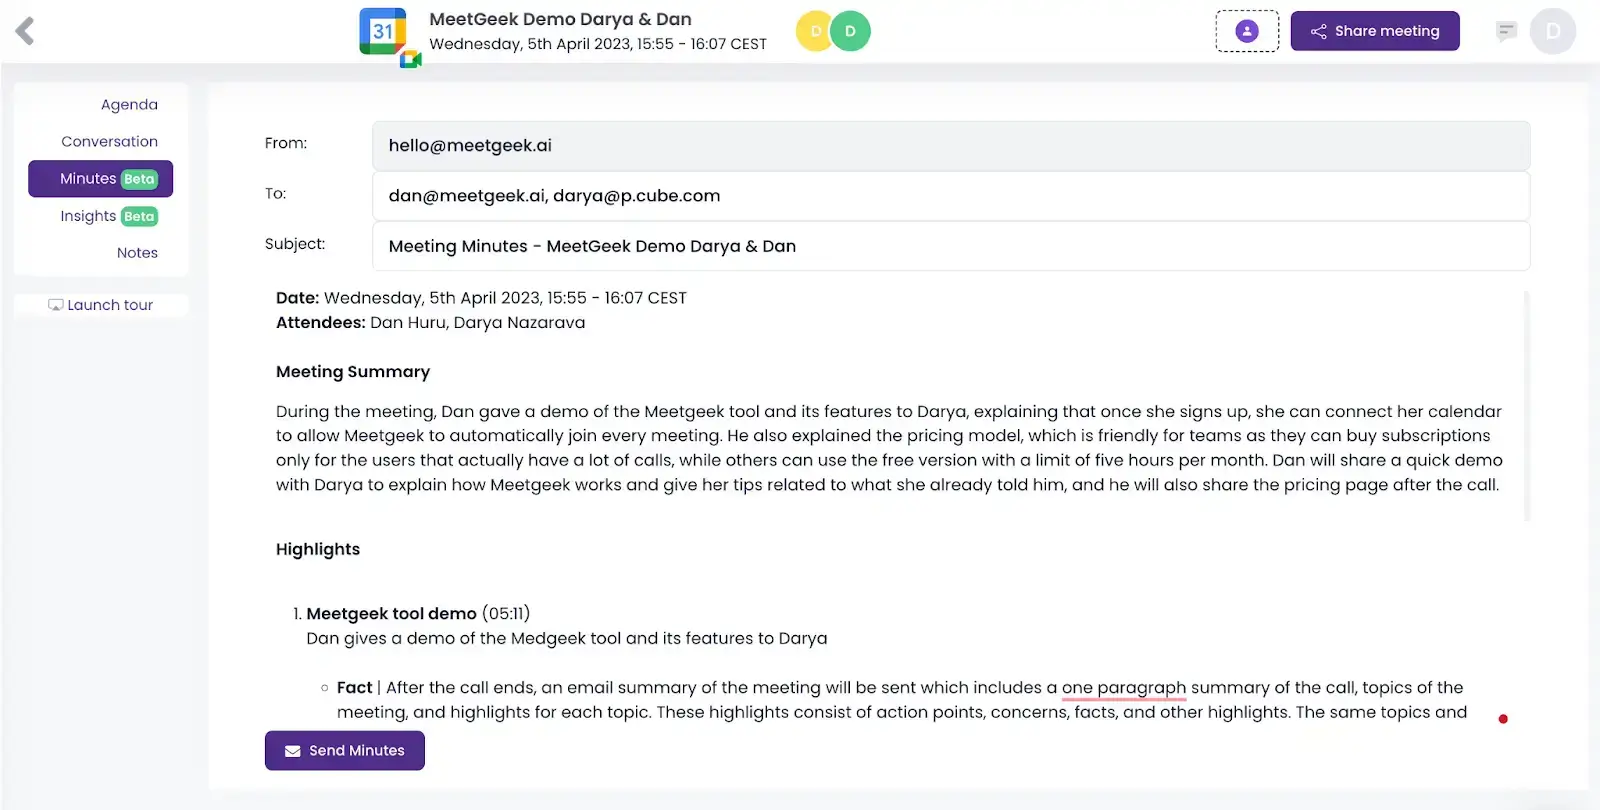
And that's not all! With MeetGeek, you can seamlessly share your AI-generated meeting notes and summaries with anyone you choose through various messaging platforms, mailing lists, and push notification systems.
Meeting Insights
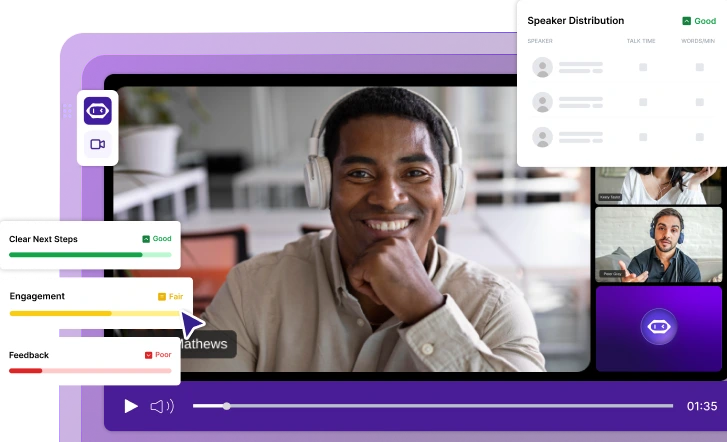
Professionals know how hard it can be to gauge the impact of their meetings, despite having comprehensive meeting records. If you work in a fast-paced environment that relies on meetings to keep the ball rolling, MeetGeek’s analytics feature may be just what you need.
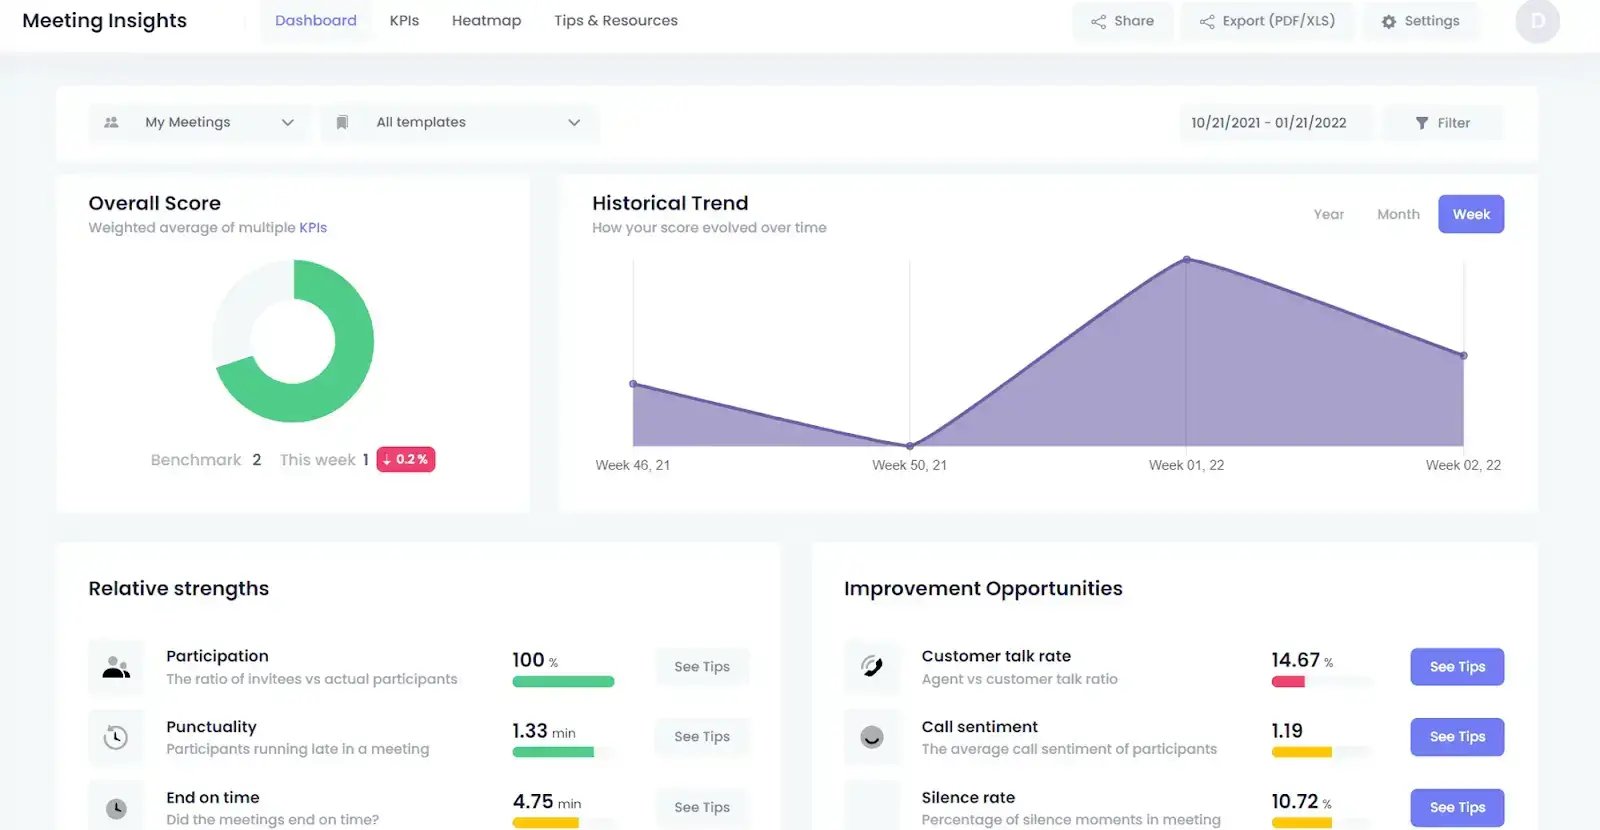
MeetGeek analyzes your Google Meet sessions and uncovers meeting insights and KPIs like speaker talk time, sentiment analysis, participation rate, and other metrics that will help you refine your next meetings.
Integrations
The number of tools you have is less important than how well they work together, so an AI meeting assistant that blends in with all of your go-to workspaces and tools is mandatory.
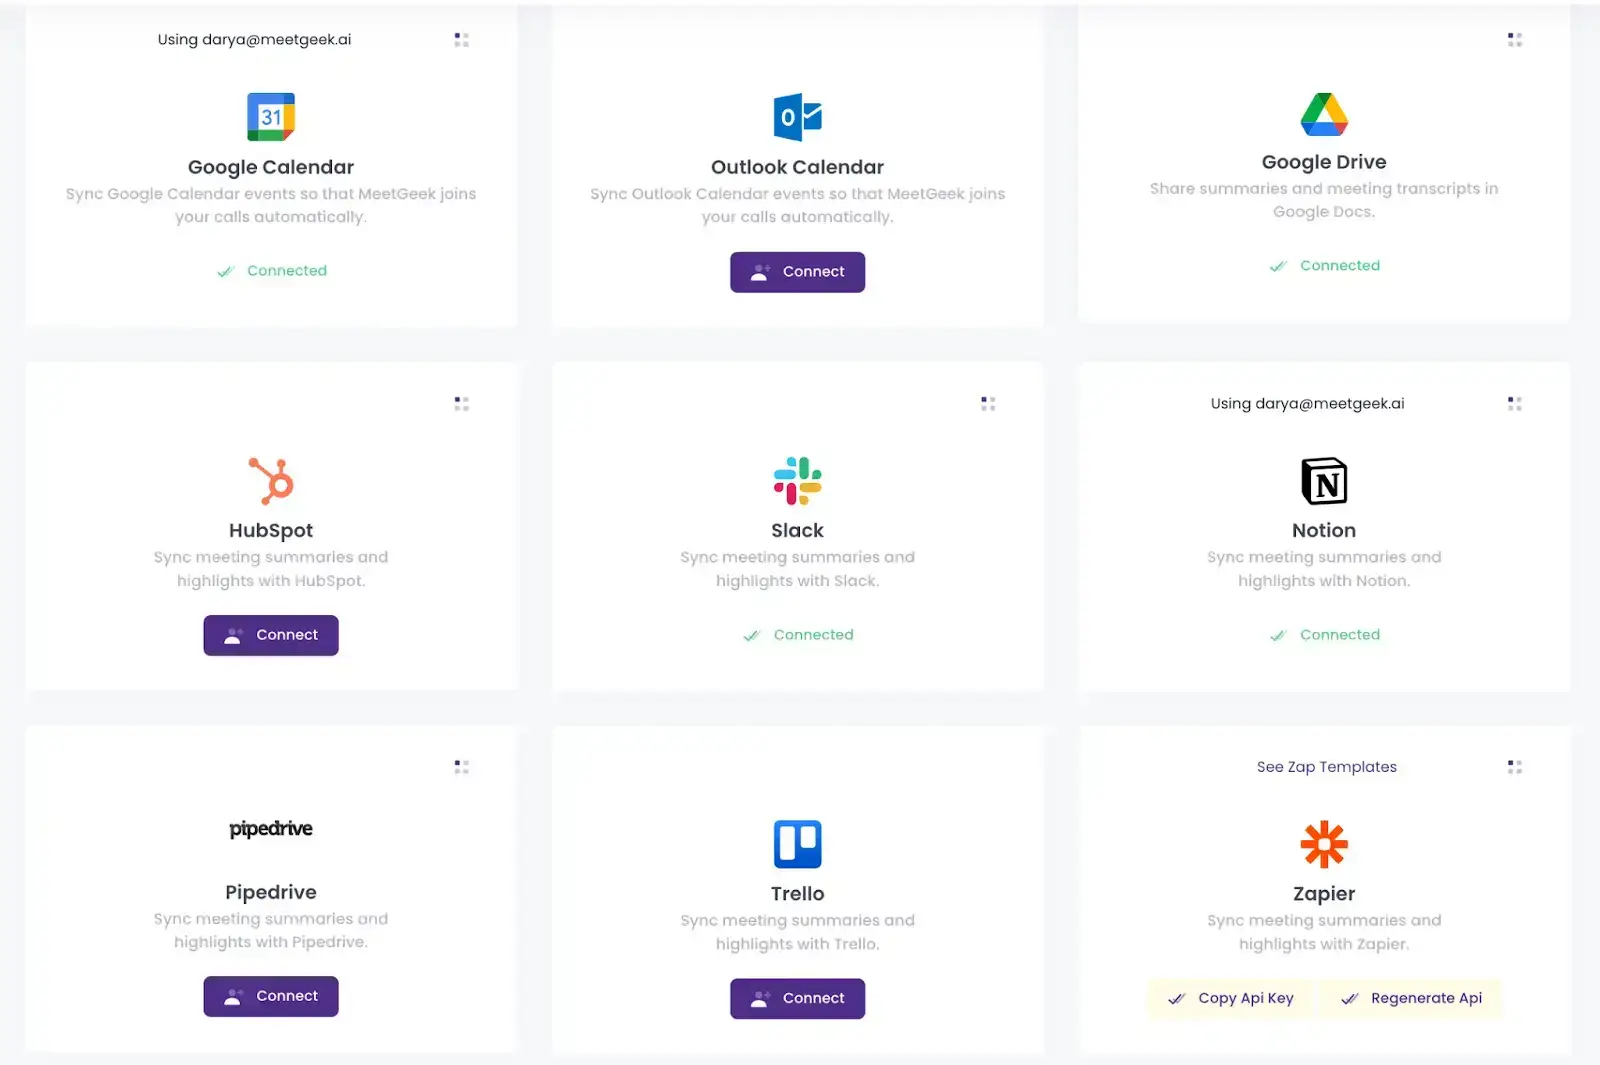
That’s why MeetGeek seamlessly integrates with all your favorite tools, from knowledge-sharing spaces to productivity apps and task management boards.
Capture Your Google Meet Meetings with MeetGeek!
If you want to ensure that all the Google Meet meetings you attend are as productive as possible, recording them is the way to go. With MeetGeek, the burden of recording and taking notes is taken care of automatically, allowing you to be actively involved in your meetings.
Eliminate the need for traditional note-taking methods and give MeetGeek a try for free to discover the countless advantages of having your very own virtual AI meeting assistant!
.avif)




.webp)































.png)
