How to Create & Use Google Meet Breakout Rooms
Master Google Meet breakout rooms! Learn how to create, manage, and use them to foster collaboration and engagement in your virtual meetings.

✅ Free meeting recording & transcription
💬 Automated sharing of insights to other tools.

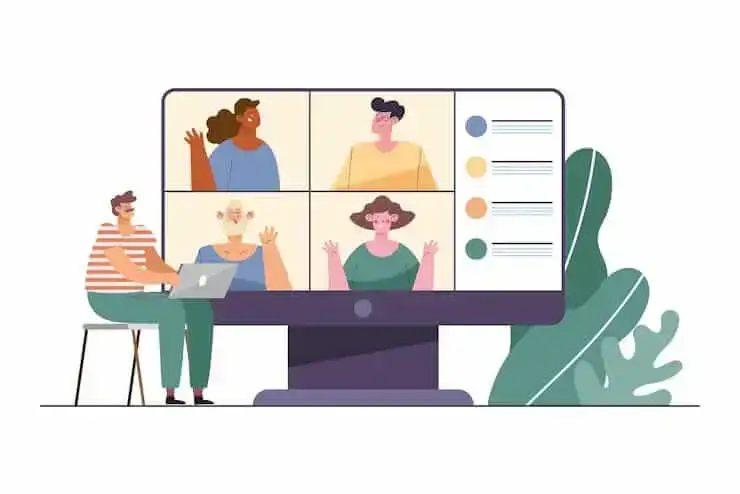
Image source: freepik on Freepik
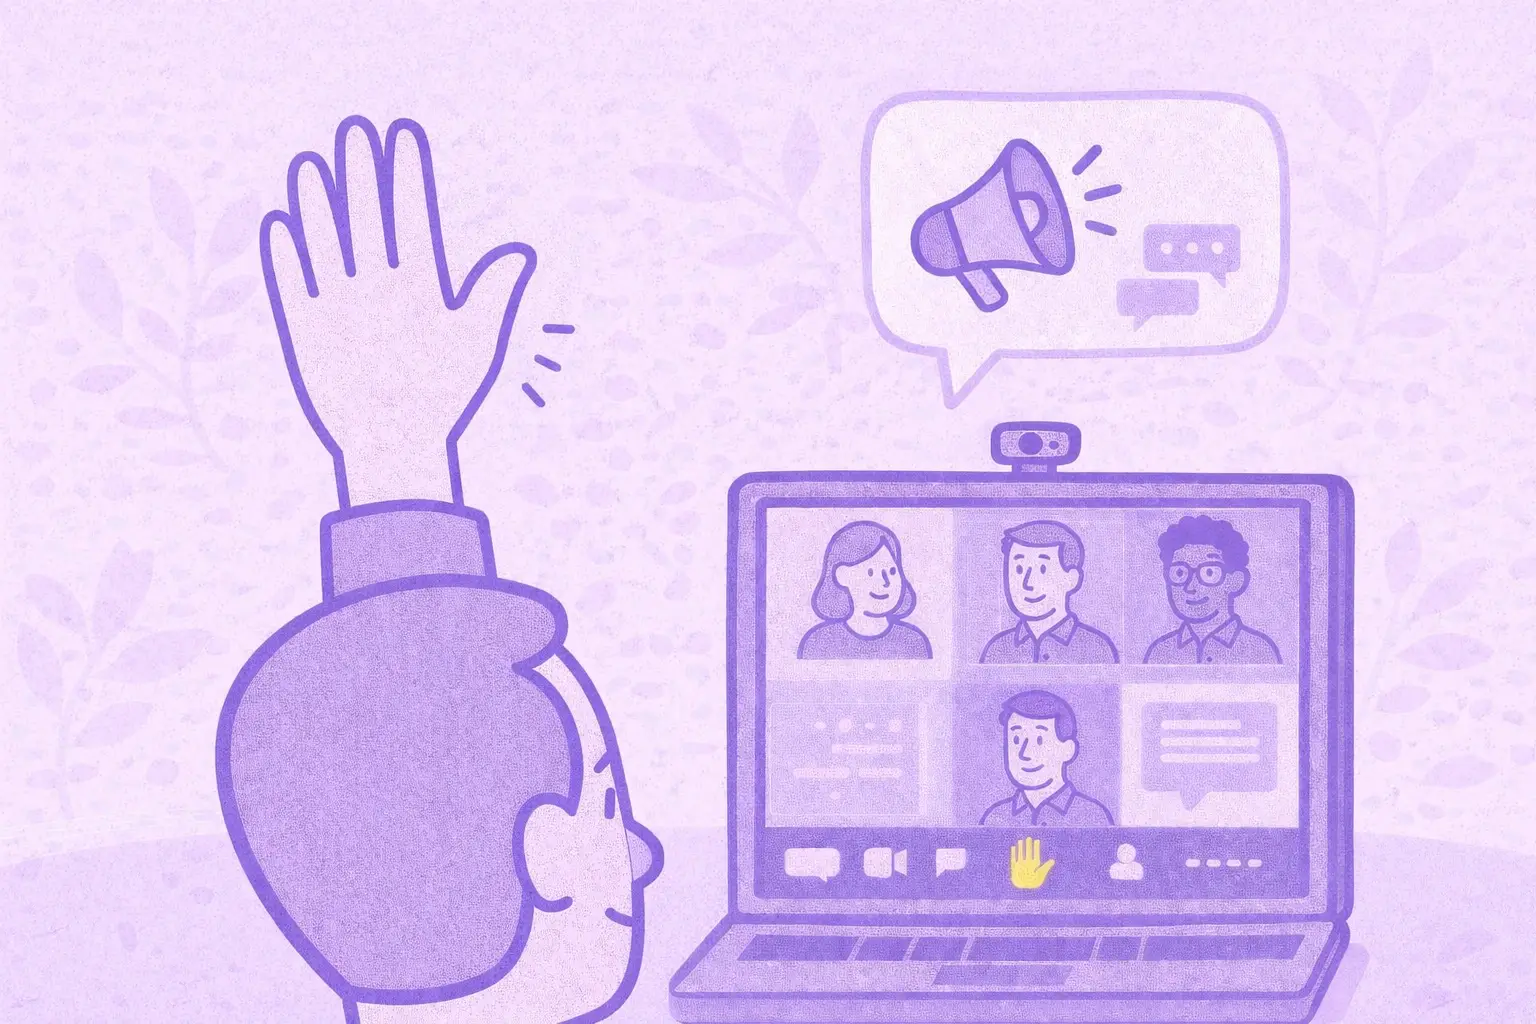
Do your online meetings make it hard for participants to stay focused or speak up? Whether it’s your usual team meeting or a workshop, large groups can feel overwhelming, and not everyone gets a chance to contribute.
That’s where Google Meet breakout rooms can help, letting you split people into smaller groups for better discussions, collaboration, and focus. In this guide, we’ll show you how to create and use Google Meet breakout rooms effectively, so your meetings can become more engaging. Let’s jump in!
What are Google Meet Breakout Rooms?
Google Meet breakout rooms help break large meetings into smaller, more focused work groups. Hosts can use breakout rooms to allow participants to engage more effectively and keep discussions organized.
Only the host can create breakout rooms, assign participants to groups, and monitor their progress by joining any room. Once the session ends, all attendees return to the general meeting automatically.
Breakout rooms are useful for various meeting types and activities:
- Team brainstorming sessions: Create separate teams to generate ideas, debate potential solutions, and share their findings with the main group.
- Classroom learning: Students can work together in study groups, complete assignments, or engage in various topics interactively.
- Workshops and training sessions: Teams that require ongoing training (we’re looking at you, sales departments) can focus on hands-on exercises, role-playing scenarios, or problem-solving tasks in a more controlled environment.
- Project collaboration: Participants can be assigned to different breakout rooms to work on specific tasks or project areas before regrouping for a final review.
- Networking events: Attendees can join smaller groups based on shared interests, job roles, or discussion topics to engage in more meaningful conversations.
Why Use Breakout Rooms in Google Meet Sessions
TL;DR: You can use Google Meet breakout rooms to divide participants into smaller groups for targeted discussions, making meetings easier and more engaging. This helps everyone participate, stay engaged, and work better together. Plus, as the host, you can easily manage groups and bring everyone back when needed.
Here’s how breakout rooms can make your Google Meets better:
- Improved participation: In large meetings, it’s easy for some people to stay quiet. Breakout rooms provide a more intimate environment where participants are encouraged to speak up, debate ideas, and actively contribute to the conversation.
- Boosted engagement: Breakout rooms allow participants to focus on specific tasks. This encourages people to stay involved, ask questions, and collaborate more effectively without the distractions of a big meeting.
- Streamlined collaboration: When teams work on different aspects of a project or discuss separate topics, they can come back to the main meeting with clear results and action items.
- Management flexibility: As the host, you have full control over breakout rooms—assigning participants, setting time limits, and moving between rooms to check in. This helps you guide the conversation, keeps everyone on track, and lets you bring groups back together when it's time to wrap up.
Requirements to Use Breakout Rooms in Google Meet
Eligilibility: Breakout rooms are available to users with the following Google Workspace plans:
- Business plans: Essentials, Business Standard, Business Plus
- Enterprise plans: Starter, Essentials, Standard, Plus
- Education plans: Education Plus, Teaching and Learning Upgrade
- Other plans: Workspace Business, Non-profits, Workspace Individual subscribers
NOTE: Paid plans are also great if you want advanced Google Workspace features. These include increased storage (up to 5 TB/user), advanced security features, video conferencing with larger participant limits and meeting recordings, Google Meet AI, and email services with custom domains. However, please note that breakout rooms currently can’t be live-streamed or recorded.
To join a Google Meet breakout room as a meeting participant, you need to:
- Sign in to your Google Account on your computer or phone.
- Join the meeting using your computer or the Meet mobile app.
- Look out for an invite from the meeting host. Once it pops up on your screen, click “Join” to enter. If you hit “Cancel,” you’ll stay in the main meeting.

How to Create Breakout Rooms in Google Meet
A. How to Create Google Meet Breakout Rooms Before the Meeting:
- Open Google Calendar and click “Create” to set up a new event.

- Add guests by entering their email addresses in the “Add guests” field.
- In the existing google calendar event, click the Google Meet icon to add a video call link to your event.

- On the event page, click the “More options” icon at the bottom to open your meeting details. There, click on the ”Settings” icon next to your meeting to access breakout rooms.

NOTE: If you don’t see the breakout room option, it most likely means you’re not on a Google paid plan.
- Choose how many breakout rooms you need, then assign participants manually by dragging their names. Alternatively, you can let Google Meet assign them randomly.

- Once everything is set, click “Save” to confirm your breakout rooms.
B. How to Create Google Meet Breakout Rooms During the Meeting:
- Start your Google Meet session as usual and make sure you’re the meeting host.
- Click the “Activities” icon at the bottom right of your screen.
- Select “Breakout rooms” from the menu to start the setup.
- Decide how many rooms you need, then assign participants manually by dragging their names, or click “Shuffle” to assign them randomly.
- When you're ready, click “Open rooms” to send call participants to their breakout groups. They can now discuss on live video and send chat messages within their dedicated rooms.
How to Edit Breakout Rooms in Google Meet
A. How to Edit Breakout Rooms in Google Meet Before the Meeting:
- Open your event in Google Calendar.
- Click the Google Meet link to access meeting options.
- Select the “Settings” icon next to the Meet link to open breakout room settings to:some text
- Adjust the number of rooms if your plans have changed.
- Move participants around by dragging and dropping their names.
- Save your changes to make sure everything’s ready for the meeting.
B. How to Edit Breakout Rooms in Google Meet During the Meeting:
- Click the “Activities” button (the little shapes icon) at the bottom right of your screen.
- In the menu, click on “Breakout rooms” to:some text
- Move participants by dragging and dropping them into different rooms.
- Add more rooms if the conversation needs more space.
- Rename rooms to make them easier to navigate.
- Hit “Save,” and your changes will apply instantly!
How to Join Breakout Rooms in Google Meet
C. How to Join Breakout Rooms in Google Meet If You’re Assigned to a Breakout Room:
- If the meeting host assigns you to a breakout room, you’ll see a pop-up on your screen. Click “Join”, and you’ll be taken straight to your breakout room.
- Once you're in, you can chat with others, share your screen, and collaborate with your group just like in the general meeting.
- When the breakout session ends, you’ll automatically return to the main meeting, without any additional steps.
B. How to Join Breakout Rooms in Google Meet If You Can Choose the Breakout Room:
- Click the “Activities” button at the bottom right of your screen.
- Select “Breakout rooms” from the menu. From the list on your screen, click “Join” next to the one you want.
- To switch rooms, repeat the steps and choose a different one (if the host allows it).
How to Leave Breakout Rooms in Google Meet
A. How to Leave Breakout Rooms in Google Meet When the Host Closes the Rooms:
- If the host ends the breakout session, a message with a 30-second timer will pop up, letting you know the rooms are closing.
- This will automatically bring you back to the main meeting when the timer runs out.
B. How to Leave Breakout Rooms in Google Meet by Yourself:
- Click the “Leave” button at the bottom of your screen.
- Select “Return to Main Call,” to go back to the main meeting.
- If you leave by accident and the host allows it, you can rejoin your breakout room or hop into another one.
How to End Breakout Rooms in Google Meet:
- Click the “Activities” button (the shapes icon) at the bottom right of your screen.
- Choose “Breakout rooms” from the list.
- Click “Close rooms”, and everyone will see a 30-second countdown letting them know the breakout session is ending.
- After the countdown, everyone will automatically return to the main meeting. However, all chat messages and notes from the breakout rooms will still be available.
- After the rooms are closed, participants can't rejoin unless you open them again.
Extra Breakout Room Options:
OPTION #1: If you need to remove participants who aren’t currently in the meeting or want to reset your breakout rooms, you can do it easily. Just click “Clear” at the top of the breakout room panel, then confirm by clicking “Clear” again at the bottom when the notification pops up.
Tip: If you're using the same meeting link where breakout rooms were set up before, clearing disconnected users will bring everyone back to the main room and reset any previous breakout rooms.
OPTION #2: Want to keep your breakout sessions on track? You can set a timer for each room. When the time is almost up, participants will see a 30-second countdown before they need to wrap up the breakout room discussion. To do this, click the Timer (hourglass icon) at the top of the breakout room panel, set the duration, and click OK.
Tip: You can change or remove the timer anytime by clicking the hourglass icon again.
How to Manage Google Meet Breakout Rooms Effectively
To make the most of this feature and ensure the meeting goes as planned, there are a few extra steps you can take.
Here’s how to manage Google Meet breakout rooms effectively:
- Teach participants how to join a breakout room
- Balance group sizes for optimal collaboration
- Record the ongoing session
- Boost engagement with interactive tools
- Request feedback for continuous improvements
1. Teach Participants How to Join a Breakout Room
Not everyone knows how breakout rooms work, so it’s a good idea to explain things clearly before the meeting starts. You can also send your colleagues the instructions above to show them how to join the breakout room.
Let participants know that when it’s time, they’ll see a pop-up inviting them to join their assigned room, or they may have the option to choose a room themselves. Once inside, they should participate in the discussion, ask questions, and make good use of the time.
Also, let them know they’ll return to the main meeting automatically when you close the rooms, or they can leave early by clicking “Return to main call.” To avoid wasting time, send a quick email or message with these details before the meeting.
2. Balance Group Sizes for Optimal Collaboration
Smaller groups during meetings work well for focused discussions and problem-solving. In this case, divide and create rooms of 3–5 people to give everyone a chance to contribute.
On the other hand, for brainstorming sessions, where you need more ideas and perspectives, larger groups of 6–8 people are ideal. However, you have to manage them carefully to give everyone the chance to speak.
If you notice that some groups are too quiet or struggling to stay on track, adjust the group sizes on the go to keep things running smoothly.
3. Boost Engagement with Interactive Tools
Keeping participants engaged in breakout rooms can be tricky, but using interactive tools makes it easier and more fun. Some great options to try include:
- Google Docs or Sheets: Perfect for real-time collaboration, brainstorming, and tracking ideas together.
- Jamboard: This digital whiteboard allows teams to visualize ideas, draw diagrams, and brainstorm creatively.
- Polls and Q&A: Use built-in Google Meet features or external tools to keep discussions lively and encourage participation.
4. Request Feedback for Continuous Improvements
After the breakout sessions, it's a good idea to check in and see how things went. You can send a quick Google Form to ask participants what they liked, what could be better, and any ideas they have for the next sessions.
Another great way to gather feedback is by having a short discussion once everyone is back in the main meeting. This gives participants a chance to share their thoughts in real-time and provide valuable insights.
Taking a little time to review feedback and make small improvements can help make future breakout sessions even more effective and enjoyable for everyone.
How to Use MeetGeek to Improve Collaboration in Google Meet Sessions
Google Meet video conferencing is great for effective group discussions and collaboration, but its post-meeting features can sometimes fall short due to Workspace restrictions. It’s easy for meeting recordings to end up all over the place, going through transcripts can feel overwhelming, and following up manually feels like you’re doubling your work. That’s where MeetGeek comes in to make things easier and more organized.
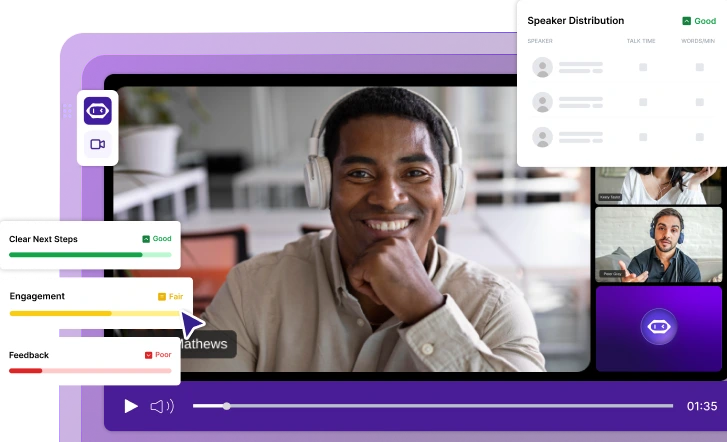
MeetGeek is the AI-powered meeting assistant that takes care of everything meeting collaboration-related for you. It automatically joins your meetings, records them, transcribes conversations, and highlights key points, both on your computer or mobile device.
After each meeting, it sends out clear follow-up emails with important decisions and action items to everyone involved. Plus, all your meetings are stored in one easy-to-search library, and it syncs seamlessly with your favorite workspaces.
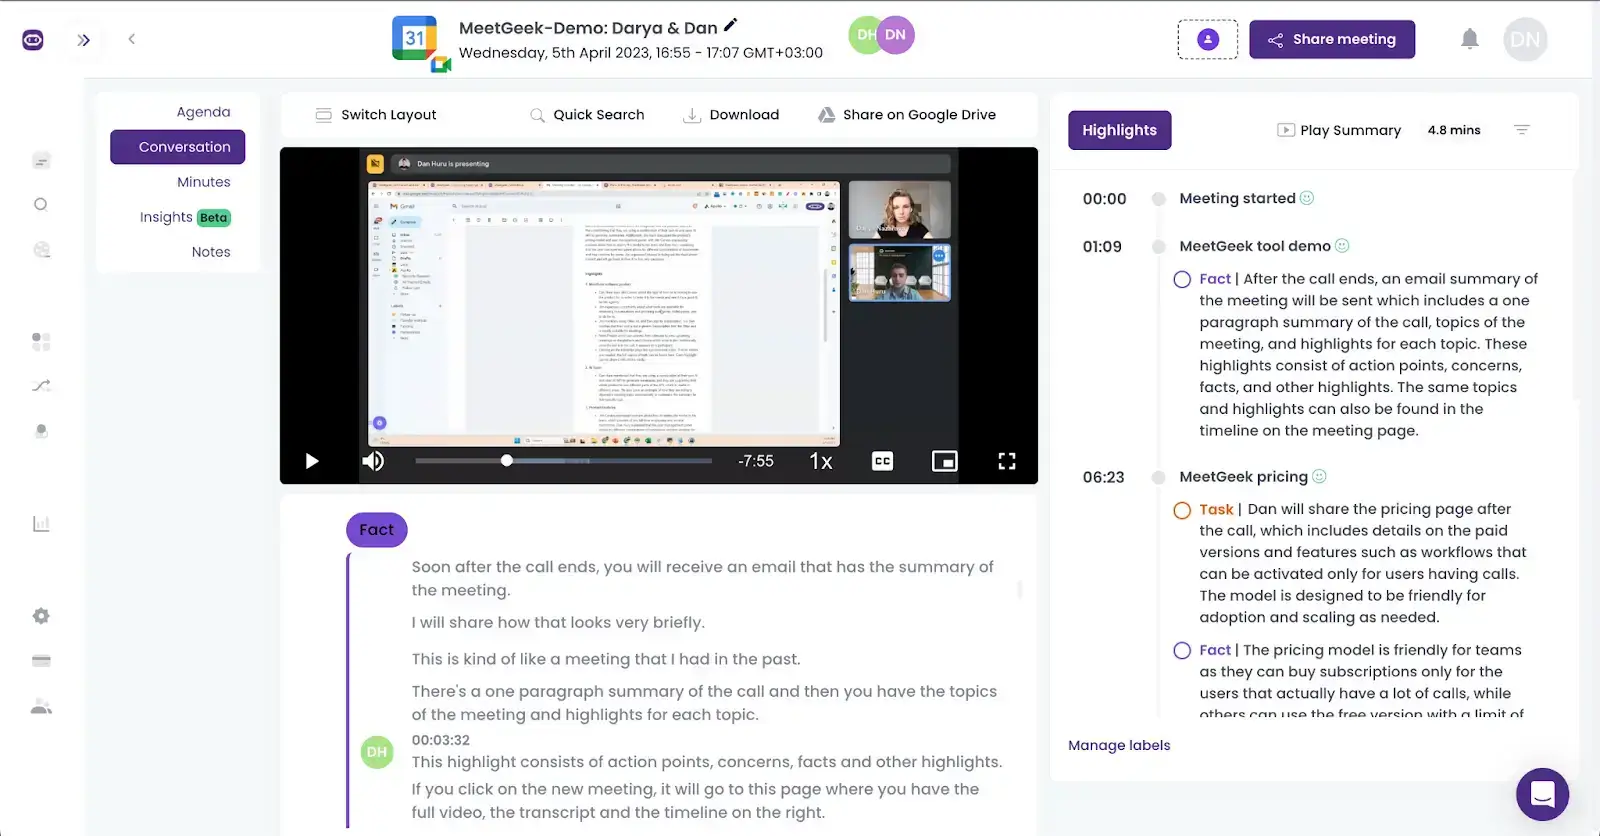
Here’s how MeetGeek improves Google Meet sessions and boosts team collaboration:
- Automatic recording and transcription: MeetGeek joins your meetings for you, recording and transcribing them–yes, even the ones you can’t attend. This means you can stay focused on the conversation instead of scrambling to take notes.
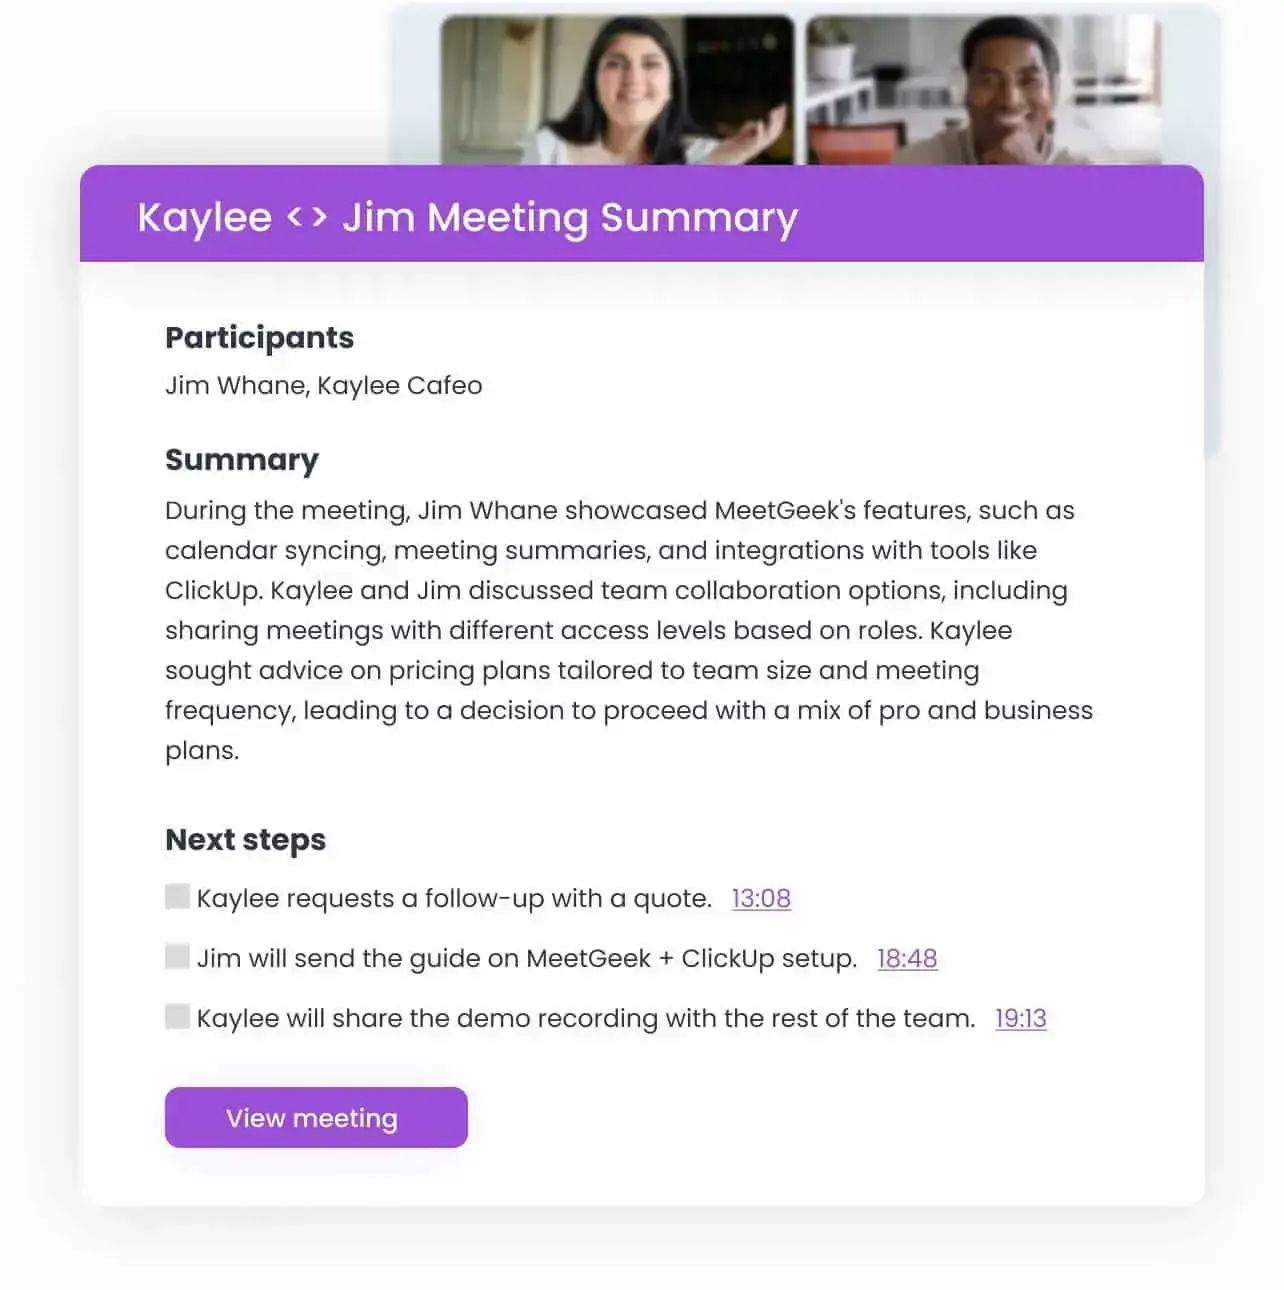
- Smart summaries for quick reviews: MeetGeek creates clear and concise summaries highlighting the most important points and key decisions, so everyone stays on track without having to dig through lengthy notes.
- Easy follow-ups: MeetGeek makes following up effortless by automatically generating follow-up emails with key takeaways and action items. This ensures nothing falls through the cracks after sessions and keeps everyone accountable.
- Seamless integrations: MeetGeek works with popular tools like Notion, Slack, Google Drive, Trello, and more, making it easy to transfer meeting knowledge to your dedicated workspace.
- Find what you need instantly: MeetGeek’s searchable transcripts let you quickly locate important moments from your sessions by simply typing in a keyword.
- All your meeting data in one place: MeetGeek keeps all your recordings, notes, and summaries in a centralized library, so it’s easy to go back and find past discussions whenever you need them, just a click away.
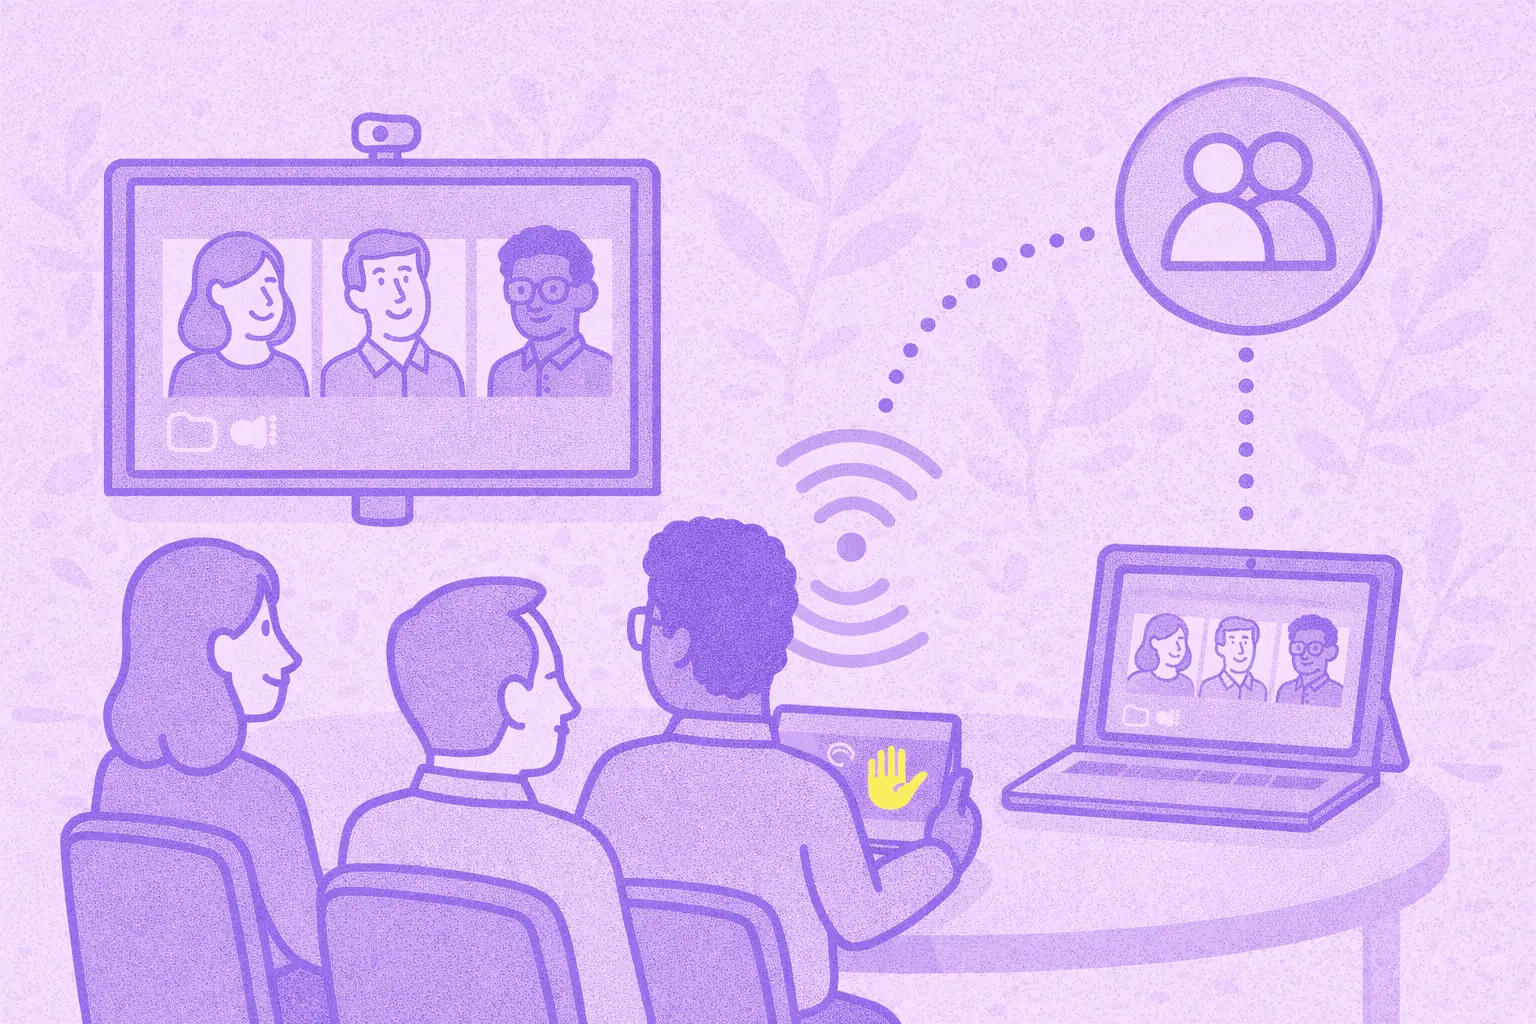
- Stay connected on the go: If you're busy and can't join a session, MeetGeek’s mobile app lets you catch up from anywhere with just a few taps. Whether you're commuting or between meetings, you’ll always have access to important discussions and action items. Plus, you can use it to get the same benefits for in-person meetings.
Common Issues and Troubleshooting Tips for Google Breakout Rooms:
- Issue #1:Breakout rooms not showing up.
Solution: Before you try to create breakout rooms, ensure you’re using a Google Workspace account, since this feature isn’t available for personal accounts. Also, check that you have the right meeting role since only hosts can create and manage breakout rooms.
- Issue#2: Participants can’t join breakout rooms
Solution: Ask participants to refresh the page or leave and rejoin the meeting. Make sure they’re using an updated browser or the latest Meet app. If they join by dialing in with a phone, remind them they’ll need to switch to a computer or mobile app, as breakout rooms don’t work for phone dial-ins.
- Issue #3: Audio or video not working
Solution: Have participants check whether their microphone and camera permissions are enabled in their browser settings. Leaving and rejoining the breakout room can often fix the issue.
- Issue #4: Breakout room timer not showing
Solution: If participants can’t see the countdown timer, they should keep the Google Meet window open, as minimizing it can hide the timer. If it’s still not visible, send time updates in the chat to keep everyone updated. Additionally, keep in mind that the host can easily bypass this setting in the breakout room panel by clicking on "Close Rooms", so that may be the case.
- Issue #5: Slow or lagging breakout rooms
Solution: Encourage participants to close extra tabs and apps that might be using their internet. If many people are having issues, reducing the number of breakout rooms may help.
- Issue #6: The host can’t move between breakout rooms
Solution: If you’re having trouble switching between any participant's breakout room, try refreshing the page or restarting your browser. If the issue continues, switching to a different browser or device might help.
- Issue #7:
Solution: Participants lose their room after rejoining: If someone leaves and rejoins the meeting, they might lose their breakout room assignment. The host can fix this by manually reassigning them in the breakout room settings. To prevent this, remind participants to stay connected whenever possible.
Get More out of Your Google Meet Sessions with MeetGeek!
With the right setup and management, Google Meet breakout rooms can make your meetings more interactive and productive. And when challenges pop up, you now have the knowledge to troubleshoot and keep things running smoothly.
To take your Google sessions a step further, try MeetGeek’s AI-powered recording, transcription, and smart summaries. This way, you capture every important detail, stay organized, and easily share insights with your team, all without the hassle of manual note-taking. Ready to turn every meeting into a productive, stress-free experience!
.avif)


.webp)
