


Quick answer: You can record yourself on Zoom without starting a meeting at all by recording a Zoom Clip, or by starting a meeting on your own and clicking Record, which saves the video to your computer. Both work on the free plan.
That makes Zoom a usable recorder for a lesson, a pitch practice run, an async update, or a video you plan to share later.
Recording the meetings themselves is a different job. MeetGeek's Zoom integration can join scheduled meetings from your calendar automatically and turn them into a transcript, notes, action items and meeting analytics.
Can You Record Yourself on Zoom?
Yes. You can start a meeting with only yourself in it and record the whole thing, video and audio, and recording to your own computer is free on every Zoom account.
Only cloud recording requires a paid Zoom plan.
There are three ways to do it, and the one you want comes down to how long the recording is and whether you need a shareable link afterwards.
| Method | What you need | Length limit | Where the file is saved |
|---|---|---|---|
| Zoom Clip | Clips switched on by your account admin | 2 minutes per clip, 5 clips per user on Clips Basic | Your Clips library, with a shareable link |
| Solo meeting, recorded to your computer | Zoom desktop app, any account | No 40-minute limit while you remain the only participant | MP4 in Documents > Zoom on your computer |
| Team Chat video message | Zoom desktop on Windows or macOS | 3 minutes per message | Sent straight into a Team Chat thread |
Table last updated on September 14, 2026.
A Clip is the quickest of the three and the most limited. A solo meeting is not subject to the 40-minute limit while you remain the only participant, which makes it the choice for anything longer than a couple of minutes.
Recording Zoom Calls Automatically
For a recording of just yourself, starting it manually is usually fine. For meetings with other people it is easier to forget, and a meeting nobody recorded is lost for good.
MeetGeek can send its Notetaker to the scheduled Zoom meetings on your calendar, so the recording does not depend on you remembering to start it. The Notetaker joins the call as a participant. If you'd rather record without a bot joining the call, MeetGeek also records your Zoom meetings from its desktop app or its browser recorder.
Both give you the same notes, and every meeting you record stays searchable afterwards.
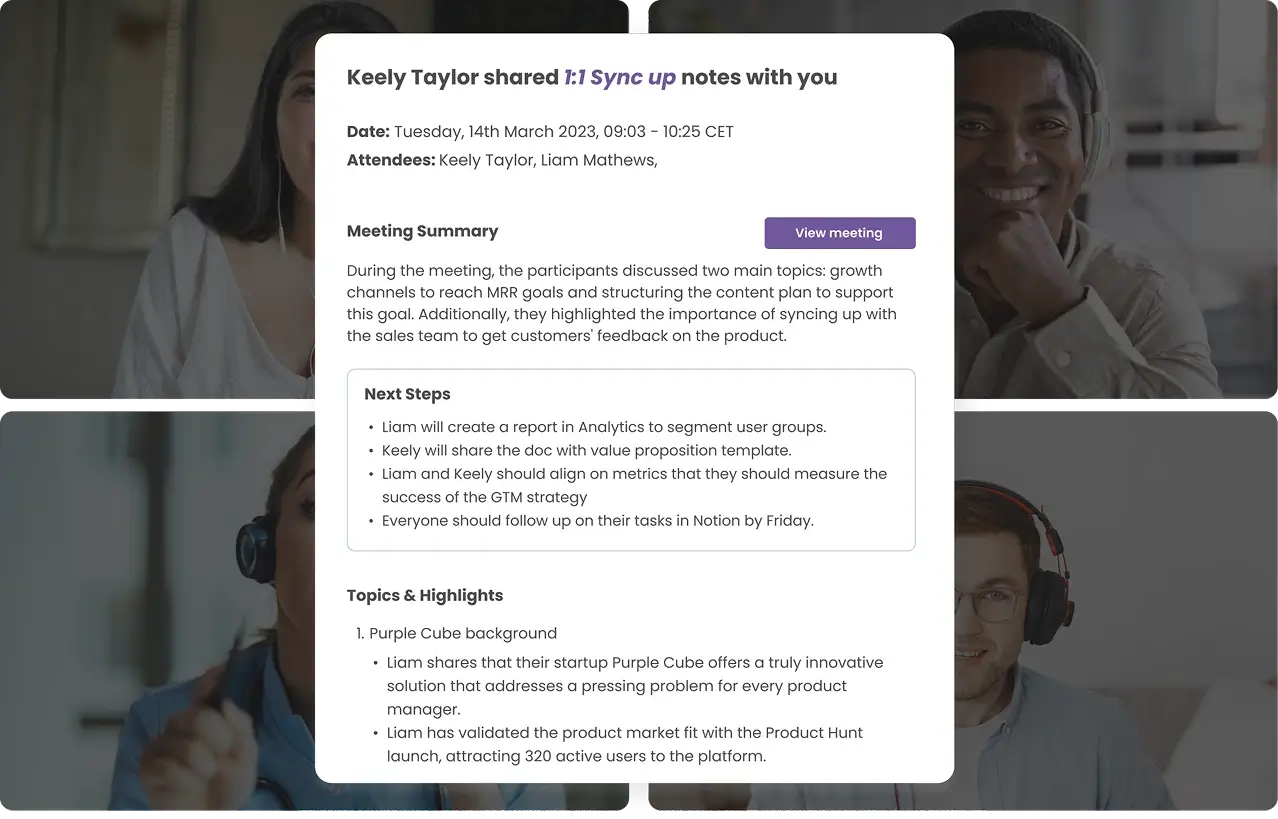
MeetGeek has a free plan, so you can try it on your next Zoom call and see the result.
How Do You Record Yourself on Zoom Without a Meeting?
Zoom Clips lets you record yourself without starting a meeting. It records your camera, your screen, or both, and it works on the free Basic plan once your account admin has switched Clips on.
On the desktop app, record a Clip like this:
- Sign in to the Zoom desktop app.
- Click the Clips tab.
- Click Record clip.
- Choose what to capture: Screenshare and video, Screenshare only, or Video only.
- Click Start recording, and use the floating toolbar while you record.
- Click Stop to finish.
The clip is saved to your Clips library, where you can trim it with the sliders, change the thumbnail, copy a shareable link, or download the MP4.
The free tier limits both the number of clips and their length. Clips Basic allows 5 clips per user at 2 minutes each, and Clips Plus removes both limits. So a Clip suits a quick walkthrough or anything you want a shareable link for, and a solo meeting suits a full lesson.
A Team Chat video message is more limited because it goes straight into a chat thread instead of giving you a standalone link, so it only helps when the person you are sending it to is already in your Zoom Team Chat. It records up to 3 minutes from your default camera and microphone, and Zoom's documentation covers Windows and macOS only.
How Do You Record Yourself on Zoom on a Computer?
In the Zoom desktop app for Windows or Mac:
- Open Zoom and sign in, then click New Meeting.
- Turn on your camera and check your microphone.
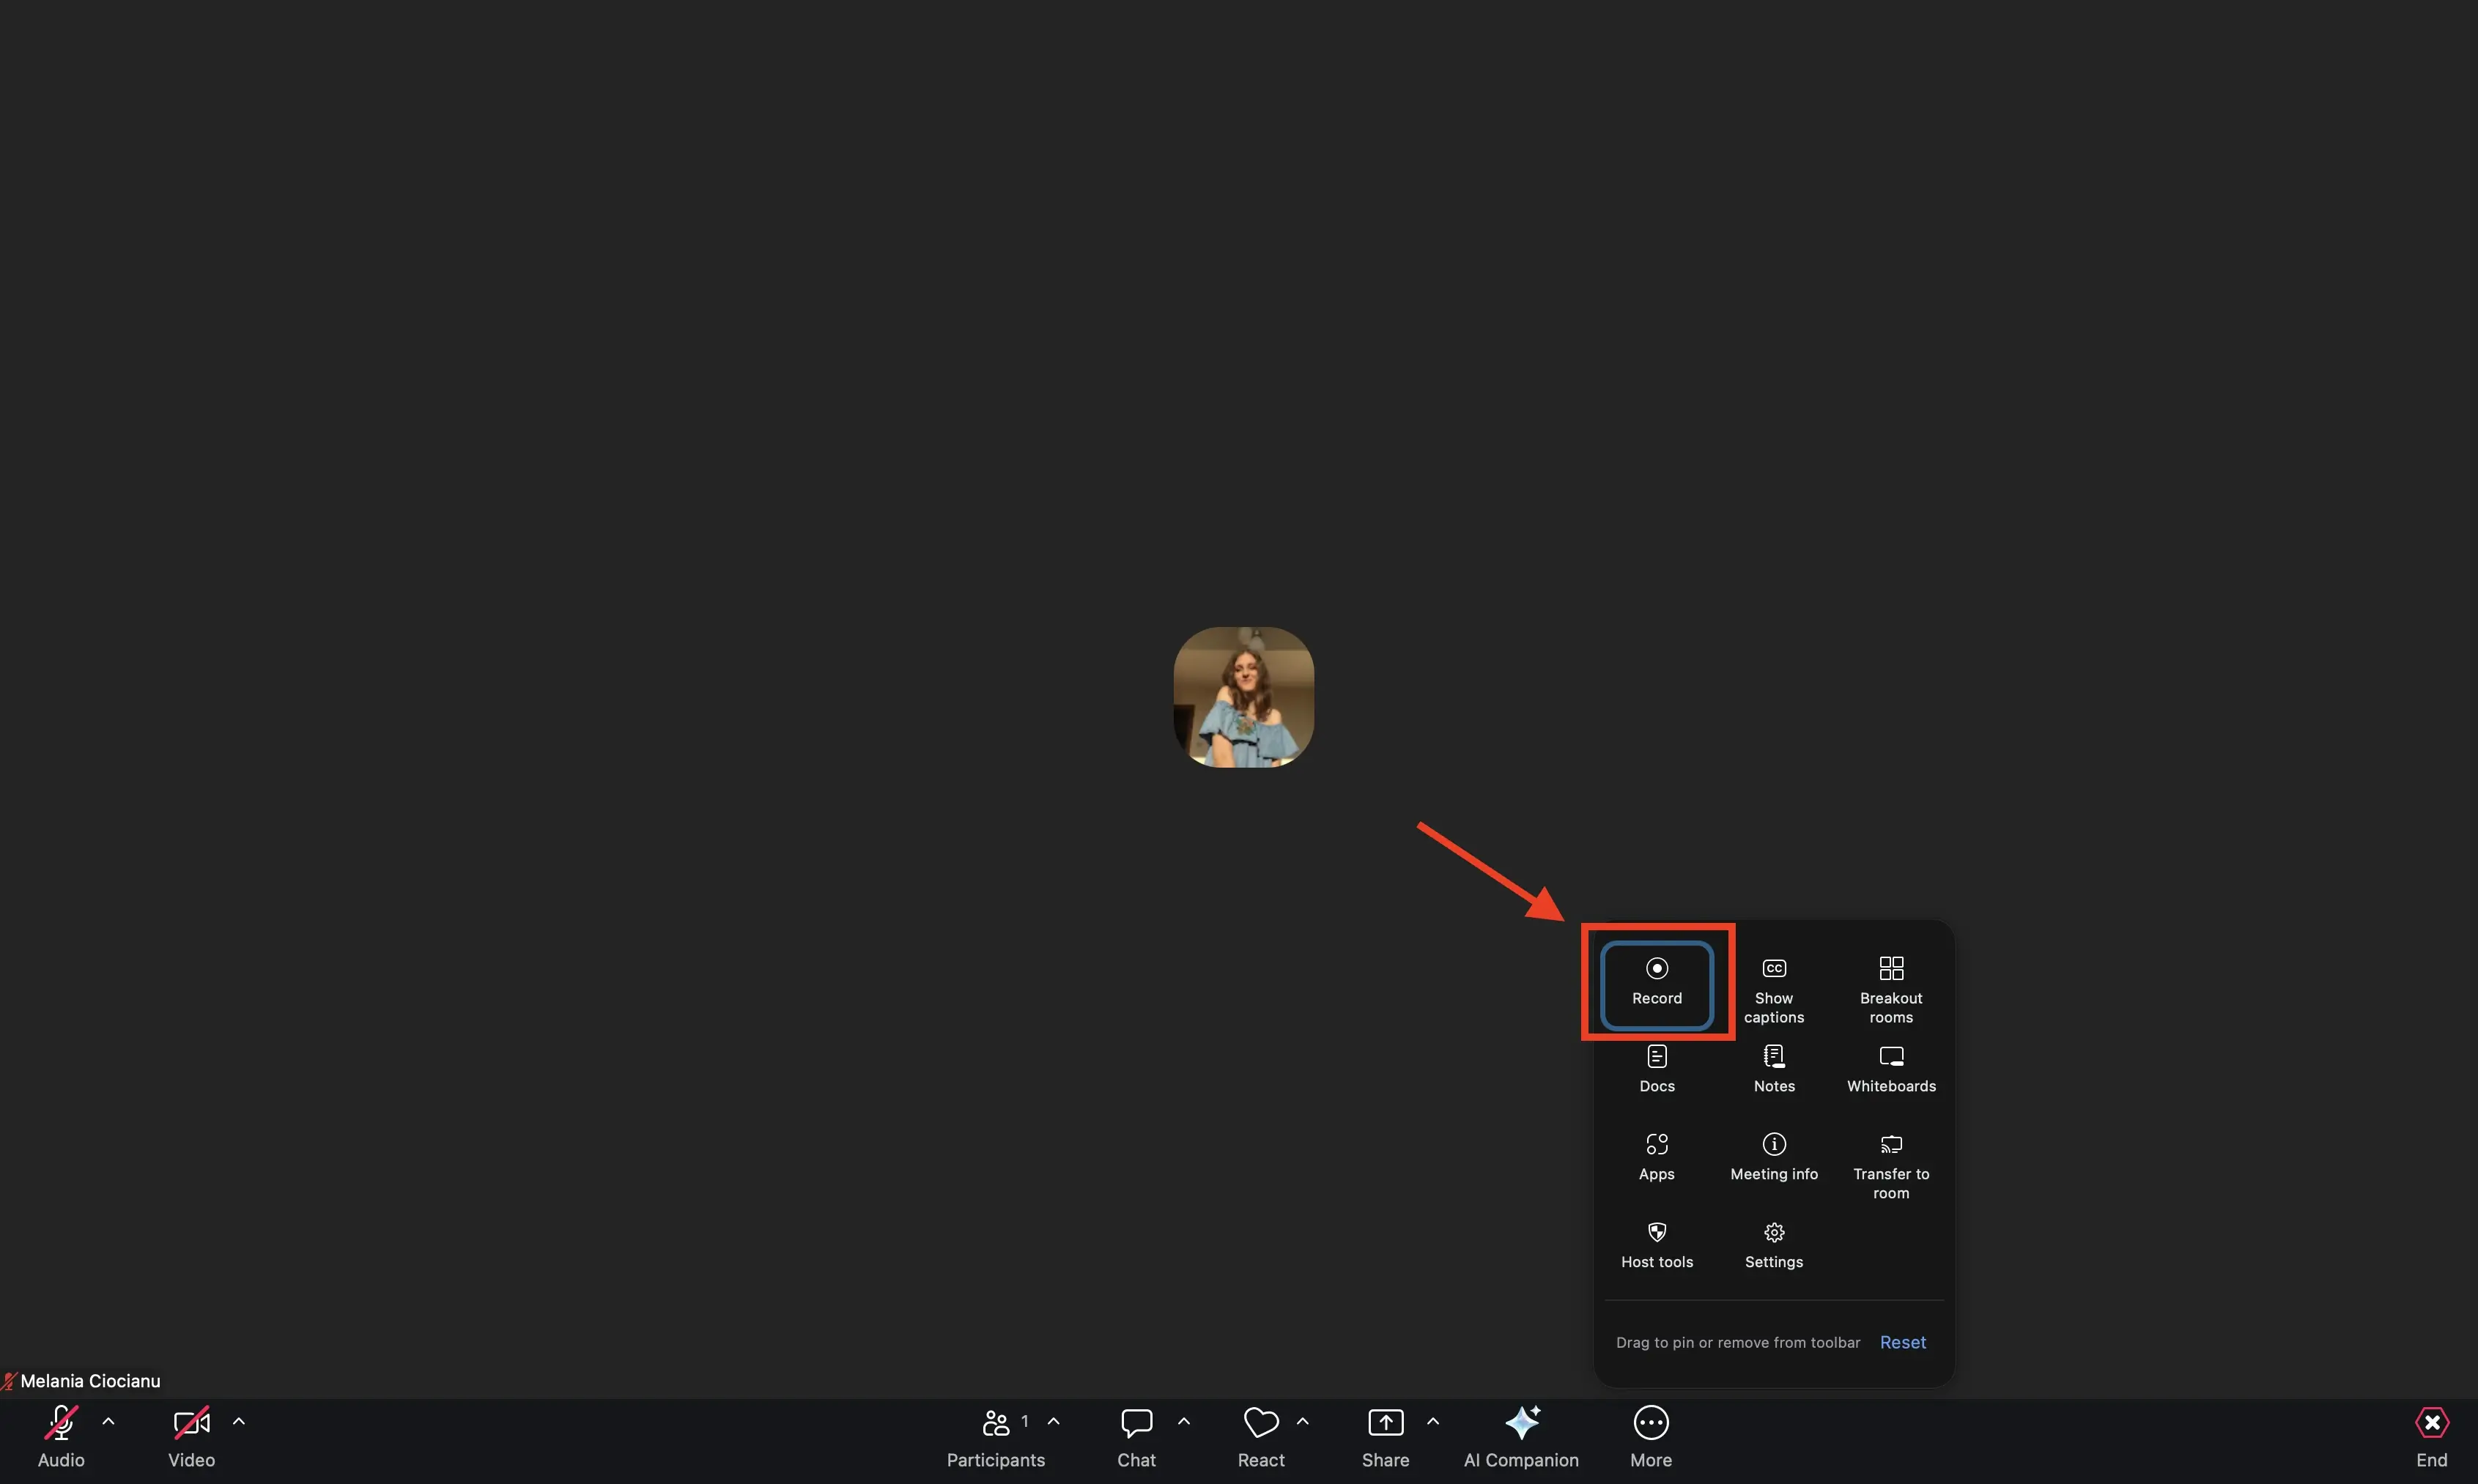
- Click Record in the meeting toolbar.
- If a menu appears, choose Record on this Computer.
- A recording indicator appears in the top-left corner. Then present or speak normally.
- Click Stop Recording when you are done, or end the meeting. Zoom converts the file and saves it.
Keyboard shortcuts are quicker than the toolbar. On Windows, Alt + R starts and stops a computer recording, Alt + P pauses and resumes it, and Alt + C starts a cloud recording. On Mac the shortcuts are Cmd + Shift + R, Cmd + Shift + P and Cmd + Shift + C.
Pausing keeps everything in one file. Stopping and starting again creates a second one.
How Do You Record a Presentation on Zoom by Yourself?
The computer recording above needs one extra step: share your slides before you hit Record.
- Open your slides or the file you want to present.
- Start a New Meeting, then click Share Screen and choose the window, application, or tab with your slides.
- Click Record, then Record on this Computer, and talk through your slides. Zoom captures the shared screen, your voice, and your camera if it is on.
Use this for a lesson, a PowerPoint walkthrough, or a product demo you record once and reuse. A Zoom Clip in Screenshare and video mode covers the same ground without a meeting, and it is the better option when the presentation is short.
Can You Record Yourself on Zoom From Your Phone?
Yes, but not to the phone itself. Zoom states that it is not possible to record locally from an iOS or Android device, so the options are cloud recording or a Clip.
Cloud recording from the mobile app needs a Pro, Business, Education or Enterprise account and a licensed user with host or co-host privileges. If you have that, tap the Record icon in the meeting controls toolbar, then Start Recording. The recording processes after the meeting ends, and you reach it by signing in to your Zoom account in a browser.
On a free account, you have two ways around it. Record a Clip from the mobile app, where the path is More, then Clips, then New clip, or move to the desktop app and record to your computer.
Where Do Zoom Recordings Save, and in What Format?
Computer recordings save to a Zoom folder inside your Documents folder by default, on Windows and Mac alike, and you can change that path in Zoom settings under Recording. Zoom's documentation lists five recording file formats, and each recording produces only some of them, depending on your settings:
- video[number].mp4, the full audio and video file;
- audio[number].m4a, an audio-only version, which is the one to use when you only need the voice track for a podcast or a voiceover;
- playback[number].m3u, a playlist file that plays the individual MP4 files, on Windows only;
- chat.txt, the in-meeting chat, when chat was saved;
- audio[Name][number].m4a, one track per participant, when separate audio recording is switched on.
Cloud recordings stay on Zoom's servers and are managed through the web portal, where you can view, download or share them. Our guide to where Zoom recordings go walks through both locations.
Should You Record on Your Computer or to the Cloud?
Record to your computer when you want a free option, the file on your computer, and you do not mind moving it yourself. Record to the cloud when you need a link to send right away, want to record from a phone, or want the file off your device. That route needs a paid Zoom plan.
Storage is where the two differ in practice. A computer recording only uses space on your own drive, while cloud storage on the Pro, Pro Plus and Business plans is 10 GB per licensed user.
That storage is pooled at account level instead of reserved per person, so one heavy recorder can use up the capacity the rest of the team would otherwise have.
Cloud recording also lets you trim a recording in the web portal without downloading it first, and you can still restore the original afterwards, up to 5 times per recording every 12 hours.
Trimming does not work in a mobile browser, and the separate participant audio and the chat log cannot be trimmed. For most solo recordings, saving to your computer is still the simpler choice.
Key Takeaways
- A solo meeting on a free account is not subject to the usual 40-minute limit while you remain the only participant;
- Zoom Clips records with no meeting at all on the free Basic plan, up to 5 clips of 2 minutes each;
- Computer recording is free on every Zoom account. Cloud recording needs a paid plan, while free Clips give you a shareable link for short recordings;
- Files are saved to Documents > Zoom as an MP4, with a separate M4A audio track when that option is on;
- You cannot record locally from a phone, so use a Clip or switch to the desktop app.
Frequently Asked Questions
Why Can't I Record My Zoom Meeting?
The usual reasons are permissions or your plan. In a meeting somebody else hosts, the Record button only appears if the host has given you recording permission or made you a co-host.
Cloud recording also needs a paid plan with cloud recording enabled, so on a free account the only in-meeting recording option is Record on this Computer. If the button is missing from your own solo meeting, computer recording has most likely been switched off for the account in the web portal.
How Do I Record My Personal Zoom Meeting?
Start a meeting on your Personal Meeting ID, then record it the way you would any other: click Record, then Record on this Computer. The recording process is otherwise the same.
How Long Can a Free Zoom Recording Be?
A solo meeting on a free Zoom account is not subject to the usual 40-minute limit while you remain the only participant. Zoom requires only that the meeting stays active. Once anyone else joins, the 40-minute limit applies to the meeting, and so to the recording. A Clip stops at 2 minutes on Clips Basic and a Team Chat message at 3.
Can I Record Myself on Zoom Without Showing My Face?
Yes. Turn off your camera before you record. Your voice will still be recorded, and if you're presenting, Zoom can capture your shared screen too. That is the setup for a voice-over slide deck, and the separate M4A file gives you the voice track on its own. A Zoom Clip in Screenshare only mode does the same thing.
Can I Trim or Edit a Zoom Recording?
Zoom's trim tools cover cloud recordings and Clips, and a trimmed cloud recording can be restored afterwards. For a recording saved to your computer, open the MP4 in whichever video editor you already use.
Does Zoom Notify Participants When Recording Starts?
Yes. Zoom shows a recording indicator to participants while a recording is running, and dial-in callers hear a spoken notice. Depending on the account settings, participants may also see a consent prompt that lets them continue or leave. If you are alone in the meeting, nobody else sees the indicator.




.avif)