How to Record a Zoom Webinar as a Host or Participant (2 Methods)
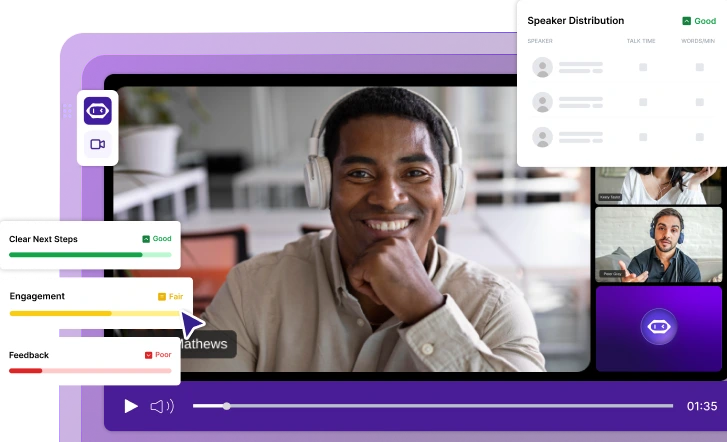
In this article, we will review how to record a Zoom webinar as host or participant using Zoom’s built-in recording and third-party tool with AI transcription.
✅ Free meeting recording & transcription
💬 Automated sharing of insights to other tools.

Whether you're hosting a webinar, running a training session, or holding a virtual roundtable on Zoom, it's important to have a reliable way to record. This ensures you can revisit key information, share it with those who missed the session, and create valuable resources for the future.
The challenge lies in understanding your recording options based on your role in the webinar. Hosts have access to Zoom's powerful built-in recording features, while participants often find themselves limited by permission restrictions.
In this guide, we will explore two primary approaches to recording Zoom webinars: using Zoom's native recording capabilities and leveraging third-party solutions that work seamlessly within your browser. We'll cover the technical requirements, legal considerations, and step-by-step processes to help you choose the best recording method for your specific needs.
Understanding Zoom Webinar Recording Permissions and Settings
Before diving into recording methods, it's crucial to understand how Zoom webinar permissions work. Unlike regular Zoom meetings where participants might have more flexibility, webinars operate on a broadcast model with strict permission hierarchies.
Zoom webinars’ recording permissions are tightly controlled. The host maintains complete authority over who can record the Zoom webinar and how the recorded content is stored and shared. This permission structure exists for good reasons: it protects participant privacy, ensures content ownership remains with the organizer, and helps maintain professional standards during large-scale events.
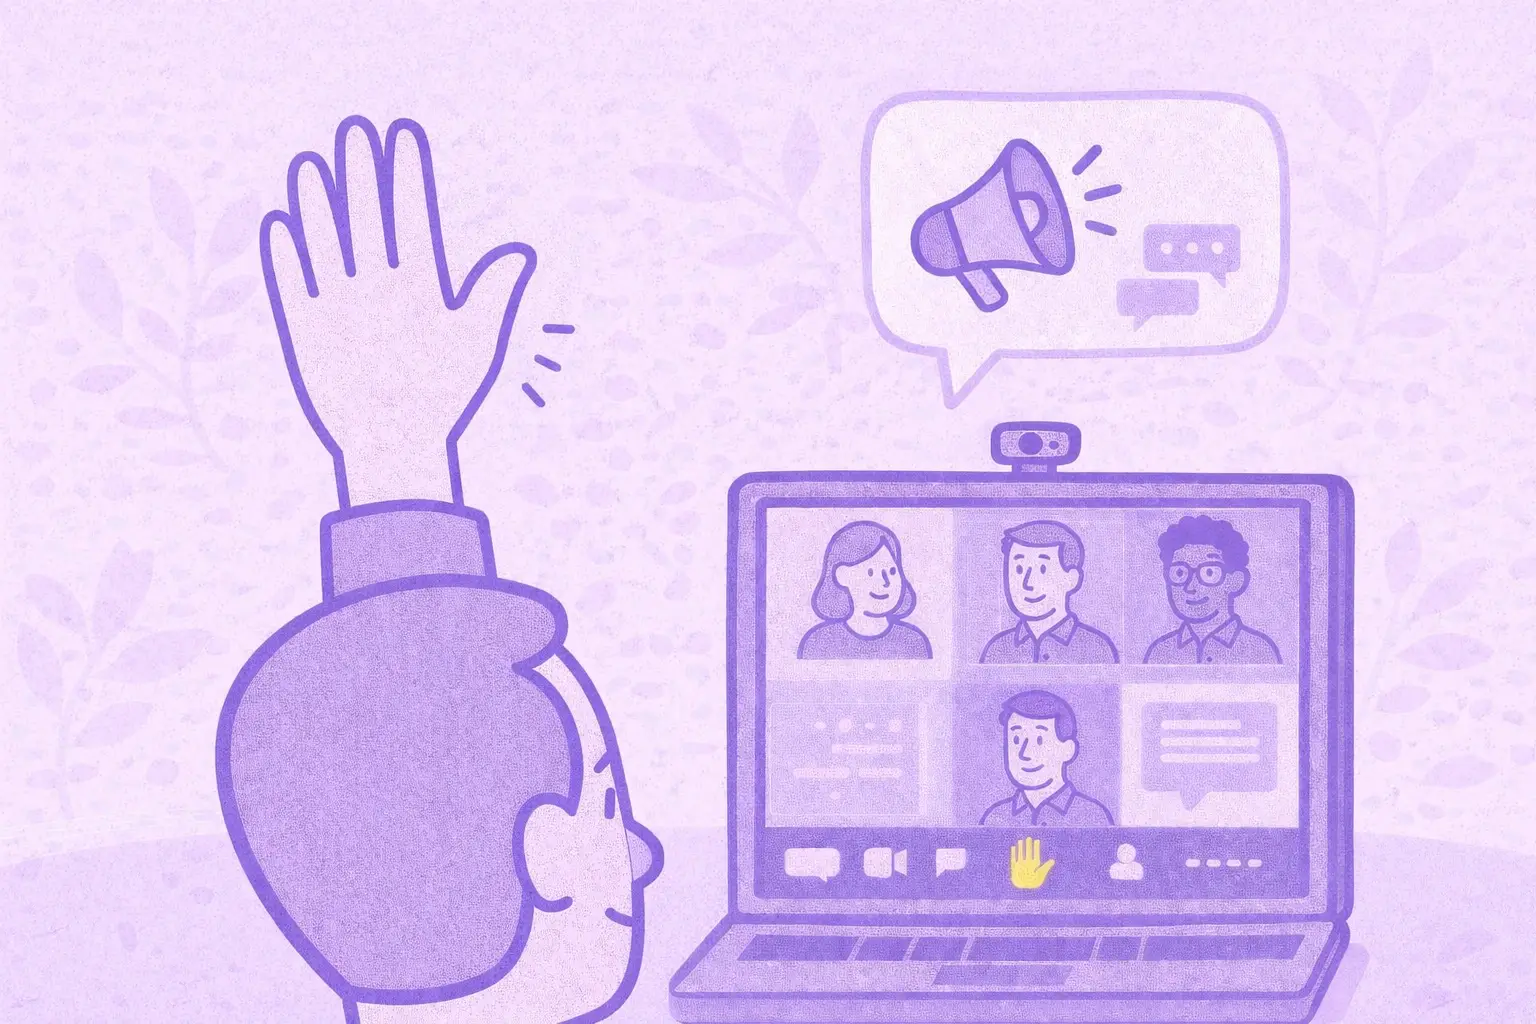
Participants face more restrictions. Without explicit permission from the host, such as being promoted to panelist or co-host status, participants cannot access Zoom's native recording features. This limitation has led many participants to seek alternative recording methods that work independently of Zoom's permission system.
How to Record Zoom Webinar as Host Using Built-in Features
As a webinar host, you have access to Zoom's comprehensive recording capabilities, which offer professional-grade features designed for business and educational use.
Local recording for hosts
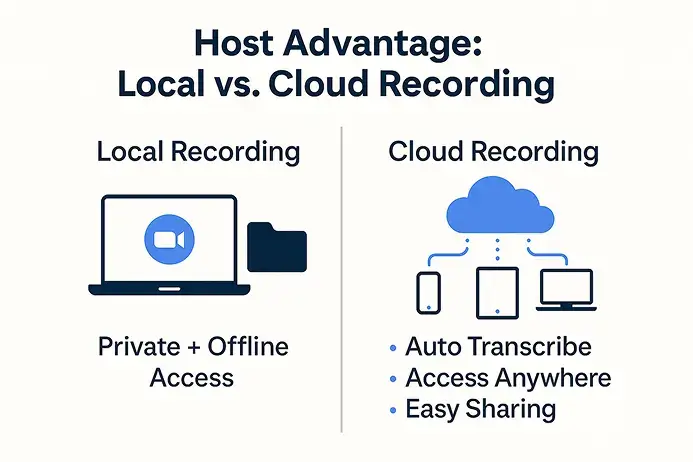
Local recording saves your webinar directly to the host’s computer hard drive, giving him immediate access to the file without relying on internet connectivity or cloud storage limits.
Local recordings are automatically organized in a dedicated Zoom folder on your computer, typically located in your Documents directory under "Zoom."
One significant advantage of local recording is that you maintain complete control over your content without worrying about cloud storage limitations.
Cloud recording benefits
Cloud recording represents Zoom's premium recording solution, available exclusively to paid subscribers with cloud recording enabled in their account settings.
This option offers several advantages over local recording, including automatic transcription, easy sharing capabilities, and access from any device.
After your webinar ends, Zoom processes the recording and sends you an email notification when it's ready for viewing. You can access your cloud recordings through the Zoom web portal, where you'll find options to share recordings via link, download files for offline use, or embed recordings in websites and learning management systems.
Step-by-step recording as webinar host
As a webinar host, you have access to Zoom's comprehensive built-in recording features. Follow these detailed steps to ensure professional-quality recordings every time.
Setting up recording before the webinar starts:
- Log into your Zoom account through the web portal at zoom.us
- Navigate to "Settings" in the left sidebar, then click on "Recording"
- Enable "Local recording" if you want to save files to your computer, or "Cloud recording" if you have a paid account and prefer cloud storage
- Configure automatic recording settings if you want recording to start automatically when the webinar begins

Starting the webinar recording:
- Launch your scheduled webinar from the Zoom desktop application or web browser
- Locate the "Record" button in the webinar toolbar at the bottom of your screen
- Click "Record" and select either "Record on this Computer" for local storage or "Record to the Cloud" for cloud storage
- Confirm your recording choice when prompted by clicking "Start Recording"
- Verify that the recording indicator appears in the top-left corner of your screen, showing "Recording" with a red dot
- Click "Stop Recording" when the webinar concludes or when you no longer need to capture content
- For local recordings, Zoom will automatically convert and save files to your designated folder (typically Documents/Zoom)
- For cloud recordings, wait for Zoom's processing notification email, which typically arrives within a few hours
Recording Zoom Webinar as Participant Without Permission
Participants who want to record webinars face certain challenges due to Zoom's permission restrictions. However, there is an effective method that allows participants to capture webinar content for personal use, note-taking, and future reference.
Some professional Chrome audio capture extensions offer advanced audio processing, built-in editing tools, and automated file management for sessions hosted in your browser, like Zoom webinars.
MeetGeek Chrome extension Zoom recording solution
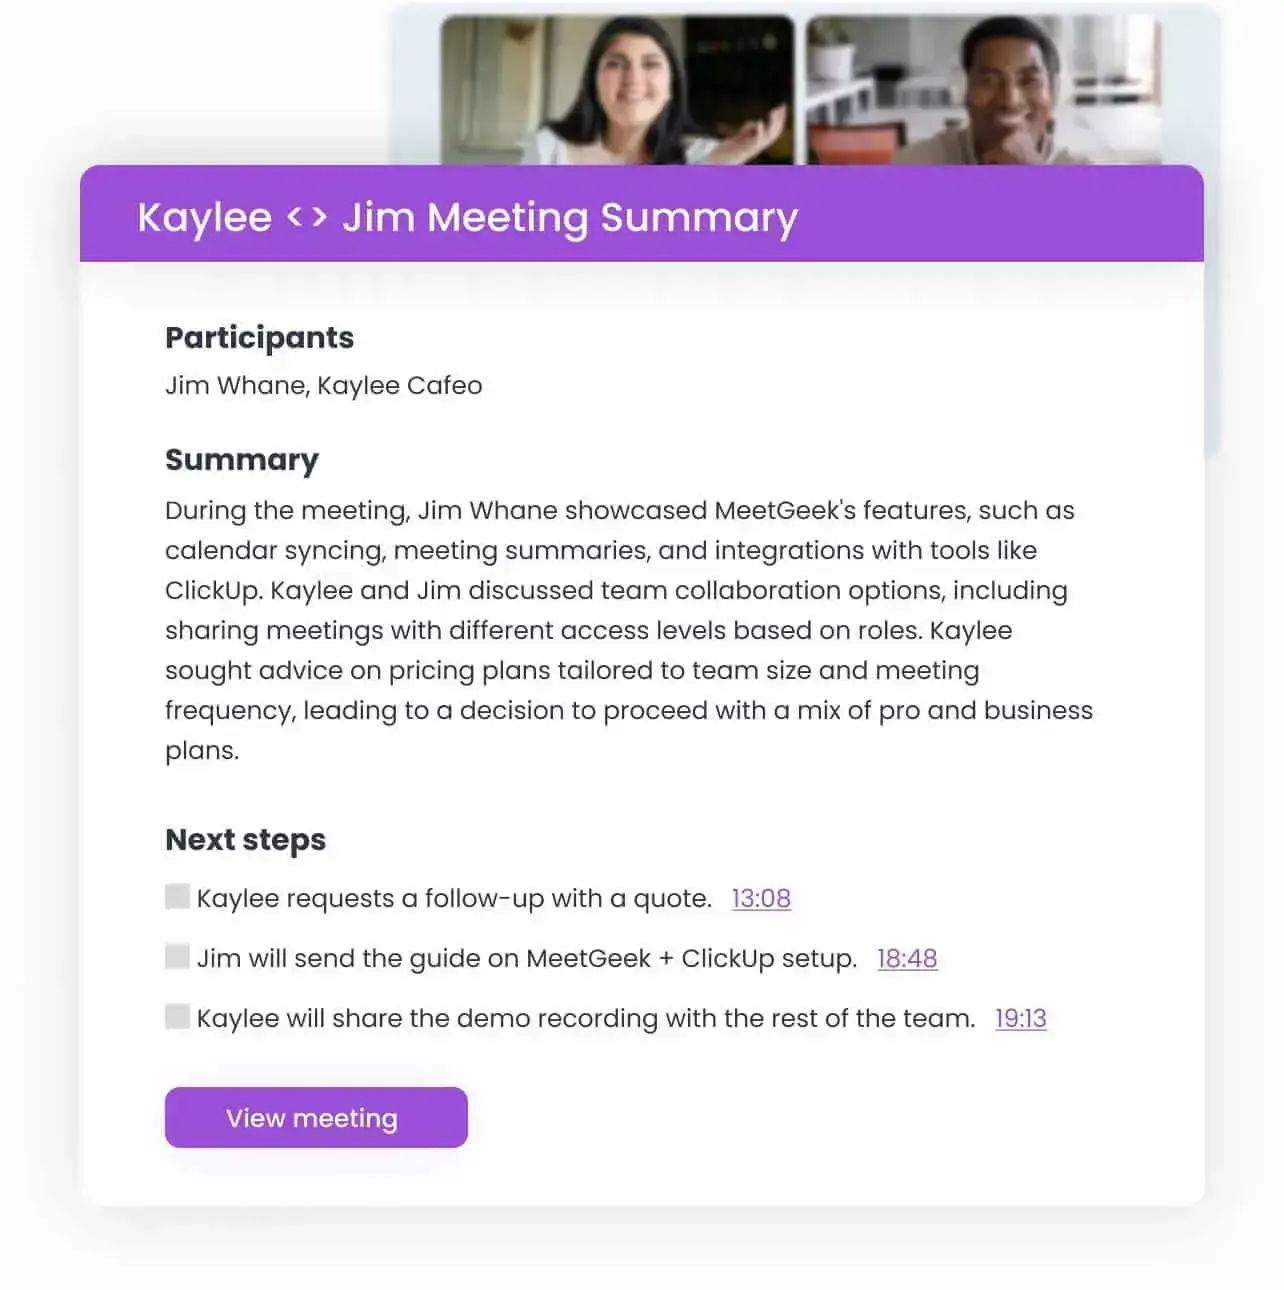
For participants focused on productivity and note-taking, AI-powered meeting assistants like MeetGeek offer meeting recording capabilities combined with automatic transcription and summary generation.
MeetGeek's Chrome screen recorder operates entirely within your browser environment, eliminating the need for additional software installations or complex setup procedures. This bot-free approach means the extension records your browser tab directly, maintaining a seamless and unobtrusive recording experience.
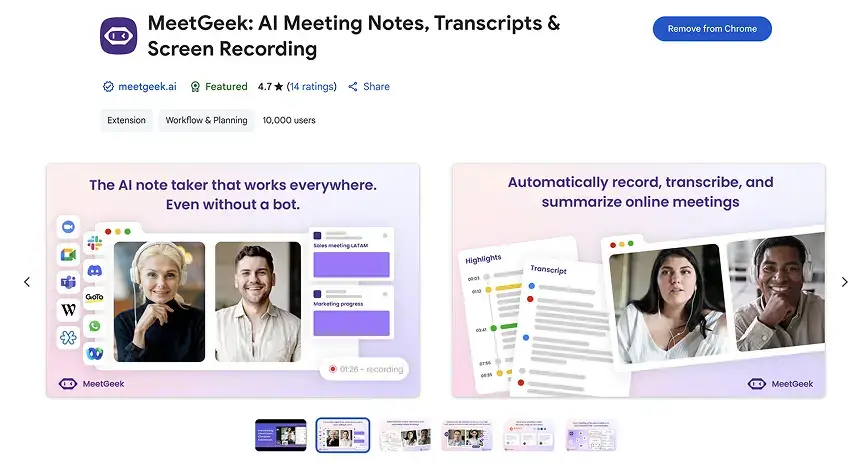
The extension captures both video and audio from your browser tab with high fidelity, ensuring that recorded webinars maintain professional quality suitable for future reference, sharing, and content creation. The recording process is initiated with a single click, making it accessible to users regardless of their role – host or participant.
The extension also includes pause and resume functionality, allowing you to control recording during breaks or portions of the webinar that aren't relevant to your needs.
AI transcription and summary capabilities
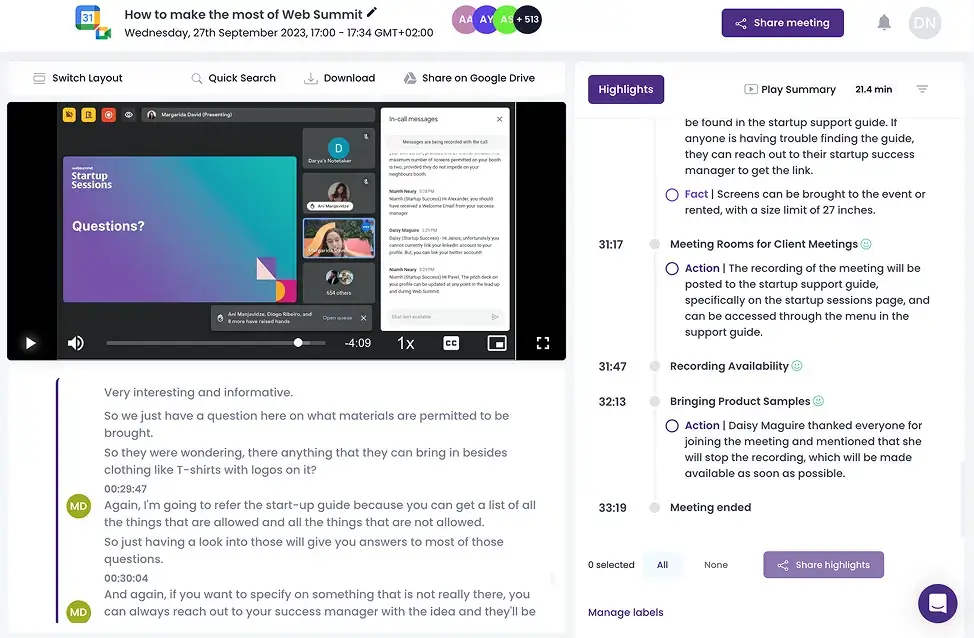
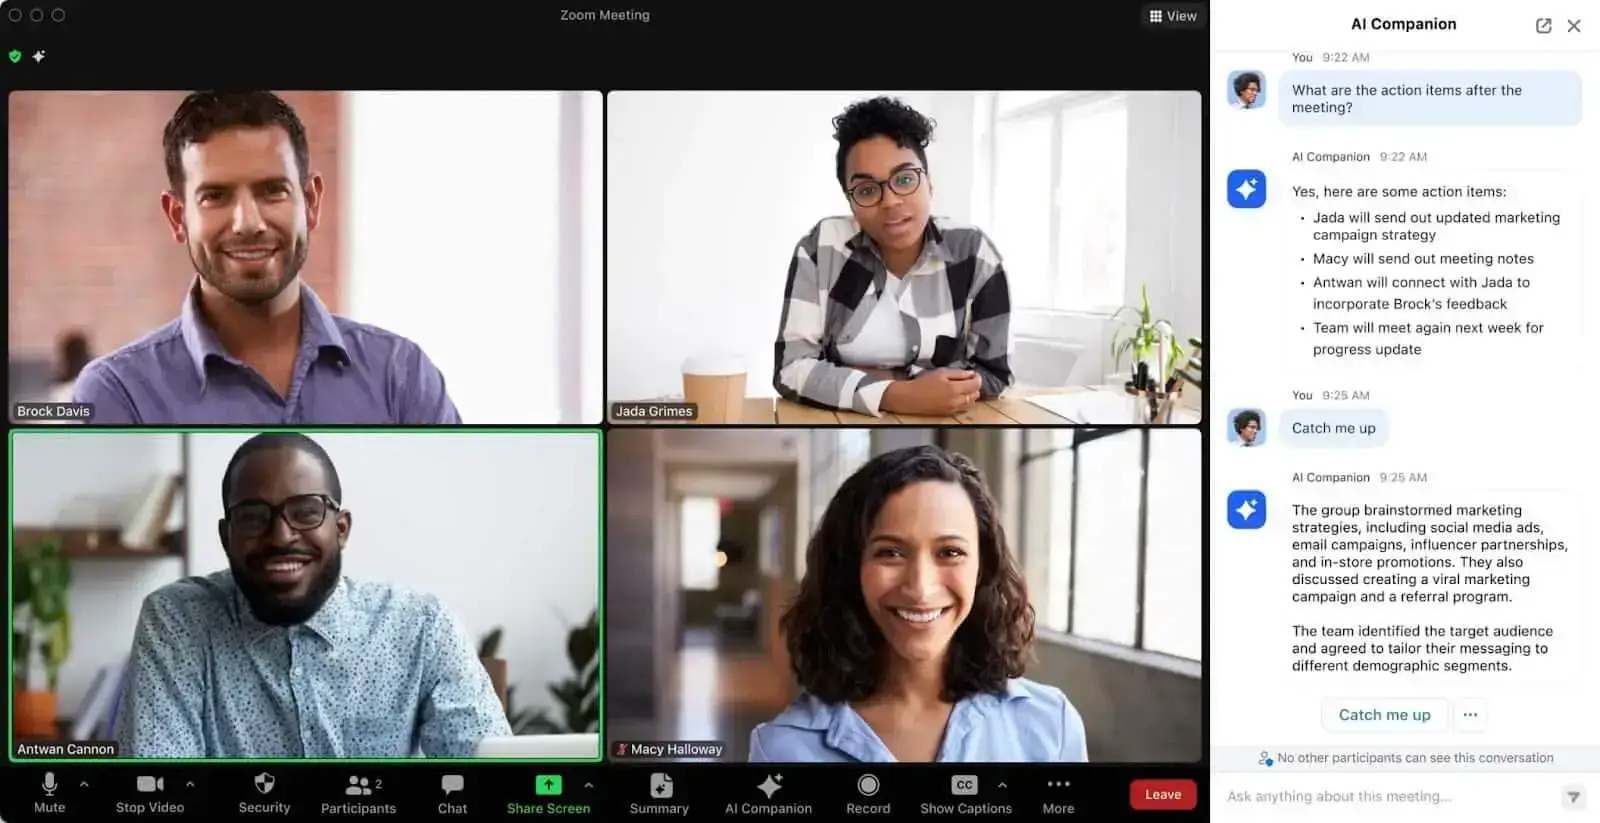
Beyond basic recording functionality, MeetGeek provides AI-powered transcription services in 50+ languages that convert your recorded webinars into searchable, editable text documents. This feature is particularly valuable for participants who need to extract specific information, create meeting notes, or share key points with colleagues who couldn't attend the original session.
MeetGeek's AI meeting minutes feature goes beyond simple transcription by analyzing the content and generating concise summaries that highlight key points, action items, and important decisions. These summaries save significant time for busy professionals who need to quickly understand webinar content without reviewing entire recordings.
The combination of recording, transcription, and summarization creates a comprehensive content package that maximizes the value of each webinar you attend. Instead of simply having a video file, you receive a complete information resource that can be easily searched, shared, and integrated into your workflow.
Integration with productivity tools
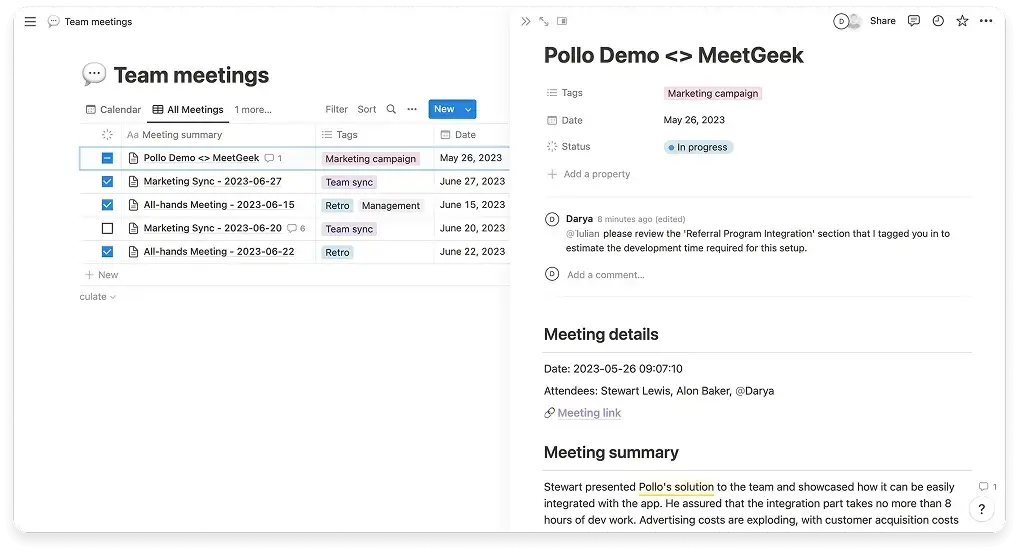
MeetGeek extends its value through integrations with popular productivity and communication platforms. The extension can automatically sync recordings, transcripts, and meeting summaries with tools like Notion, Google Drive, ClickUp, Slack, creating seamless workflows that eliminate manual data entry and ensure important information reaches the right team members.
Marketing teams, for example, benefit from automated content creation workflows where webinar recordings and transcripts can be automatically processed into blog posts, social media content, and knowledge base articles.
Comparing Built-in vs. Third-Party Recording Solutions
Choosing between Zoom's built-in recording features and third-party solutions like MeetGeek requires careful consideration of your specific needs, technical requirements, and organizational constraints. Each approach offers distinct advantages and limitations that make them suitable for different use cases and user types.
Feature comparison and capabilities
Zoom's built-in recording features excel in simplicity and integration with the platform's existing functionality. Host-controlled recording provides reliable, high-quality results with minimal setup requirements and seamless integration with Zoom's sharing and storage systems.
However, Zoom's native recording is limited to hosts and authorized participants, creating barriers for attendees who want to record sessions for personal use or note-taking purposes. Third-party solutions like MeetGeek offer greater flexibility and enhanced features that extend beyond basic recording capabilities.
Quality and reliability considerations
Recording quality depends on multiple factors including internet connectivity, device capabilities, and the specific recording method employed. Zoom's built-in recording generally provides consistent quality because it captures content directly from the platform's servers, eliminating potential issues with local network conditions or device performance.
Browser-based recording solutions like MeetGeek's Chrome extension depend on local system performance and internet connectivity, but modern browsers and devices generally provide excellent recording quality. The extension captures content directly from the browser tab, which can actually provide better quality than some screen recording methods that capture the entire desktop.
FAQs on How to Record a Zoom Webinar
Can you record a Zoom webinar if you are not the host?
Zoom doesn’t let webinar participants record sessions unless the host grants permission. However, participants can use third-party tools like the MeetGeek Chrome extension for in-browser Zoom webinar recording, or other screen recording software as alternatives.
How do I record a Zoom webinar without permission?
While you cannot use Zoom's built-in recording feature without host permission, you can use third-party screen recording extensions like MeetGeek or your computer's built-in screen recorder. However, always respect copyright laws and the webinar's terms of use before recording.
How to edit a zoom webinar recording
Zoom doesn't offer built-in editing features for webinar recordings, but you can use third-party tools for post-recording editing. For example:
- Transcription and clips: Use MeetGeek for post-webinar transcription editing and automatic clip generation from key moments
- Video editing: Edit your recordings with iMovie (Mac) for basic cuts and transitions, or Adobe Premiere Pro for advanced editing features
These tools allow you to trim content, add titles, adjust audio levels, and export in formats suitable for sharing or archiving.
.avif)



.webp)
