Join 50,000+ teams across 100+ countries
Upgrade your meetings now.
Two-minute setup. Free forever foundation. Enterprise-grade from day one. Turn meetings into a positive and rewarding experience
.avif)
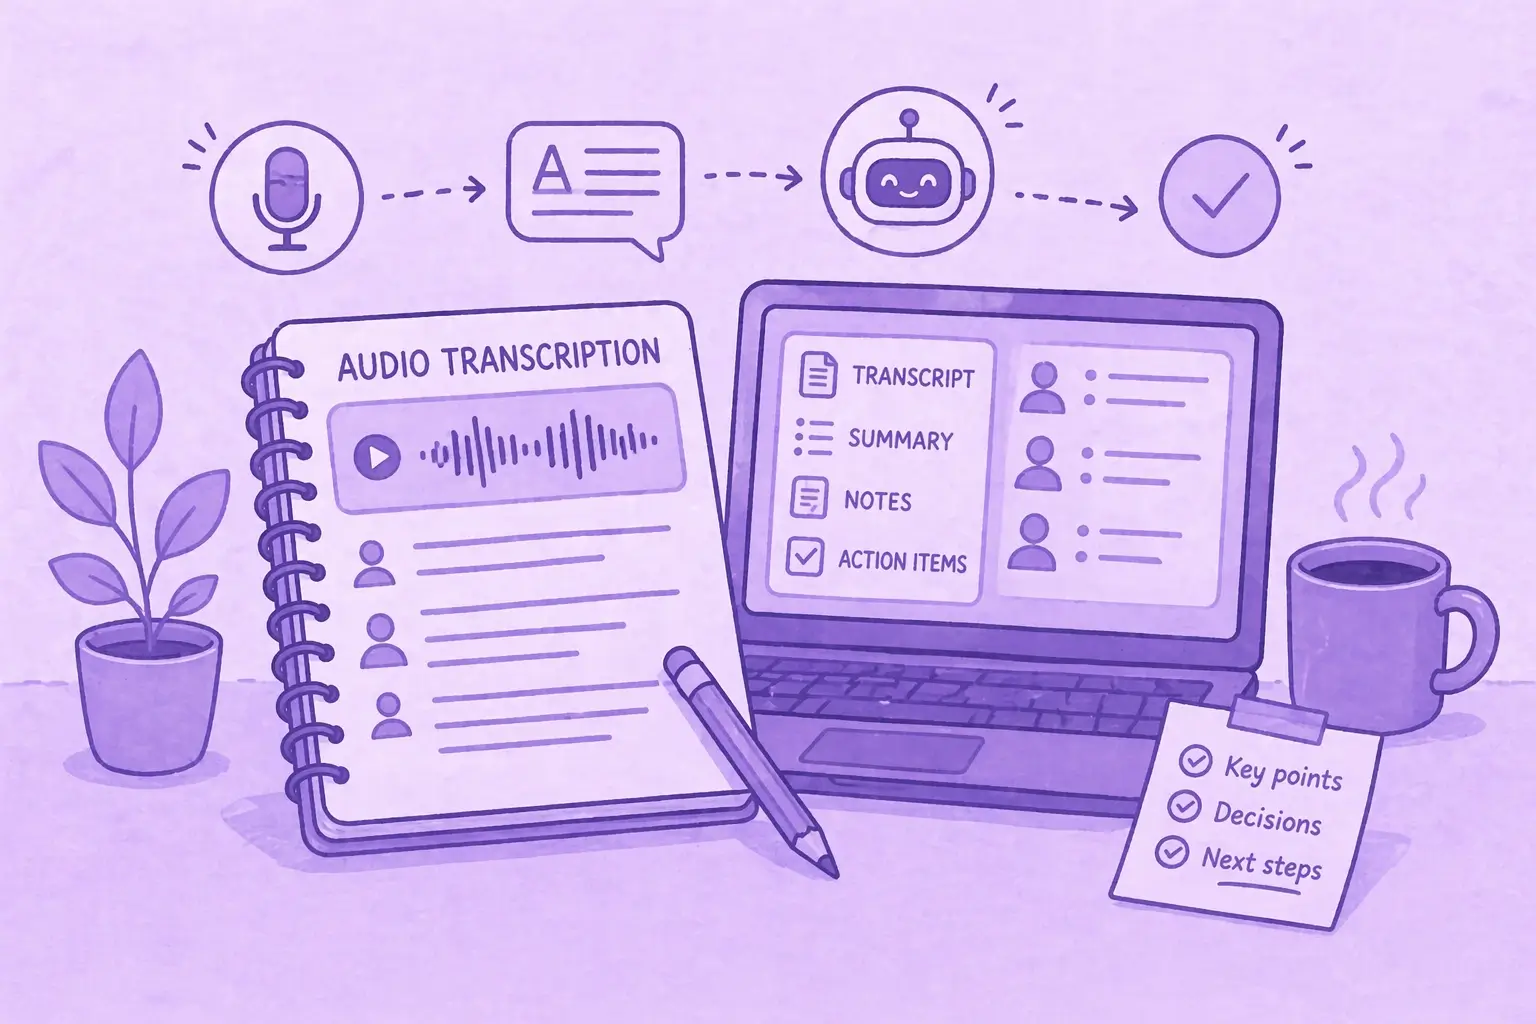
Discover how to effortlessly create Zoom transcripts with our guide on three simple methods, perfect for capturing every key discussion point.

Source: studiogstock on Freepik
If you're using Zoom for meetings, interviews, or webinars, you know how useful it is to keep track of your sessions. Fortunately, it’s easy to generate transcripts from your recordings, so you can properly manage important conversations.
In this article, we'll teach you the steps to get an accurate transcript from your Zoom recordings. Whether you're looking to keep better records or streamline your workflow, we've got you covered!
To get transcripts from your Zoom recordings, you'll need to meet a few requirements:

There are two ways to get a transcript from your Zoom meetings:
In this section, we guide you through the process of generating transcripts for your Zoom meetings directly within the platform.
Here’s how to create a native Zoom transcript in just a few clicks:
Visit the Zoom web portal or the app and log into your Zoom account.
NOTE: While Cloud recording is available on all of Zoom’s platforms, its transcription features are mostly accessible through the desktop app and web portal.
Once logged in, navigate to Settings. In the Cloud recording section, go to ‘Advanced Cloud recording settings’ and enable the ‘Create audio transcript' option. This prompts Zoom to transcribe your Cloud recordings automatically.
In your Zoom meeting window, click on the ‘Record’ button at the bottom of the screen. Choose ‘Record to the Cloud’ to record and transcribe the meeting. Remember, local recordings do not generate transcripts.
PRO TIP: You can also activate live transcripts during the session by clicking the ‘Live transcript CC’ option in your Zoom window.
After the meeting ends, Zoom will send the host two emails. The first email will have a link to the recording, and the second will have a link to the transcript. Simply click the links to access your recordings and transcripts.
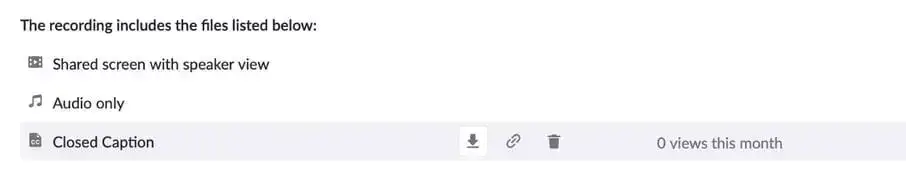
Alternatively, go to the Cloud Recordings tab on the left panel of your Zoom account management page. Here, you’ll find your recorded meetings. Select the one for which you need the transcript, and you will see options to download both the recording and the audio transcript file.
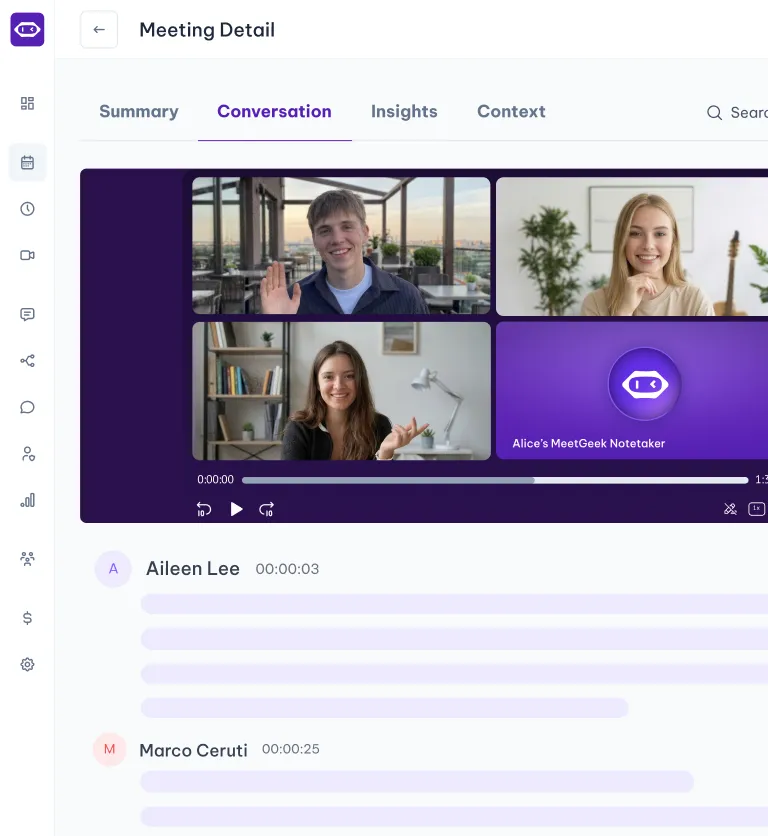
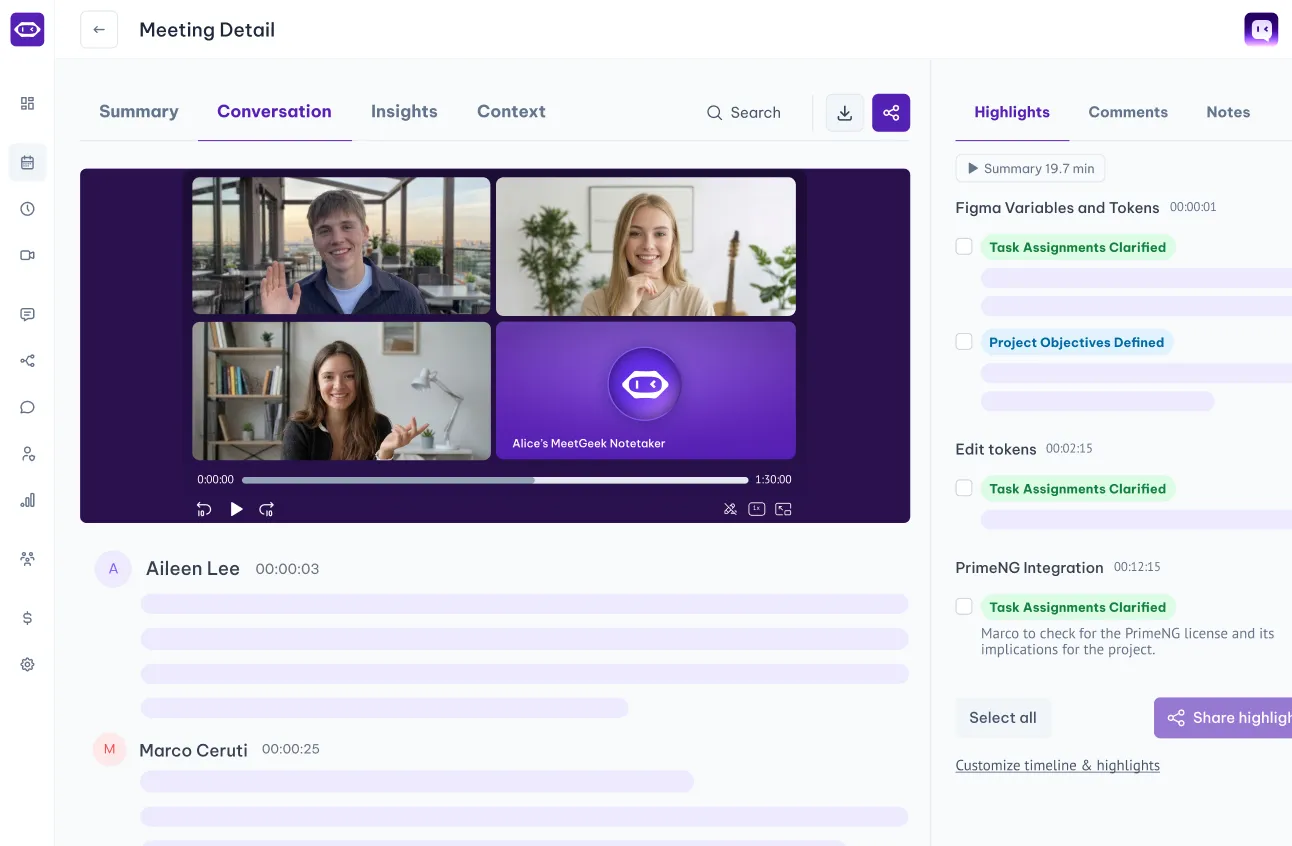
If you're looking for a more effective way to transcribe your Zoom meetings, MeetGeek offers a seamless solution. This AI-powered meeting automation platform not only records and transcribes your Zoom meetings but also comes packed with features to analyze, summarize, and share meeting highlights.
Here's how you can use MeetGeek to create Zoom transcripts automatically!
Sign up for a MeetGeek account by registering with your Google or Microsoft account. The entire process is free and only takes a couple of seconds.
Once your account is set up, connect your Google or Outlook Calendar to sync your scheduled and upcoming events. MeetGeek will display these events in order, giving you the option to choose which meetings to record and transcribe. Additionally, for spontaneous meetings, paste the meeting link into the 'Add to live ad-hoc meeting' bar.

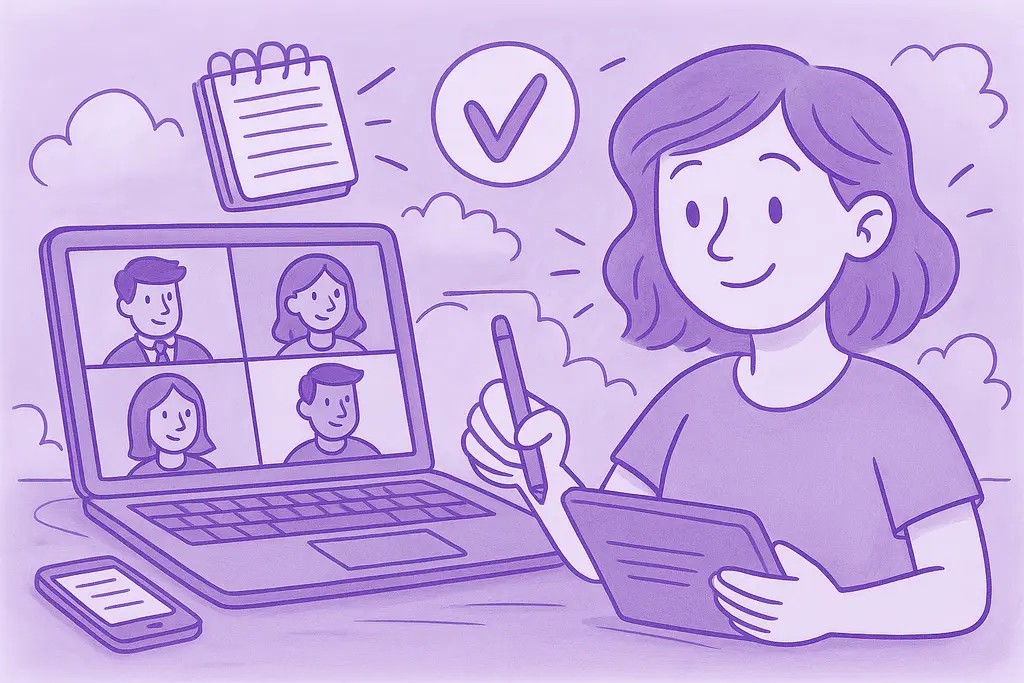
Join your Zoom meeting and let the MeetGeek Assistant handle the recording. The host can grant recording permissions with a single click.
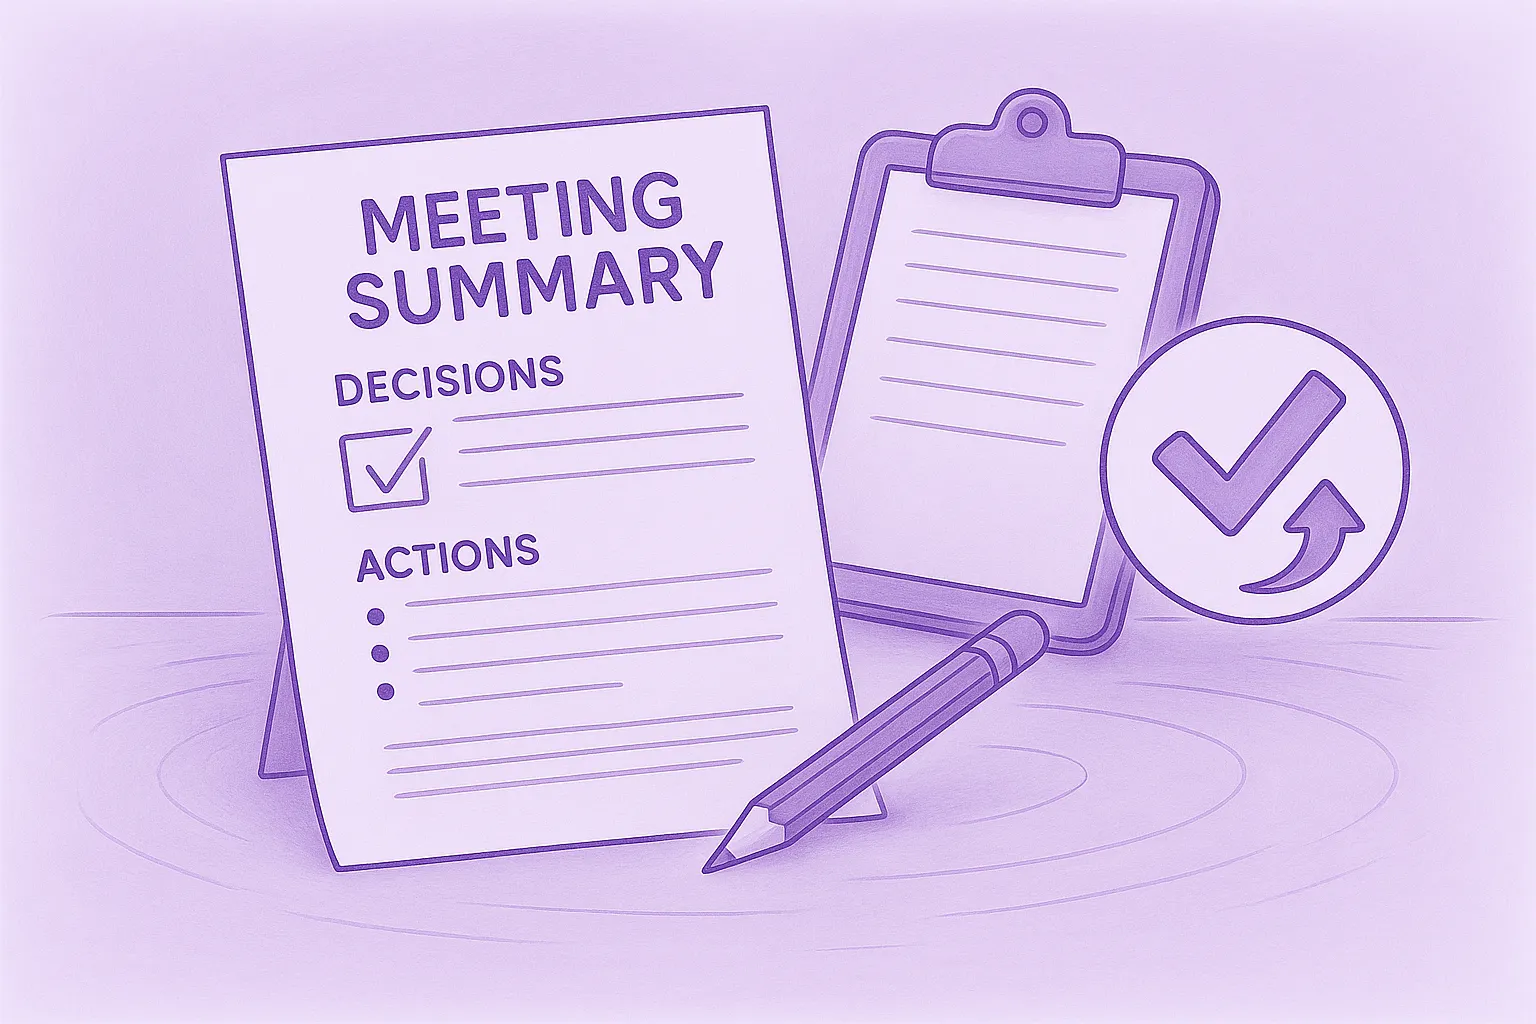
While you focus on your discussion, MeetGeek works in the background to provide a detailed transcript, which includes:

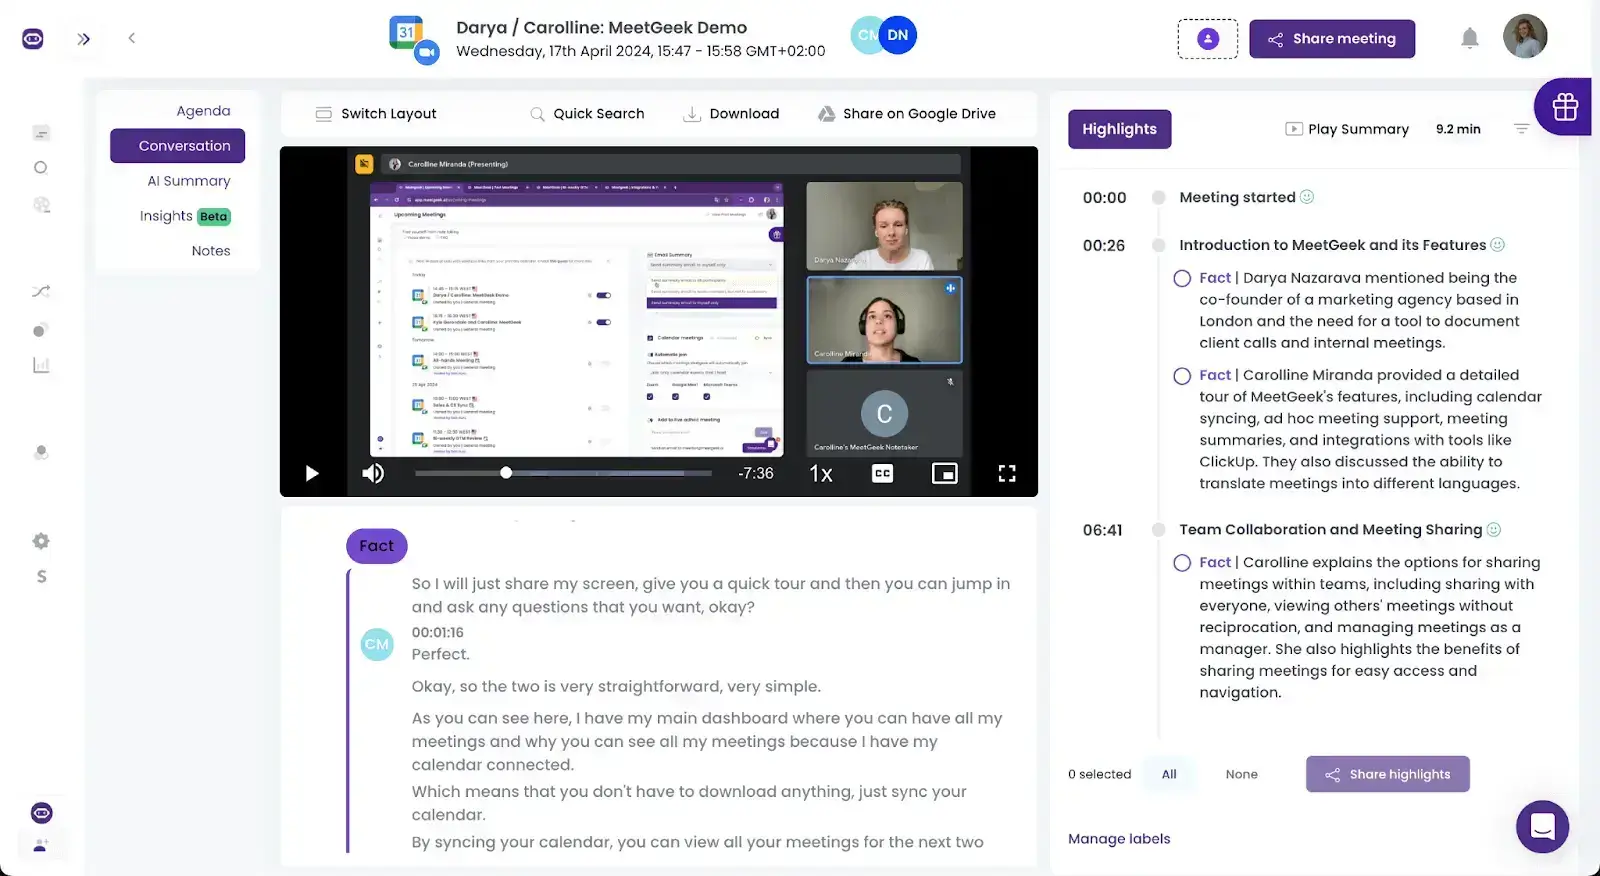
After the meeting, you can find the transcript in your ‘Past Meetings’ section. From there, you can view the meeting details and export the meeting notes directly to Google Docs or set up automated workflows to manage transcripts more efficiently, based on your specific needs.

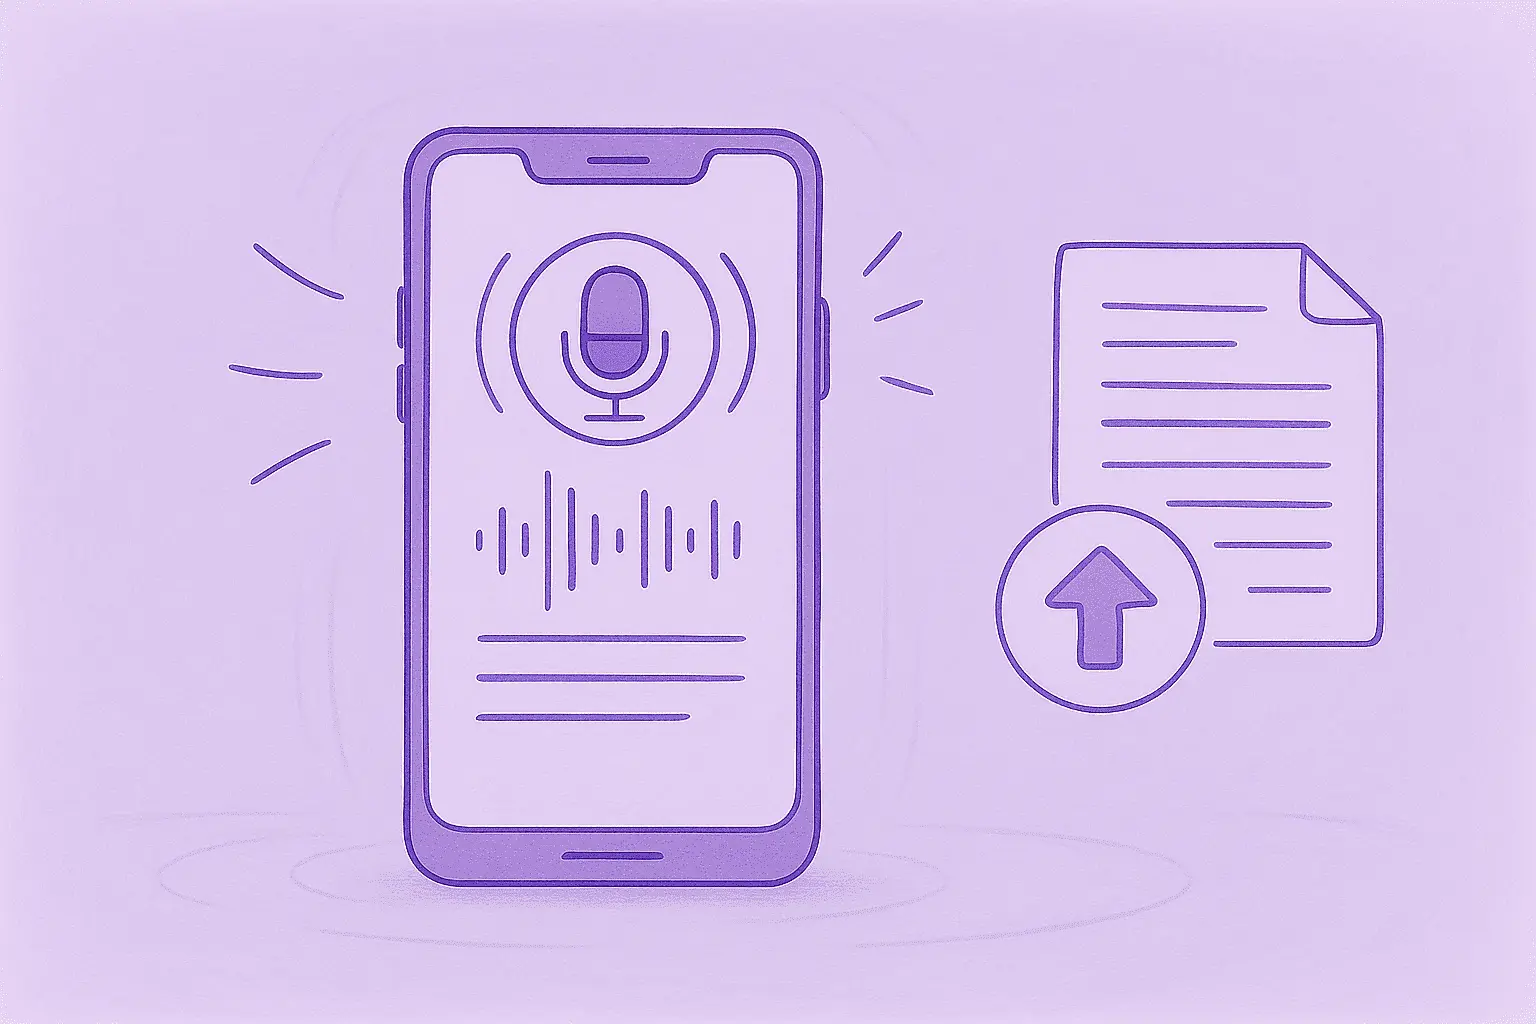
And if you have a meeting that was recorded locally, MeetGeek's 'Upload' function allows you to transcribe pre-recorded audio and video files. This makes it easy to search, collaborate on, and edit transcripts as it is for any regular text document.

If you need an accurate transcript, meeting notes, and insights but prefer not to have the Notetaker join your meeting, our Zapier integration is the right solution. It automatically syncs your Zoom Cloud recordings with your MeetGeek account and you can set it up in minutes with our ready-to-use Zap template. Here’s how:
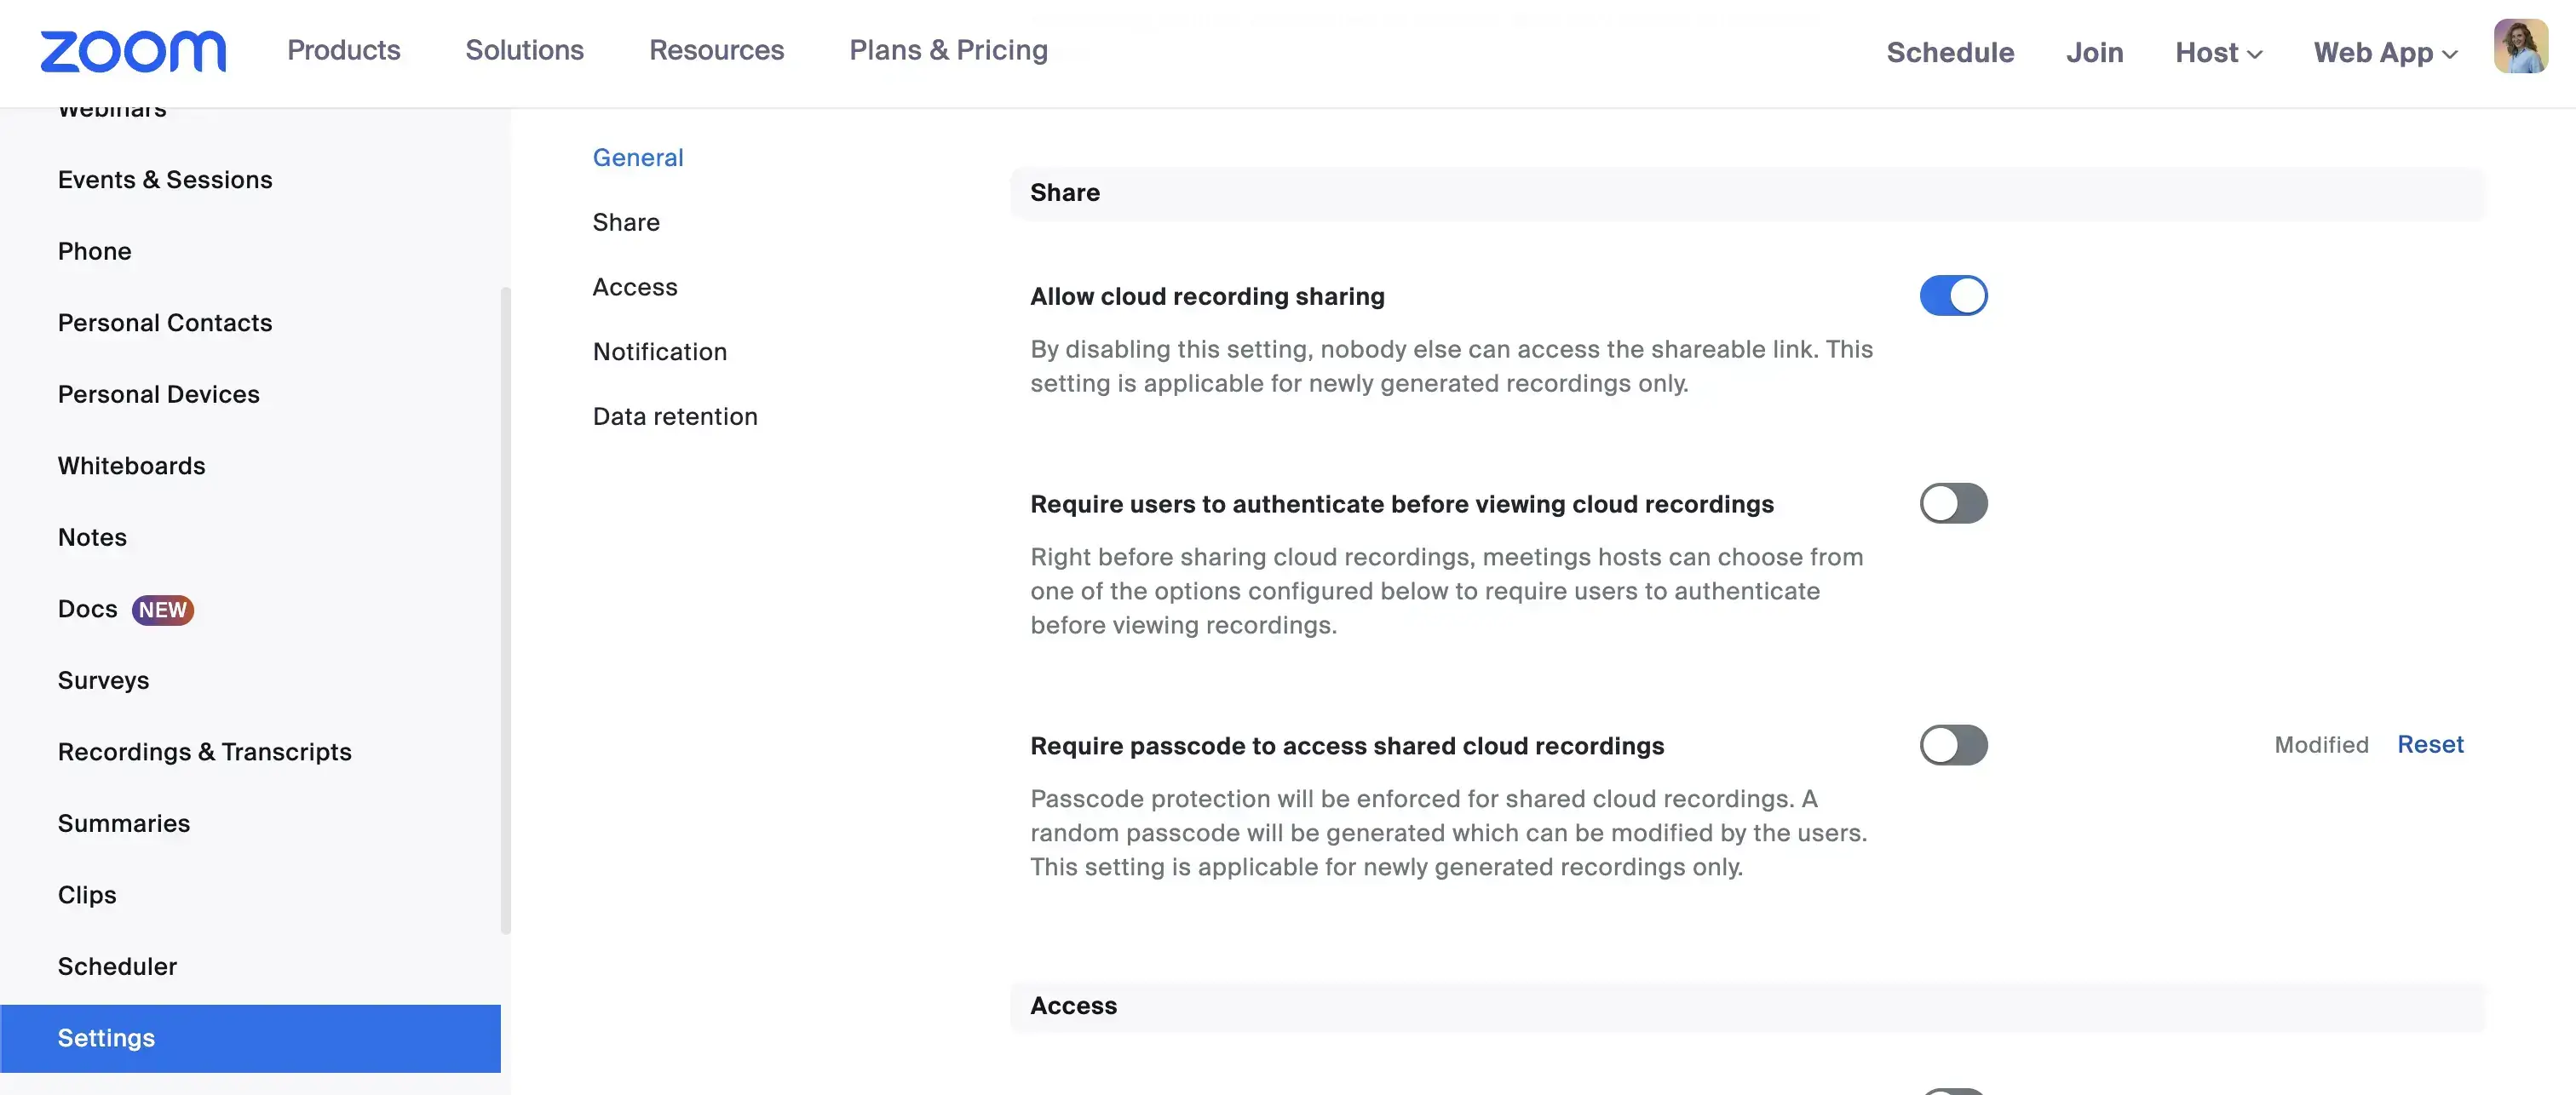
Before setting up the automation, you need to make sure your Zoom Cloud recordings can be accessed by MeetGeek. Follow these steps to adjust your Zoom settings:
a) Log in to your Zoom account on the Zoom website.
b) In the left-hand menu, click on Settings.
c) Navigate to the Recording tab, and ensure the following:
Now, let’s create the automation that connects Zoom and MeetGeek using Zapier.
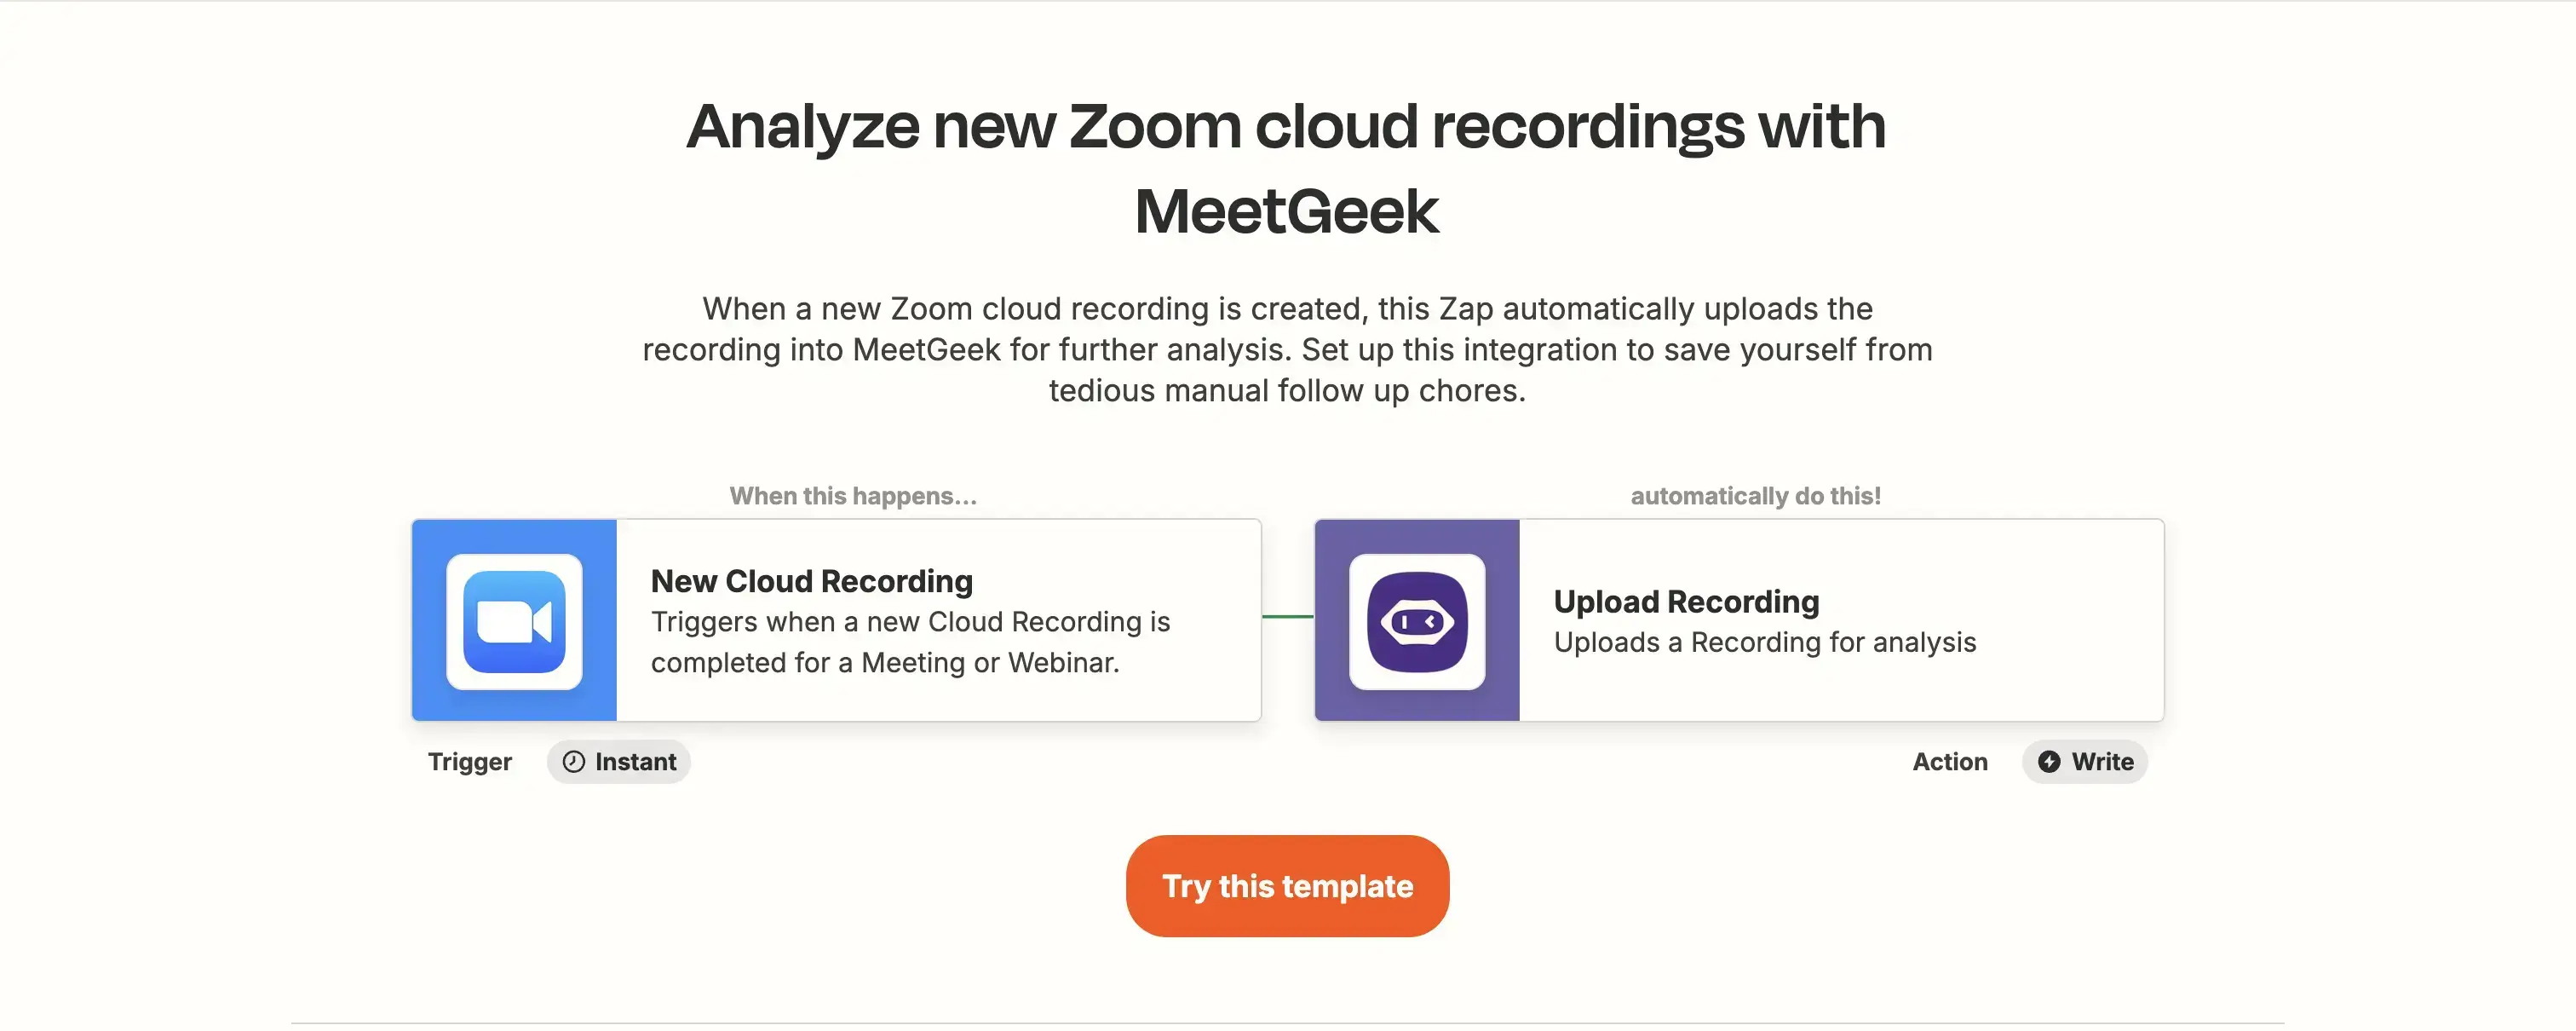
a) Log in to your Zapier account and click "Try this template" to use the pre-configured Zap for Zoom Cloud recordings
b) Connect your Zoom account.
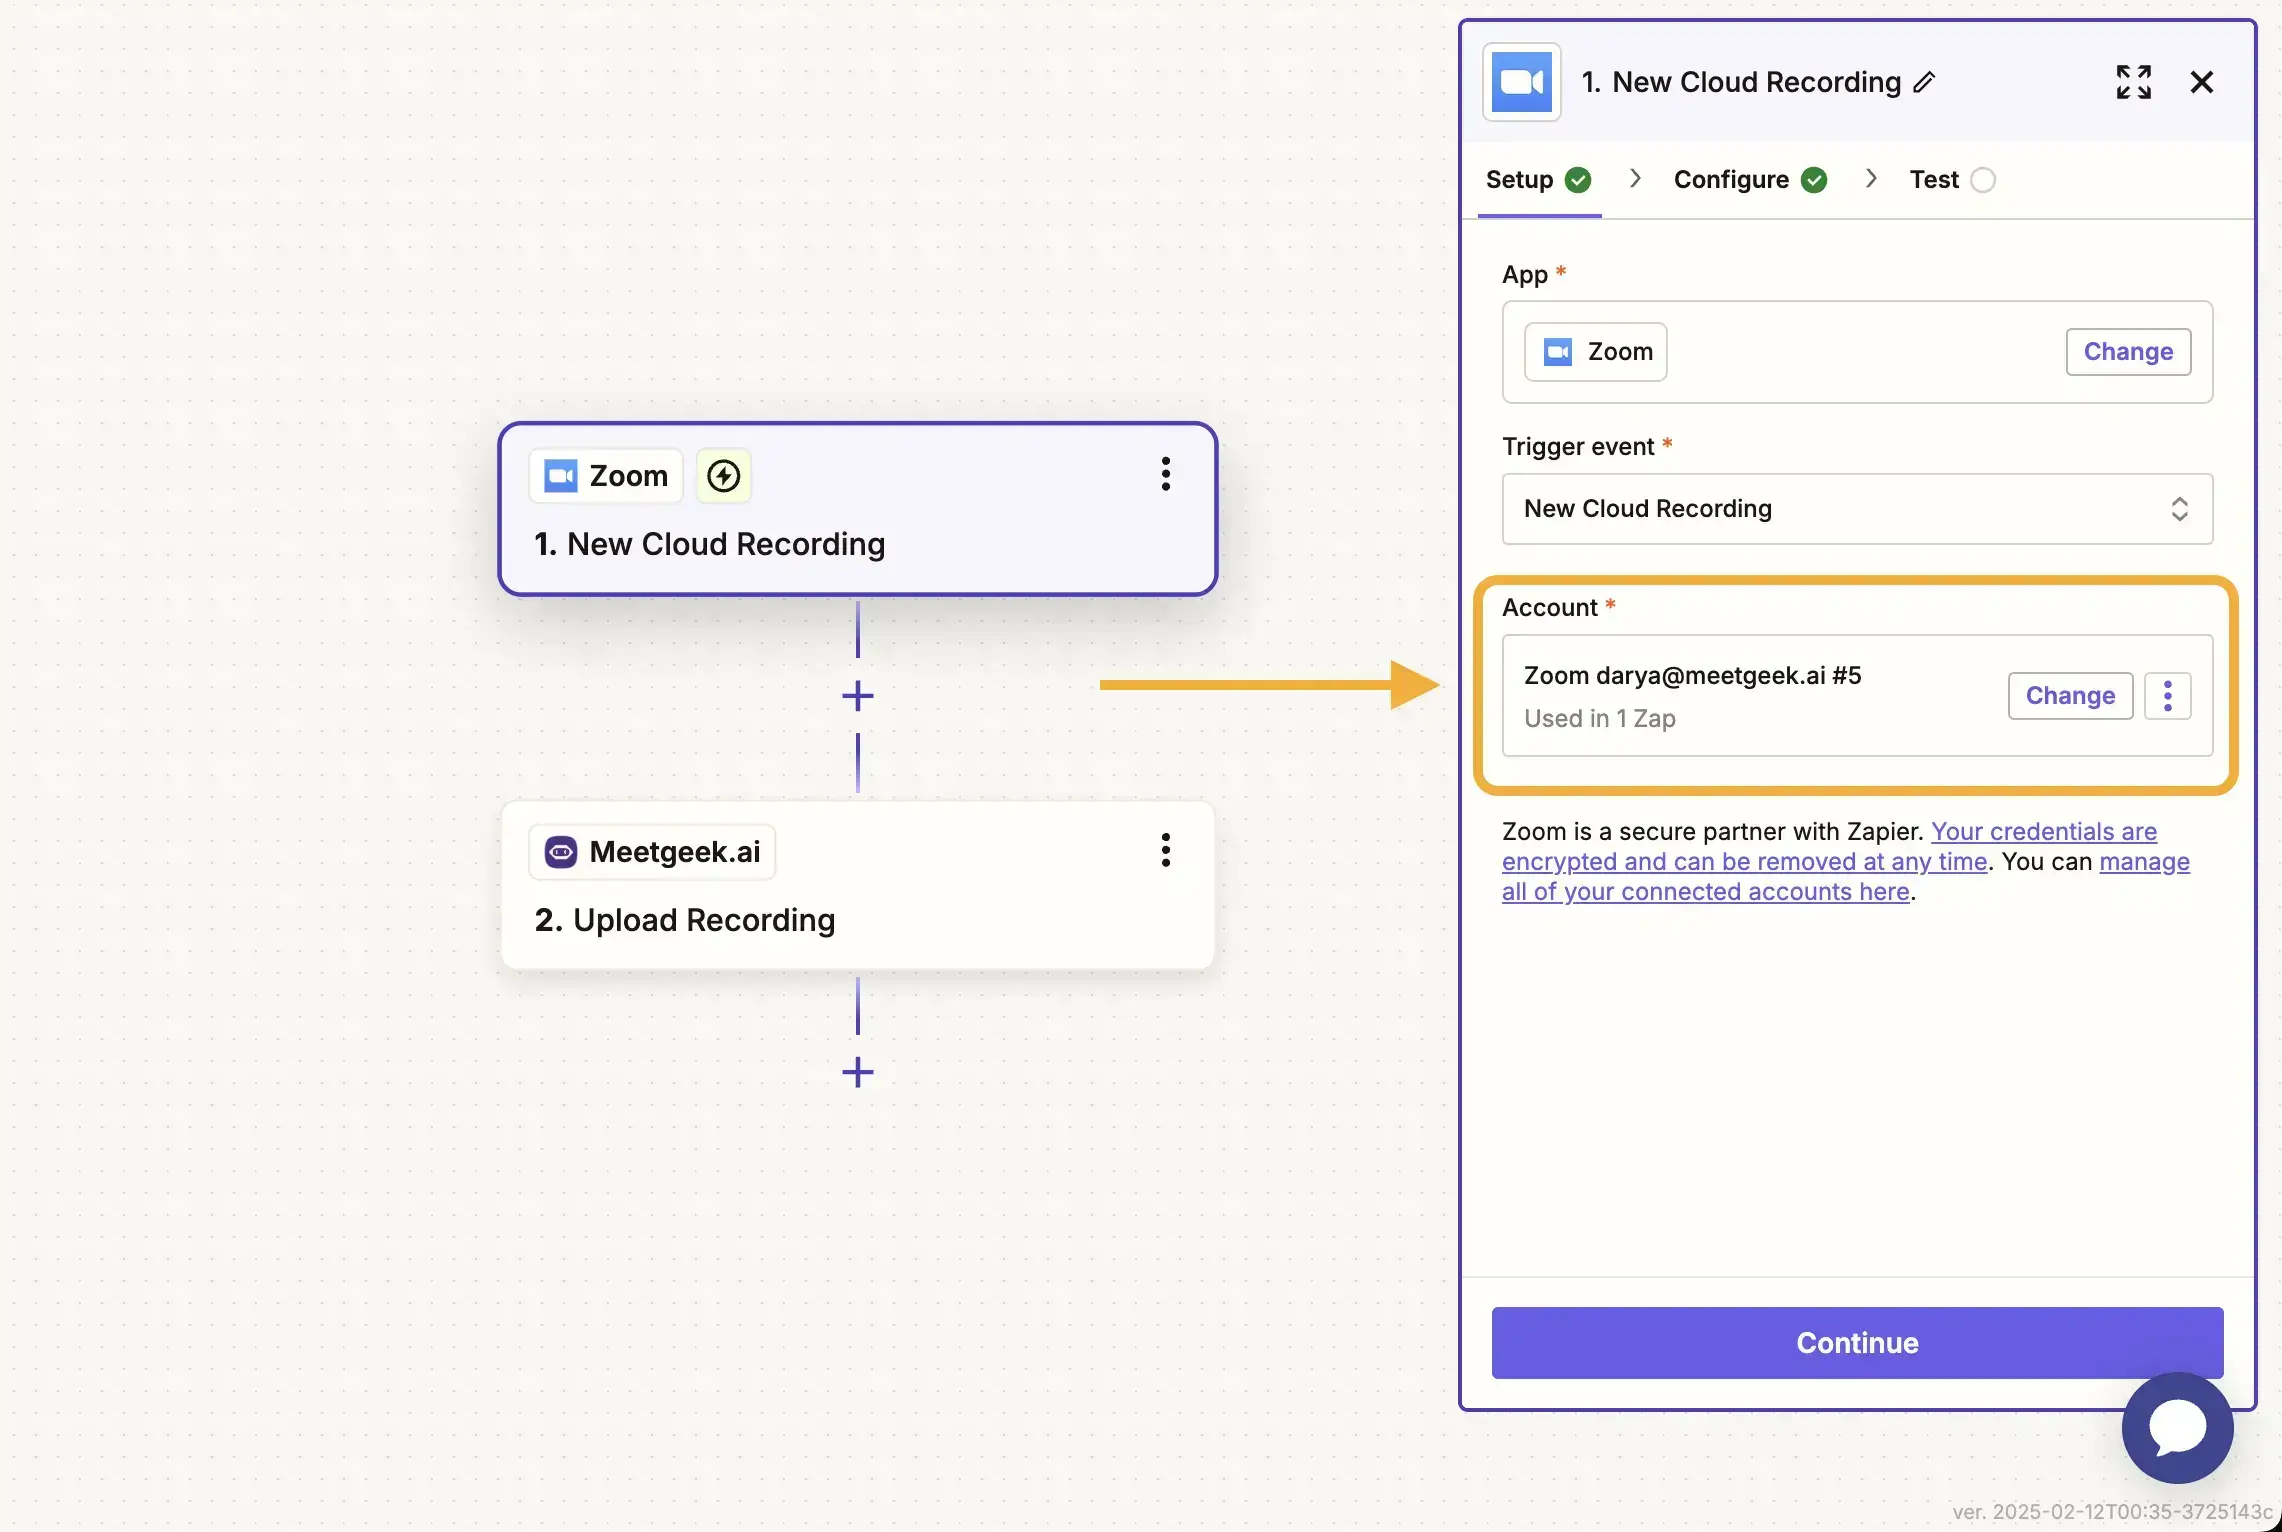
c) At the 'Configure' step, choose one of the following triggers "All new Cloud Recordings on my account" or "Only Cloud Recordings created by me". And click 'Continue'.
a) Now, you need to connect your MeetGeek account to Zapier. You will see this popup when connecting the apps.
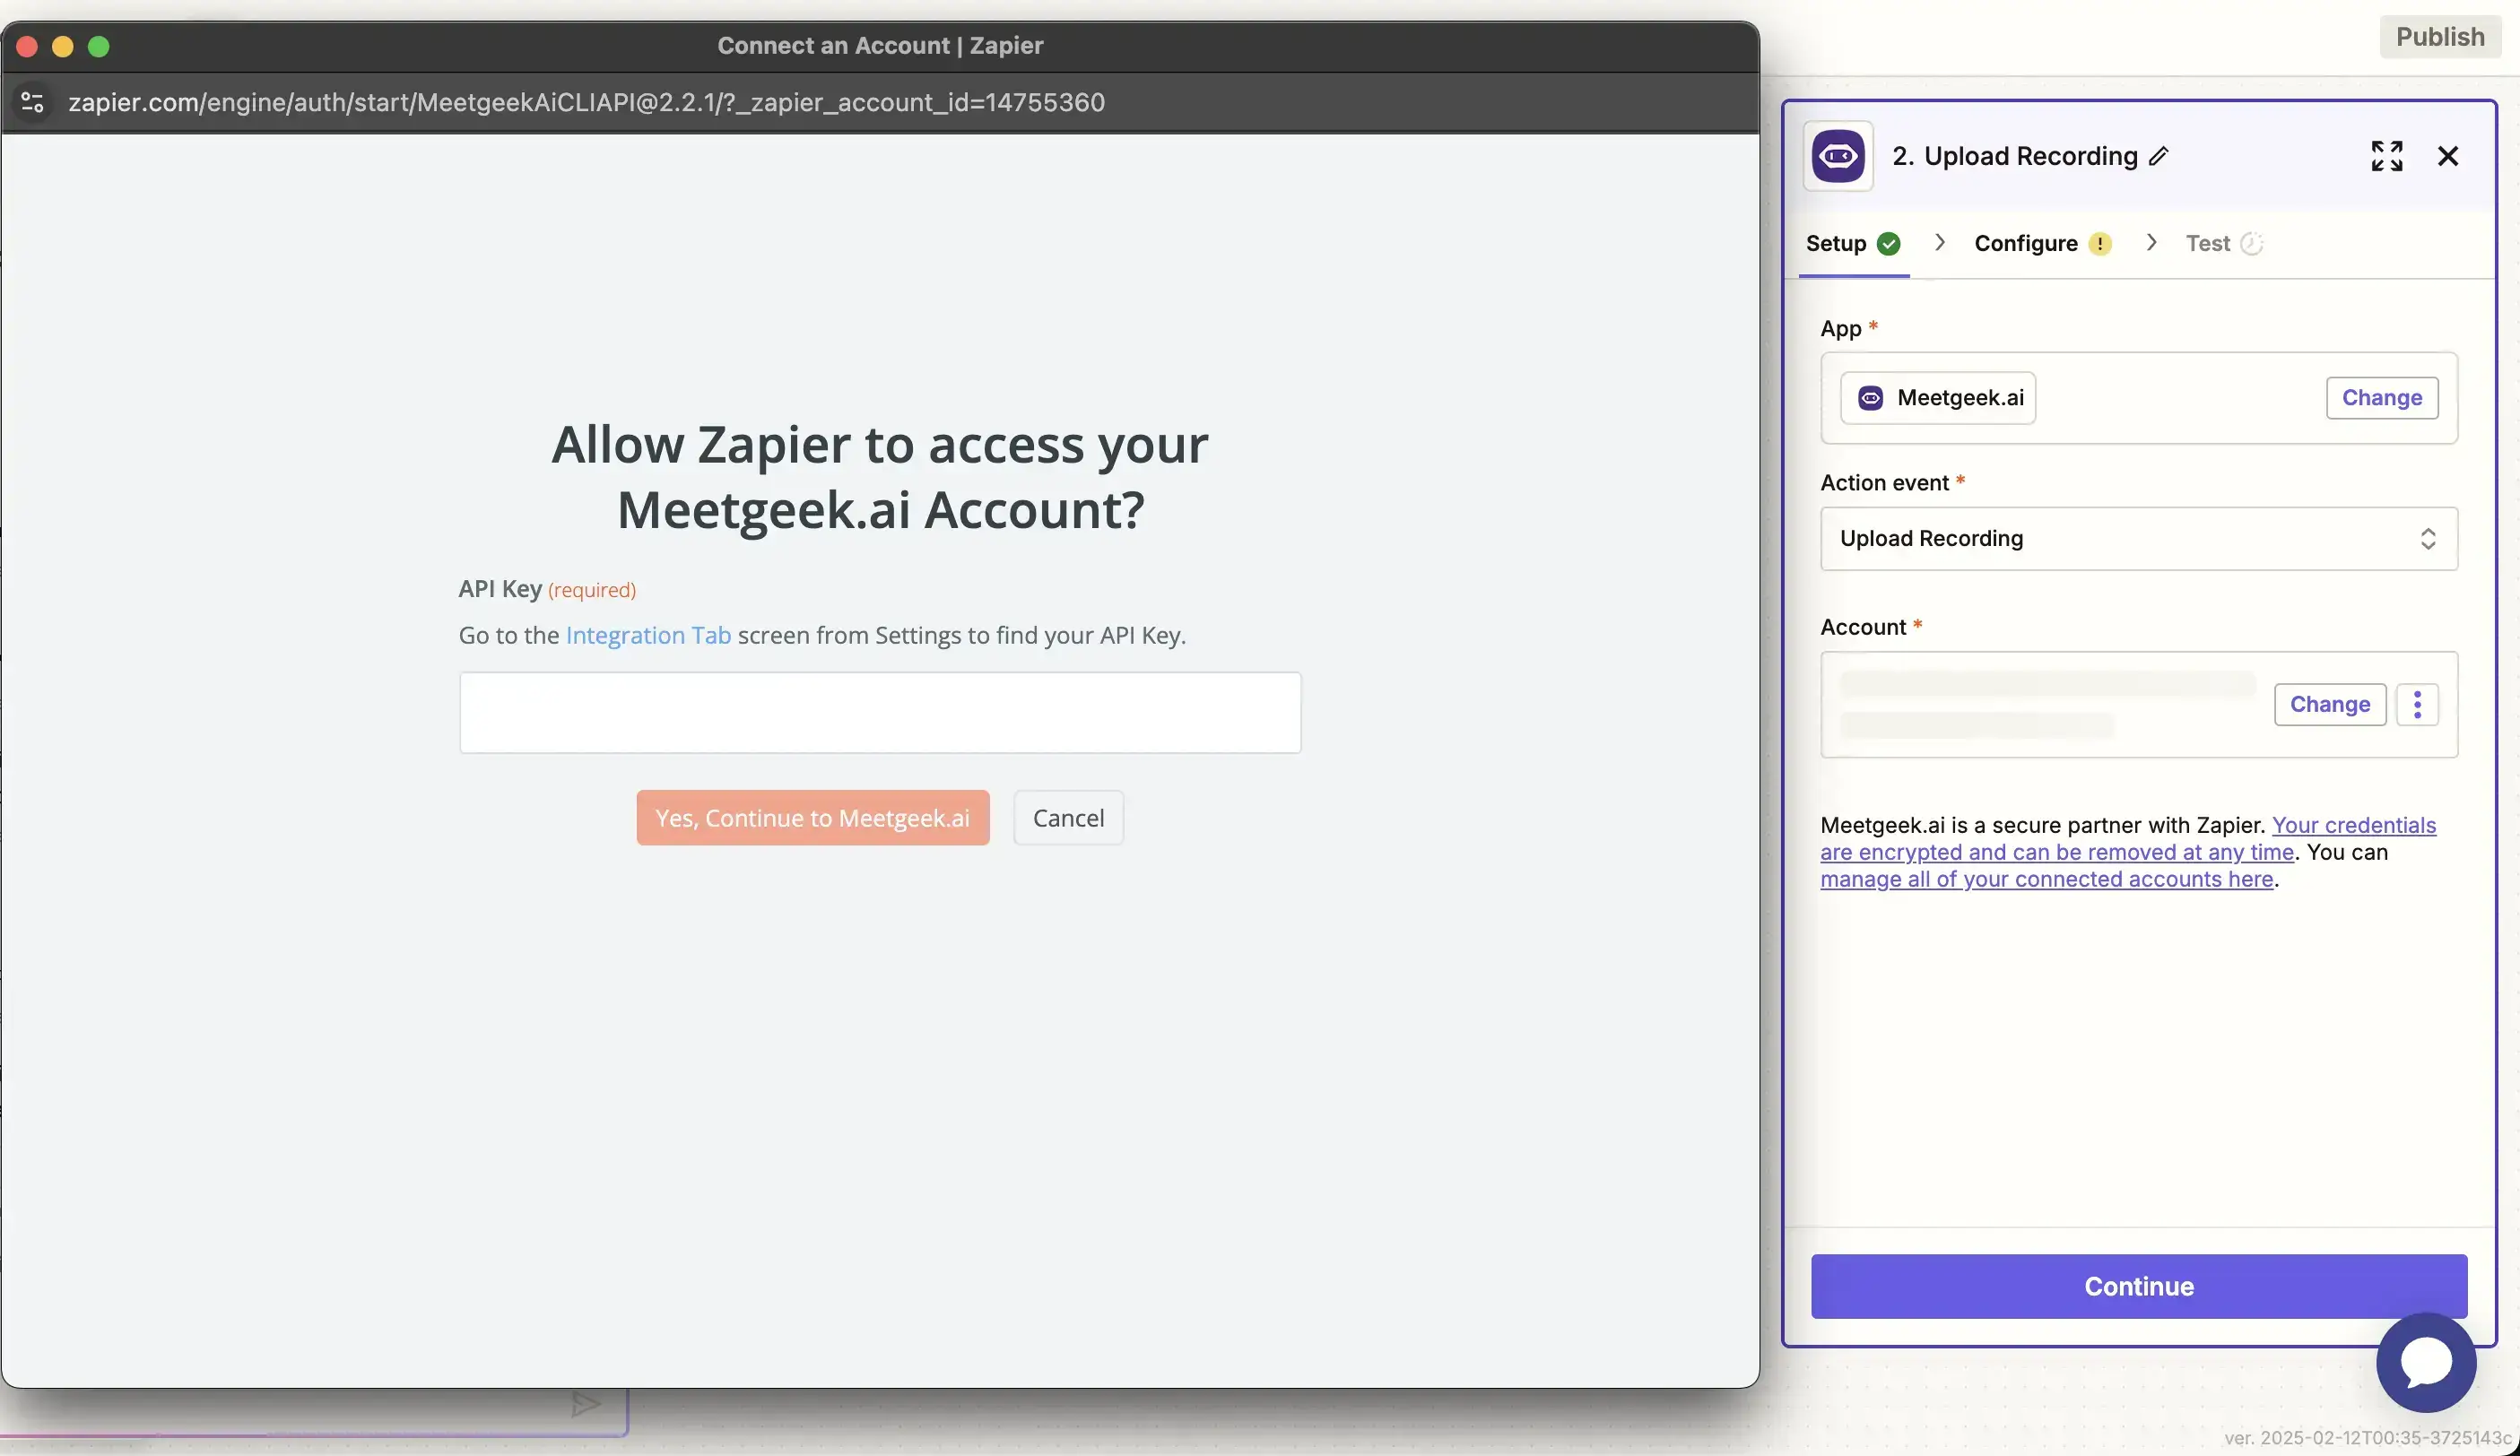
b) When prompted, go to MeetGeek → Integrations → Zapier.
Copy your personal API key and paste it into the corresponding field in Zapier.

Click "Yes, Continue to MeetGeek.ai" to complete the connection.
c) If prompted again, enter your API key at the Configure step.
The Template and Language fields are optional; you can adjust these later in MeetGeek after the recording is uploaded.
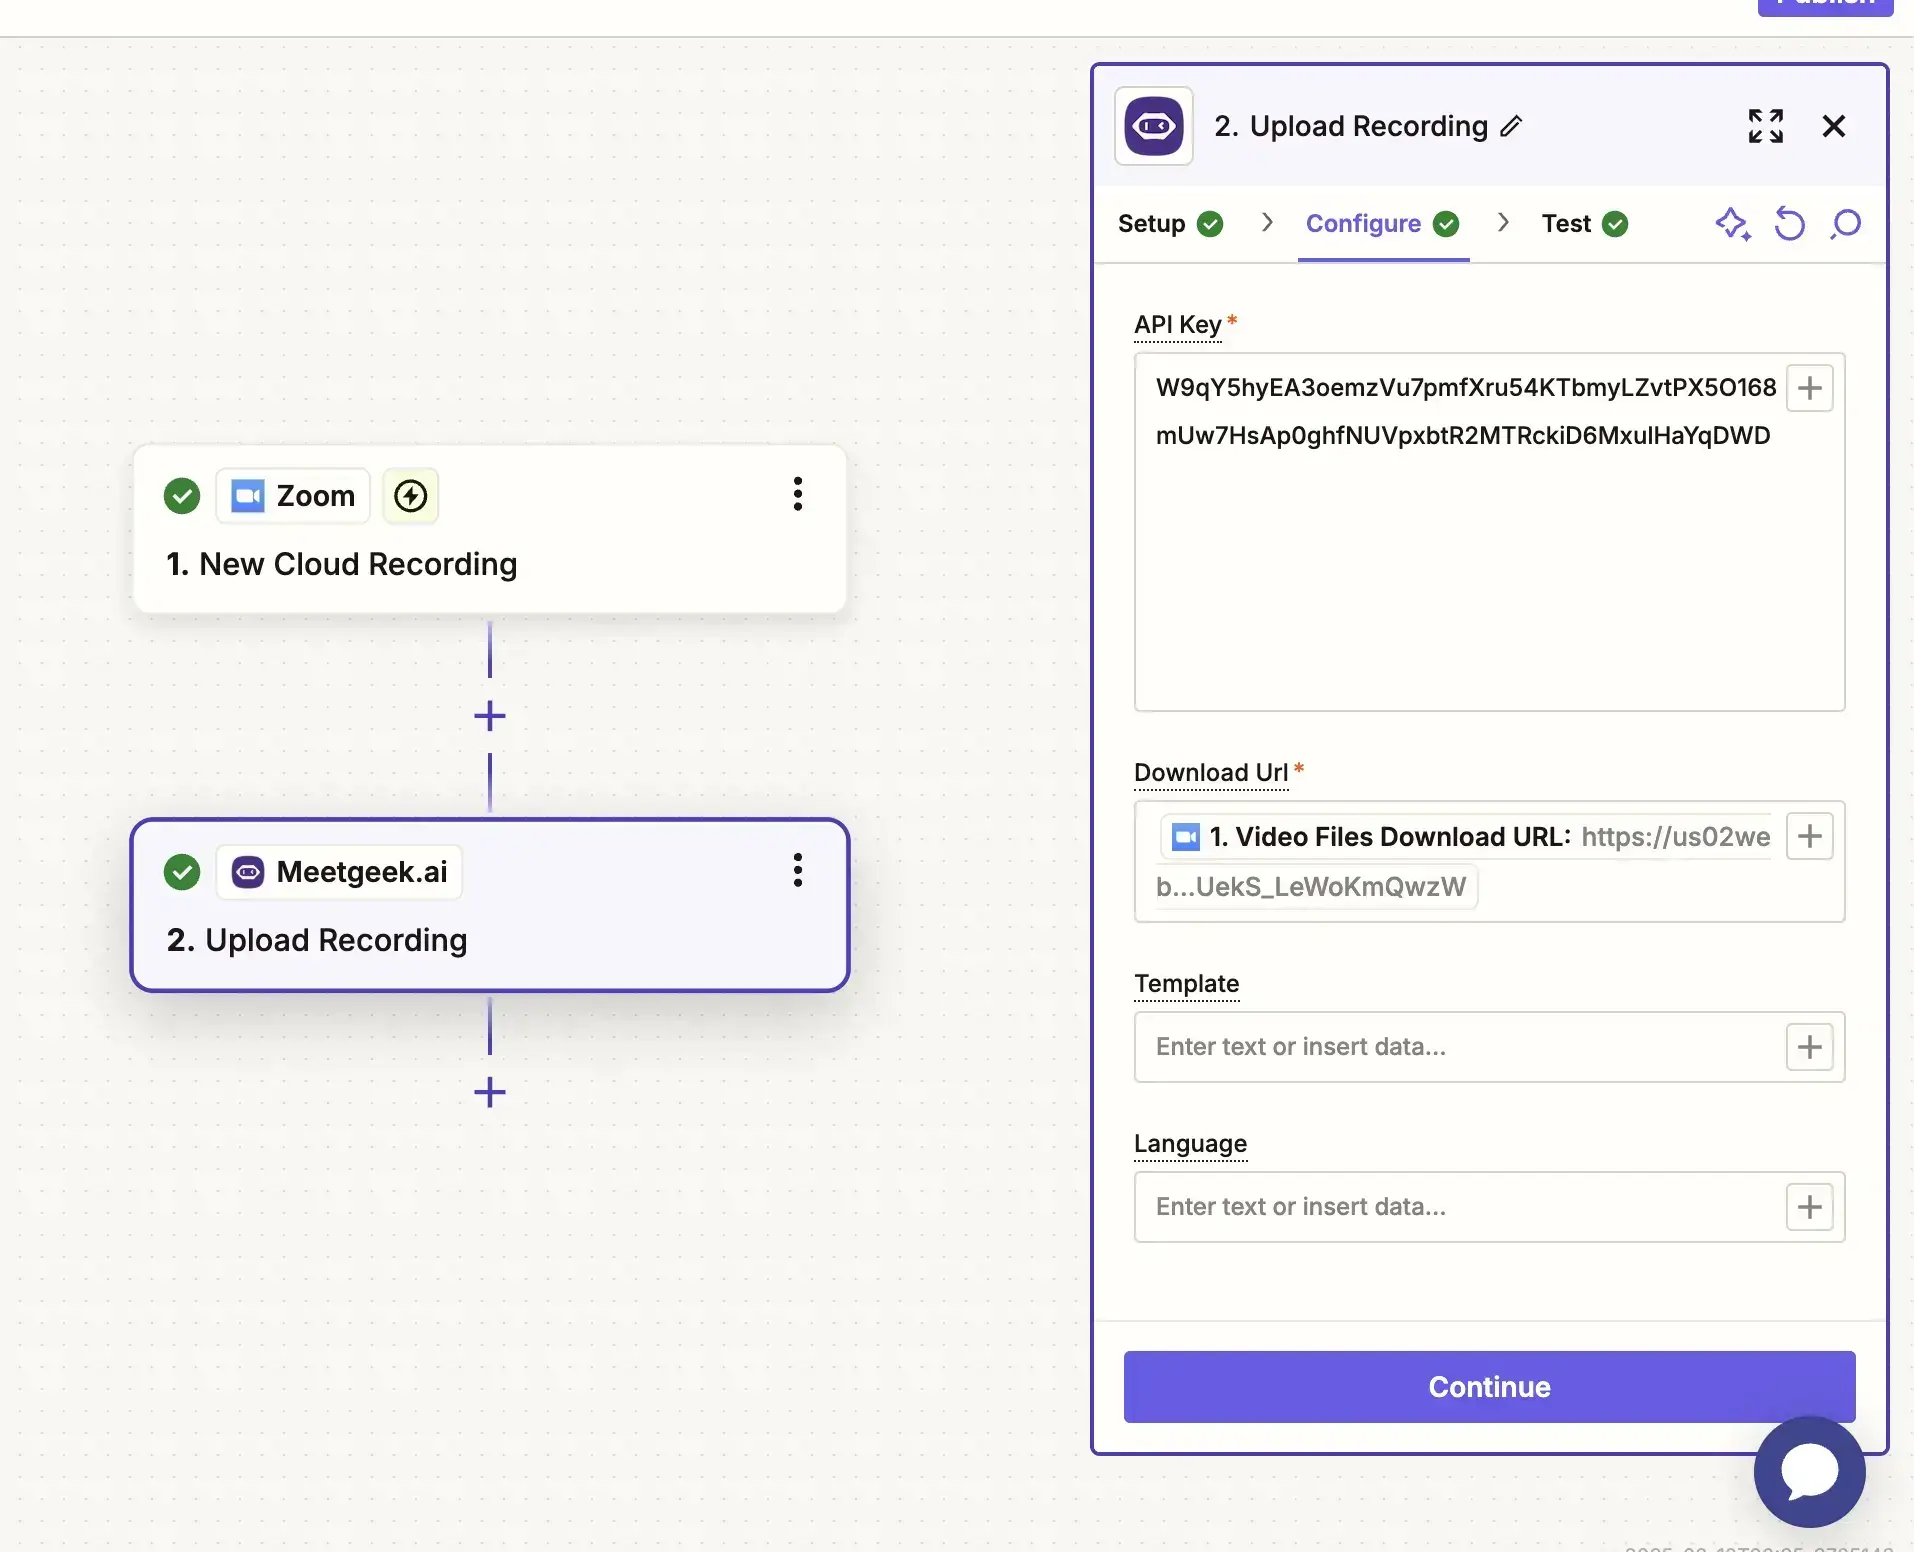
d) Click Continue to complete the setup. Publish your Zap.
Once your Zap is activated, here’s what happens:
Whenever you record a Zoom meeting using Zoom’s built-in Cloud recording feature, Zapier automatically triggers the sync.
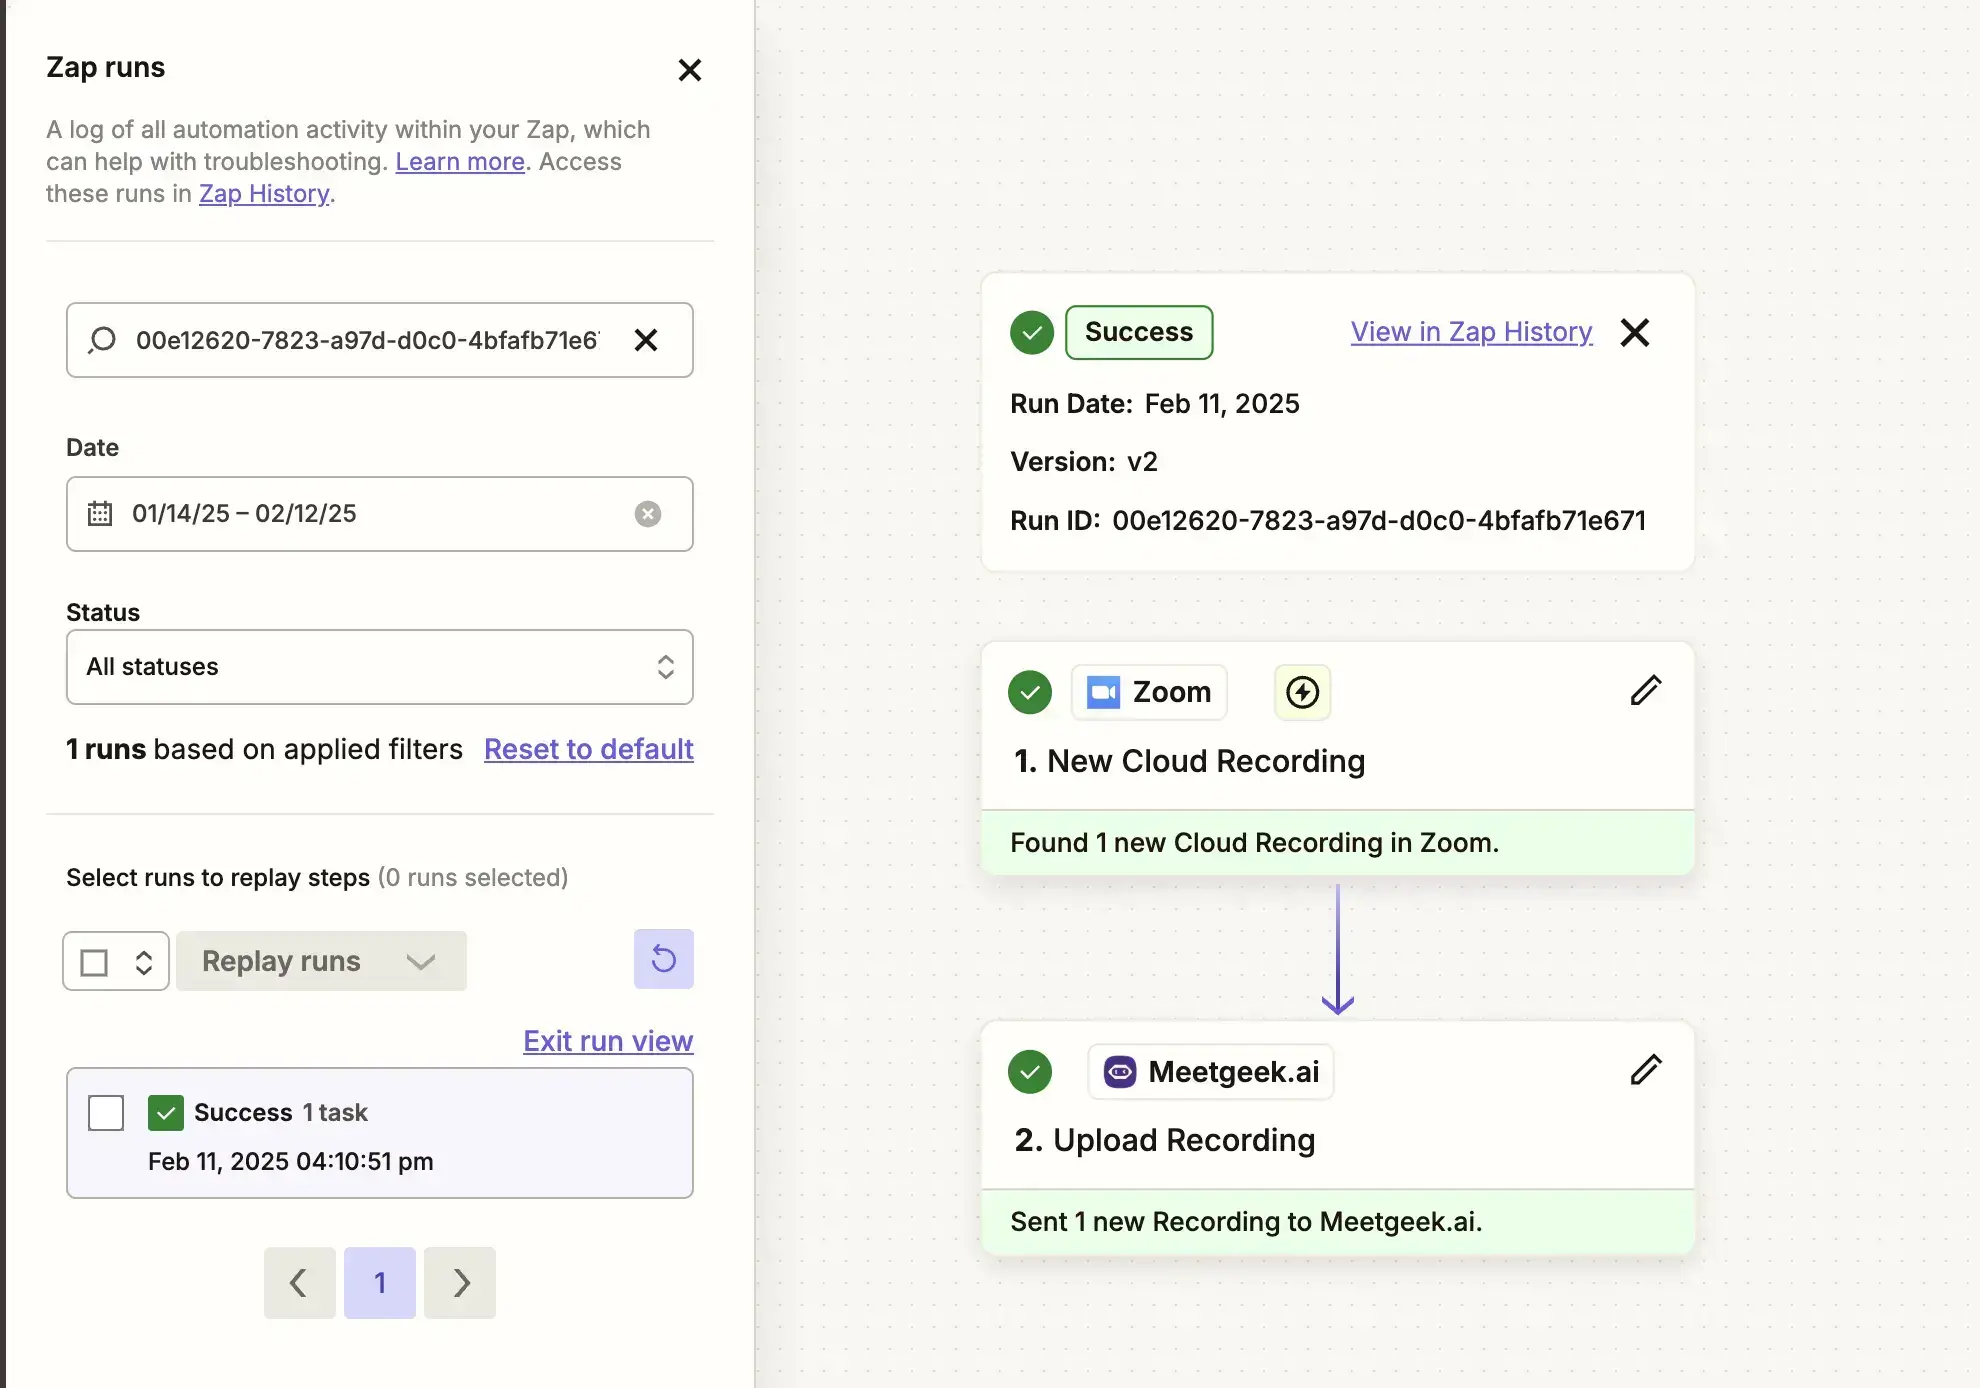
The recorded file is uploaded to MeetGeek within a few minutes.
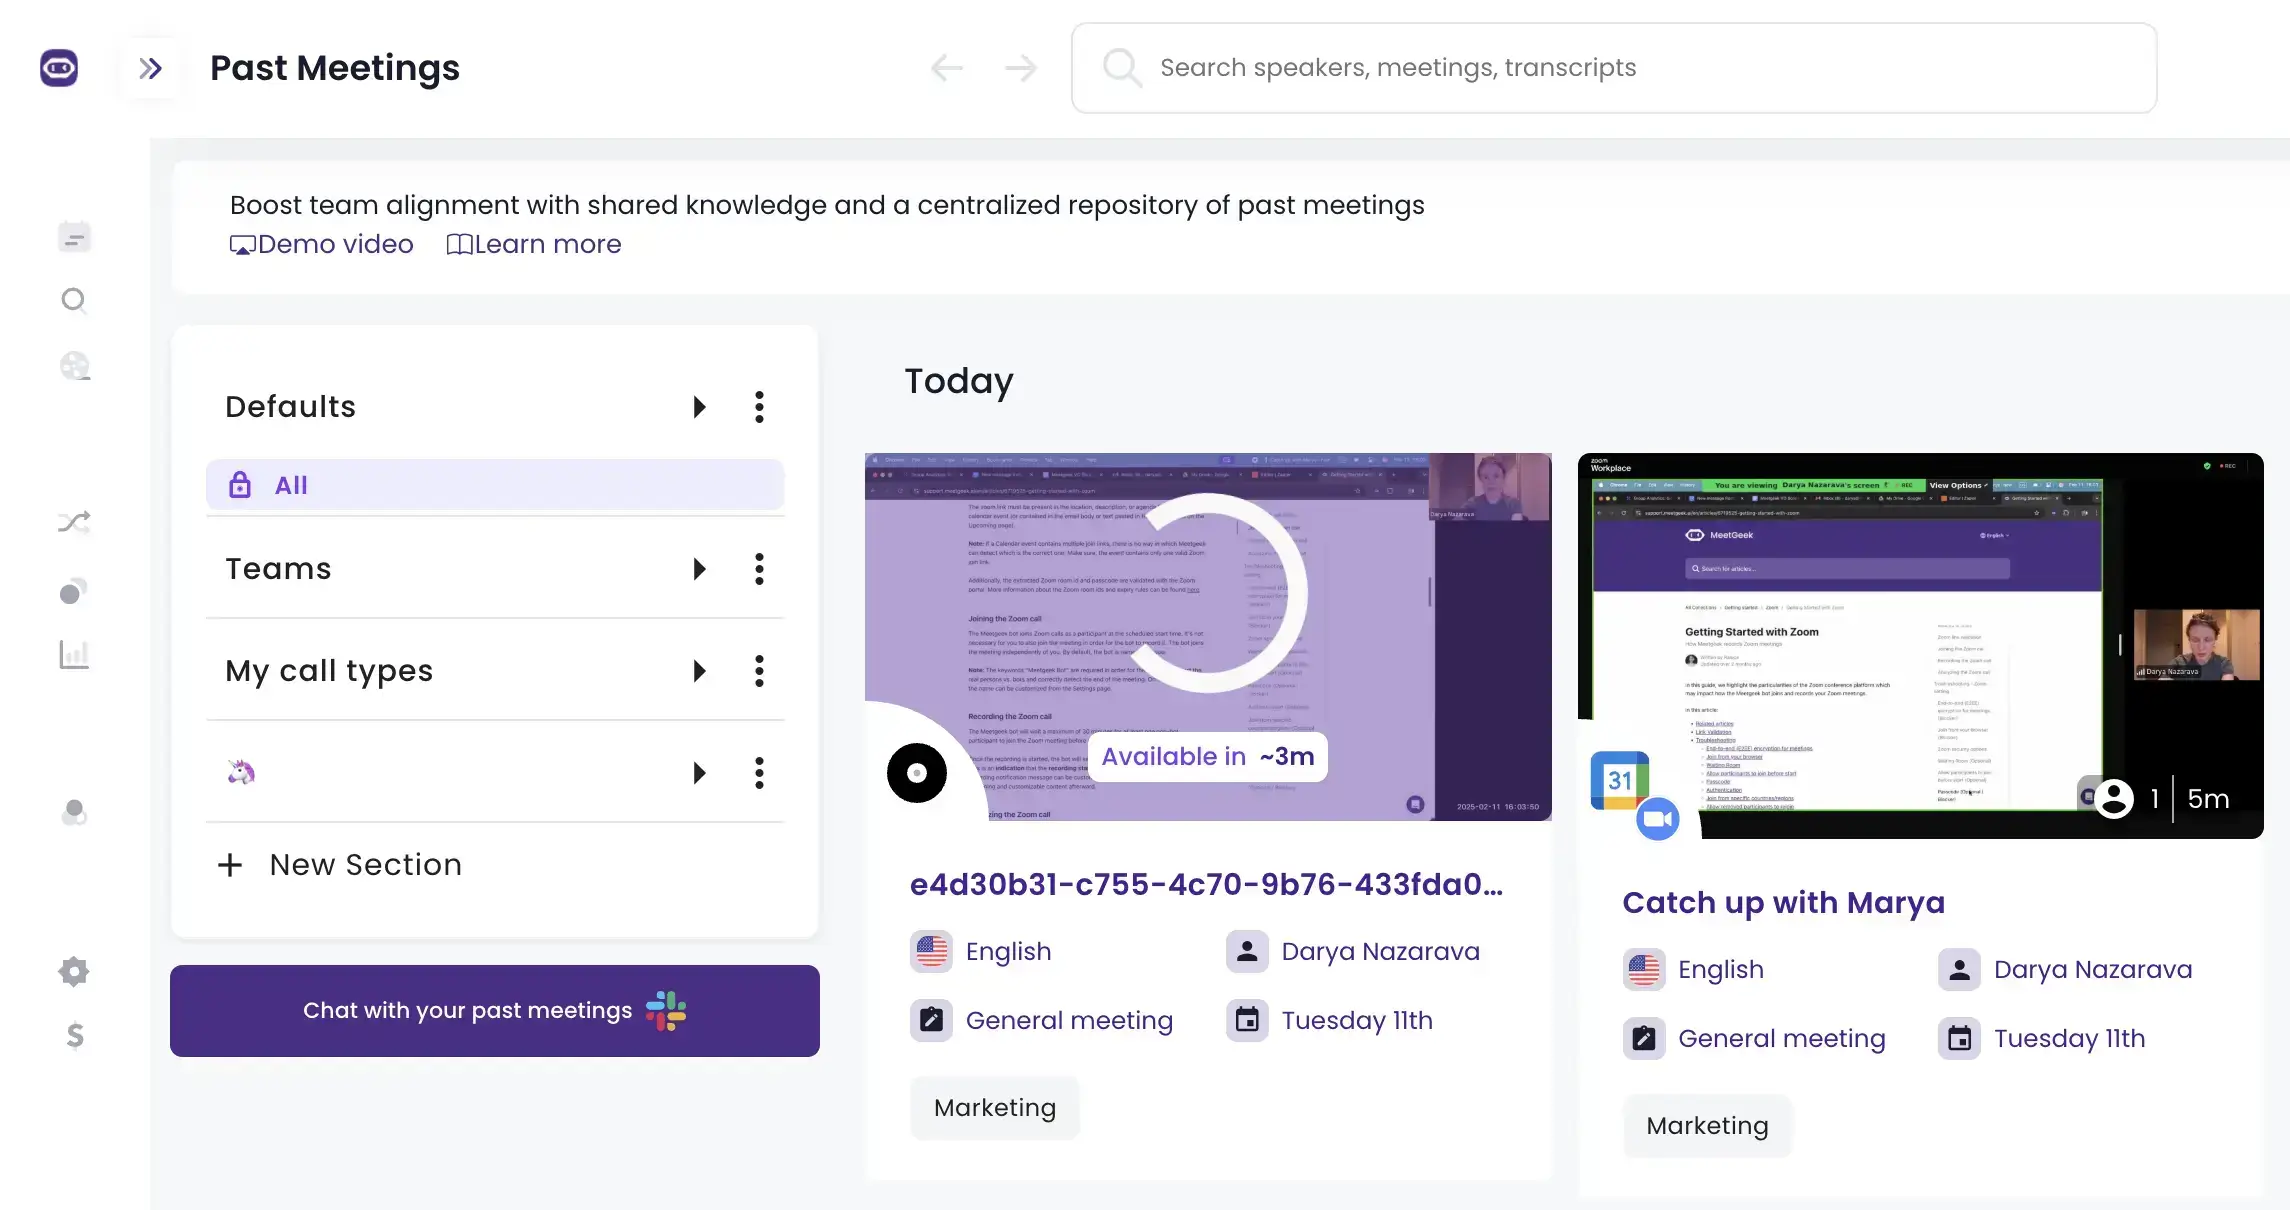
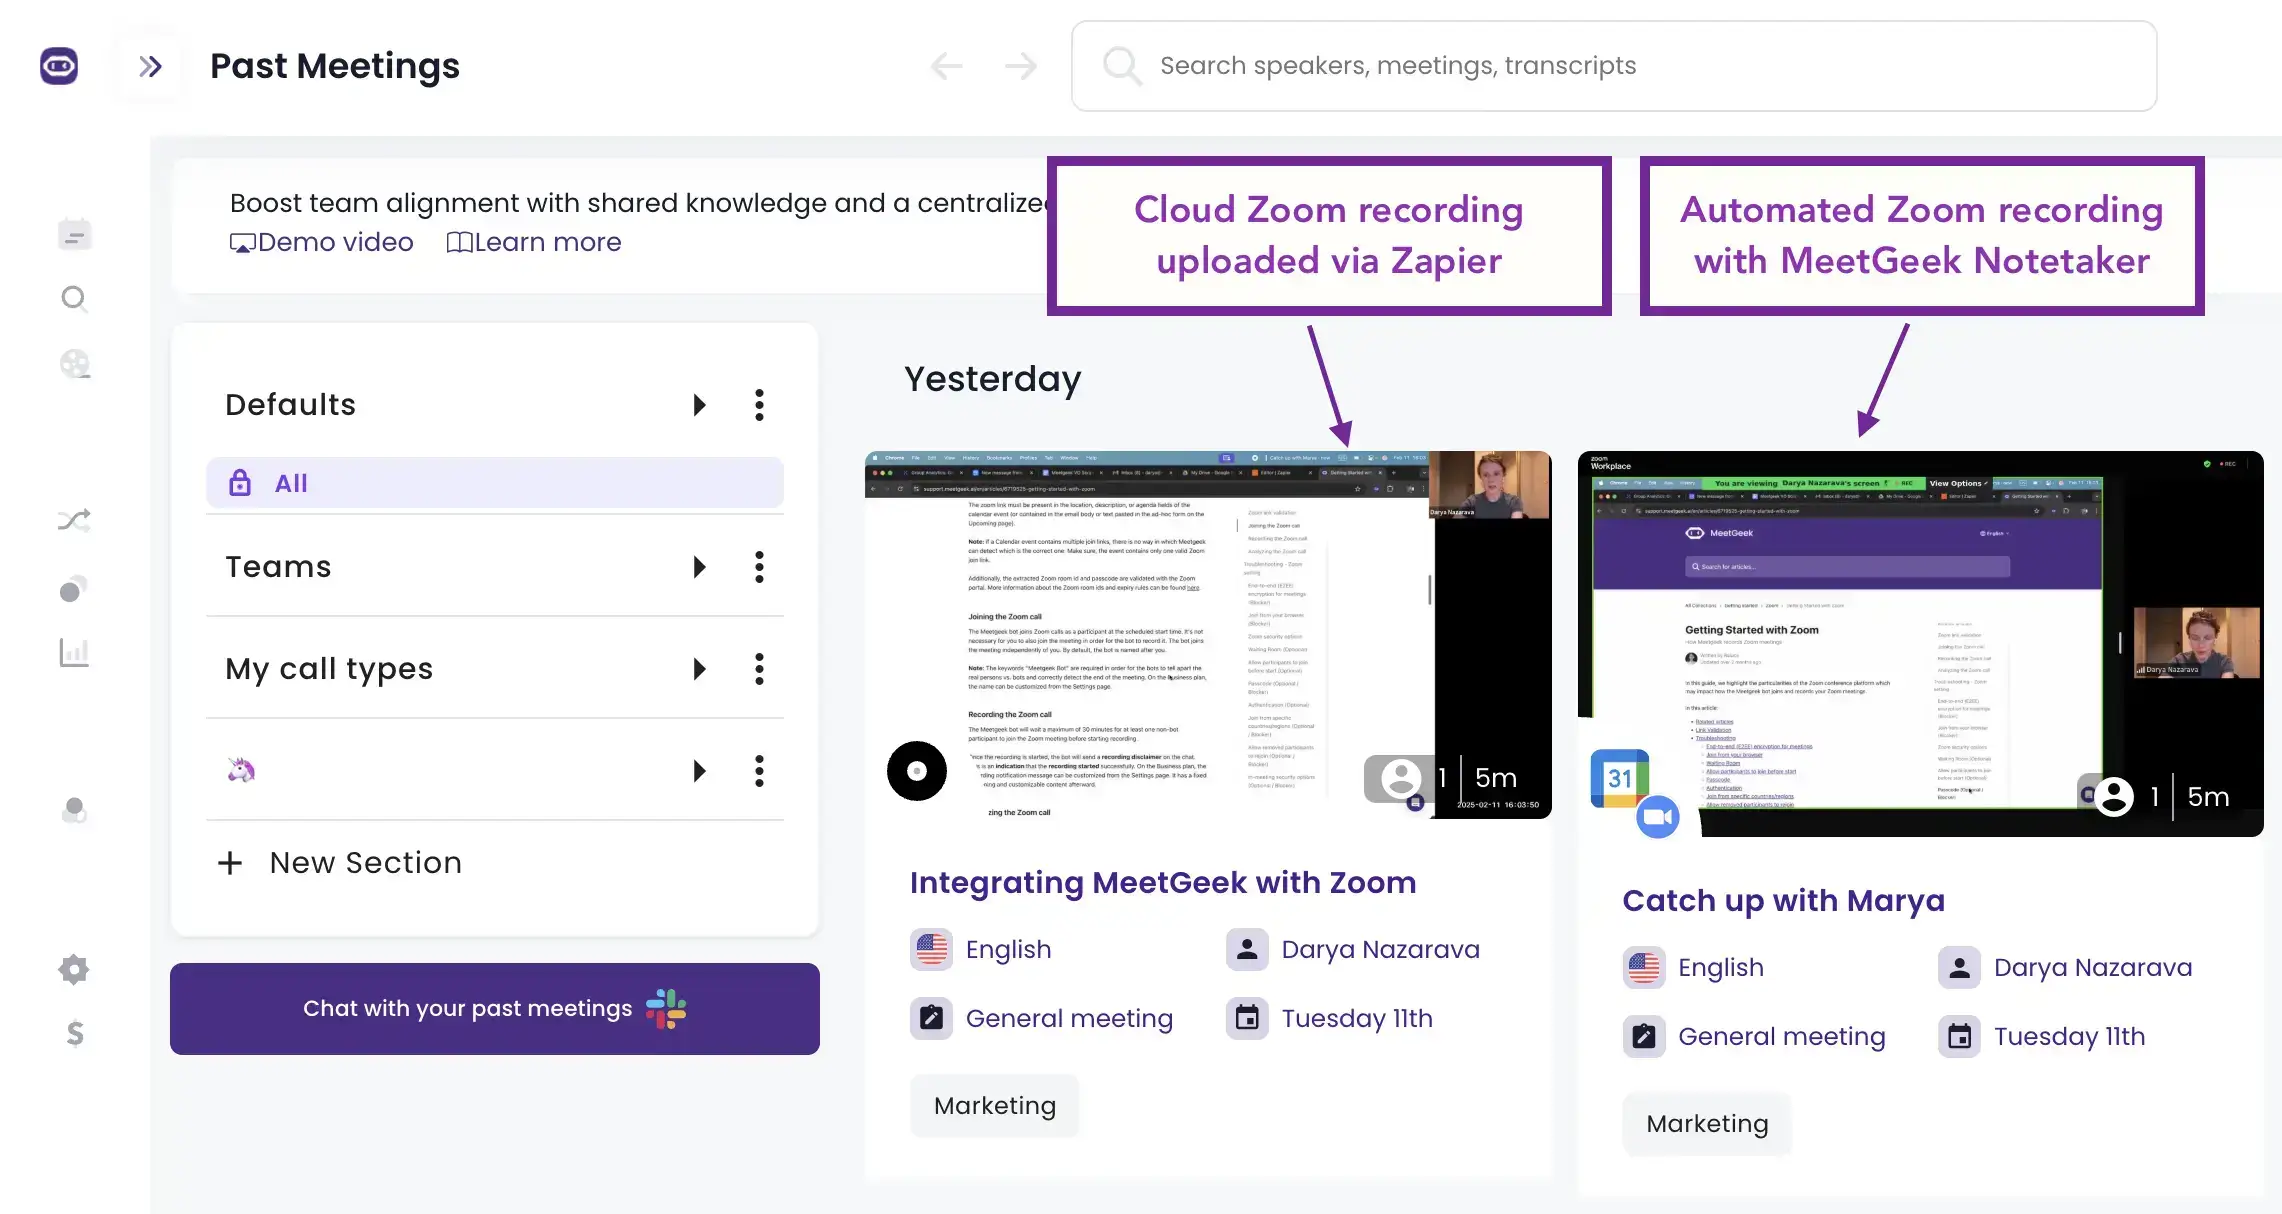
Once processing is complete, you’ll find the recording in your Past Meetings section. MeetGeek automatically assigns a name to the uploaded file for easy navigation.
NOTE: As this integration requires access to MeetGeek API, check the API limits to ensure your Zap works as expected.


Zoom meetings have become a staple in our daily routines, and with a packed schedule, you can easily miss out on key information. That's why having a reliable way to transcribe your Zoom meetings is crucial.
However, while Zoom's native transcription service does the job, it has its limitations in terms of language coverage and formatting options. This is where alternative solutions like MeetGeek really stand out.
MeetGeek is equipped with advanced AI technology that focuses on accuracy and enhances the user experience with features like action item and key point extraction and customizable formatting options.
| Feature | Zoom | MeetGeek |
|---|---|---|
| Price | Requires a Business, Education, or Enterprise subscription | Free plan that you can upgrade as needed |
| Language detection/ Accuracy | Limited to English Good quality, depending on audio quality and accents |
Supports 50+ languages Good quality, with AI features that adapt to various dialects and accents |
| Integrations | Zoom’s app marketplace offers 2000+ integrations | Supports all major video conferencing platforms, like Zoom, Google Meet, and MS Teams Integrates with 7,000+ 3rd party apps |
| Additional Features | Basic features like live transcription and speaker recognition | Accurate transcription with speaker identification tags and time stamps AI summaries Action item and key point extraction Meeting insights with customizable KPIs Automated follow-up emails |
Zoom's transcription service is included at no additional cost for users who have a Pro, Business, Education, or Enterprise account. However, this feature is not available for Basic (free) accounts.
Zoom audio transcription is generally accurate, especially if the audio quality is good and the speakers use clear and slow speech. The accuracy may decrease with background noise, multiple people talking at once, or if speakers have strong accents. It's always a good idea to review the transcript for any necessary corrections.
Yes, if the meeting host enables live transcription, participants can see captions in real time during the meeting. For recorded meetings, the host can choose to share the transcript file along with the recording.
And there you have it—two straightforward ways to create a Zoom transcript, each designed to suit different needs and preferences.
Whether you choose Zoom's native capabilities or opt for the enhanced features of MeetGeek, you're now equipped to capture every important detail of your meetings.
If you're looking for accuracy, flexibility, and additional features to enhance your meeting productivity, give MeetGeek a try to make meeting management effortless!

Staff Meeting Agenda Template: Free Examples
Use these free staff meeting agenda templates and examples to keep team meetings focused, assign action items, and make every meeting more productive.

Recruitment Automation Tools: 7 Platforms to Try
We compared 7 platforms that automate sourcing, screening, scheduling, and interview documentation, and where each one fits.

Best AI Note Taker for Zoom: 8 Tools Tested (2026)
How 8 AI note takers actually connect to Zoom, and what each one does when you are not the meeting host.
7 Best Free AI Meeting Note Takers in 2026 (Tested)
A hands-on look at seven free plans, including how many meeting hours you actually get before the paywall starts.
Best Applicant Tracking Systems for Growing Teams
Explore the best applicant tracking systems, see who each ATS is best for, and learn how to choose the right one for your hiring process.
Executive Team: Roles, Structure, and Best Practices
Discover the roles, responsibilities, and traits of successful executive teams, plus practical strategies for building stronger leadership.
How to Record on Phone: iPhone and Android Guide
Discover how to record phone calls, voice notes, and screen activity on Android and iPhone, with tools, tips, and legal guidance.

What Is a Summary Report? Examples, Templates & Tips
A summary report helps turn complex information into clear insights. Learn the different types, essential sections, examples, and best practices for creating reports that save time and support better decision-making.
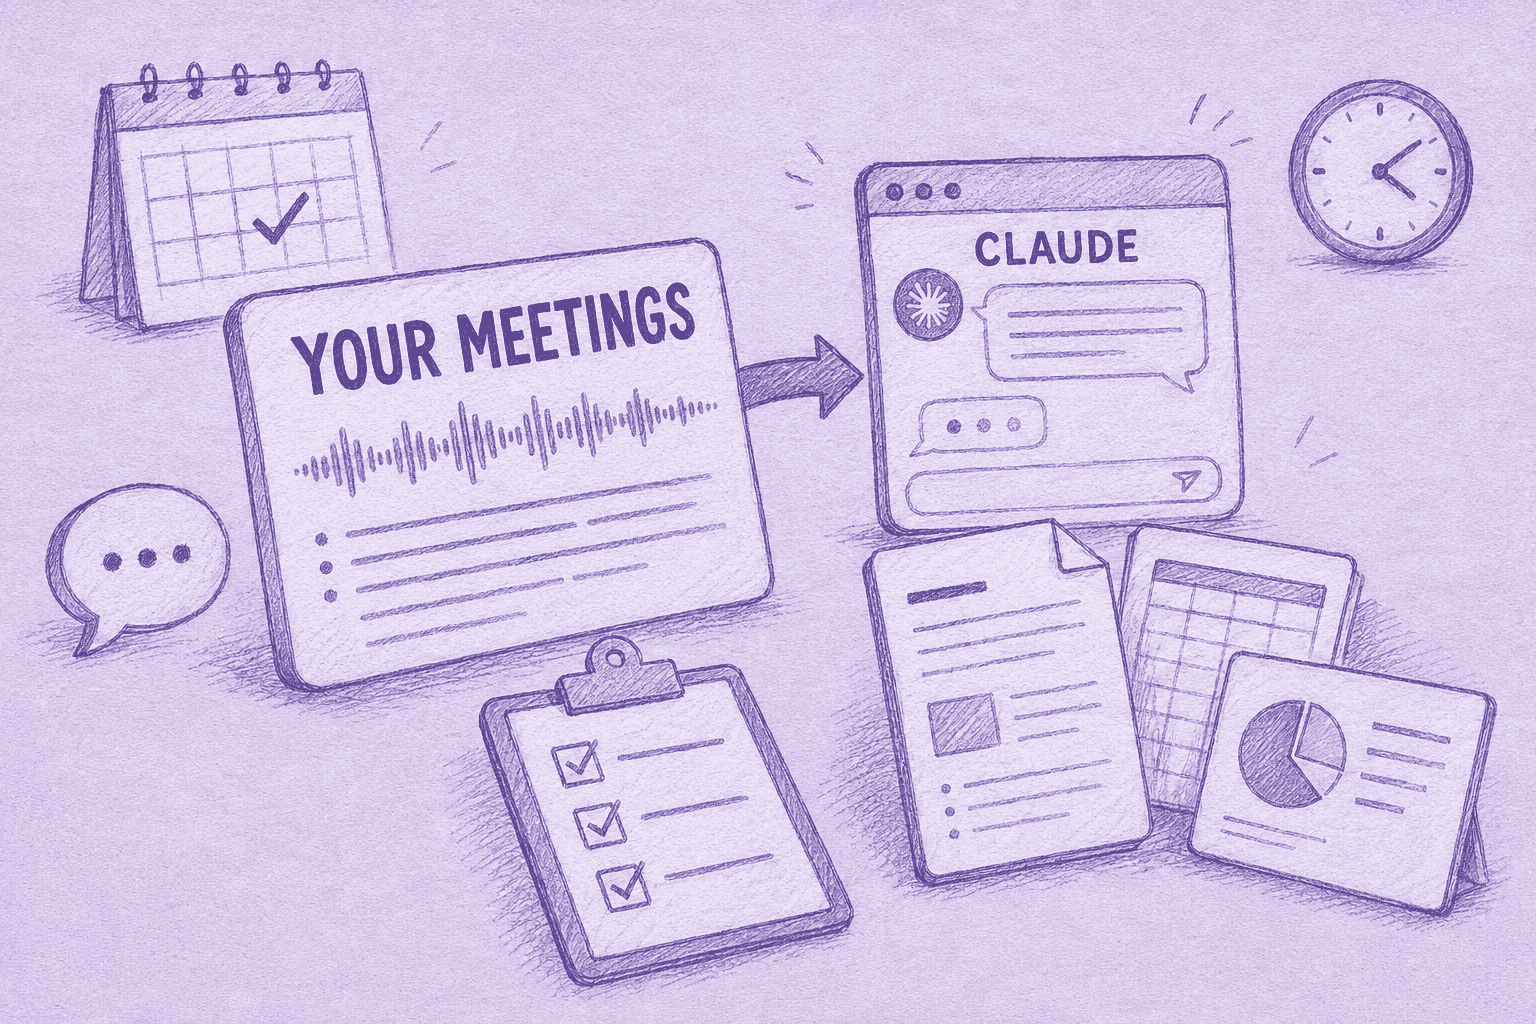
Meeting Notes in Claude: What You Can Build and How to Connect
Connect your meeting notes to Claude and turn past calls into answers, finished documents, and multi-step work.
The 6 Best Airgram Alternatives in 2026
Compare the best Airgram alternatives for 2026, including MeetGeek, Fireflies, Otter, tl;dv, Fellow, and Sembly AI.
Meeting Notes in ChatGPT: Benefits, Uses, and Setup
Connect your meeting notes to ChatGPT and turn past calls into instant answers, drafts, and automations, in plain language.
How To Type Faster: 15 Typing Hacks That Work
Want to type faster and make fewer mistakes? Discover practical typing hacks, keyboard shortcuts, and tools that help you work smarter.
10 Best ChatGPT Alternatives For Work In 2026
Looking for a ChatGPT alternative? Compare the top AI tools for research, meetings, writing, coding, search, and productivity in 2026.
9 Best Calendly Alternatives in 2026 (Tested + Compared)
Cal.com, Acuity, Chili Piper, and more — the best Calendly alternatives in 2026, tested and ranked by use case.
8 Best Google Meet Extensions in 2026 (Tested for Productivity)
From AI notes to noise cancellation, here are 8 Chrome extensions that fix what Google Meet doesn’t do natively.

AI Productivity Tools We Actually Use in Sales and Marketing
A practical look at the AI productivity tools we use daily for meetings, content, automation, sales workflows, and teamwork.

Gemini vs. Google Assistant: Full Comparison Guide
Confused about Gemini vs Google Assistant? Learn the key differences, what Google is changing, and which assistant fits you best.
Managing Hybrid Teams in 2026: Common Challenges and How to Overcome Them
Communication gaps, time-zone friction, culture drift — the four challenges every hybrid manager faces, and how to solve them.

MeetGeek vs tl;dv: Which AI Meeting Tool Is Right for Your Team in 2026?
Features, pricing, accuracy, integrations on a side-by-side comparison with a clear verdict for sales, CS, and ops teams.
How to Convert MP4 to Transcript (Fast & Accurate)
Learn how to convert MP4 files into accurate transcripts, subtitles, and captions with AI tools for meetings, webinars, and interviews.
Google Transcription Service in 2026: Honest Review and Best Alternative
Google Meet, Cloud Speech-to-Text, Docs, Recorder — what each does, where each falls short, and the better alternative.

AI Sales Coaching: How Modern Sales Teams Use AI to Close More Deals
How AI sales coaching analyzes every call (not just the 3% a manager samples) and surfaces coachable moments by rep, stage, and objection type.
Can ChatGPT Transcribe Audio? What It Can and Can’t Do
Can ChatGPT transcribe audio? Discover how it works, its limitations, and when to use MeetGeek for better results.
AI for Customer Success: The 2026 Playbook
Where AI plugs into the CSM day (Renewals, Risk, References, Reviews) plus a maturity model and a 10-item checklist for choosing tools.
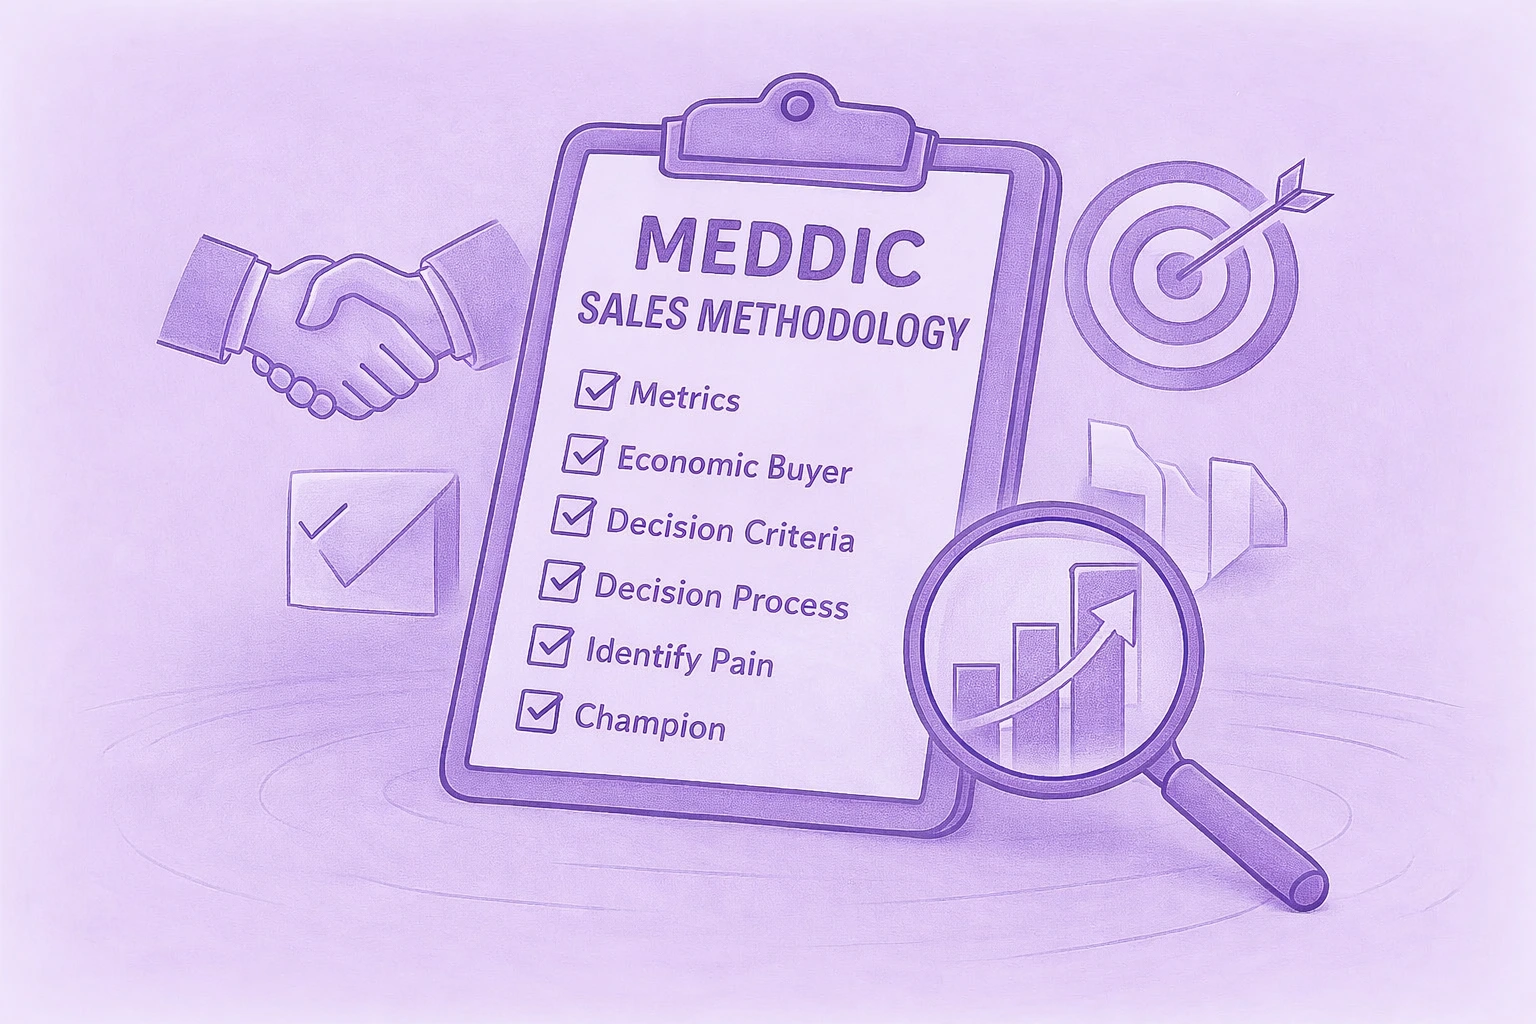
A Complete Guide to the MEDDIC Sales Methodology
Discover MEDDIC sales, how it helps qualify leads, understand decision processes, and improve win rates across complex B2B sales cycles.
How To Write an Out of Office Message
Learn how to write a clear out of office message, what to include, and use ready-to-copy examples for any situation.
.webp)
How To Cancel Your Zoom Subscription in 2026
Need to cancel your Zoom subscription? This guide explains exactly how to do it on the Zoom website, Apple App Store, or Google Play, what happens after cancellation, and how to avoid extra billing charges.
MeetGeek vs Fellow: Comparing Meeting Notes, Agendas, and Automation
Comparing MeetGeek vs Fellow? See how their AI meeting notes, agendas, recordings, and automation features differ to find the best fit for your team.

How to Screen Record on Mac (With Audio, System Sound & Pro Tips)
Learn how to screen record on Mac using built-in tools, capture audio correctly, and see when MeetGeek is the smarter option.
MeetGeek vs Krisp: Which AI Meeting Assistant Is Right for Your Team?
MeetGeek vs Krisp compared: AI notes, noise cancellation, pricing, integrations, and recording features explained clearly.
Video Conference Tips for Running Successful Virtual Meetings
Learn practical video conference tips that improve audio quality, engagement, and follow-through, and help teams stay aligned after virtual meetings.
Webex vs Zoom: Which Video Conferencing Platform Fits Your Meetings Best?
A clear comparison of Webex vs Zoom, from features and pricing to security and integrations.
How to Raise Hand in Zoom on Any Device
A device-by-device guide to Zoom's raise hand feature, including keyboard shortcuts and what to do when the button goes missing.
Good Questions to Ask in an Interview That Help You Make the Right Choice
Learn which questions to ask, when to ask them, and how to use interviews to decide if a role, team, and company are truly right for you.

What is Companion Mode in Google Meet? Everything You Need to Know
Read on for a practical guide to using Companion Mode in Google Meet for clearer, more balanced hybrid meetings.
.webp)
What Is a Skip-Level Meeting? How Leaders Use Skip-Levels to Improve Communication
An in-depth look at skip-level meetings and how they help leaders connect with teams and gain real insight.
What Is an AI Voice Agent? A Practical Guide to How Voice AI Really Works
This guide explains what an AI voice agent is, how it works, the benefits it offers, and where it fits best alongside human teams.

Stand-Up Meeting Guide: What They Are and How to Run Them
Discover what makes a stand-up meeting actually useful. This guide explains how to run daily stand-ups that stay short, surface blockers, and keep teams aligned.
Everything About Microsoft Teams AI Interpreter + How to Go Beyond Translation
Find out how Microsoft Teams AI Interpreter works, where it falls short, and how to go beyond translation.
Best Lecture Recording App in 2026: 5 Tools Students Actually Use
Let’s take an in-depth look at what students are using nowadays to record and organize their lectures, both online and offline.
Read AI Pricing Explained for 2026: Is It Worth It for Meeting Notes
Explore Read AI’s 2026 pricing, its core features, and how it handles meeting notes, transcription, and insights to support modern teams.

What Is a Searchable Knowledge Base and How Does It Work?
Explore how searchable knowledge bases improve access to information and see how MeetGeek turns your meetings into a fast, reliable knowledge hub.
How to Blur Background in Google Meet (Simple Guide for All Devices)
Discover how to blur your background in Google Meet on desktop and mobile, use visual effects, and get a cleaner, more focused look in every call.
How to Join Teams Meeting With Code: A Complete Step-by-Step Guide
Find out how to join Microsoft Teams meetings using a meeting code, as well as other options like a link or invite. This guide explains every method in a clear, step-by-step way.

5 Best NoteGPT Alternatives in 2026
Explore the top 5 NoteGPT alternatives that help you capture key insights, transcribe content, and boost productivity across learning and professional workflows.
What Is Perplexity AI? A Guide to the AI-Powered Search Engine Transforming How We Find Information
In this article we’ll take a close look at Perplexity AI, what it can do for you compared to traditional search engines, and some of its pros and cons.
Top tl;dv Alternatives to Streamline Your Meetings
Discover the top tl;dv alternatives and explore and compare their features to choose the right AI meeting tool for your organization.
ChatGPT Record Mode vs MeetGeek: Here's Everything You Need to Know
Curious how the ChatGPT recorder compares to MeetGeek? We looked at features, integration, and data security for recording meetings.
Fathom AI Pricing 2026: Is It Still Worth It for Modern Teams?
Explore Fathom AI pricing for 2026, including features, limits, and plan comparisons, plus how MeetGeek offers more flexibility for teams.
AI Meeting Agents: How Autonomous AI Is Transforming the Future of Work
Discover how AI meeting agents are redefining the future of work—handling scheduling, follow-ups, and even speaking on your behalf to save time and turn every meeting into real action.
Notta AI Review: Is This AI Transcription Tool Worth It in 2026?
Read this in-depth Notta AI review to see how well it transcribes meetings, handles multiple languages, and delivers AI summaries, plus where it falls short compared to smarter meeting assistants.
These 5 AI Tools for Nonprofits Will Make Every Hour Count
Make your nonprofit more efficient with AI tools that cut admin time, improve collaboration, and maximize every hour of impact.
Granola AI Notes Alternatives: The Best Options to Try in 2026
Explore the best Granola AI Notes alternatives for 2025 with smarter tools that go beyond transcription, offering automation, insights, and collaboration.
Follow-Up Email After Interview: How to Write It, When to Send It, and What to Say
Discover how to write an effective follow-up email after an interview. From timing and templates to tone and structure, this guide covers everything you need to stand out and stay memorable.
Tactiq Pricing 2026: Is It Worth It? Plans & Costs
A clear look at every Tactiq plan, what AI credits really limit, and how the costs add up for solo users and teams.

Ad Hoc Meeting Meaning and How to Run One
Discover the true ad hoc meeting meaning and learn how to make spontaneous discussions more focused and effective. Find out when to hold and manage them.
Virtual Meeting Etiquette: 15 Essential Rules for Professional Video Calls
Discover 15 essential virtual meeting etiquette rules and tips that keep conversations focused, professional, and engaging.
How to Blur Background in Zoom: Step-by-Step Guide
Discover how to use Zoom’s blur background feature for privacy and focus, plus tips, fixes, and when to switch to virtual backgrounds.
How to Share Screen on Google Meet on Any Device
A step-by-step guide to presenting a tab, window, or full screen on Google Meet, with audio, on desktop and mobile.
MeetGeek’s MCP Server Explained: How It Enables AI Assistants to Transform Meetings
See how MeetGeek’s MCP Server helps AI assistants turn your meetings into smart, actionable insights, all from your local machine.

How to Change Your Name on Zoom (Before and During a Call)
A step-by-step guide for desktop, web, and mobile, including how to rename yourself mid-call and stop your name from reverting.
Note-Taking AI for Students: The Best Tools to Study Smarter in 2026
A guide to the best AI note-taking tools for students in 2026, with features, pros, and cons to help you choose the right app for learning.
Descript Pricing Review 2026: What It Offers, Where It Falls Short, and a Better Alternative
A closer look at Descript’s pricing tiers, their trade-offs, and why MeetGeek stands out as a smarter choice for creators.
Google Meet Time Limit: Free vs Paid Plans (2026)
Google publishes a different meeting length for free accounts, Workspace editions and Google One. Here is each one.
How To Transcribe Voice Memos To Text (3 Different Ways)
In this article, you’ll learn how to transcribe voice memos in three different ways, weighing the pros and cons of each option.
Best ClickUp Alternatives for AI Note Taking
Learn about the best 5 ClickUp alternatives if you want to go beyond simple AI note-taking and find a comprehensive meeting assistant.
What Is an Objective Summary? Definition, Examples & Tips
Objective summaries are a must when you need key information from lengthy meetings. We’ll discuss all about them in this article!

How to Record a Google Meet, With or Without the Host
Google Meet limits recording to paid plans and hosts by default. Here is every way around that, including on Android.
8 Best Meeting Note-Taking Apps in 2026
Looking for the best meeting note-taking app for your team? We break down the features, pros, and cons of the 8 best ones right now.
How to Record a Zoom Webinar as a Host or Participant (2 Methods)
In this article, we will review how to record a Zoom webinar as host or participant using Zoom’s built-in recording and third-party tool with AI transcription.

7 Best Chrome Extensions for Salespeople and AMs
In this article, we will explore the best Chrome extensions for sales reps, focusing on tools that improve meeting intelligence, integrate with CRMs, and optimize productivity.
Best Chrome Audio Capture & Recorder Extensions (2026)
Compare the top Chrome extensions and tools for recording tab audio in 2026, from free recorders to full AI meeting assistants.

7 Best Speech to Text Chrome Extensions: Comparison & Features
This guide breaks down the top 8 speech-to-text Chrome extensions for 2025, reviewing their key features, pricing, and ideal use cases to help you make an informed decision.
Meeting Overload Isn’t the Real Problem - Bad Meeting Design Is
When meeting overload becomes obvious, there are soma small changes that can transform your entire meeting culture.
Best Conversation Intelligence Software in 2026
By leveraging AI, these conversational intelligence platforms provide the analysis needed to refine sales or investor pitches, improve coaching, and influence revenue.

How to Add Meeting Notes to Google Docs [3 Easy Ways]
Let's explore 3 ways of how to add your meeting notes to Google Docs - manually or automatically.
Find the Best Zoom Alternative in 2026
Looking for a Zoom alternative? Check out the best options for 2026 and find the perfect fit for your meetings!
How to Extend the Zoom Time Limit: Paid & Free Solutions
Need more time for your Zoom meeting? Learn how to easily extend your session with this simple guide.
Microsoft Teams for Mac: How to Download, Install & Use It (2026)
Setting up Microsoft Teams on Mac is easy! Follow our quick guide to start collaborating seamlessly.
How to Record WhatsApp Calls on Any Device (2026)
Discover the easiest way to record WhatsApp calls with our clear, step-by-step instructions.
Top 5 Integrations for AI Meeting Assistants in 2026
Looking to boost your meeting productivity? Explore the top AI meeting assistant integrations of 2026 that seamlessly connect with your favorite tools and apps.
7 Ways AI Meeting Assistants Save Time for Sales Teams in 2026
Learn how AI meeting assistants transform sales productivity in 2026 by eliminating manual tasks, streamlining workflows, and enabling reps to focus on selling.
Zoom Pricing in 2026: Plans, Add-Ons and Real Costs
A plain-English breakdown of every Zoom Workplace plan, add-on and hidden cost, with the real yearly price for teams of each size.
Can I Take a Screenshot in Teams? Your Questions, Answered
Wondering how to take a screenshot in Teams? We break down what works, what doesn’t, and what to watch for.

Google Meet Pricing in 2026: Free vs. Paid Plans Compared
Find the right Google Meet plan for your team with our clear breakdown and smart cost-saving tips.
Where Are Teams Recordings Stored? All Locations, Explained
Wondering where your Microsoft Teams recordings end up? Here’s every storage option clearly explained.

The 4-Day Workweek: How Companies Are Winning the Talent War
Why working less might be the smartest move for companies chasing productivity, innovation, and talent retention.
Find the Best Speech to Text App for Work in 2026 (Free & Paid)
Looking for a speech to text app in 2026? We’ve rounded up top picks to boost productivity and save time at work.

Managing Security and Compliance Risks Related to AI Note-Takers
Keep your AI-powered meetings secure and compliant! Learn how to manage security and compliance risks, protect sensitive data, and ensure privacy in your virtual meetings.
How to Write a Business Meeting Follow-Up Email + Templates & ChatGPT Prompts
Learn how to write clear, professional business meeting follow-ups with templates and ChatGPT prompts to save time and boost responses.

Microsoft Teams AI: How to Use Copilot in Meetings
A step-by-step guide to Teams Copilot for meetings, plus how MeetGeek adds recording, 100+ languages and follow-ups across platforms.

How to Take Minutes for a Meeting Like a Pro [+ Free Customizable Template]
Take flawless meeting minutes every time! Learn expert tips to capture key points, track action items, and impress your team with professional note-taking skills.
The 5 A's of Effective Communication: A Startup Guide to Better Team Collaboration
Startup success isn’t just about great ideas—it’s about how well your team communicates. Discover the 5 A’s framework to improve collaboration, reduce friction, and turn conversations into action.
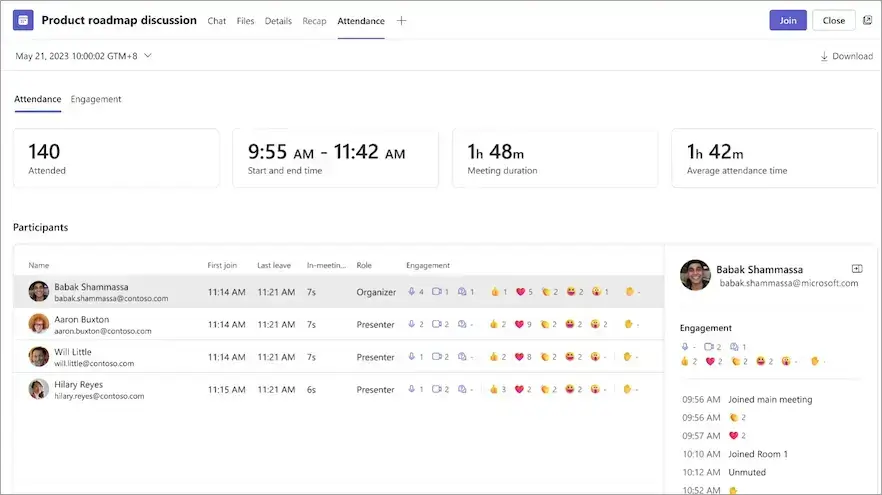
Teams Meeting Attendance Report: What It Is & How to Use It
Demystify the Teams Meeting Attendance Report! Learn how to access, interpret, and leverage it to track engagement and improve your virtual meetings effortlessly.

How to Create & Use Google Meet Breakout Rooms
Master Google Meet breakout rooms! Learn how to create, manage, and use them to foster collaboration and engagement in your virtual meetings.
How to Record Yourself on Zoom, Step by Step
A step-by-step guide to recording yourself on Zoom, on your own or while presenting slides, locally or to the cloud.

30+ Sales KPIs to Track in 2026
Unlock the secrets to sales success in 2026 with this guide to over 30 essential sales KPIs. Learn what to track to drive your team’s performance and revenue growth.
How to Create a Zoom Transcript: 3 Ways
Discover how to effortlessly create Zoom transcripts with our guide on three simple methods, perfect for capturing every key discussion point.

Find the Perfect Employee Performance Review Template
Discover the best employee performance review templates to streamline your evaluation process and boost workplace productivity.

Best 60+ Sales Motivational Quotes for Your Sales Team in 2026
Looking for sales motivation? Find the best sales quotes for 2026 to empower your team, encourage a positive mindset, and keep everyone focused on hitting targets.
Two-minute setup. Free forever foundation. Enterprise-grade from day one. Turn meetings into a positive and rewarding experience