


- Microsoft supports Teams on one of the three most recent versions of macOS, which in September 2026 means macOS 27 Golden Gate, macOS 26 Tahoe and macOS 15 Sequoia.
- macOS 27 Golden Gate dropped Intel Macs, and Apple has said macOS 26 Tahoe is the final macOS release for them. Under Microsoft's current policy, Intel Macs limited to Sequoia are the next to leave the support window.
- There is no Mac build of Teams on the App Store. The listing that comes up in search is the iPhone and iPad app, and Microsoft ships the Mac version as a .pkg from its own download page.
- When the Teams installer fails on a Mac, the macOS version is the first thing to check.
The Microsoft Teams desktop app for Mac is a free download from Microsoft that you install as a .pkg and run on macOS. It gives you the same meetings, chats, channels and file sharing as the Windows version, and you can sign in with a personal Microsoft account, a work account or a school account.
Installing it is the easy part. What stops people is not knowing whether their Mac is still new enough to run it. Microsoft supports Teams on one of the three most recent versions of macOS, and Apple's release of macOS 27 Golden Gate on September 14, 2026 shifted that support window.
This guide covers what Microsoft supports today, how to download and install Teams, and what to do when the installer refuses. It also covers recording and notes once your Teams calls start, including where MeetGeek's Microsoft Teams integration fits on a Mac. If you already know your Mac is current, skip ahead to the download steps.
What Are the System Requirements for Microsoft Teams on Mac?
Microsoft publishes the requirements for the Teams desktop client, and the one that matters most is the operating system. The official rule is not a fixed version number. It is a moving window: the current version of macOS and the two before it.
As of September 2026, that window holds:
- macOS 27 Golden Gate, released September 14, 2026;
- macOS 26 Tahoe;
- macOS 15 Sequoia.
macOS 14 Sonoma fell out of that window when Golden Gate shipped. Teams may still install and launch on a Sonoma Mac, but it is no longer a supported configuration.
The rest of the minimum system requirements are modest, and almost any Mac that meets the macOS requirement meets these too:
- Processor: a dual-core processor or better;
- Memory: 4 GB of RAM;
- Storage: 1.5 GB of available disk space for the app and its updates;
- Display: 1200 x 800 resolution or higher;
- Video and audio: a compatible webcam and a microphone, or a headset;
- Browser, if you use Teams on the web instead: a current version of Safari, Chrome or Firefox.
To check which macOS you are on, click the Apple logo in the top-left corner of your screen and choose About This Mac.
Does Microsoft Teams Work on Your Mac?
Yes, on any Mac running one of the three supported macOS versions. What has changed is that Apple Silicon and Intel are now on different tracks.
Every Mac with an M1 chip or newer appears on Apple's compatibility list for macOS 27 Golden Gate, so it is supported today and can run the current macOS. Intel Macs are a different story. Golden Gate is Apple Silicon only, and Apple has said macOS 26 Tahoe is the final macOS release for Intel Macs. Only a small group of 2019 and 2020 Intel models reached Tahoe at all.
That splits Intel owners into two groups, and Microsoft's three-version policy decides which one you are in:
- An Intel Mac limited to macOS 15 Sequoia is sitting on the oldest supported version, so it is next in line to fall out of the window;
- An Intel Mac that reached macOS 26 Tahoe has one more macOS generation of room, because when the next major version arrives the window becomes that version plus Golden Gate plus Tahoe.
Neither group can upgrade its way out later. There is no macOS after Tahoe for Intel hardware, so once a machine leaves the window it stays out.
Here is what that means by Mac type:
| Your Mac | Newest macOS it runs | Teams support today | What happens next |
|---|---|---|---|
| Apple Silicon, M1 or newer | macOS 27 Golden Gate | Supported | Runs the current macOS, so it sits at the top of the support window |
| Intel Mac that reached macOS 26 Tahoe | macOS 26 Tahoe | Supported | Remains inside the support window for one more macOS generation under the current policy; after that, there is no newer Intel-compatible macOS to upgrade to |
| Intel Mac limited to macOS 15 Sequoia | macOS 15 Sequoia | Supported | On the oldest supported version, so it is the next to leave the window |
| Any Mac on macOS 14 Sonoma or older | macOS 14 or older | Outside the supported window | Update if the Mac allows it, otherwise use Teams in a browser |
Table last updated: September 18, 2026.
If your Mac can take a newer macOS, Apple's guide to downloading and installing macOS walks through it. If it cannot, Teams in a browser is the fallback, covered further down.
How Do You Download Microsoft Teams for Mac?
Download Teams for Mac from the official Microsoft Teams download page. The app is free, and the Mac version arrives as a single MicrosoftTeams.pkg installer.
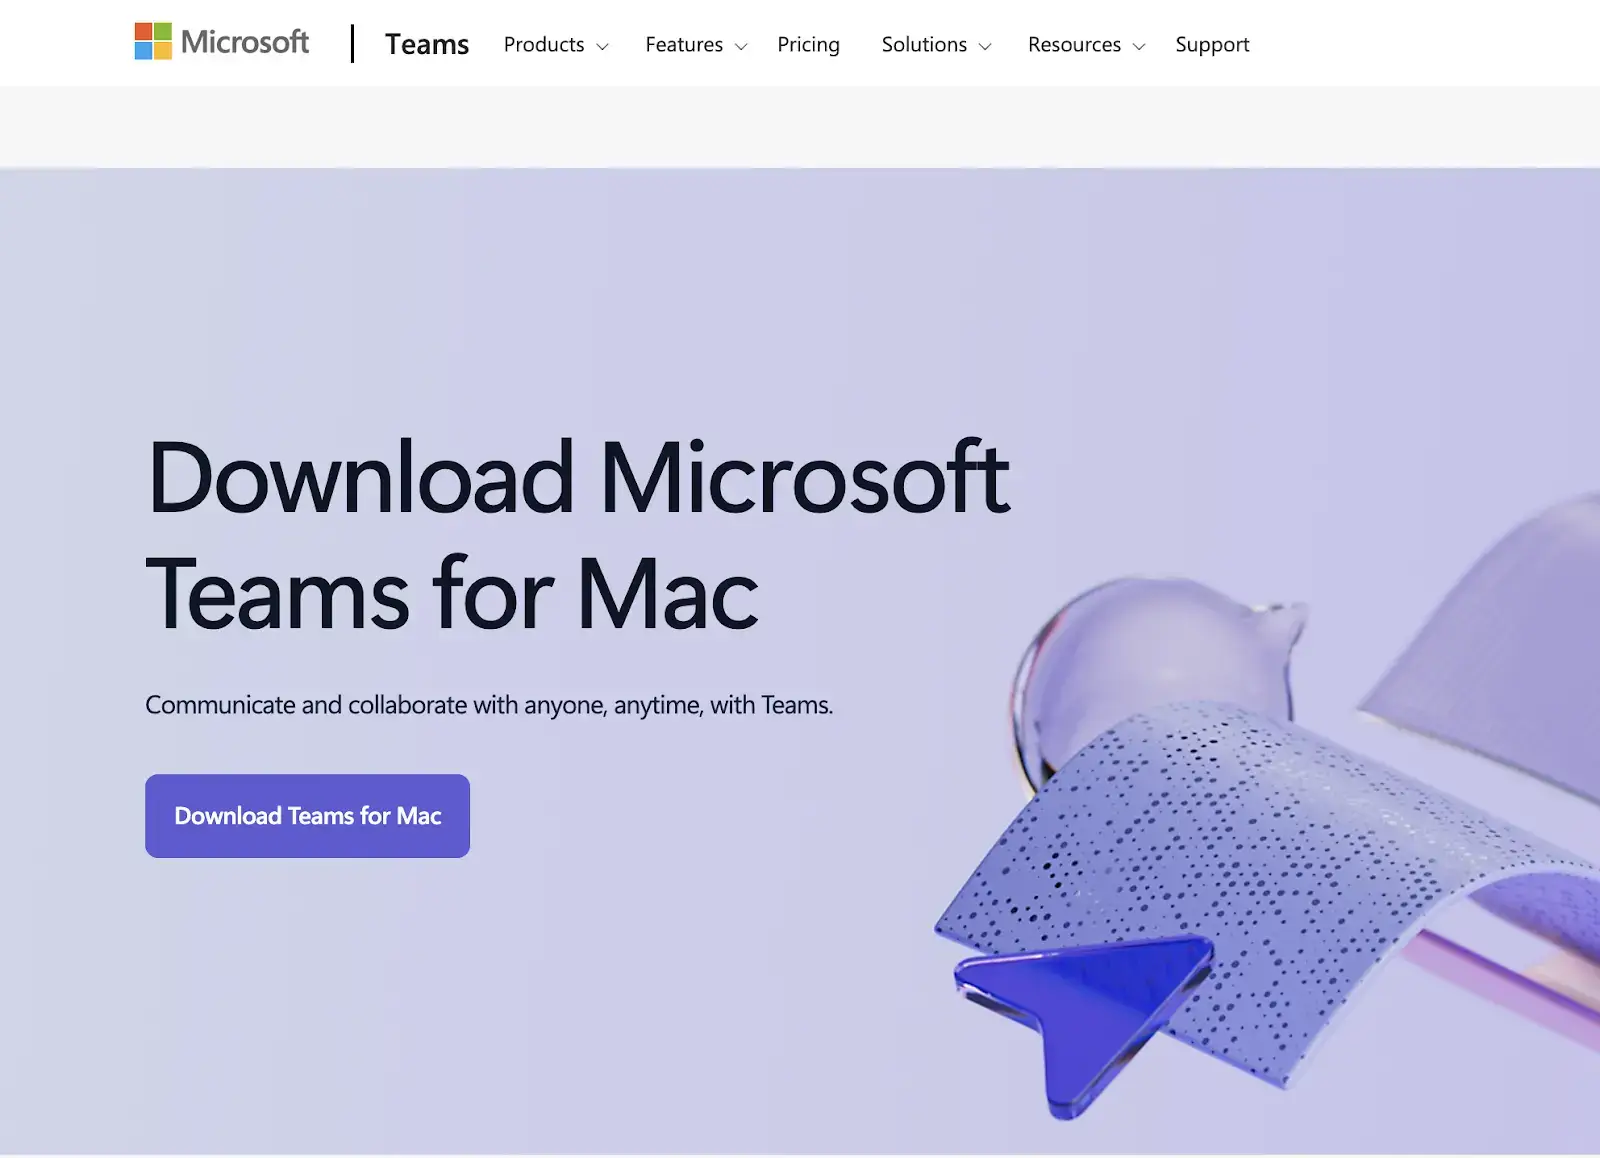
One thing worth knowing before you go looking elsewhere: there is no Mac build of Teams on the App Store. Search for Microsoft Teams in the App Store, or click the Apple listing that Google returns, and you land on the iPhone, iPad and Apple Vision app. Its compatibility panel says iOS 17, iPadOS 17 and visionOS 2, with nothing for macOS. Microsoft's own download page offers no App Store link either, only the .pkg. Checked September 2026.
To download it:
- Go to the official Microsoft Teams download page.
- Click Download Teams under the desktop section.
- Wait for MicrosoftTeams.pkg to finish downloading.
- Open the downloaded file to start the installer.
How Do You Install Microsoft Teams on Mac?
Teams uses a standard macOS .pkg installer.
- Open your Downloads folder and double-click MicrosoftTeams.pkg to launch the installer.
- Click Continue, then Install. Enter your Mac username and password if macOS asks for them.
- Click Install Software and wait. macOS shows a confirmation message when it finishes.
- Launch Teams from your Applications folder or through Spotlight, then sign in with your Microsoft account, work account or school account.
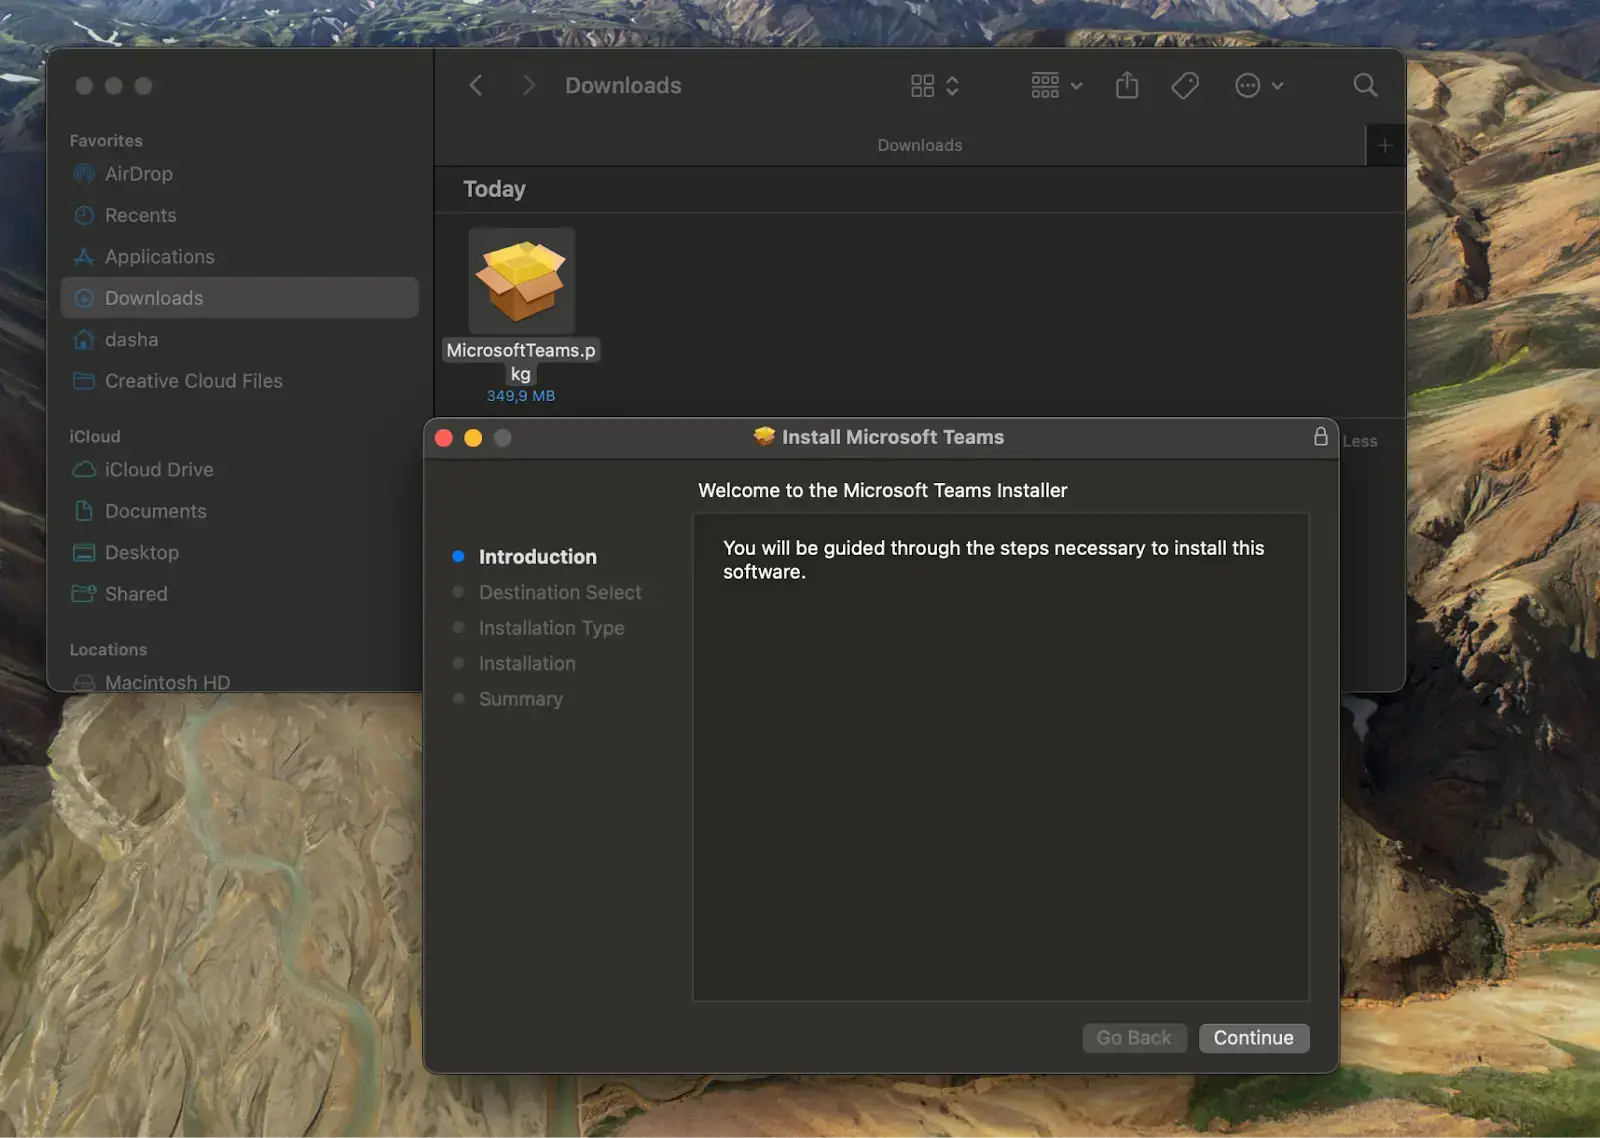
That is the whole process. If the installer stops before step 3, skip ahead to the troubleshooting section.
What Are Microsoft Teams' Features on Mac?
The Mac client is not a cut-down version. It includes the same core Teams features: meetings, chats, channels, screen sharing, calendar scheduling, file sharing, and Microsoft 365 integrations with Outlook, Word, Excel and PowerPoint. Everything also syncs with the Teams apps on iPhone and iPad.
Teams runs natively on Apple Silicon as well as Intel Macs, through Microsoft's universal Mac installer.
Can You Use Microsoft Teams on a Mac Without Downloading?
Yes. Open Safari, Chrome or Firefox, go to teams.microsoft.com and sign in with your Microsoft, work or school account.
The web version covers the essentials: joining meetings and calls, chats and channels, file sharing, screen sharing during meetings, and calendar events. The main gap Microsoft documents is in screen sharing: you cannot give or take control of someone's shared screen when either of you is using Teams in a browser.
It is also the practical fallback for a Mac that has fallen outside the supported macOS window, as long as it can still run a current version of Safari, Chrome or Firefox. Microsoft ties browser support to the same system requirements, though, so treat it as a workaround rather than a supported setup.
How to Record and Transcribe Microsoft Teams Meetings on Mac
Teams can already record and transcribe meetings, and some plans add AI recap features on top. Teams recordings live in OneDrive or SharePoint, and what you get back depends on your license and on the policies your organization has switched on.
Did you know?
According to official MeetGeek data from the first half of 2026, Microsoft Teams accounted for 38.6% of meetings, behind Google Meet at 43.0% and ahead of Zoom at 18.4%.
MeetGeek becomes useful when you want the same notes, action items and searchable meeting library across Teams and the other meeting platforms you use, or a capture workflow on macOS that does not put a bot in the call.
There is a detail here that matters specifically on a Mac. MeetGeek's Chrome extension only works with Teams when Teams is running in a browser. If you have just installed the Teams desktop app, use MeetGeek's macOS desktop app, which captures the call from your machine without adding a participant to the meeting. Recording without a bot is not the same as recording without telling anyone, so announcing it and following your own consent rules is still on you.

After each meeting you get the recording, a full transcript, an AI summary, the action items and the highlights. MeetGeek also pushes all of that into the tools you already use through its native integrations plus 10,000+ connected apps via Zapier, Make and n8n, so notes land in Slack, Notion or your CRM without anyone copying them over.
The same setup also works on Zoom and Google Meet, so calls on those platforms land in the same meeting library. MeetGeek can also create Microsoft Teams transcripts for people on Teams plans that do not include transcription.
Why Isn't Microsoft Teams Working on Your Mac?
The Installer Fails or Teams Will Not Install
If the installer fails, check your macOS version first. Open About This Mac, compare it against the three supported versions above, and update before you try anything else.
If your macOS is current and the installer still fails, leftover files from an earlier Teams install are the next thing to check. Drag Teams from Applications to the Trash, then in Finder press Cmd + Shift + G and delete these if they exist:
- ~/Library/Group Containers/UBF8T346G9.com.microsoft.teams
- ~/Library/Containers/com.microsoft.teams2
If the Mac ever ran the classic Teams client, remove ~/Library/Application Support/Microsoft/Teams as well. Then restart the Mac, download a fresh installer and run it again.
Teams Will Not Open or Keeps Crashing
Restart your Mac and try launching Teams again. If it keeps crashing, delete the app and reinstall the current version from Microsoft's download page, and make sure macOS itself is up to date.
Also check your free disk space. Microsoft lists 1.5 GB of available space as a requirement, so a nearly full drive is worth ruling out.
Your Microphone or Camera Is Not Working in Meetings
Open System Settings > Privacy & Security > Microphone and then Camera, and confirm Teams has permission for both. Then check which devices Teams is actually using under Settings > Devices inside the app, before you join the call rather than during it.
You Are Not Receiving Notifications
Go to System Settings > Notifications, select Microsoft Teams and confirm notifications are enabled. Inside Teams, open Settings > Notifications to choose which chats, channels, mentions and meeting alerts reach you.
You Cannot Sign In to Microsoft Teams
Confirm you are using the right account. A personal Microsoft account, a Microsoft 365 work account and a school account can use different sign-in paths, so make sure you are using the account associated with your organization or meeting.
If you changed your password recently and Teams still will not connect, clear the Teams client cache. Quit Teams, press Cmd + Shift + G in Finder, and delete ~/Library/Group Containers/UBF8T346G9.com.microsoft.teams and ~/Library/Containers/com.microsoft.teams2. Then reopen the app and sign in again.
Teams Is Slow or Laggy on Mac
Close unused apps and browser tabs to free up memory, especially during screen sharing or video calls. Check your connection too, since video calls and screen sharing are among the most demanding Teams workloads.
If performance stays poor, clearing the Teams cache as described above is also worth trying.
Start Having Better Teams Meetings With MeetGeek
Installing Teams on a Mac is a five-minute job once you know whether your macOS version is still supported. The harder part comes afterward, once the meetings start and someone has to keep track of what was agreed.
That is the part worth automating. MeetGeek records your Teams calls on macOS, transcribes them, writes the summary and the action items, and sends the notes out, so you can focus on the conversation instead of taking notes. It is free to start.
Frequently Asked Questions
1. Why Can't I Find Microsoft Teams in the Mac App Store?
Because there is no Mac version there. The Microsoft Teams listing on the App Store is the iPhone, iPad and Apple Vision app, and its compatibility panel confirms it: iOS 17, iPadOS 17 and visionOS 2, with no macOS entry. The Mac app ships as a .pkg from Microsoft's own download page.
2. Where Does Teams Download To on a Mac?
By default the installer, MicrosoftTeams.pkg, lands in your Downloads folder. Open it from there to start the installation.
3. Does Microsoft Teams Work on a MacBook Air?
Yes, on any MacBook Air running one of the three supported macOS versions, which covers every M-series model. The only Intel MacBook Air still supported is the Retina 13-inch from 2020: it runs macOS 15 Sequoia, so Teams works on it today, but Sequoia is now the oldest supported macOS and is next in line to leave Microsoft's support window under its current policy. Older Intel MacBook Air models cannot reach Sequoia and are already outside it, so the browser version of Teams is the fallback.
4. Does Microsoft Teams Work With Microsoft 365?
Yes. Teams connects directly to Outlook, Word, Excel, PowerPoint, OneDrive and shared calendars. Microsoft now sells its business plans both with and without Teams, so whether you have it depends on the plan your organization chose. Personal users get it through Microsoft 365 Personal and Microsoft 365 Family, and there is also a free Teams tier that does not need a Microsoft 365 subscription at all.
5. Is Microsoft Teams Secure on Mac?
The Mac client gets the same protection as the Windows one: encryption in transit and at rest, and the compliance and admin controls organizations configure centrally. Using Teams on macOS does not change the security and admin policies your organization has configured, and the settings your IT team applies follow the account rather than the device.
6. Do I Need to Download Teams to Join a Meeting on a Mac?
No. A Teams meeting link opens in Safari, Chrome or Firefox, and unless the organizer's company has turned it off, you can join as a guest without installing anything or even having an account. The desktop app is worth installing if Teams is where you work every day, and unnecessary if you just need to get into one call.







.avif)