How to Schedule a Zoom Meeting in Outlook on Any Device
Learn to schedule Zoom meetings in Outlook across devices with our step-by-step guide. Streamline your planning process for efficient meetings.

✅ Free meeting recording & transcription
💬 Automated sharing of insights to other tools.

Image source: freepik on Freepik
Have you ever found yourself juggling multiple tabs and apps when attempting to set up a Zoom meeting in Outlook?
Like you, many professionals find it challenging to schedule Zoom meetings via Outlook. After all, syncing calendar dates across devices, ensuring that all participants receive accurate meeting details, and navigating different operating systems can be confusing.
In the next sections, we’ll provide a detailed, step-by-step guide to help you schedule Zoom meetings in Outlook, whether on a PC or mobile device. Let’s get started!
Prerequisites for Scheduling Zoom Meetings in Outlook
Before attempting to schedule Zoom meetings via Outlook, ensure everything is set up correctly to make the scheduling process smoother and more efficient.
Here are the prerequisites for scheduling Zoom meetings in Outlook:
- Install the Zoom plugin or add-in: To integrate Zoom with Outlook effectively, you must install either the Zoom Plugin for Microsoft Outlook on your desktop or the Zoom for Outlook add-in for web and mobile use.
- Keep software up to date: Regularly update both Outlook and Zoom to the latest versions to avoid compatibility issues and gain access to the newest features and security enhancements.
- Configure your Zoom account: An active Zoom account is essential. If you want to create Zoom meetings on behalf of someone else, ensure you do it from the same Zoom account or have the required permissions, which may require a licensed Zoom account.
- Check your Outlook account: Make sure your Outlook account is properly configured, and you can log in and access your calendar. Verify that your company’s IT policies allow third-party add-ins if using the Zoom for Outlook add-in.
- Ensure network and permissions compatibility: Check that your network settings permit access to Zoom’s servers. You might need administrative permissions to install additional software in some IT environments.
- Understand Outlook’s calendar features: Being well-acquainted with Outlook’s calendar functionalities, such as setting up meeting durations, recurring meetings, and privacy options, is crucial for efficient scheduling.
How to Schedule a Zoom Meeting in Outlook
A. How to Schedule a Zoom Meeting on Outlook Desktop Client
Scheduling a Zoom meeting through the Outlook desktop client is a convenient way to manage your calendar and set up meetings in one integrated workflow.
Here’s how to schedule a Zoom meeting on Outlook Desktop Client:
- Ensure the Zoom Plugin for Microsoft Outlook is installed to effectively add Zoom sessions to your Outlook calendar invites. Download the appropriate version (32-bit or 64-bit) from the Zoom Download Center.
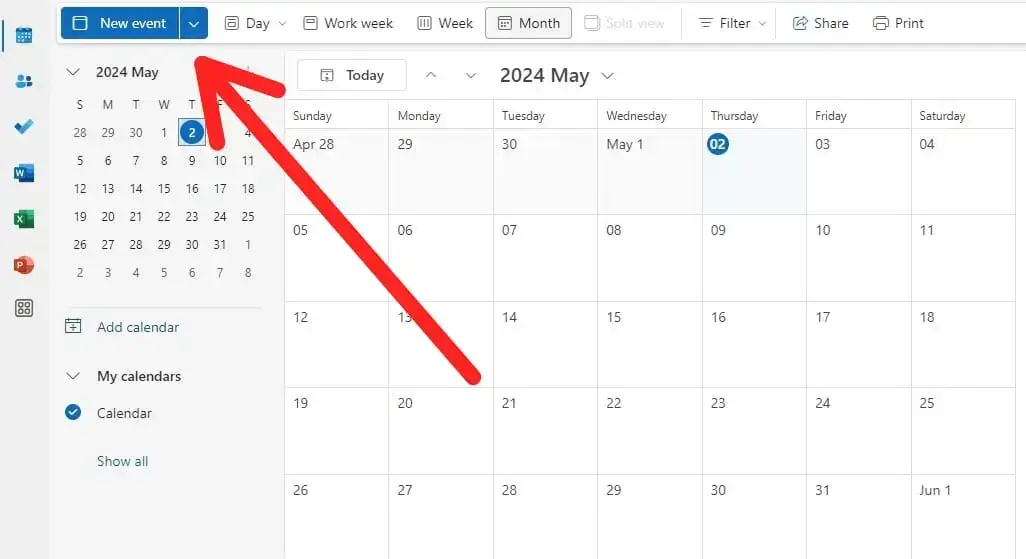
- Launch Outlook and switch to the calendar view to see your schedule and pick the best time for your meeting.
- Click on “New event” in the Home tab to access the window where you can input your meeting details.
- In the meeting window, complete the following fields:
- Subject: Write a brief, clear subject for your calendar event.
- Location: Type “Zoom Meeting” as a placeholder.
- Start and end time: Choose the times, ensuring the duration fits your planned meeting.
- Click on the Add a Zoom Meeting icon in the meeting toolbar. This will prompt you to log into your Zoom account (if you still need to) and automatically populate the meeting invitation with the link and dial-in information.
- Click on the “Settings” icon in the Zoom section to modify settings like whether participants will join with video and audio on, and more advanced settings such as enabling waiting rooms or adding a meeting password.
- In the “To” field, add the email addresses of meeting participants. Consider using the Scheduling Assistant to view others' available times if their calendars are visible to you.
- Once you’ve configured all settings and added your participants, hit “Save.” Everyone will receive an email with the Zoom meeting details and a link to join the call.
PRO TIPS:
- If this is a repeating event, use Outlook’s “Recurrence” function to set up the frequency of your meetings.
- Ensure you set the meeting time before adding Zoom to the calendar event. Otherwise, your meeting will get scheduled for the default date and time used for the new event, which may cause the meeting to expire before its intended date.
- For attendees in different time zones, adjust the meeting time in Outlook to reflect the correct time for each participant.
- Activate Outlook’s reminder feature to send automated notifications before the meeting begins.
B. How to Schedule a Zoom Meeting on the Outlook Web App
If you’re frequently on the go, the Outlook web calendar may be the easiest way for you to schedule and manage your upcoming Zoom meetings.
Here’s how to schedule a Zoom meeting on Outlook web:
- Ensure you have the Zoom for Outlook add-in installed. If you don’t, go to Microsoft AppSource, search for the Zoom for Outlook add-in, and click ‘Get it now’ to install it.

- In your Outlook account, select the calendar icon to access your schedule and find the best time for your meeting.
- Click the “New Event” option at the top left of your calendar to launch the form where you can enter your meeting details.
- In the new event form, fill out the following:
- Title: Provide a clear title for your meeting.
- Start and End Times: Choose the start and end times for your Zoom meeting. Adjust for different time zones if participants are in various locations.
- Location: You can enter “Zoom Meeting” here as a placeholder.
- If you have the Zoom add-in installed, you’ll see an option to “Add a Zoom Meeting” in the event toolbar. Select it, and if prompted, log into your Zoom account. This will automatically populate your event with a Zoom link and dial-in options.
- After adding the Zoom details, customize your meeting settings directly within the event window. Here, you can enable or disable video, add a meeting password, and set up features like a waiting room.
- Enter the email addresses of all participants in the “Invite attendees” section. If available, use the scheduling assistant to select a time that suits all participants’ schedules.
- Once everything is set, click “Send.” This will send out invitations to all participants, including all the details they need to join the Zoom meeting.
PRO TIPS:
- If you're working with colleagues in different time zones, set up your Outlook calendar to show dual time zones to avoid confusion.
- Leverage Outlook’s scheduling assistant to identify available times for meeting participants and reduce scheduling conflicts.
- Adjust settings like enabling a waiting room or setting a meeting password directly within Outlook when scheduling your Zoom meeting.
C. How to Schedule a Zoom Meeting on Outlook Phone App (iOS/Android)
Scheduling Zoom meetings through the Outlook app on your iOS or Android device is an efficient way to manage and join meetings while on the move.
Here’s how to schedule a Zoom meeting on the Outlook phone app:
- Ensure that both the Outlook and Zoom apps are installed on your device and that you are logged into both. Also, verify that the Zoom app has permission to integrate with the Outlook app, which may involve adjusting your settings in each app.
- Open the Outlook app and tap the calendar icon, which is usually located at the bottom of the screen or in the menu, to view your calendar.
- To create a new meeting, tap the '+' (create) button, often found at the bottom right of the calendar view.
- Fill in the details for your meeting:
- Title: Provide a clear title for your meeting.
- Start and end time: Pick the times for your meeting, ensuring you account for the correct time zones if participants are in different areas.
- Location: Enter “Zoom Meeting” as a placeholder in the location field.
- Below the Location field, select the toggle next to Zoom. If prompted, log into your Zoom account. This way, the settings you selected will populate your meeting settings in the Zoom web portal.
- Confirm all the details are correct and click 'Save' to send the meeting calendar invite. Attendees will get an email with all the details and the link to join the Zoom meeting.
PRO TIPS:
- Keep your Outlook and Zoom apps synced to ensure that updates in one are reflected in the other.
- Turn on notifications for your Outlook calendar to receive reminders for previously scheduled meetings. Encourage attendees to do the same for punctuality.
How to Record a Zoom Meeting Scheduled in Outlook
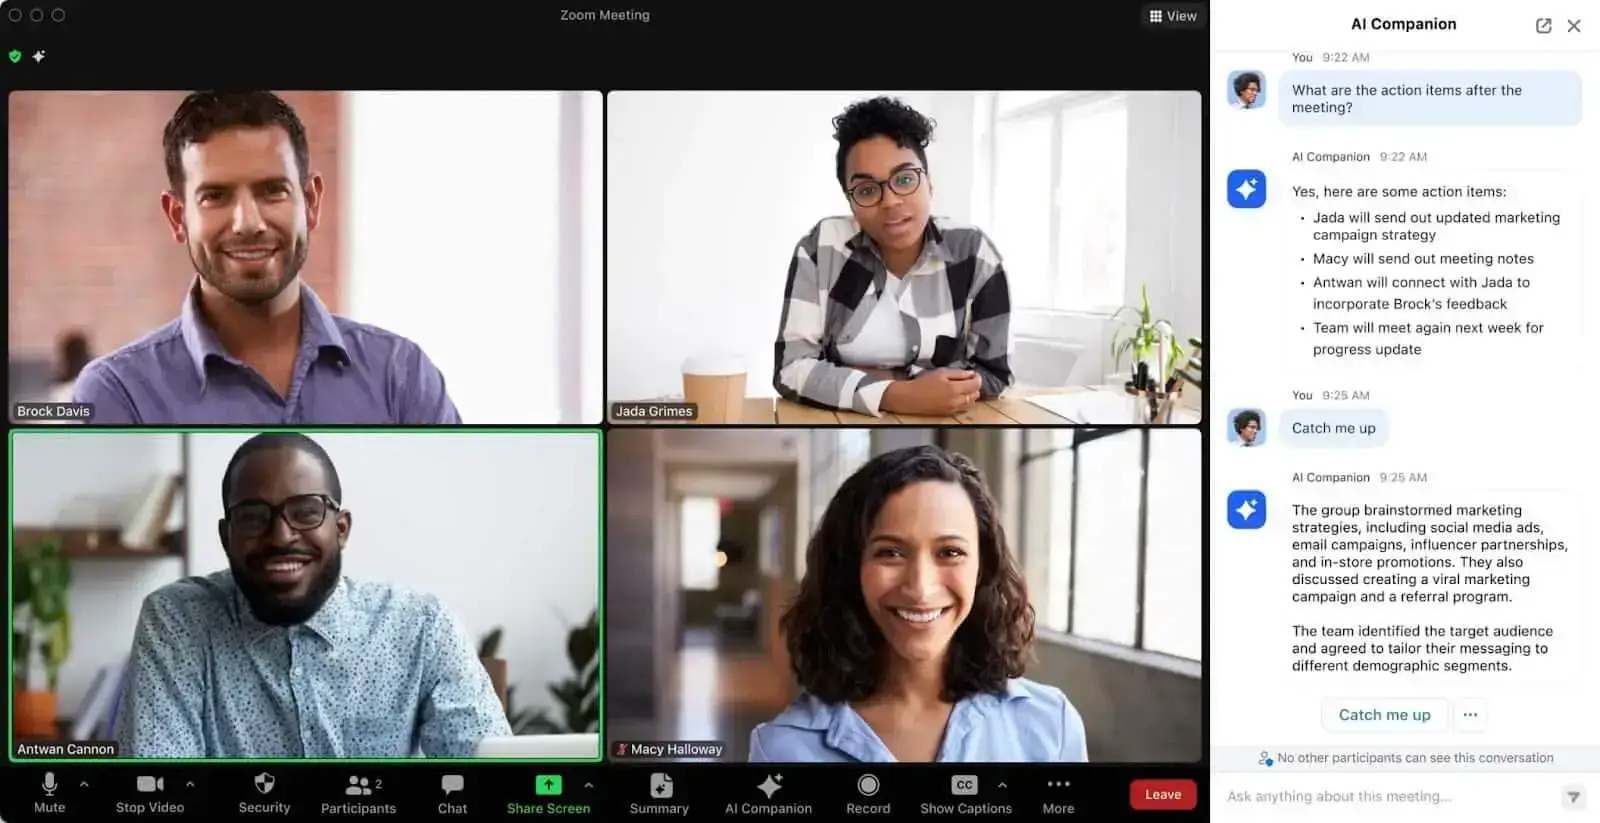
Recording Zoom meetings has many benefits, and with an AI-powered meeting automation platform like MeetGeek, the process becomes effortlessly streamlined, regardless of the type of Zoom license you have or where you schedule your Zoom meetings.
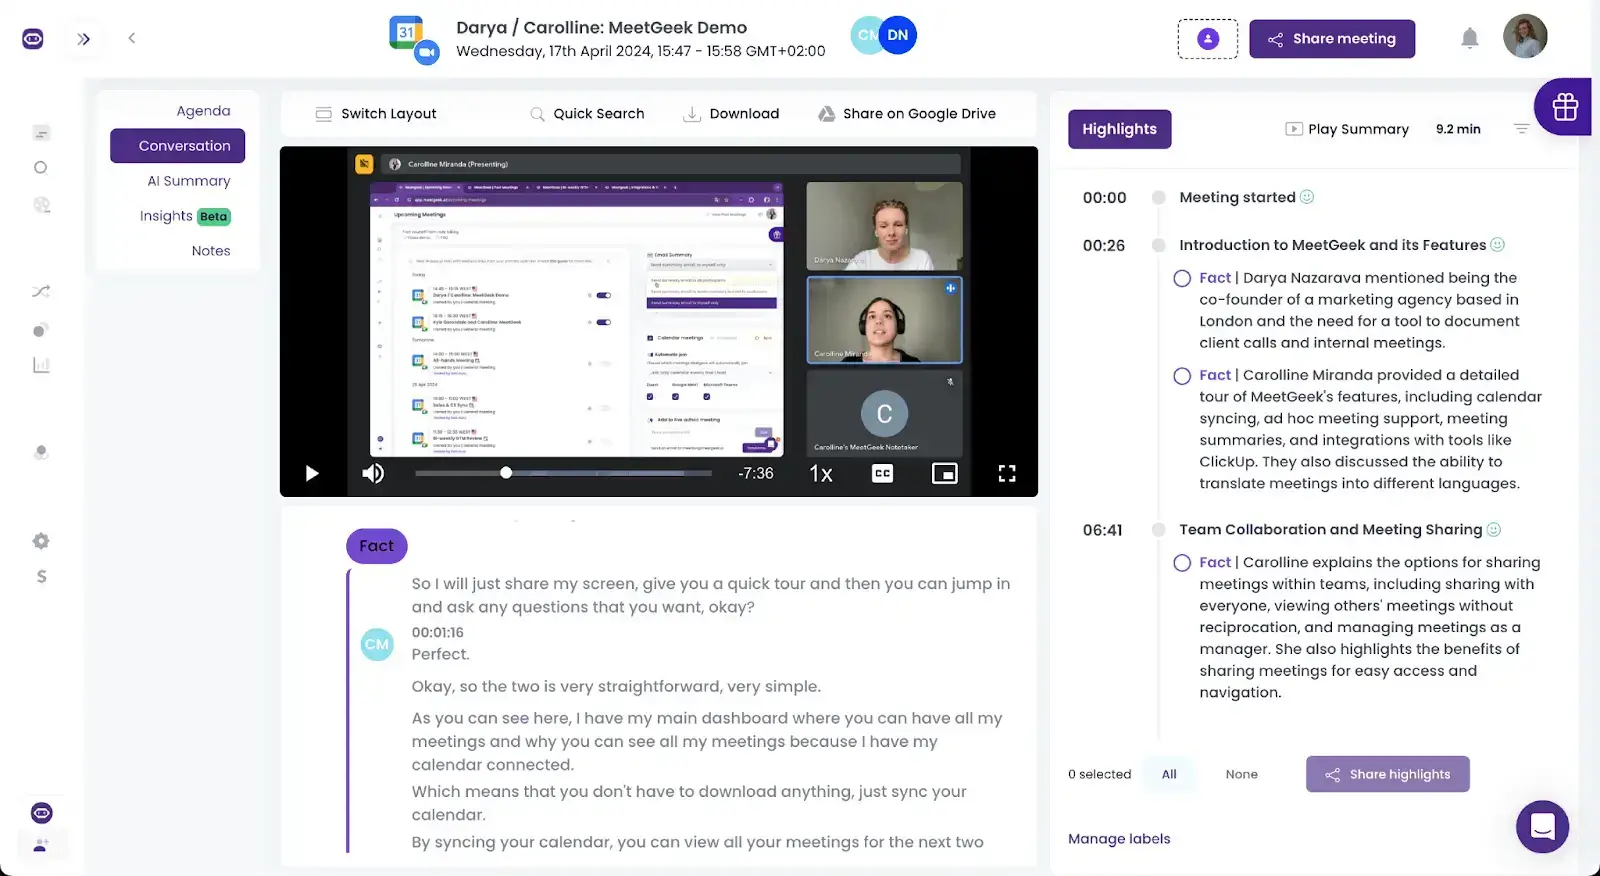
Here are MeetGeek’s core features:
- Automated Recording and Transcription: MeetGeek's Zoom AI Notetaker automatically joins, records, and transcribes your meetings, saving you the hassle of manual note-taking.
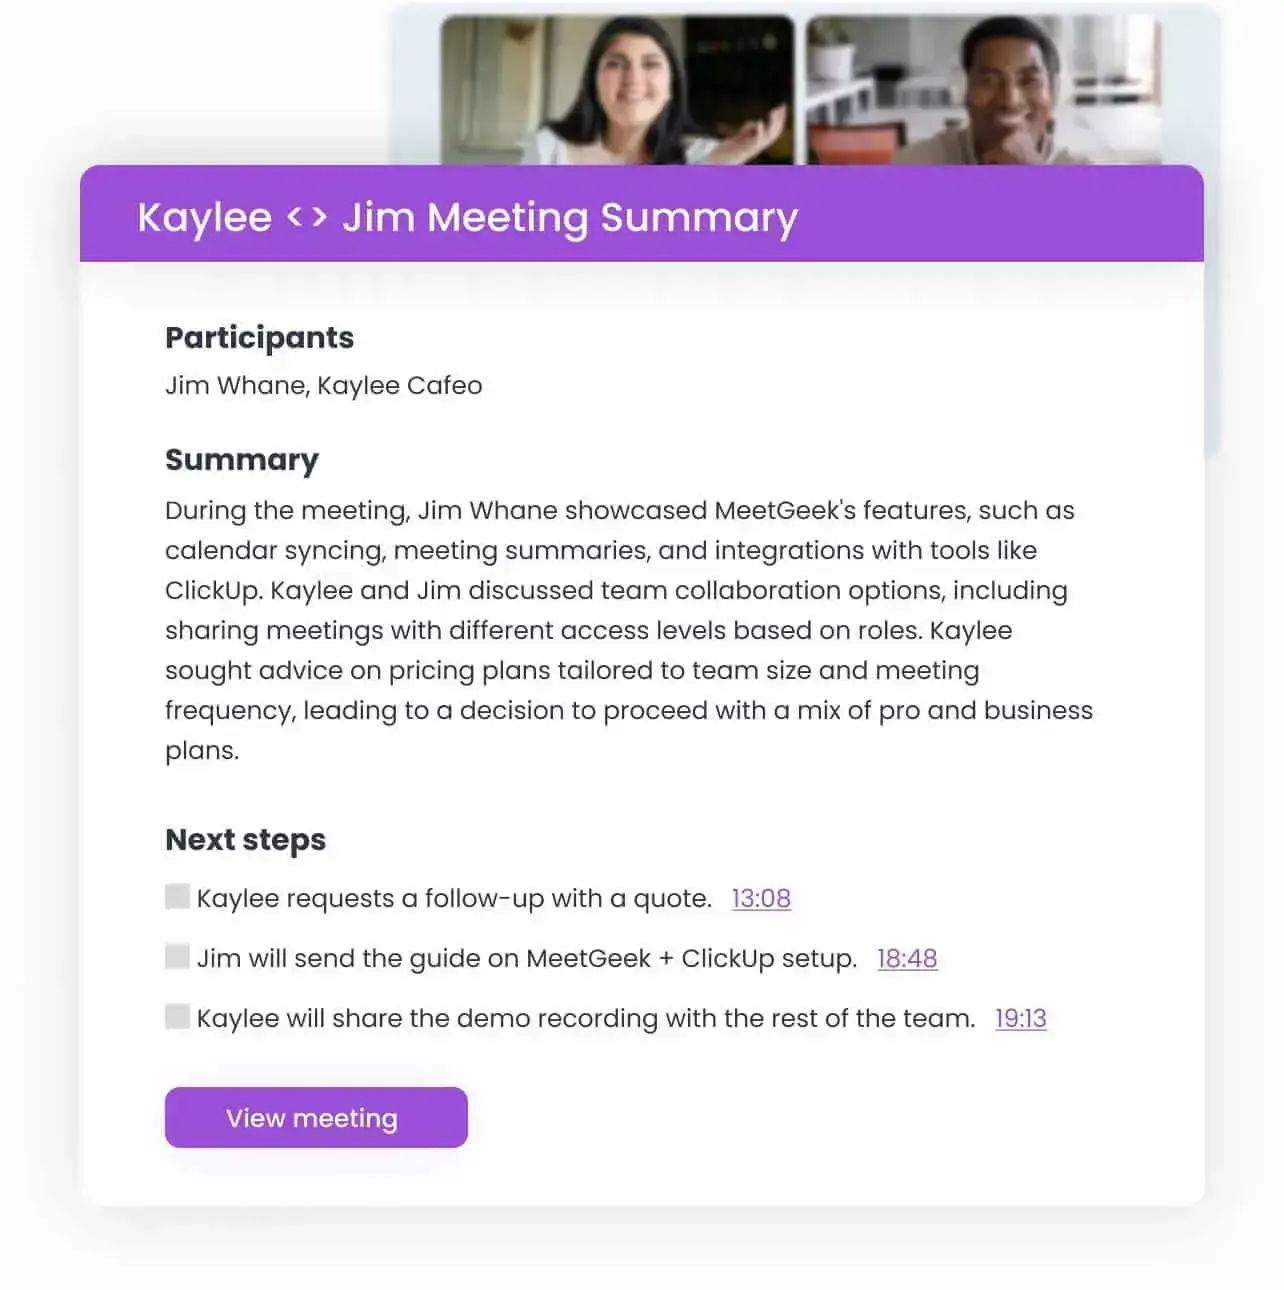
- AI summaries: After the meeting, MeetGeek provides a concise meeting summary that highlights key discussions, decisions, and tasks. This summary can be easily shared with participants or others who might benefit from the meeting insights.
- Action item detection: MeetGeek’s Task Detection feature identifies action items from your discussions, effectively capturing all necessary follow-ups without additional effort.
- Centralized meeting repository: All your meetings are stored in a searchable meeting repository on MeetGeek. You can revisit, download, or share these recordings securely, allowing stakeholders to access the discussions at their convenience.
- Custom workflows: Set up custom workflows to automatically update your shared workspaces with detected action items, ensuring project progress is continuously monitored and challenges are addressed promptly.
- Personalized meeting analysis: MeetGeek conversation intelligence software evaluates the effectiveness of your meetings based on selected Key Performance Indicators (KPIs) for each meeting type.
Here’s how to get started with MeetGeek:
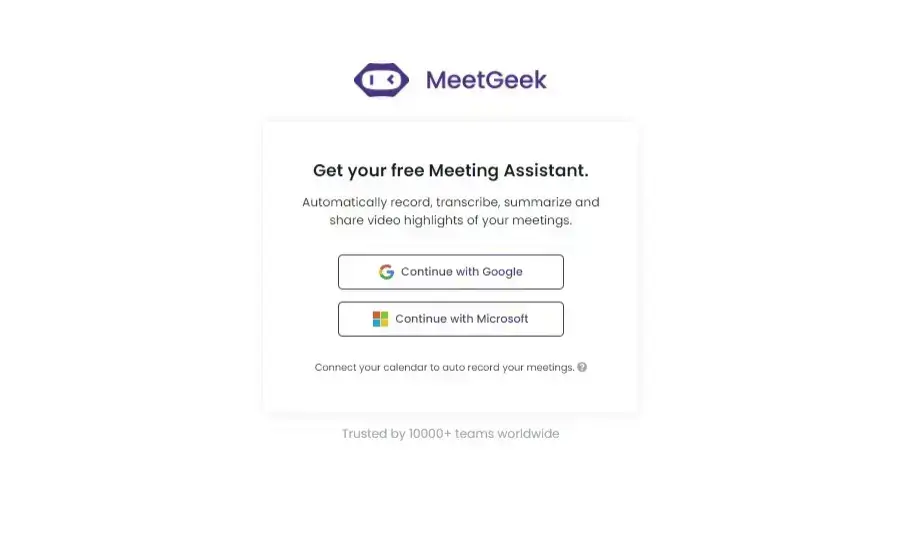
- Step 1: Register for a free MeetGeek account using your Microsoft or Google account credentials—no need for additional login details.
- Step 2: Sync your calendar with MeetGeek to allow the virtual assistant to find and automatically join scheduled meetings. For instant meetings, simply use the MeetGeek Chrome Extension to start recording live ad hoc meetings.
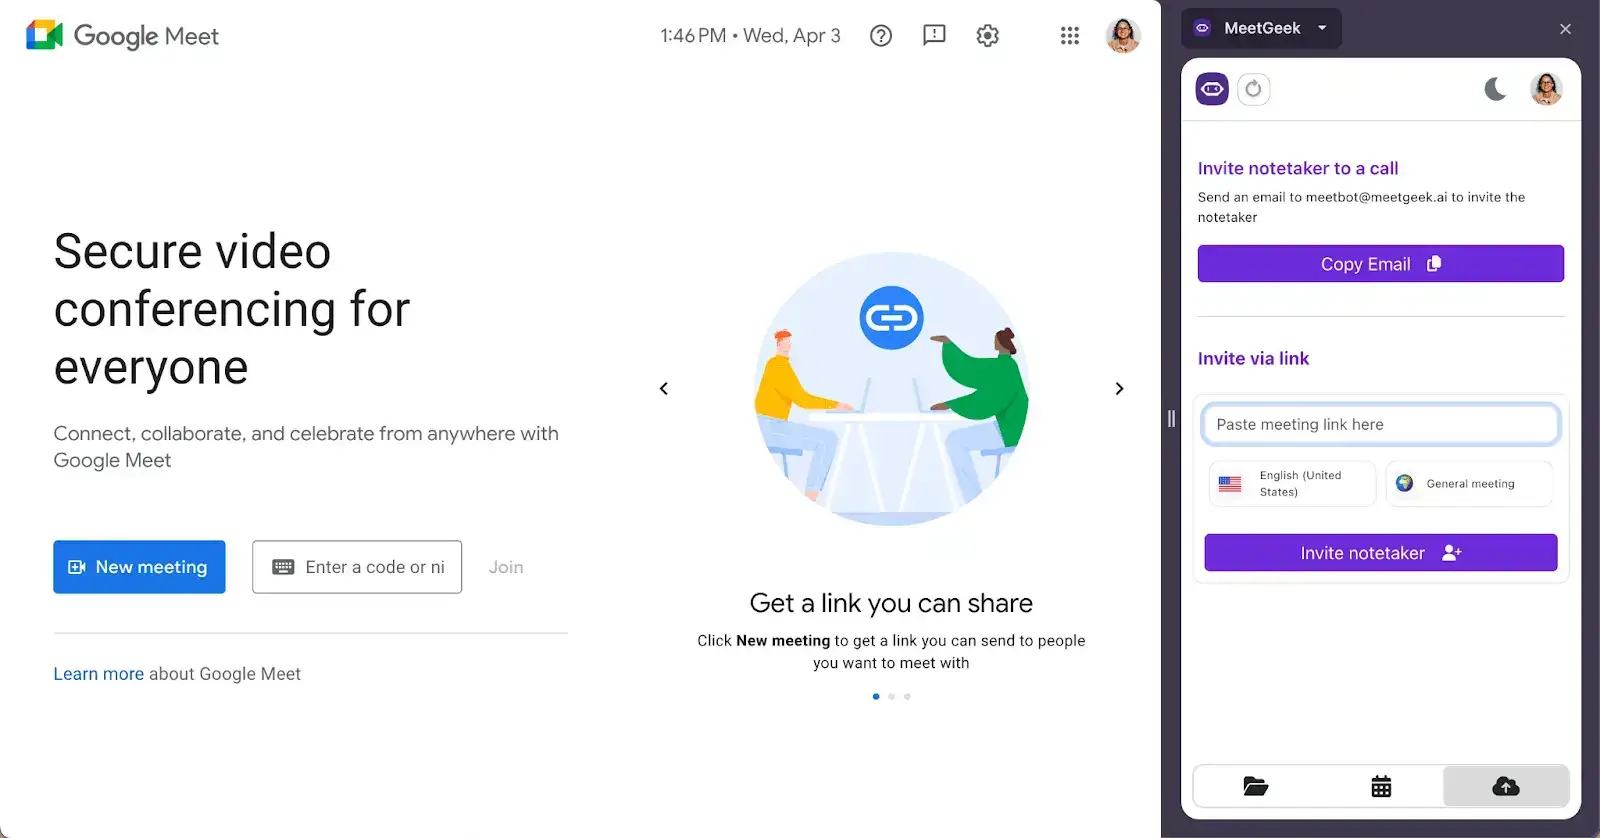
- Step 3: Once your meeting starts, MeetGeek joins as a participant, recording video, audio, and screen shares while adhering to privacy and consent guidelines.

Pro Tip: MeetGeek can attend meetings on your behalf, ensuring you stay informed even when you can’t make it yourself.
Scheduling a Zoom meeting in Outlook FAQ
1. Can I Schedule a Recurring Zoom Meeting in Outlook?
Yes, you can schedule a recurring Zoom meeting in Outlook. When creating a new meeting in Outlook, simply use the “Recurrence” button in the meeting toolbar to set your meeting to recur according to your desired frequency, such as daily, weekly, or monthly.
After setting the recurrence, proceed to add the Zoom meeting link, either by using the Zoom plugin or manually pasting the meeting details into the invite.
NOTE: Remember to check that the Zoom link is valid for each recurring instance, especially if you use a single Zoom link for multiple sessions.
2. Why Can’t I Add a Zoom Meeting in Outlook?
If you’re unable to add a Zoom meeting in Outlook, it could be due to one of the following reasons:
- Zoom plugin/add-in not installed: Ensure that the Zoom Plugin or Zoom for Outlook add-in is correctly installed and activated in your Outlook.
- Outdated software: Both your Outlook and Zoom Desktop Client or phone app should be updated to the latest versions to ensure full functionality and compatibility.
- Account permissions: Check if your Zoom account settings and permissions allow you to schedule meetings.
- Network issues: Beware of any network restrictions or firewall settings that might prevent the plugin from functioning correctly.
3. How Do I Set Up a Waiting Room for a Zoom Meeting Scheduled in Outlook?
To set up a waiting room for a Zoom meeting that you schedule in Outlook, you will first need to configure this setting in your Zoom account:
- Go to the Zoom web portal and sign into your account.
- Navigate to Settings and find the “Meeting” tab.
- Enable the “Waiting Room” option.
NOTE: Once this feature is enabled, all meetings scheduled with your Zoom account, including those created through Outlook, will automatically include a waiting room.
4. How Do I Cancel a Scheduled Zoom Meeting in Outlook?
To cancel a Zoom meeting scheduled in Outlook:
- Open your Outlook calendar and find the meeting you want to cancel.
- Open the meeting invitation and select “Cancel Meeting.”
- You can optionally send a cancellation message to the invitees to inform them of the cancellation.
NOTE: Remember to also cancel the meeting in your Zoom account to free up your Zoom schedule.
5. Why Isn’t my Zoom Outlook Plugin Working?
If your Zoom Outlook Plugin isn't working, consider the following troubleshooting steps:
- Check installation: Make sure the plugin is correctly installed. If in doubt, reinstall the plugin.
- Compatibility: Verify that your Outlook version is compatible with the Zoom Plugin. Some older or very new versions may have compatibility issues.
- Login issues: Ensure that you are logged into both your Zoom and Outlook accounts.
- Admin restrictions: If you are using a corporate or school account, check if any administrative restrictions might be blocking the plugin’s functionality.
- Update software: As a general rule, ensure that both your Zoom and Outlook are up-to-date to avoid issues caused by outdated software.
Streamline Your Zoom Meeting Experience with MeetGeek!
Mastering the scheduling of Zoom meetings in Outlook across various devices can significantly enhance your efficiency in managing virtual meetings. With the instructions we provided, you can easily schedule, manage, and customize your meetings using the robust features of both platforms.
To further boost your meeting productivity, consider exploring MeetGeek’s integration with Zoom. Our AI meeting automation platform automatically records, transcribes, and summarizes your meetings, allowing you to focus more on the conversation and less on note-taking.
Try it out for free and experience how it can transform your meeting dynamics by making every Zoom session more productive and focused, no matter where you are or what device you're using!
.avif)






.webp)


