How to Generate a Microsoft Teams Transcription as a Standard User
Unlock the power of every word spoken in your meetings with our guide to Microsoft Teams Transcription – perfect clarity in every conversation!

✅ Free meeting recording & transcription
💬 Automated sharing of insights to other tools.

Image source: gstudioimagen1 on Freepik
Have you ever struggled to take notes during a Microsoft Teams meeting, only to later sift through endless pages for that one golden nugget of information?
This no longer has to be a concern. In this guide, we’ll dive into how to generate Microsoft Teams transcriptions to ensure no brilliant idea or critical action point falls through the cracks.
Whether you're a seasoned Teams veteran or new to the platform, mastering transcription can revolutionize how you meet, greet, and complete tasks in the digital workplace. Shall we begin?
Prerequisites for Transcribing Microsoft Teams Meetings
Before you leap into transcribing your Microsoft Teams meetings, you must first set the stage.
Here are the prerequisites needed to transcribe Teams meetings:
- Get the right permissions: Transcription is a powerful tool, but it's not available to everyone by default. You need to be an owner or a member of the meeting with the ability to record. Check your user role and permissions in the Microsoft Teams admin center before moving forward.
- Check your Microsoft Teams version: The transcription feature is supported on the latest versions of Microsoft Teams. Ensure your application is updated to avoid missing out on this and other cutting-edge features.
- Mind the language: Microsoft Teams transcription predominantly supports English for both transcriptions and closed captions (additional language support is progressively rolling out). For optimal results, especially when it comes to real-time captions, ask participants to speak clearly and at a moderate pace.
- Enable the feature: Before starting the meeting event, you or your organization's IT administrator must enable the transcription service for Microsoft Teams meetings. This is often disabled by default to protect user privacy, so quick settings adjustment might be needed.
- Ensure compliance: Ensure your use of the transcription feature aligns with your organization's policies and any relevant legal regulations, especially concerning sensitive information.
- Preparing participants: Use the Teams meeting invite to inform participants that their words will be transcribed for record-keeping and accessibility purposes. This not only serves as a courtesy but also helps in maintaining a more structured and transcription-friendly discussion.
- Get the tech right: The devil is in the details — in this case, microphones, and internet connection. Use high-quality microphones and ensure a stable internet connection to minimize transcription errors caused by poor audio quality.
- Learn about post-meeting processes: Familiarize yourself with the steps to review and edit the transcript for accuracy, as well as the protocols for storing or deleting these files as per your organization's data retention policy.
How to Transcribe Microsoft Teams Meetings
Having your virtual meetings transcribed your meetings ensures every word is captured, making meetings more inclusive, and saving precious time on note-taking.
Let’s discuss the main ways to create Microsoft Teams transcriptions!
Here’s a quick explainer video of how to transcribe meetings on Microsoft Teams. Alternatively, you can read the detailed steps below.
A. How Do I Turn on Auto Transcription in Teams?
When scheduling a meeting, there’s nothing special you need to do here—just create your Teams meeting as you normally would.
NOTE: Remember, auto transcription works for both scheduled meetings and spontaneous 'Meet now' sessions.
Here’s how to turn on auto transcription in Microsoft Teams meetings:
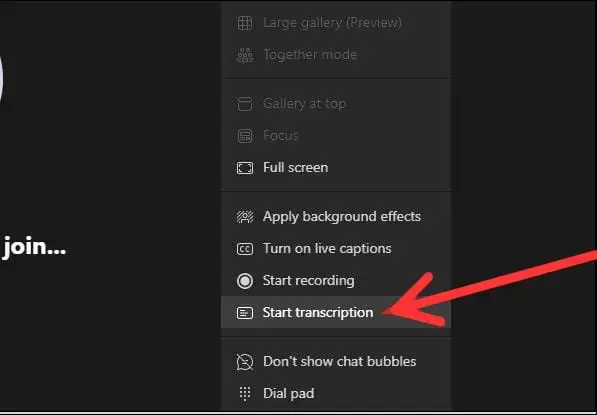
- As your meeting begins, look for the “…” (more options) button on the meeting controls toolbar.

- From the dropdown menu, select the ‘Start transcription’ option. This enables Teams to start transcribing the spoken words into text in real time.
- Once the meeting wraps up, the transcript is readily available in the meeting chat or under the 'Recordings & Transcripts' tab for the meeting in Teams. You can download, share, or even delete the transcript as needed.
B. How to Automatically Transcribe Your MS Teams Meetings
Let's face it: if you have frequent meetings, forgetting to enable transcription every single time is a frequent occurrence.
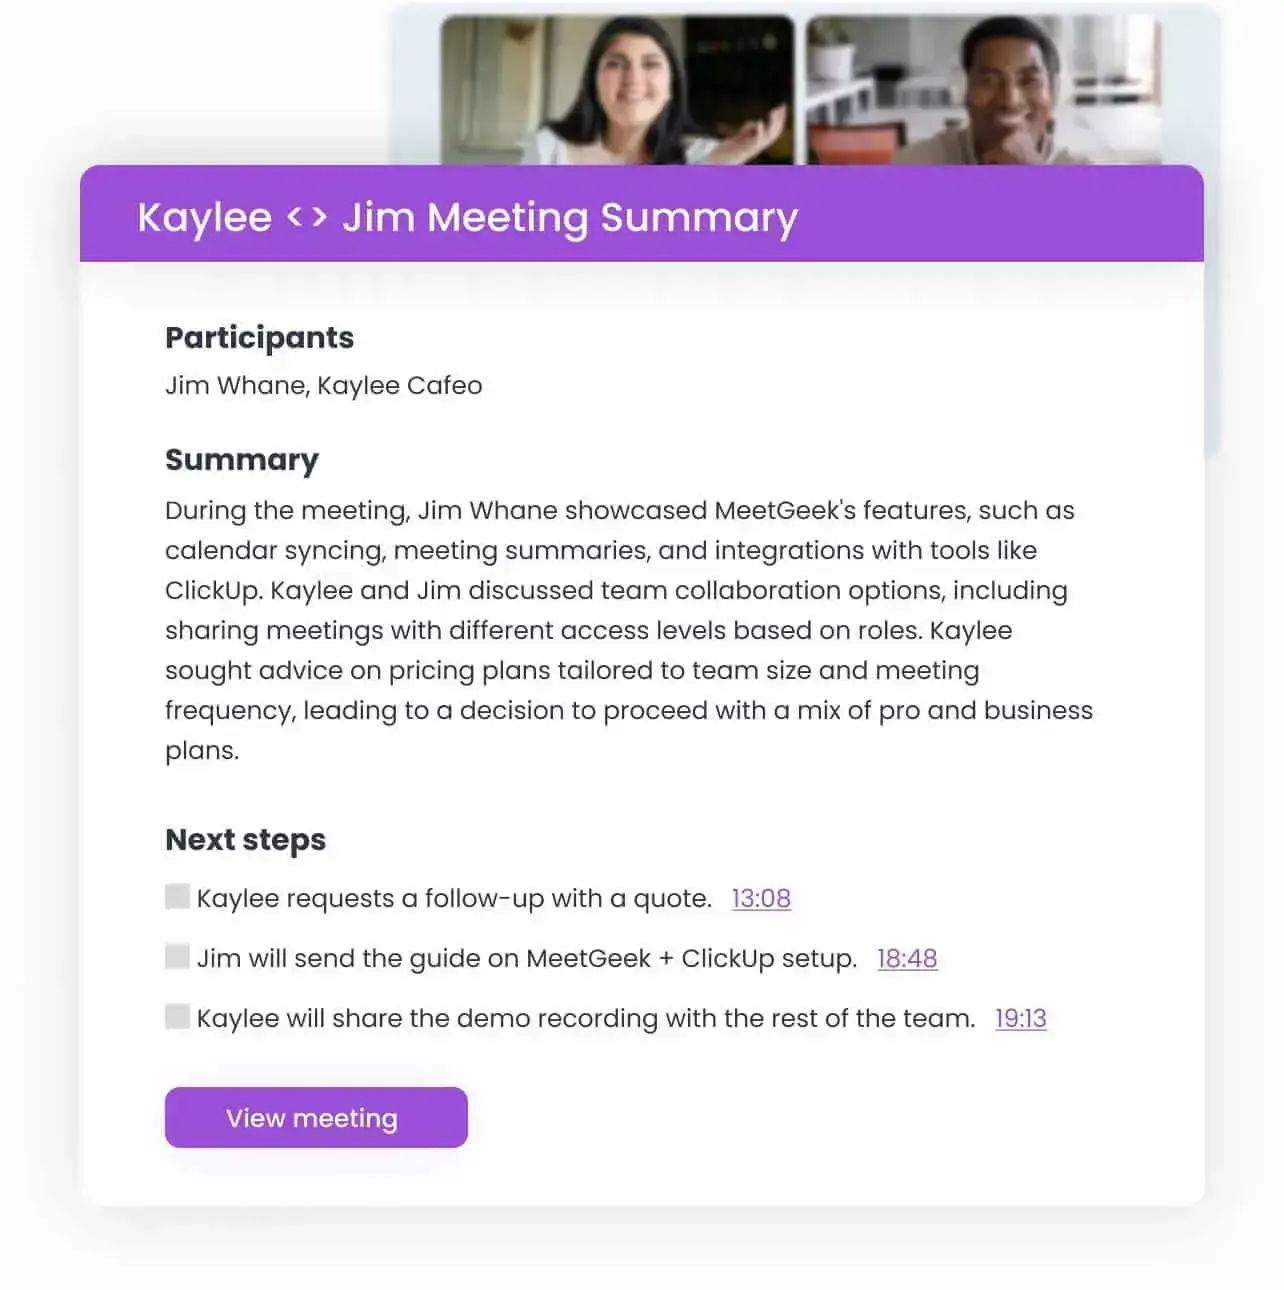
That’s why we created MeetGeek, a virtual meeting automation platform that automatically records, transcribes, and summarizes your meetings:
| Feature | Microsoft Teams | MeetGeek |
|---|---|---|
| Price | Requires Microsoft Office 365 subscription | Free plan that can be upgraded as needed |
| Language detection/ Accuracy | Limited to English OK quality, but can vary depending on audio quality and accents |
Supports 50+ languages Excellent, with AI features that adapt to various accents and background noise |
| Integrations | Limited to MS Teams desktop version | Supports all major web conferencing apps Integrates with 2,000+ 3rd party apps |
| Additional Features | Basic features like live transcription and speaker recognition | Accurate transcription with speaker identification tags and time stamps AI summaries Action item and key highlight extraction Meeting analysis with KPIs Automated follow-up emails |
The best part? Even if you’re a simple meeting participant, and not a host, you can easily get accurate meeting transcripts, without special permissions required.
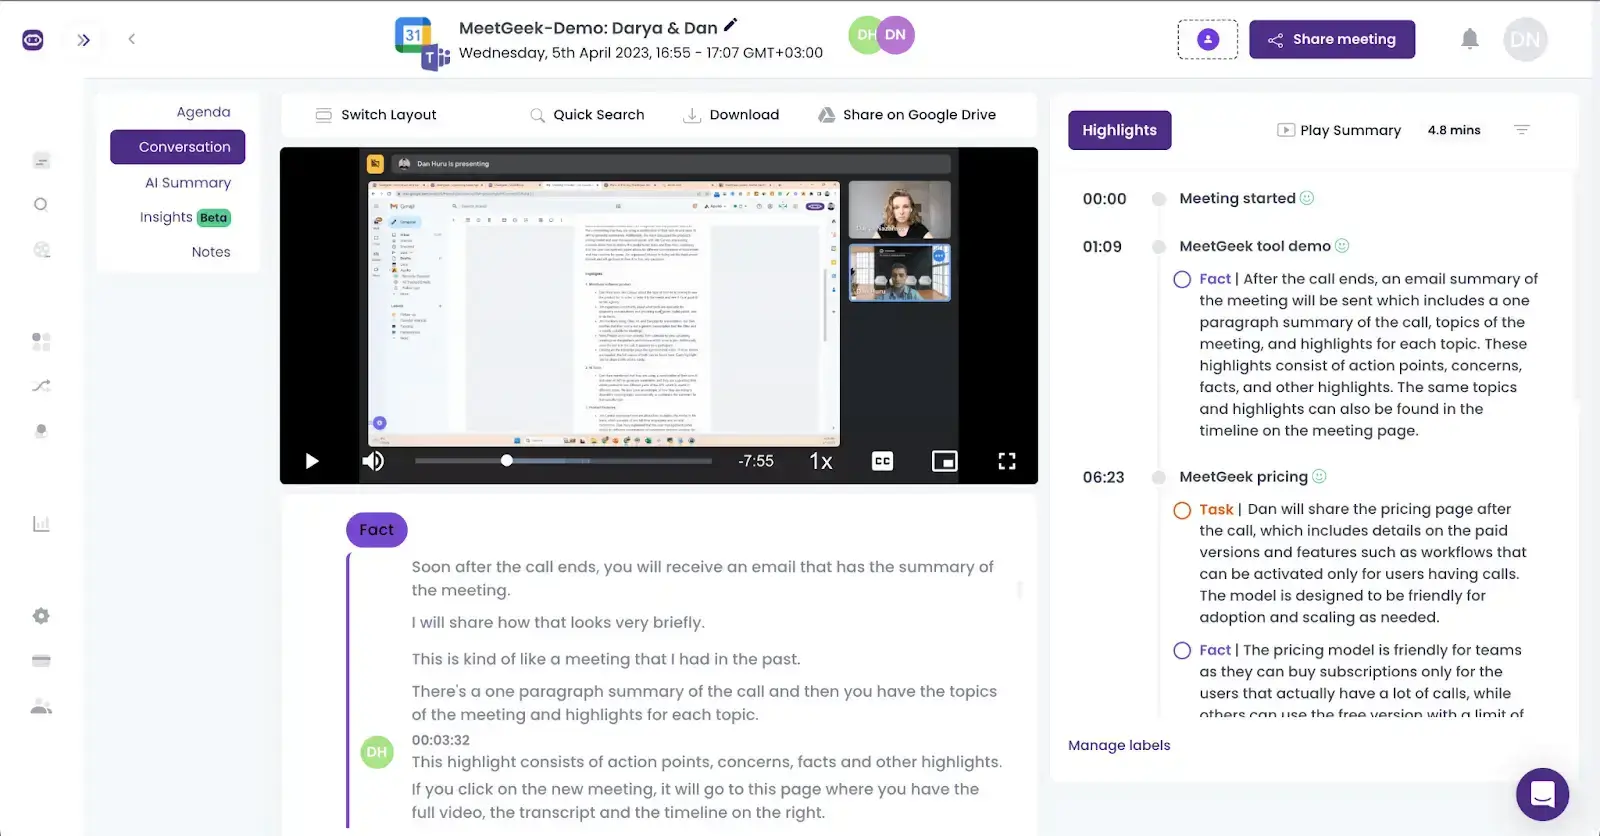
Here’s how MeetGeek can optimize your Microsft Teams meeting experience:
- Automated recording and transcription: MeetGeek joins your meetings as an independent participant, quietly recording and transcribing in the background.
- AI summaries: With MeetGeek, your transcripts get condensed into concise meeting minutes you can access before your next meeting. Meeting summaries are avalilabe in 20+ languages, which you can choose by adjusting the spoken language setting for your meetings.
- Action item extraction: The platform’s AI algorithms extract action items and key points to help you stay on top of your workload.
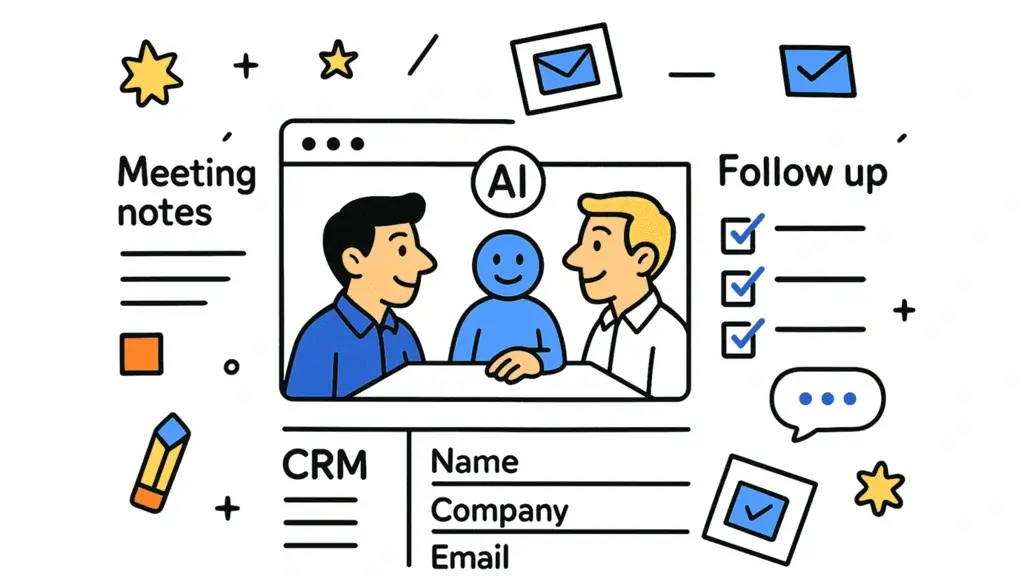
- Automated follow-up emails: Have meeting follow-up emails automatically generated and delivered to your — and your colleagues’ — inboxes.
- Meeting archive: MeetGeek provides a centralized meeting repository that you can use to access, share, and rewatch your meetings as needed.
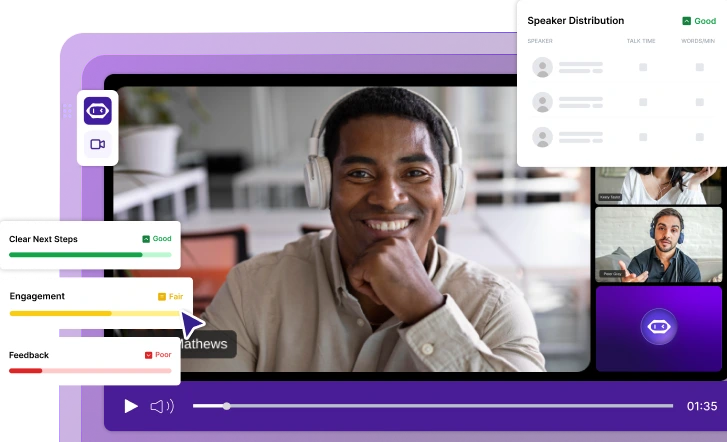
- Conversation intelligence: MeetGeek’s analytics help you assess meeting effectiveness based on customizable KPIs, offering insights into overall team performance.
- Automated workflows: With over 2,000+ integrations, MeetGeek keeps your workspaces continuously updated, helping your entire team stay on the same page.
Here’s how to set up your MeetGeek account:
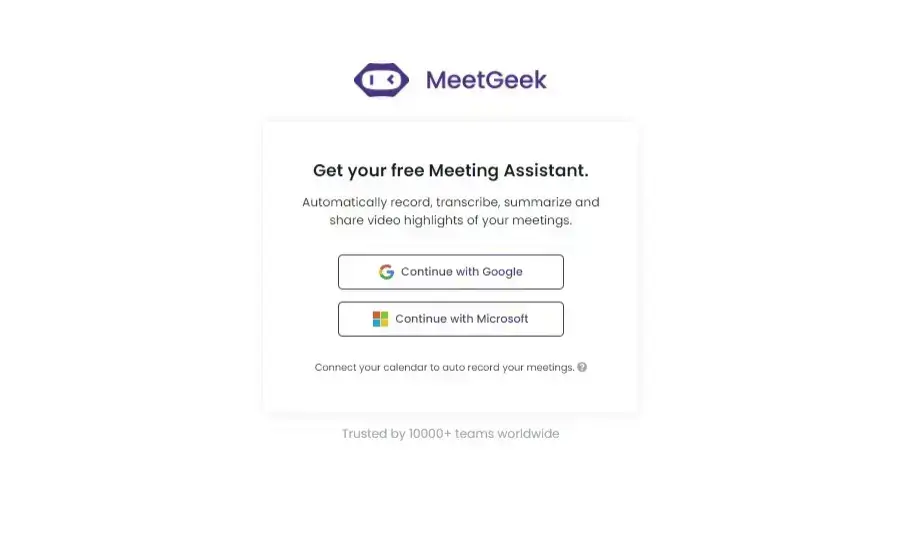
- Create a free MeetGeek account with your Microsoft account credentials.
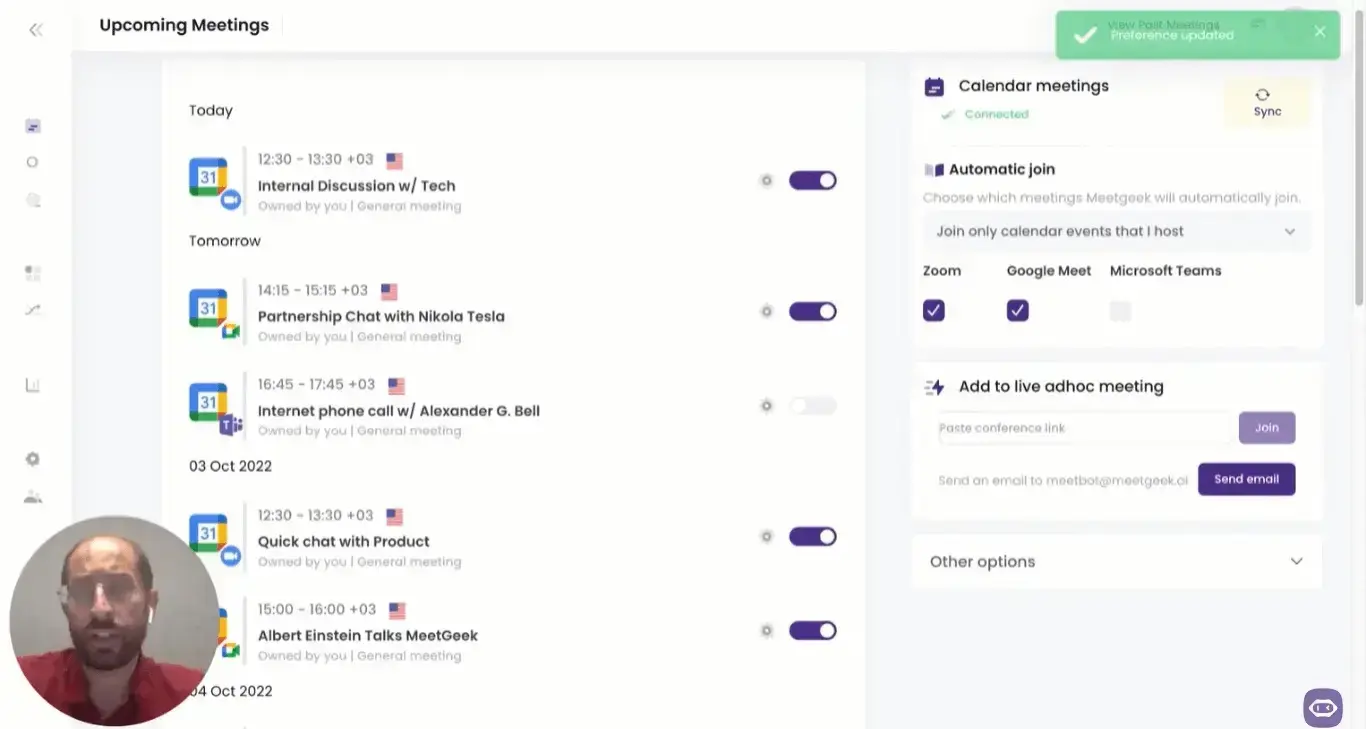
- Connect your Microsoft calendar with MeetGeek to let the virtual assistant automatically join your meetings. For instant meetings, add the meeting link to the ‘live ad hoc meeting’ field.
- As your meeting begins, MeetGeek joins as a unique participant to record video and audio, which it uses to create full transcripts and AI summaries.
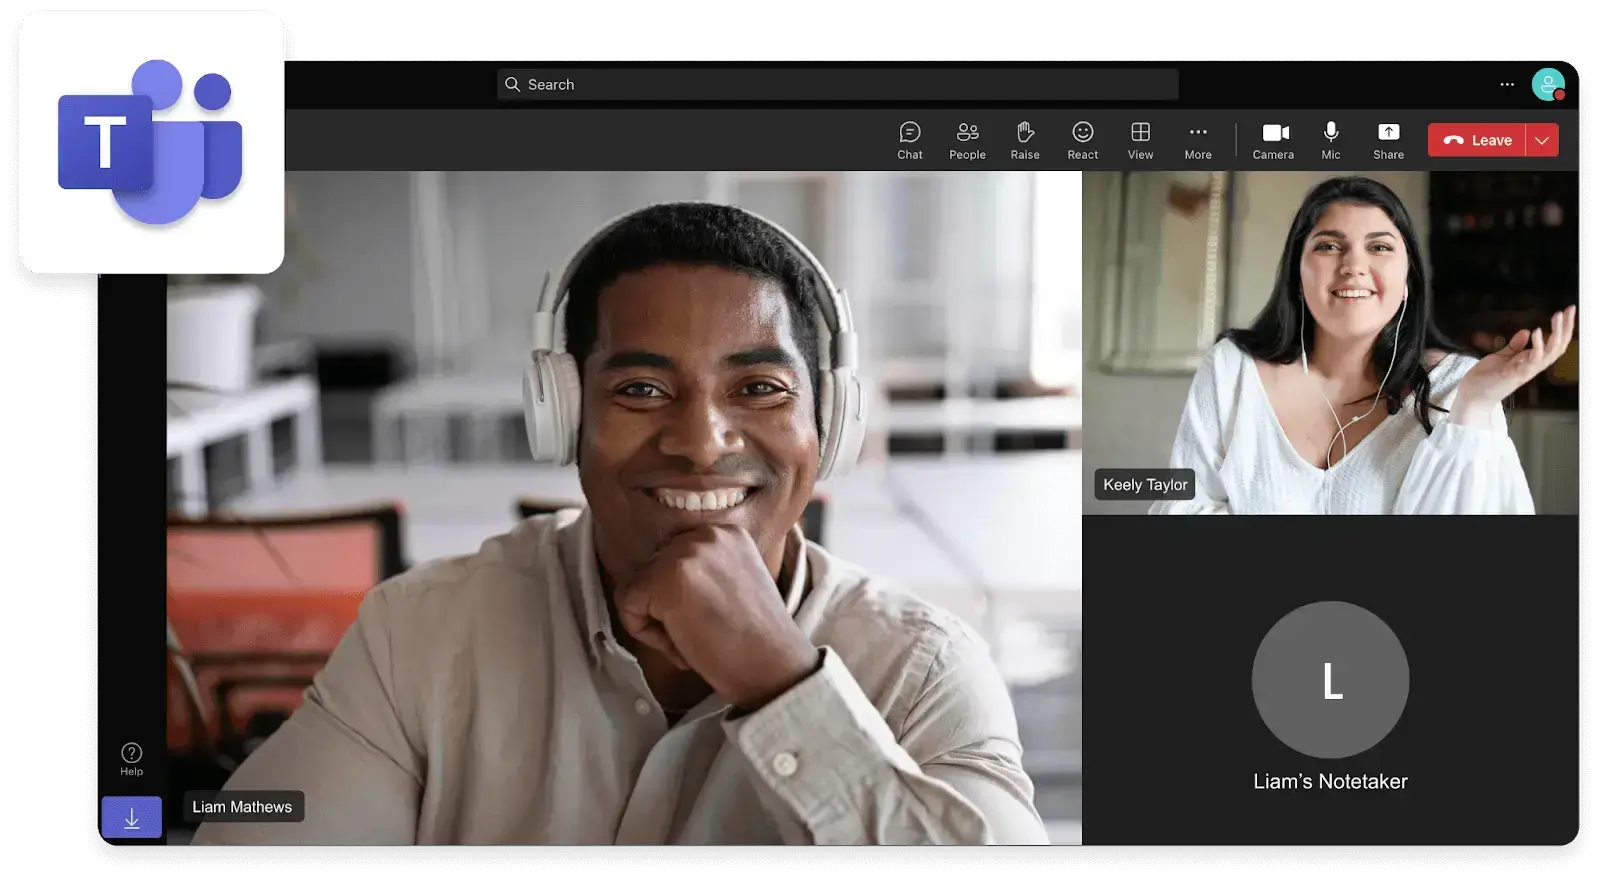
PRO TIP: Whenever you can’t attend a Teams meeting, have MeetGeek attend it for you and revisit the recording and transcript of the call as needed in your MeetGeek account.
C. How To Manually Transcribe Your MS Teams Meetings
Manually transcribing your Teams meetings is undeniably an effort-intensive process, but it's also a deep dive into the nitty-gritty of your conversations. It allows for a reflective review of discussions, ensuring that no idea is left behind, and every voice is heard.
Here’s how to transcribe meetings manually!
Step 1: Get Your Tools Ready
First, you’ll need the recording of your Teams meeting. If you've been recording your sessions (with the necessary permissions, of course), you can find these in the Microsoft Teams ‘Meeting chat’ or under the ‘Recordings’ tab in the Teams channel where the meeting took place. Download the recording to your device.
Next, gear up with your transcription tools. While the old-school method of playing the recording and typing away in a document works, several software options can make this task easier and faster.
Step 2: Choose Your Transcription Method
Decide how you want to go about the transcription process:
- The manual route: Open a fresh document in your preferred text editor and play the meeting recording. Pause frequently to type out the conversation. It helps to use headphones and slow down the playback speed to catch every word.
- The semi-automated route: Use a Microsoft Teams transcription service to get a rough meeting transcript. For instance, you can even upload the prerecorded audio file to MeetGeek and let the tool work its magic.
NOTE: Most tools will require a bit of time, depending on the recording’s length.
Step 3: Edit and Format Your Transcript
Whether you typed out the transcript manually or used software, editing is crucial. Software-generated transcripts may need a keen eye to correct any inaccuracies, remove filler words, and ensure the text flows coherently.
PRO TIP: Formatting your transcript file with speakers’ names, timestamps, or sections can also enhance readability and make it easier to reference in the future.
Step 4: Review and Refine
If possible, share the draft transcript with the meeting organizer and other meeting participants for review. They can help clarify any unclear sections and ensure that all crucial points are accurately captured.
This collaborative review process not only improves the transcript’s quality but also reinforces team engagement with the content.
Step 5: Utilize and Share Your Transcript
Now that you have your polished transcript, put it to good use. Share it with your team, integrate action items into your project management tools, and reference it in future discussions.
A well-done meeting transcript can be a valuable resource for your team, ensuring everyone is aligned and can revisit discussions with clarity.
Best Use Cases for Your Microsoft Teams Transcriptions
The advantages of having meeting transcripts are not limited to record-keeping or internal policy compliance.
Here are the best use cases for your Microsoft Teams transcriptions:
- Accessibility increase: Microsoft Teams transcriptions are a significant step forward in making meetings accessible to everyone. By providing live captions, or a written record of conversations, you ensure that individuals who are deaf or hard of hearing can fully participate in the dialogue.
- Language translation: Remote teams often span continents, cultures, and languages. With transcripts, you can bridge language barriers by translating the text into multiple languages, so nothing gets lost in translation.
- Review and follow-up: Ever tried to recall a critical point from a meeting only to find it lost in the ether? Transcripts serve as your rewind button, perfect for reviewing decisions and action items, and ensuring that follow-ups are not just promised, but executed.
- Accountability: The clarity provided by transcriptions breeds accountability, ensuring that commitments made during meetings translate into actions. It's about turning “I think” into “I know.”
- Performance reviews: Transcripts provide a wealth of data that can be mined for insights into team dynamics, individual contributions, and areas for improvement, making performance reviews more about growth and less about guesswork.
- Content creation: Your next blog post, newsletter, or training material might just be hiding in your meeting transcripts. Use them to extract ideas, insights, and knowledge that can be repurposed into valuable content for your wider audience, maximizing the impact of your team's collective intelligence.
- Training and onboarding: Bringing new team members up to speed can be a daunting task, but transcripts from key meetings can serve as essential learning tools. They offer a real-world glimpse into project histories, decision-making processes, and the team's strategic direction, providing context that goes beyond the standard onboarding package.
Microsoft Teams Transcription FAQ
1. Can You Transcribe in Teams without Recording?
Yes, as long as you have a valid Microsoft 365 subscription, you can transcribe your meeting without recording it.
2. Why Can't I Use Transcription in Teams?
If MS Teams’ transcription features don’t work, here are some things to consider:
- Permissions: You might not have the right permissions to record (and thereby transcribe) the meeting. Transcription rights are tied to recording rights, so check with your Teams admin to ensure you're on the list.
- Outdated app: An outdated Teams app might not show you everything available. Ensure your Teams application is up-to-date to access the latest features, including transcription.
- Supported regions and languages: Transcription has its own language preferences, primarily supporting English (with expanding support for additional languages). Also, certain features may be region-specific, so it's worth checking if transcription is supported in your location.
3. Where Are Teams Transcripts Stored?
Teams transcripts are conveniently stored in the cloud, alongside your meeting recordings. Specifically, you can find them in the meeting chat or under the 'Details' tab for the meeting in Teams.
For those who like to keep their files close, transcripts can also be downloaded as a VTT file, allowing you to store, share, or review them offline at your convenience.
Start Generating Better MS Teams Transcripts with MeetGeek!
MS Teams transcripts can be catalysts for communication, collaboration, and inclusivity, and preserve the essence of our digital conversations.
Yet, the quest for efficiency and accuracy in transcription doesn't end here.
For teams looking to take their transcription game to the next level, integrating tools like MeetGeek can further streamline the process.
And who knows? With transcription diligently logging every detail, your next big idea might just reveal itself between the lines of dialogue, waiting to be discovered in the transcript of your last meeting!
.avif)





.webp)
